wavyzenki s14 build, the street machine
+3
deolio
jrdori
wavyzenki
7 posters
Page 1 of 1
 wavyzenki s14 build, the street machine
Hi,
My name is albert. I want to build a fun street car. That is it.
Before I start my wavy zenki build, I thought I would take a stroll through memory lane...
I got my first car in 2008, at the age of 17. It was a 1989 s13 hatch. It had 123,000 miles when I bought it. I was the second owner.
I picked it up for $2200. It got hit by someone who hit and ran. I was really bummed out. The damage was very minor looking back,
but at the time I thought it was game over.
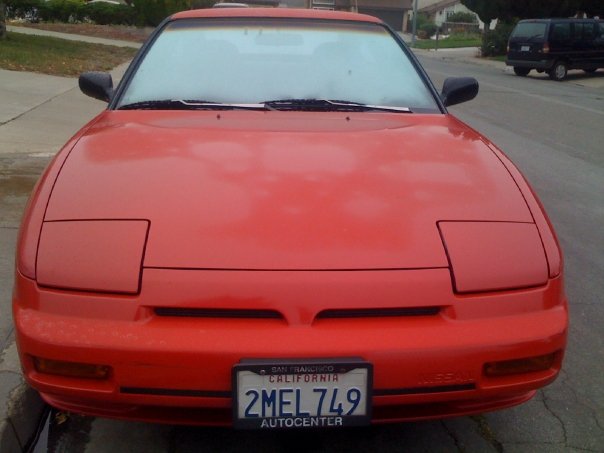
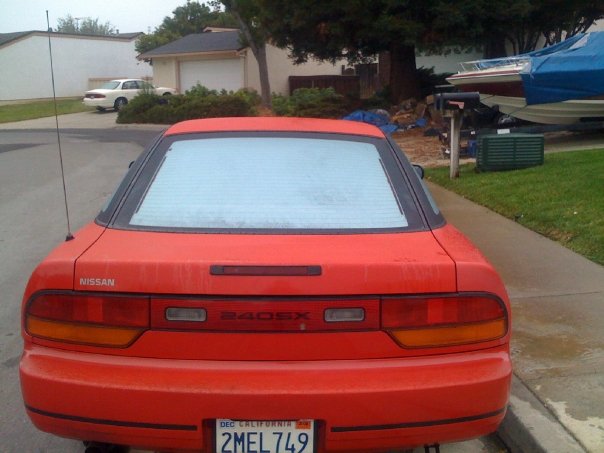
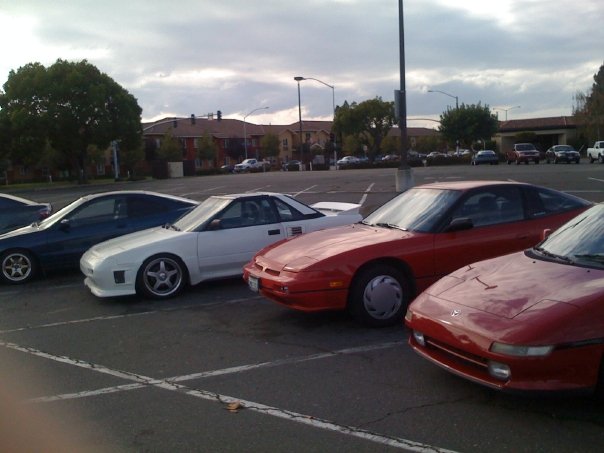
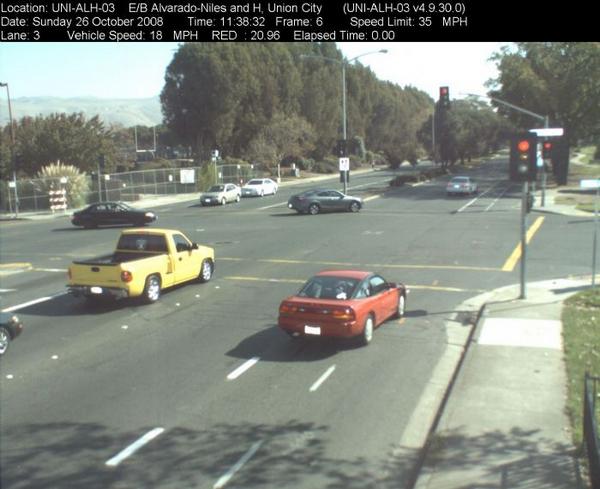
I also got my first ticket in this car... (for stopping over the line while making a right hand turn on a red light)
I ended up selling it because I wanted to buy a toyota MR2 since all my friends had them..
(when you're young, you want to do everything your friends do. If they jumped off a bridge, I probably would have too...lol)
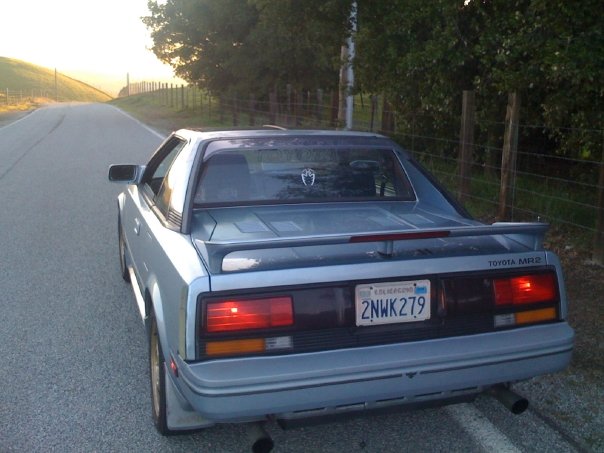
It was an awesome car. The 4age was such a fun little motor in the canyons.
I fell in love with touge and gripping through a local backroad we had. I drove it everywhere, it was reliable and great on gas.
Even though I couldn't get any b*tches in it I still loved it. I even had a friend's mom call it the Mentally Retarded 2 (MR2).
Unfortunately, I ended up crashing it on the backroads I loved driving so much.
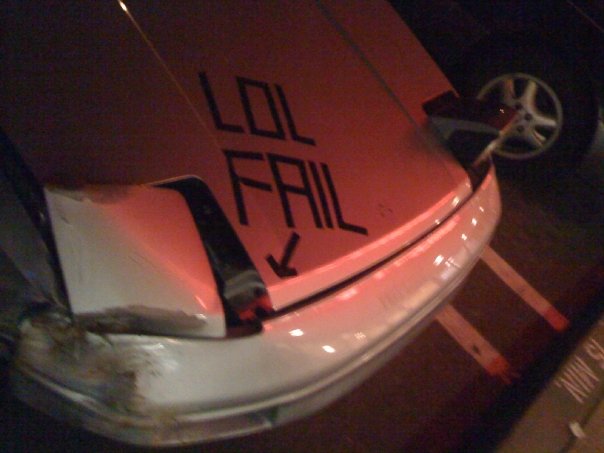
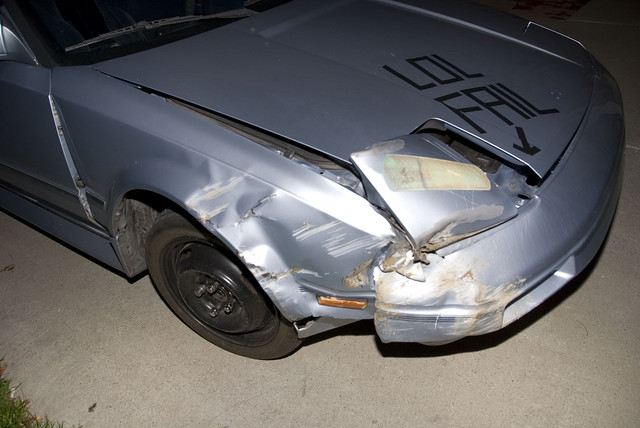
I ended up fixing the damage, painted it flat black and enjoyed it for a little bit longer before I decided to list it up for sale.
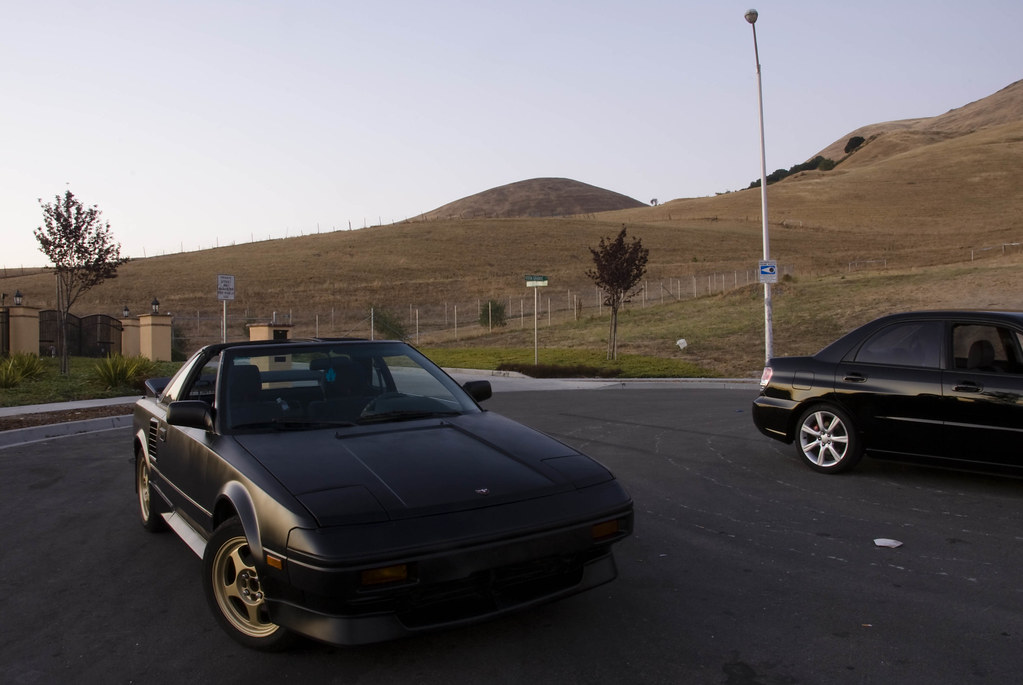
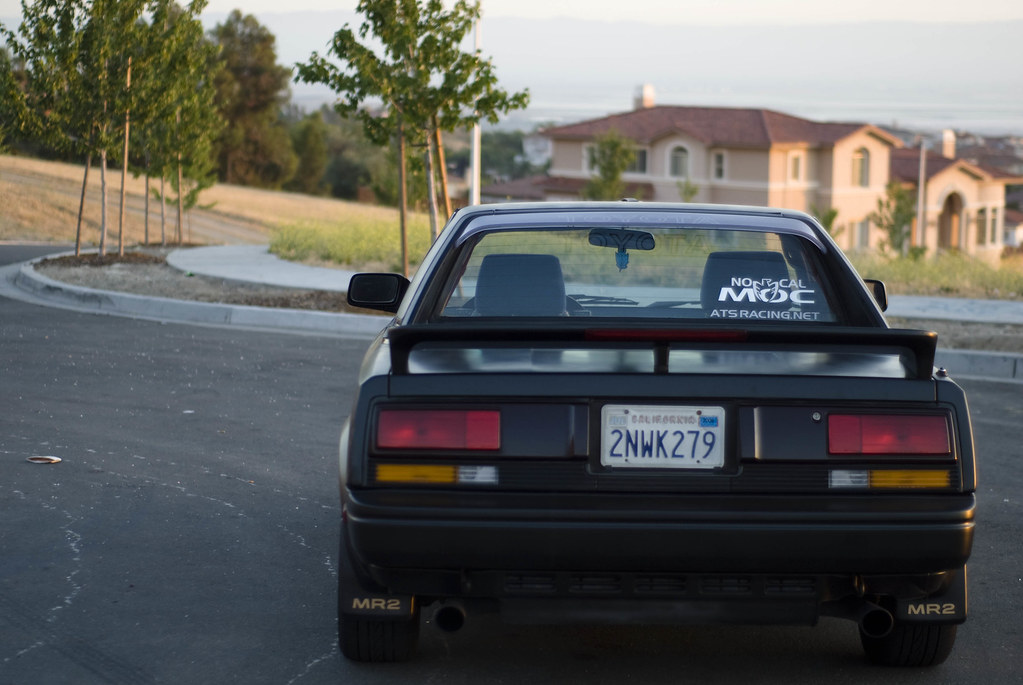
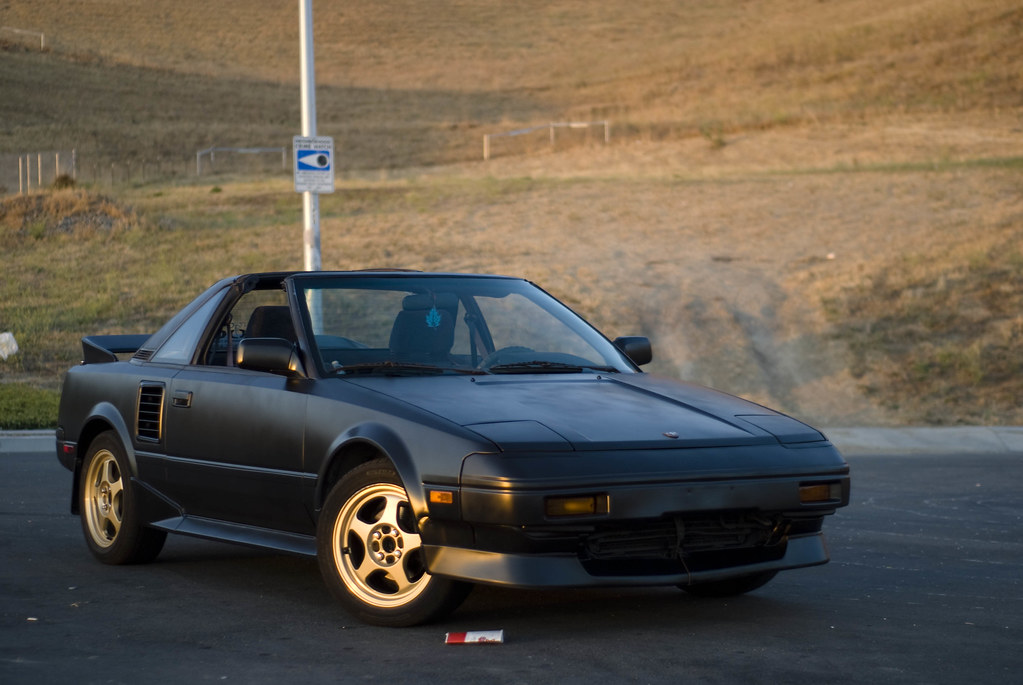
I ended up getting rid of the MR2 for $1800 to some random dude off of craigslist.
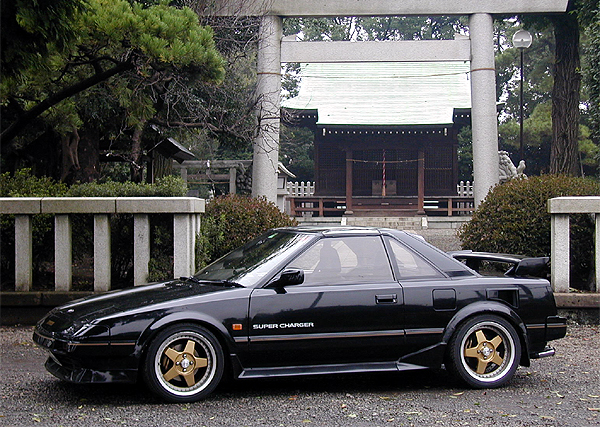
Some old MR2 inspiration... (not a photo of my car)
What now? Wasn't sure what I wanted anymore. My friends that had MR2's were no longer really into cars.
Not many of my friends at the time were into cars so I didn't really know much. I really liked my hatch and thought about getting another 240.
While browsing craigslist I ended up finding the car of my dreams. I ended up picking up a 1991 s13 coupe. It had a brand new pearl white paintjob,
origin rear tail lights, full oem silvia front (polyurethane bumper/metal fenders/brick headlights), megan coilovers,
fully restored interior, personal steering wheel, etc...
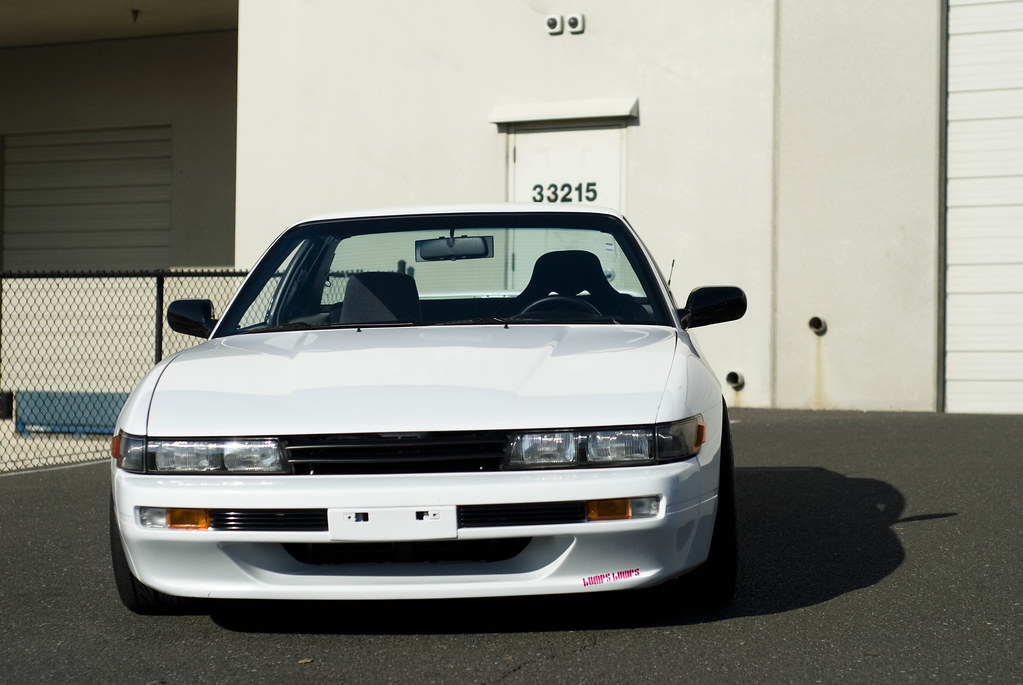
It was honestly the cleanest s13 my eyes have ever laids eyes on. I literally spent every penny I had saved to purchase it.
I still remember all of the butterflies I felt driving it home. Was one of the best feelings of my life (like losing your virginity, but with like, cars).
I had alot of fun driving it, the suspension was dialed perfect. Unfortunately, I couldn't stay off the backroads and ended up crashing it into a ditch...
luckily it wasn't too bad and I was able to keep driving hard.
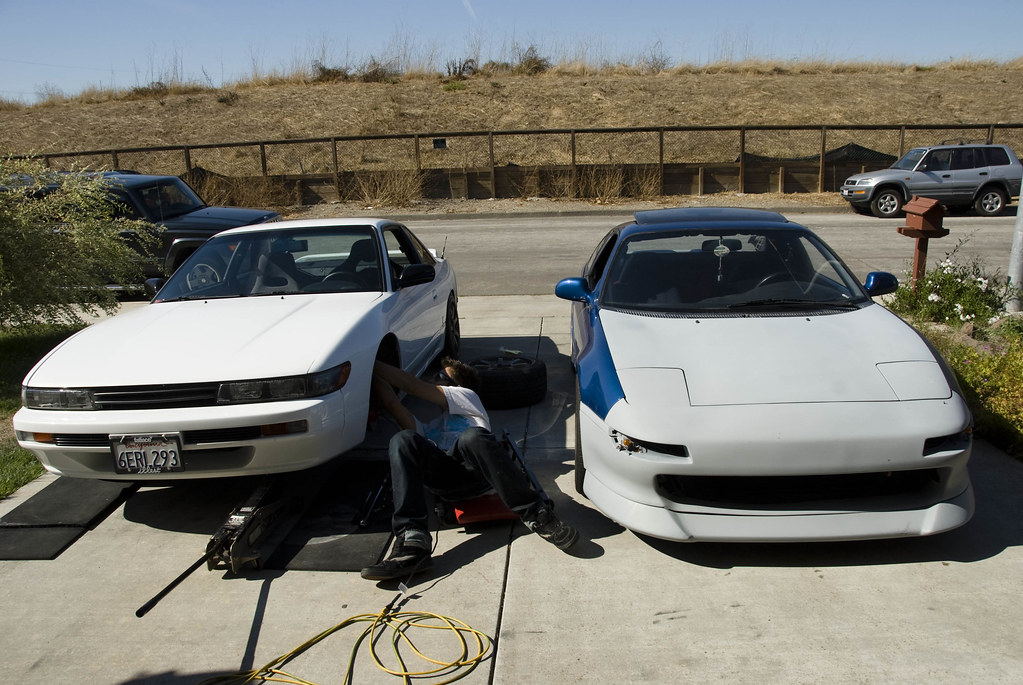
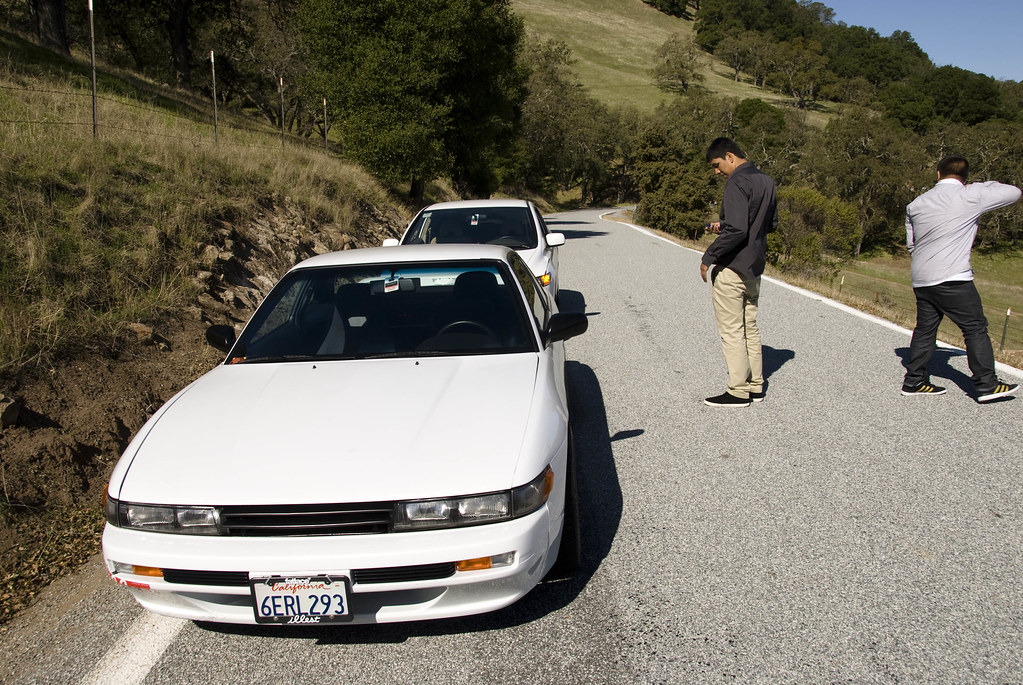
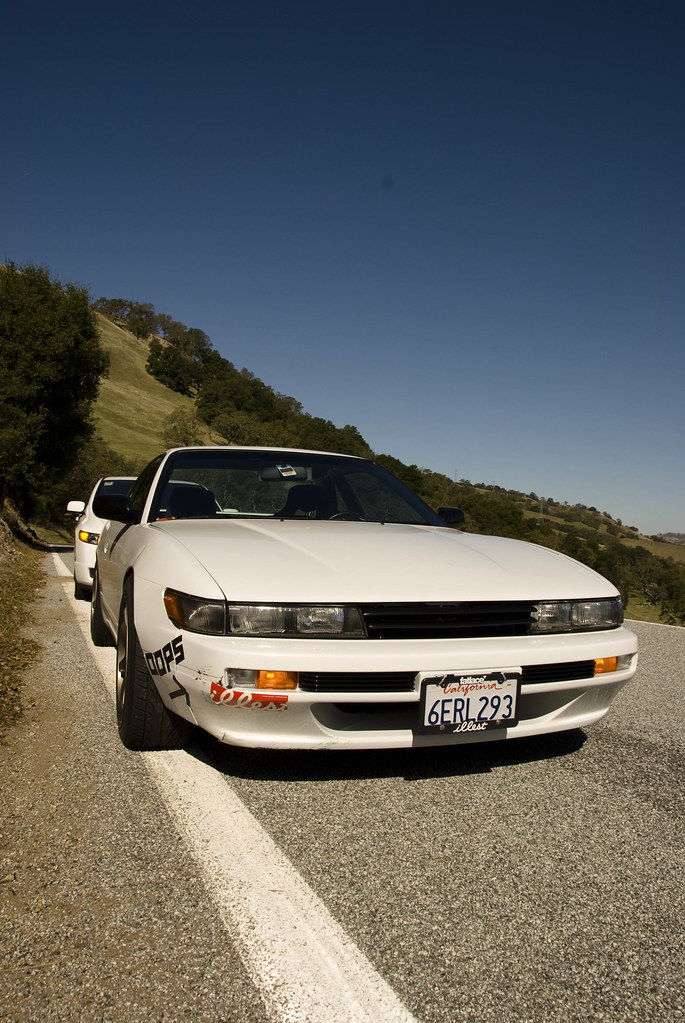
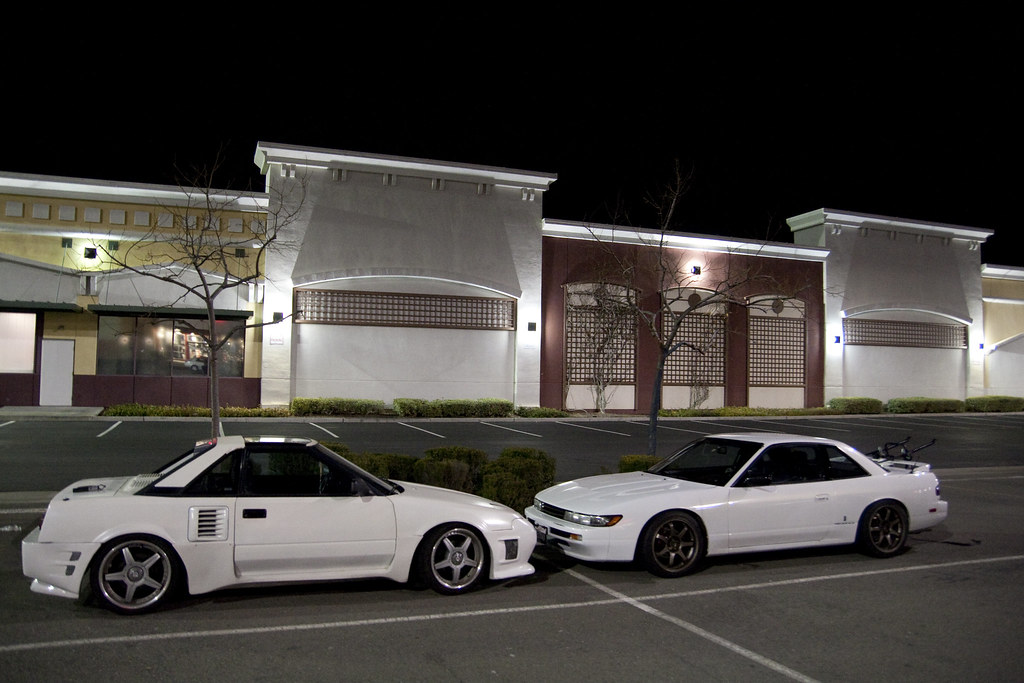
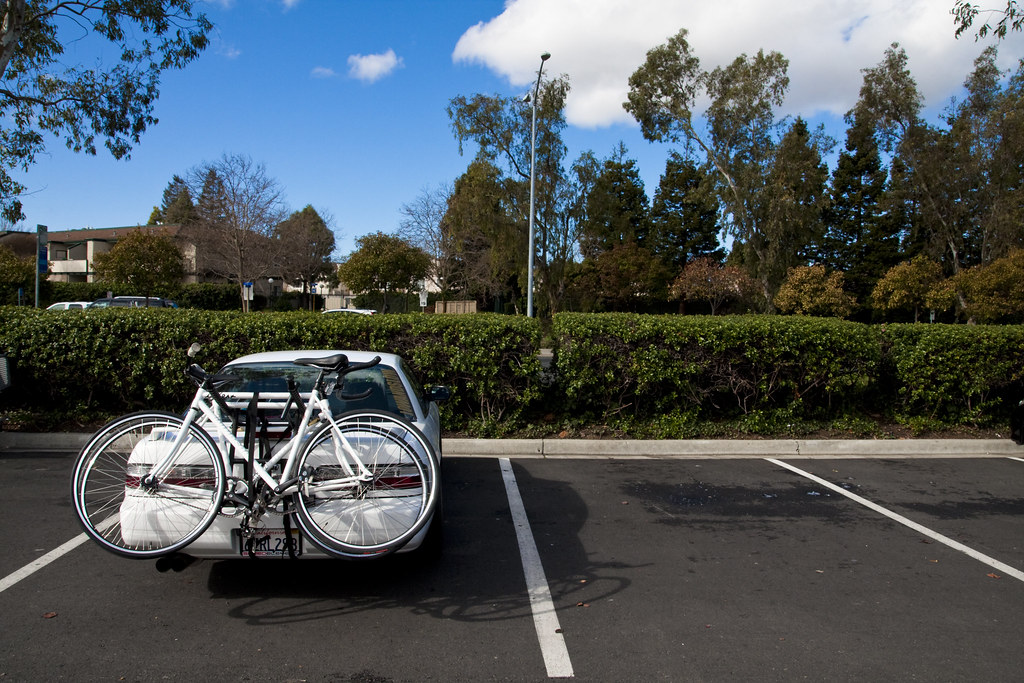
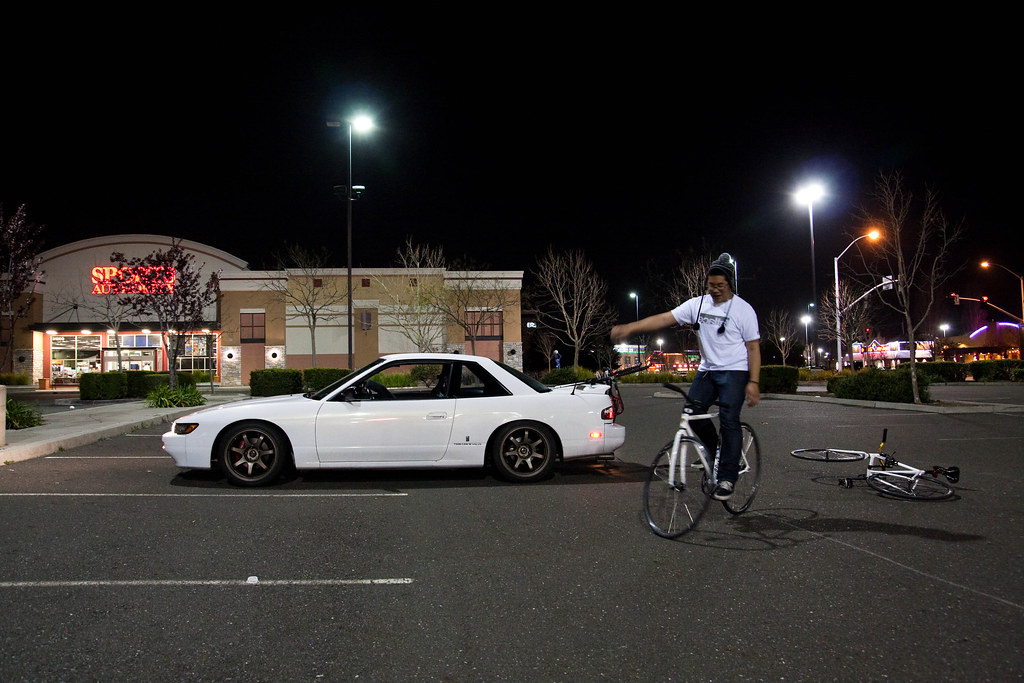
Started getting bored of the car and entertained getting rid of it to get something else.
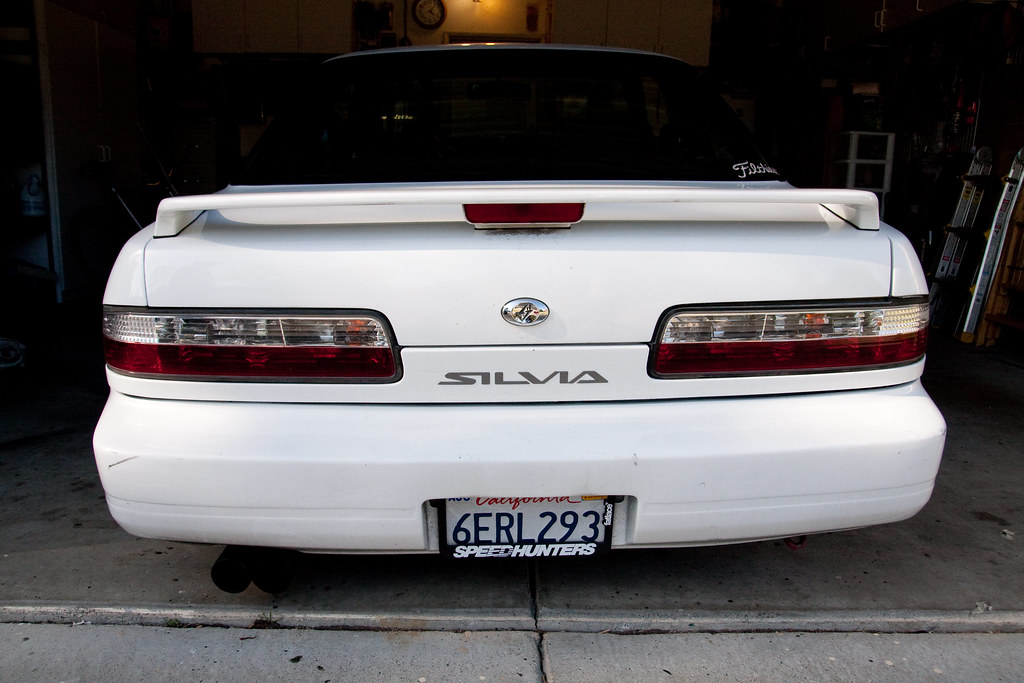
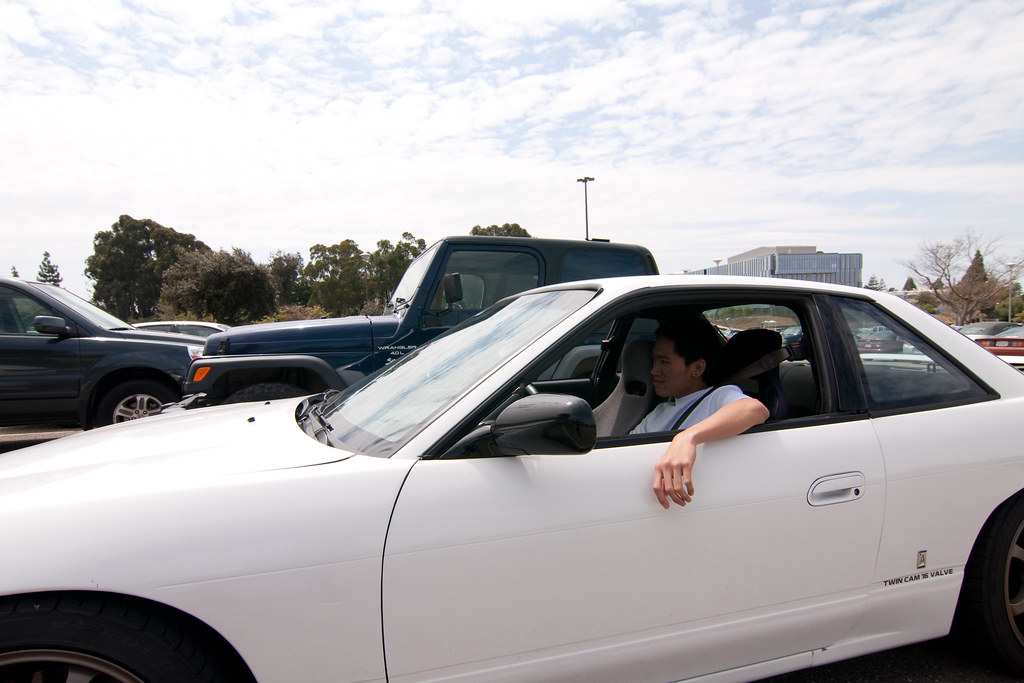
I was really bothered by the fact that I got many compliments on how nice the coupe was but I could not take credit since I didn't build the car.
I purchased it exactly how you see it in the photos. I wasn't able modify the car since I was a broke college kid who spent his whole savings on the car.
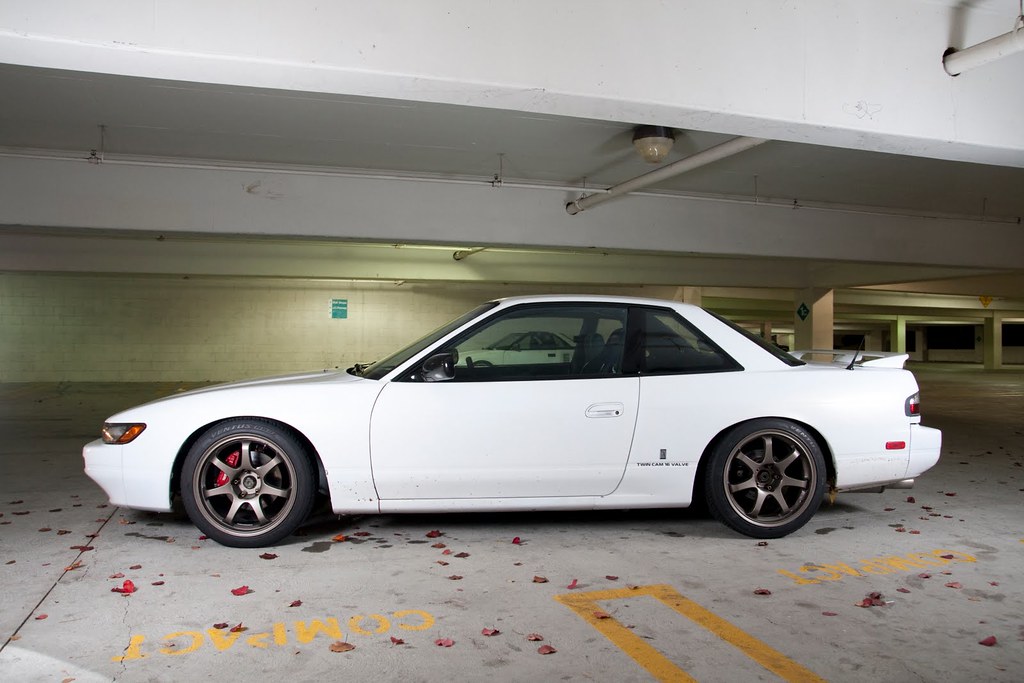
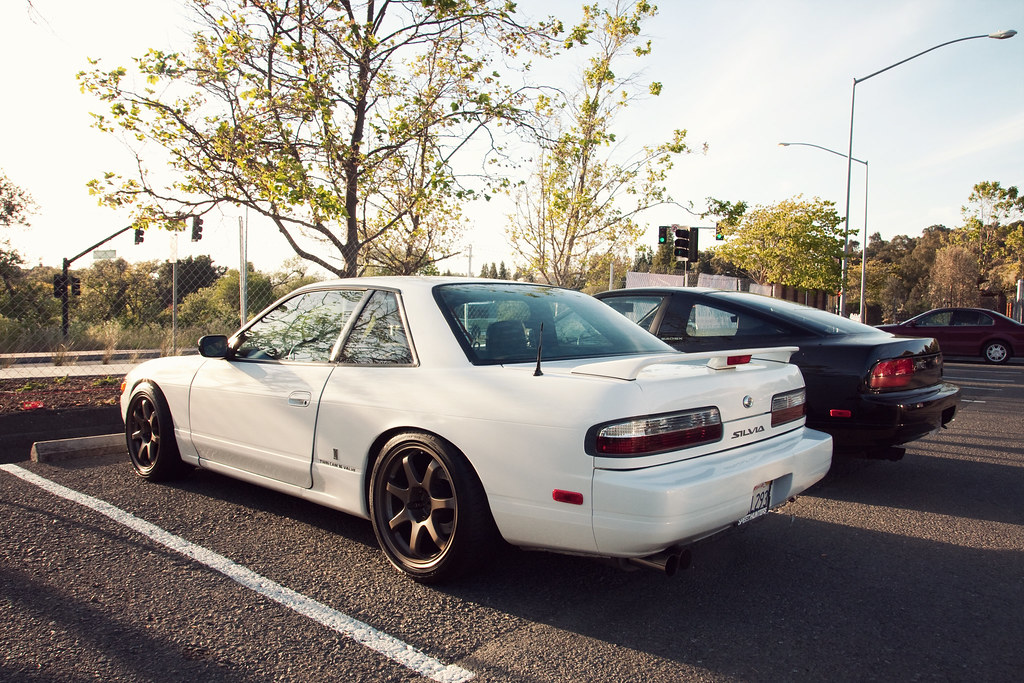
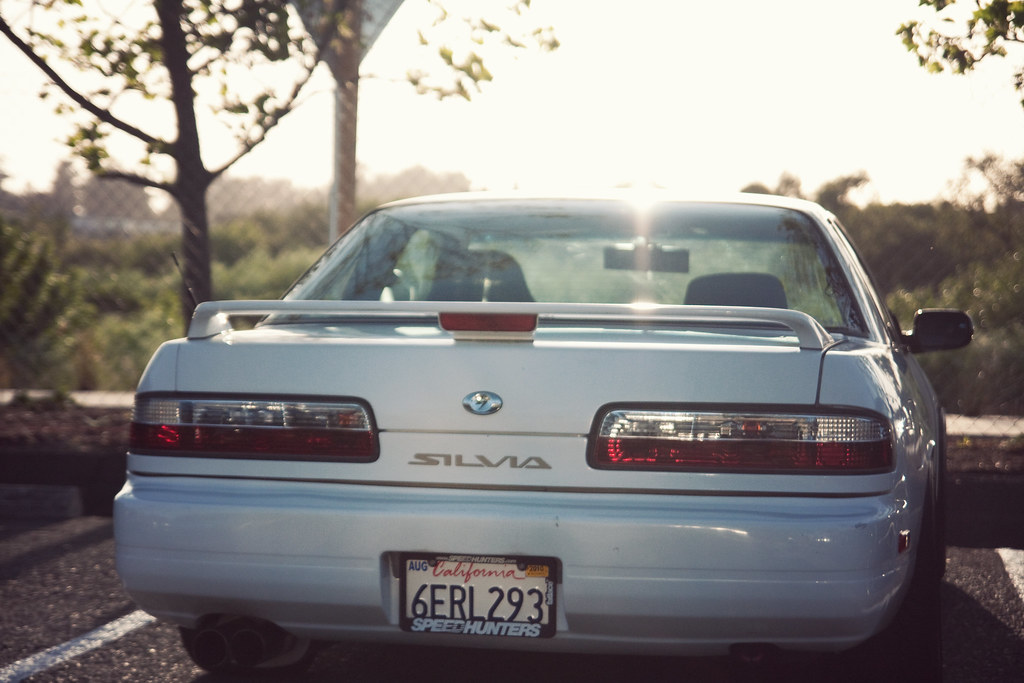
The car was super reliable and fun to drive. I had no complaints really... I just wish I had built the car myself. I wanted something to be proud of.
I decided to list my s13 coupe on craigslist and see if I could get rid of it and start fresh with something stock. I was ready to build a car on my own.
Then out of the blue I received an email from a guy who was local and had an s14 that he was interested in trading for my s13. I did not know how to feel.
I never even looked at s14s or even thougth about owning one. They just seemed so far out of my league... here are the photos he sent me...
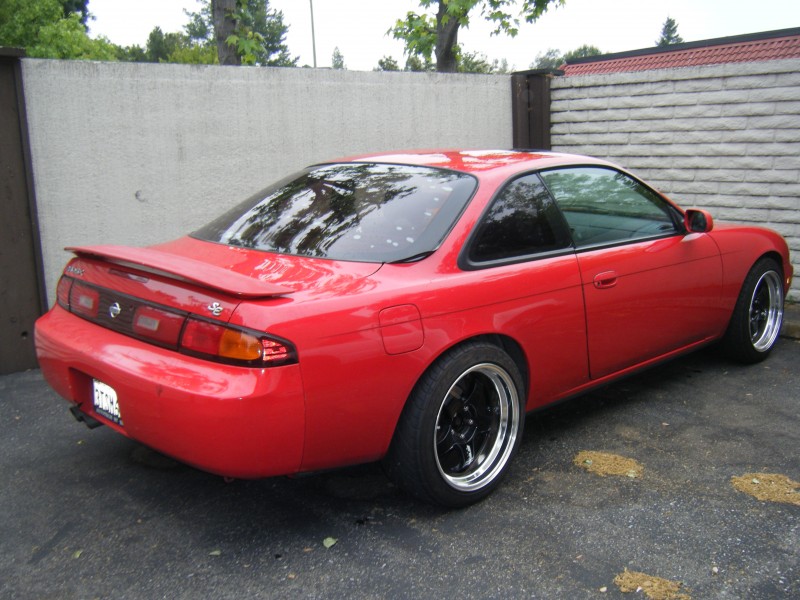
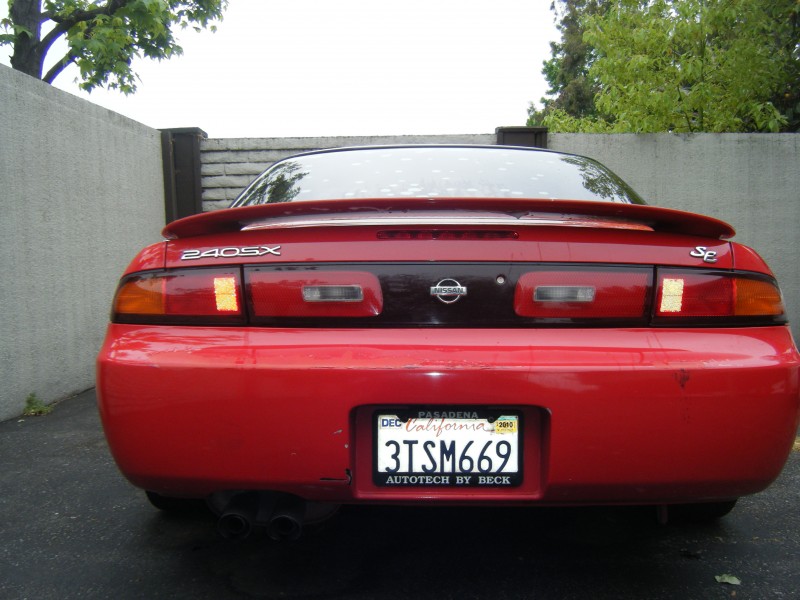
It looked clean and from the details provided it was all stock and unmoleted. Exactly what I wanted... so we met up and checked each others cars out.
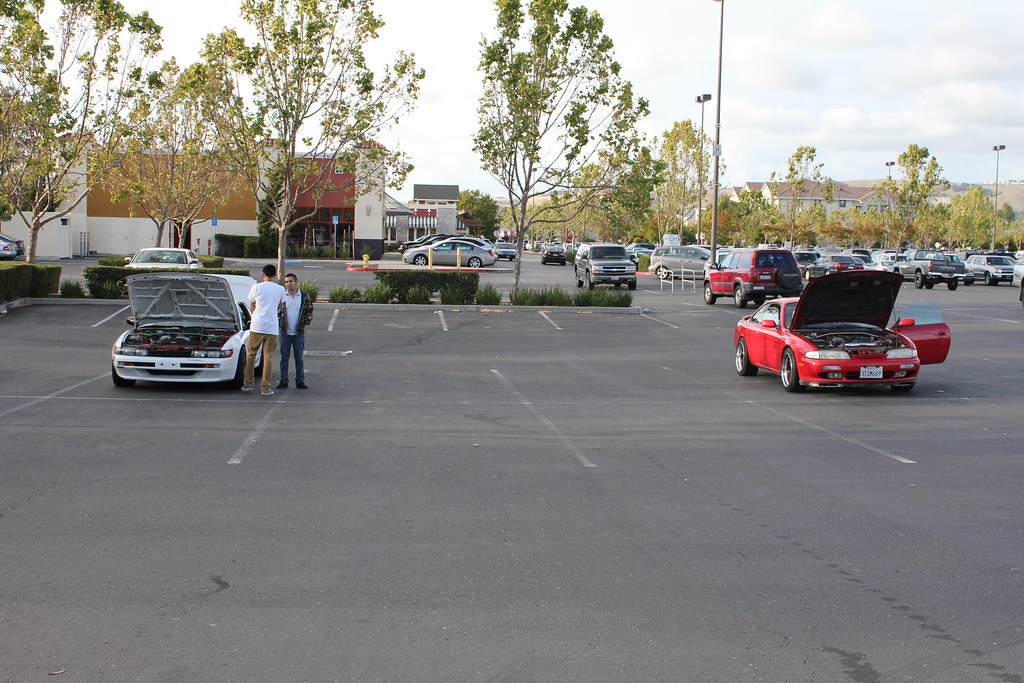
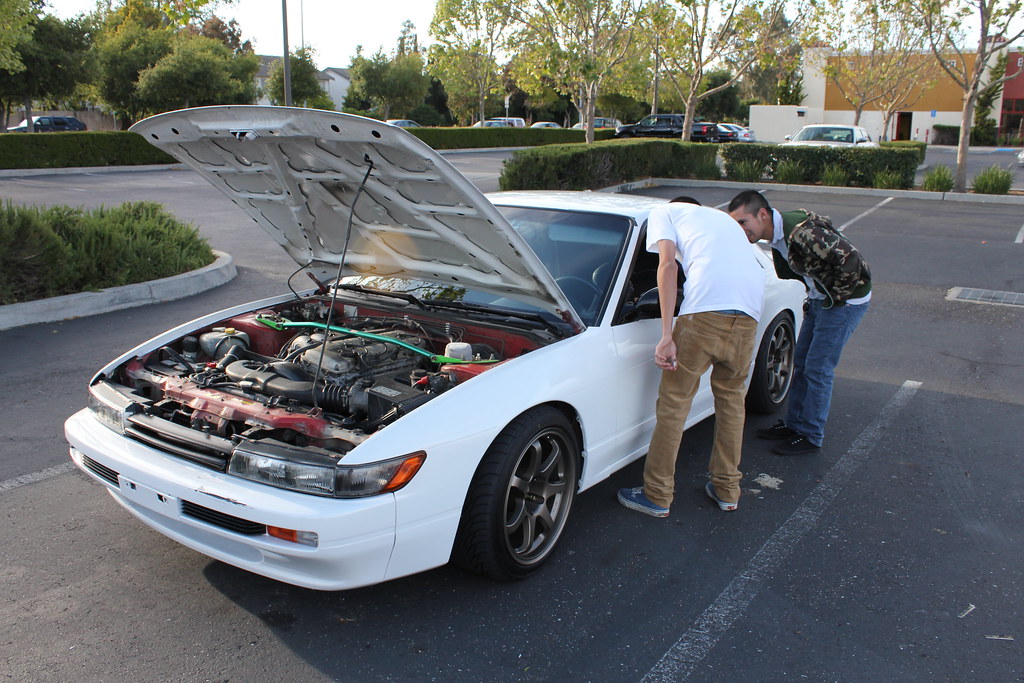
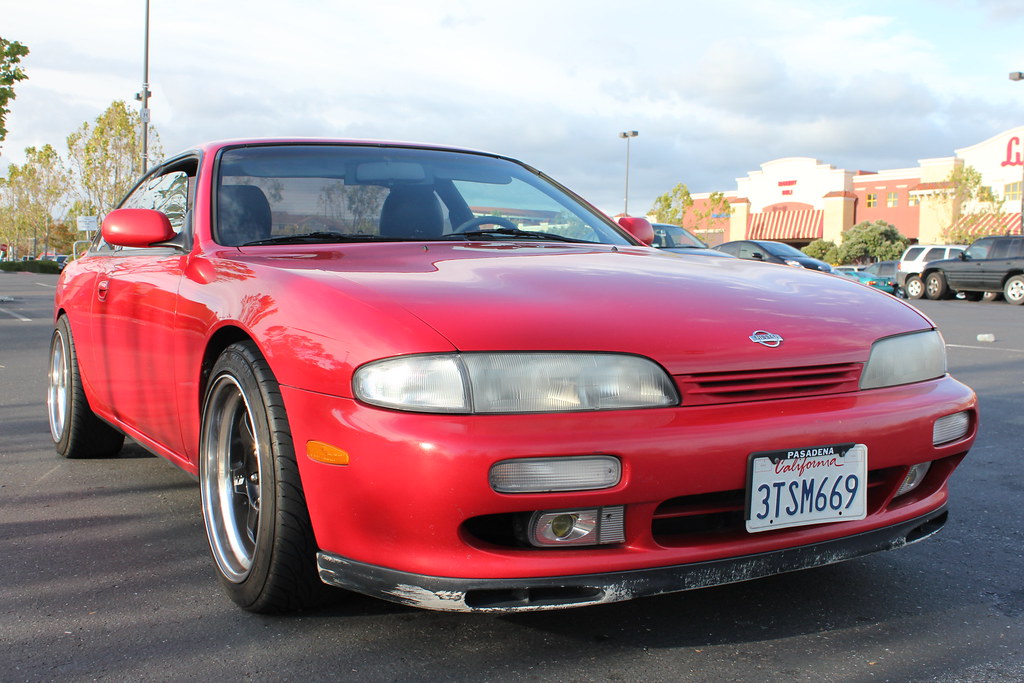
Dude was really cool. I drove his car and he didn't get to drive my car because my starter ended up taking a crap just as he hopped in the car.
Luckily my dad came to the rescue with an umbrella and we stabbed the starter to death until it started. He ended up really liking the coupe and
I ended up really liking the s14. So we worked out the details and were set to trade after I removed some of the parts off the coupe.
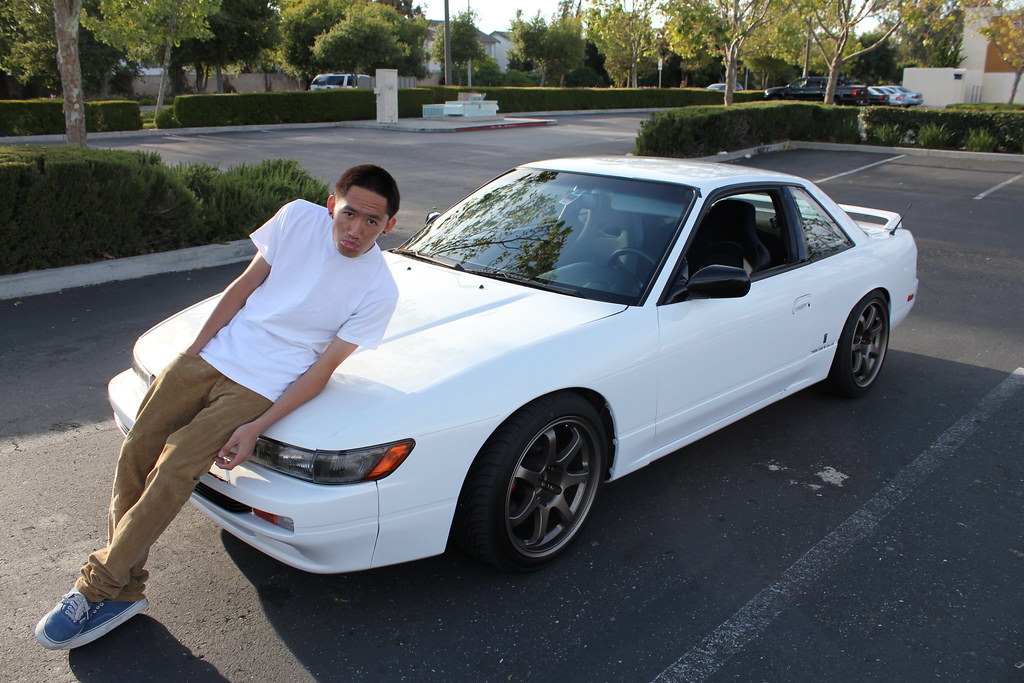
I felt like my s13 was worth alot more since he was only giving me the s14 without the work meisters. He is a photo of my last time leaning on my s13...
(pretending to be sad about it leaving...)
My buddy Angel ended up picking up a coupe and wanted some of the parts so we ended up swapping all of my aftermarket parts with his stock oem parts.
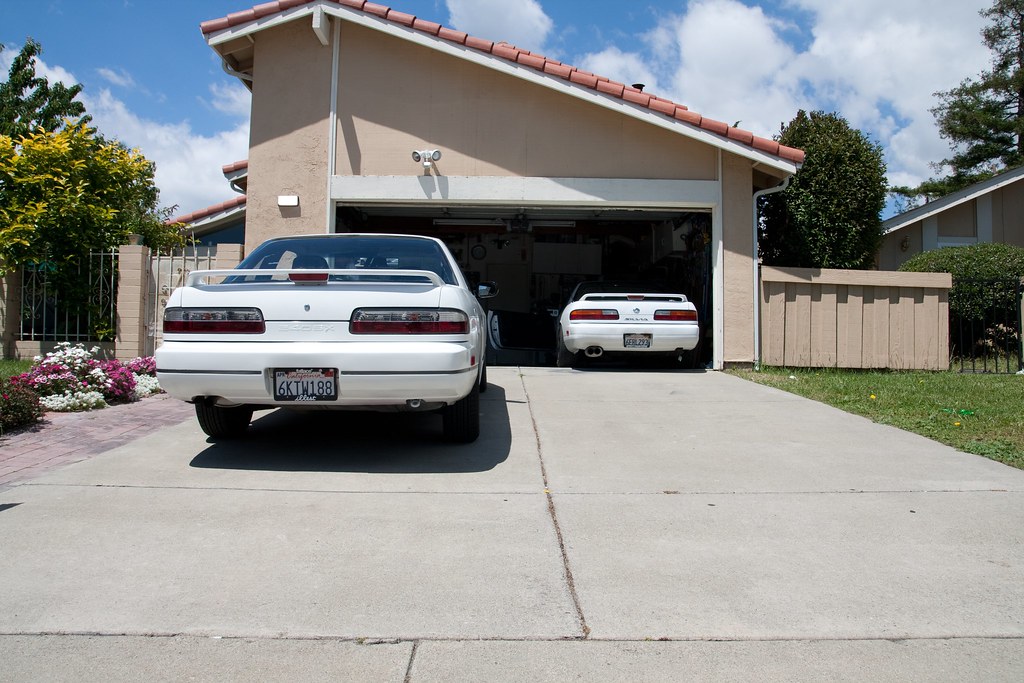
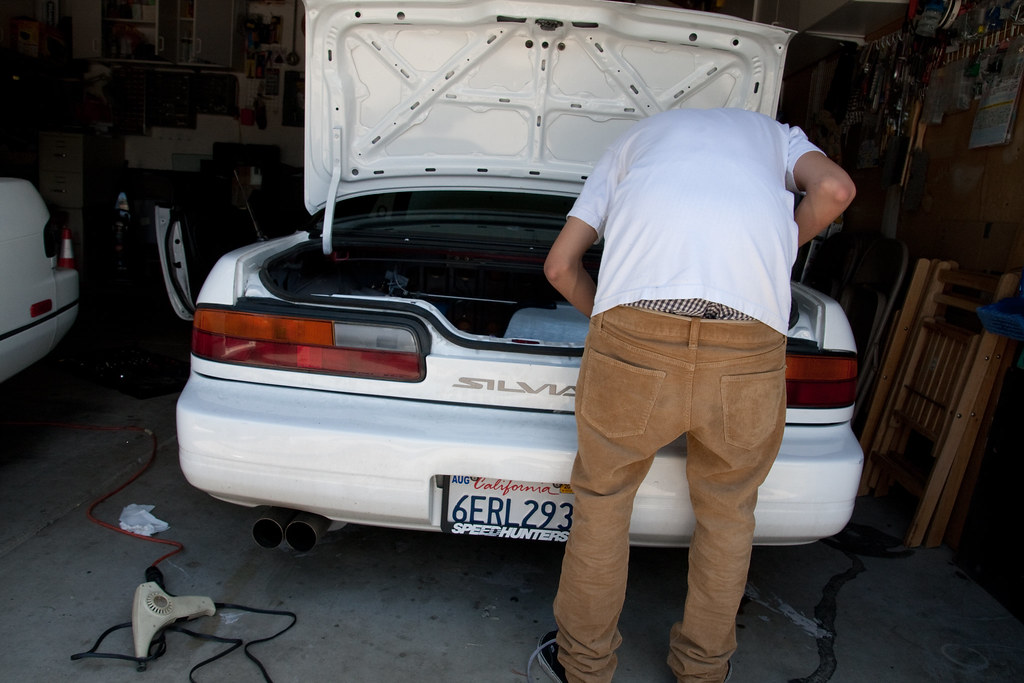
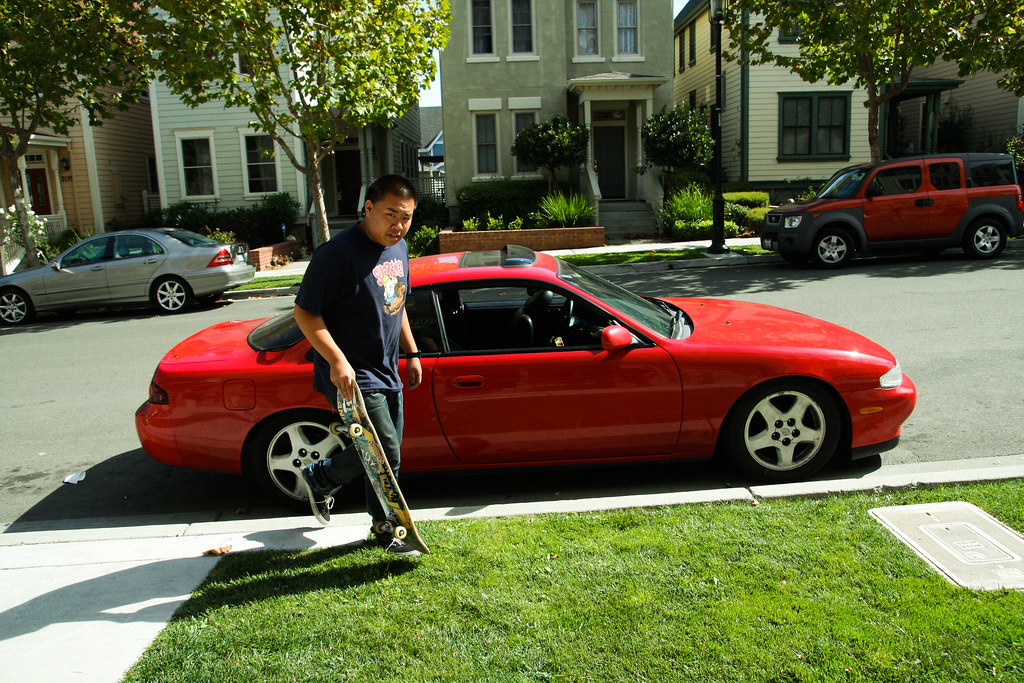
Check yo boy out in his new s14 haha. I ended up driving the s14 to SoCal for EDC LA 2010.

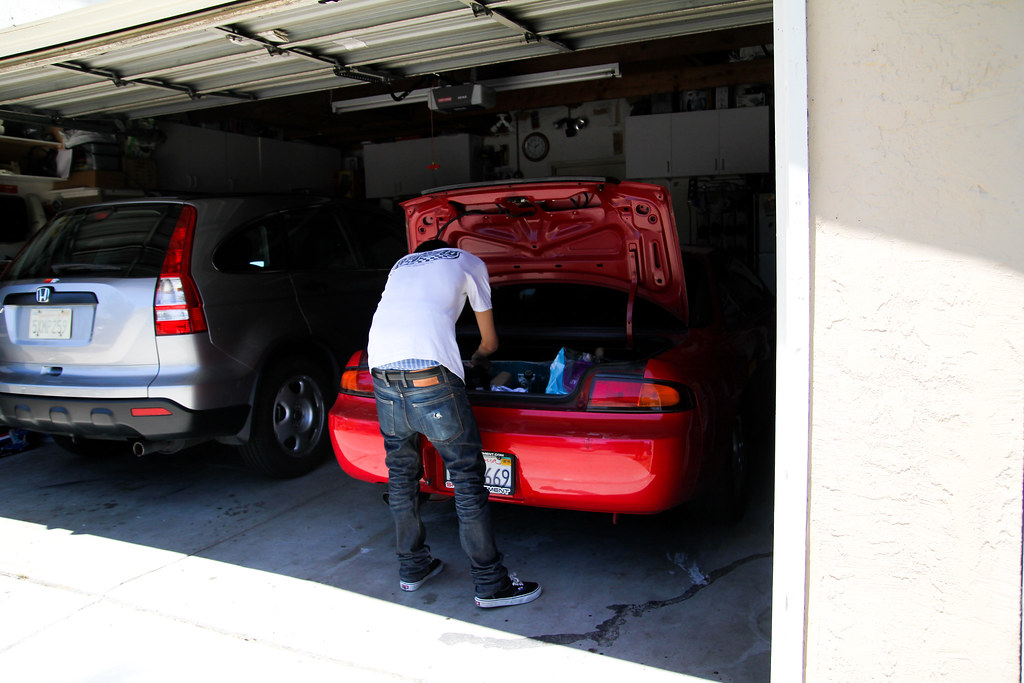
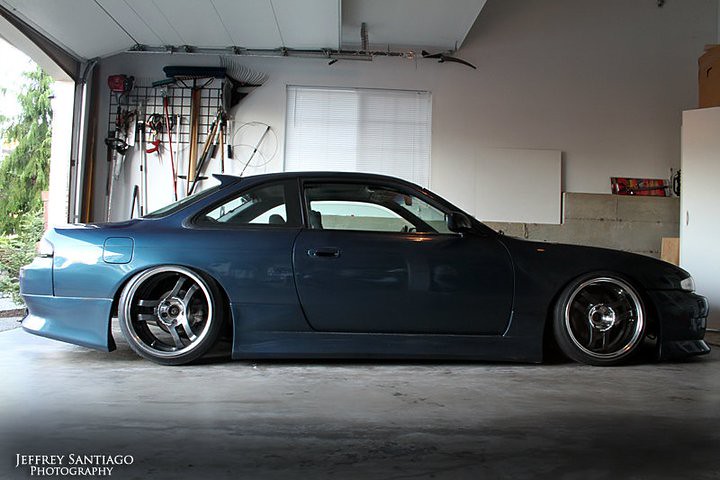
And here is some 2010 throwback inspiration... daniel ressa's car before i knew who he was...
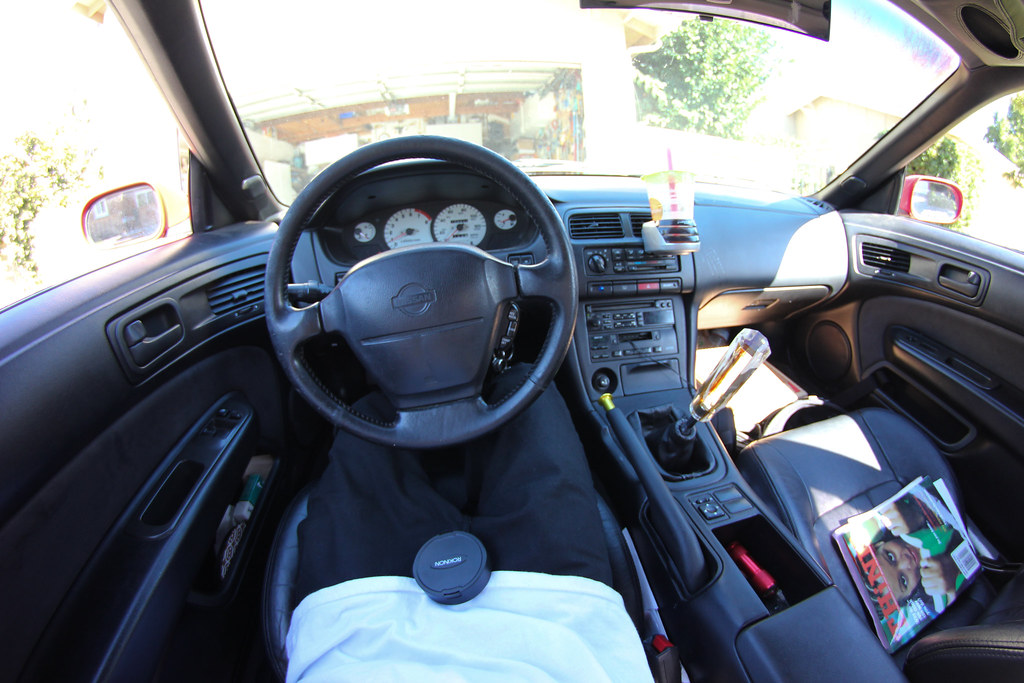
Still a broke college kid... but I finally got some coilovers...
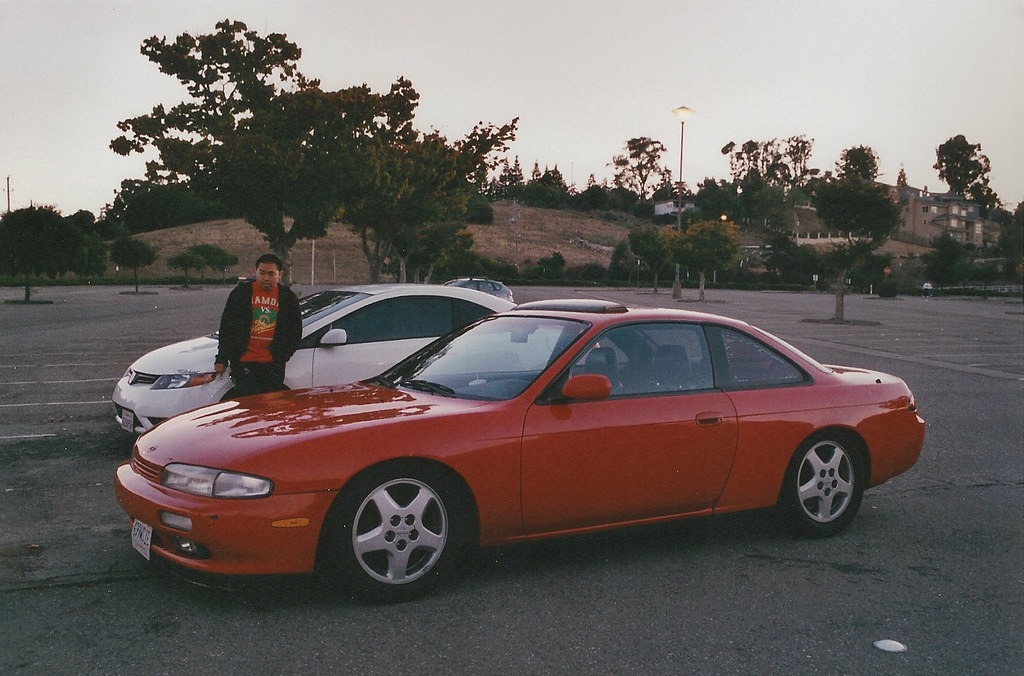
I am good at crashing cars on the touge. This time it wasn't my error... deer ran out in front of me causing me to lock and slide into a mountain.
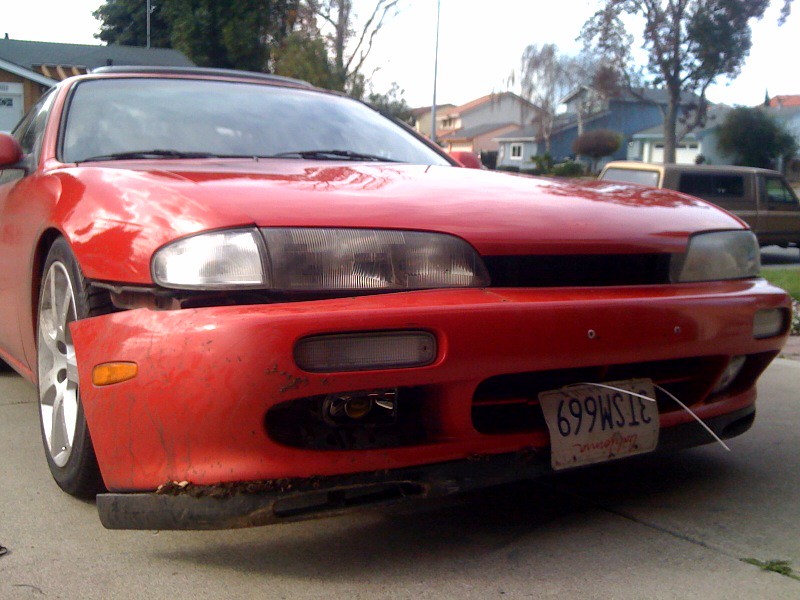
I ended up picking up a job at my local Fry's Electronics and money started falling out of the sky!! (not really, barely making more than $8 minimum wage).
Finally picked up some parts for the s14...
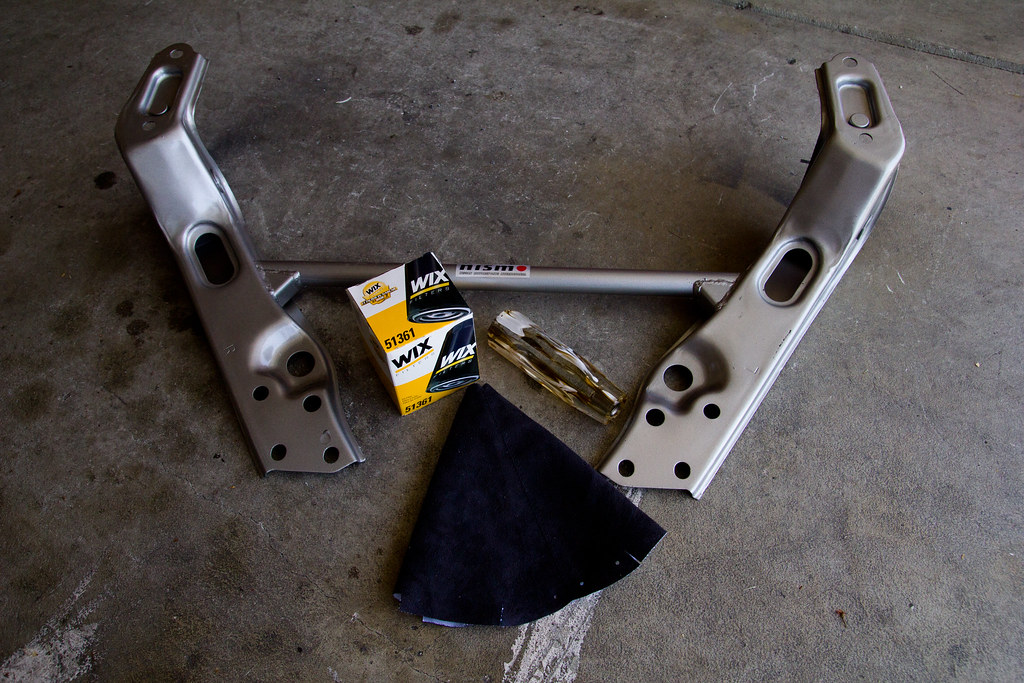
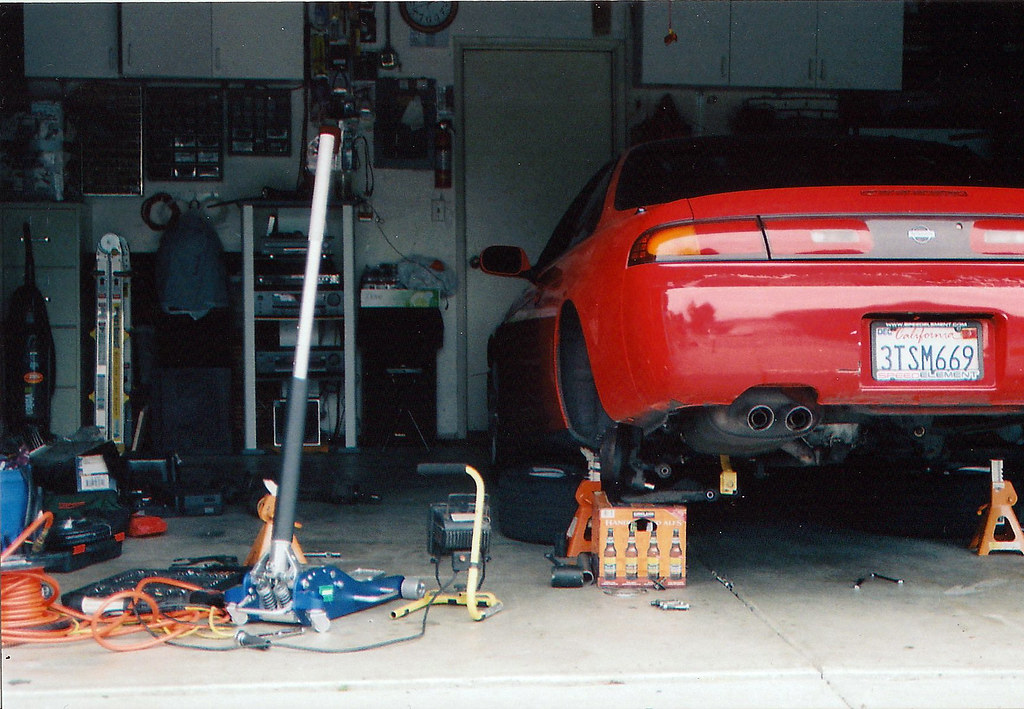
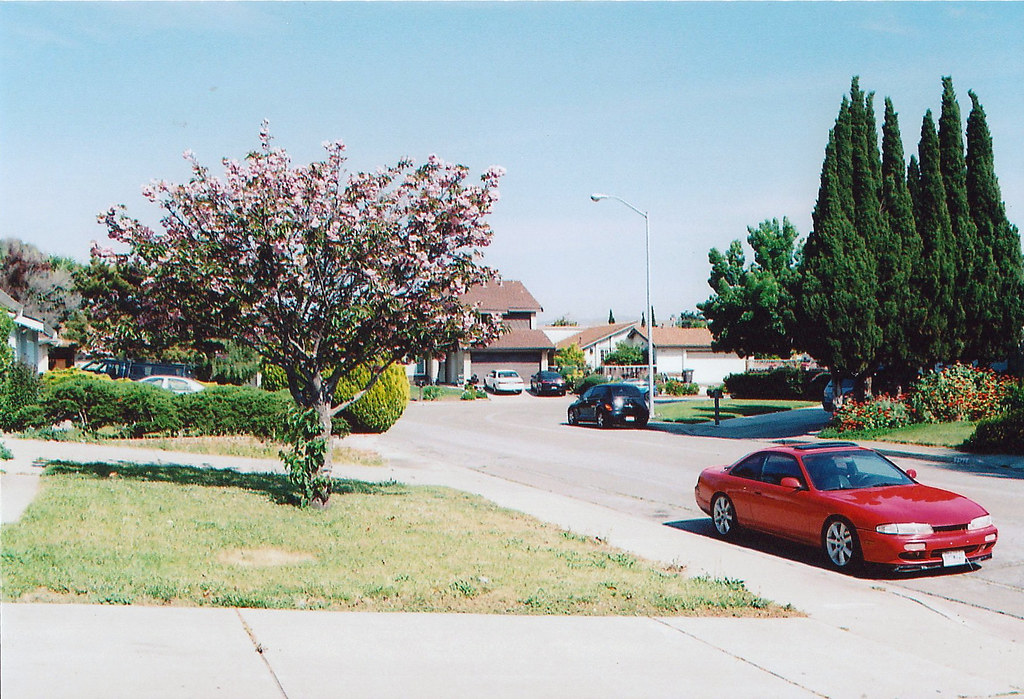
Progress was slow... I learned how to drift so I started having to spend money on maintenance and tires. I also met my girlfriend which didn't help my bank account...
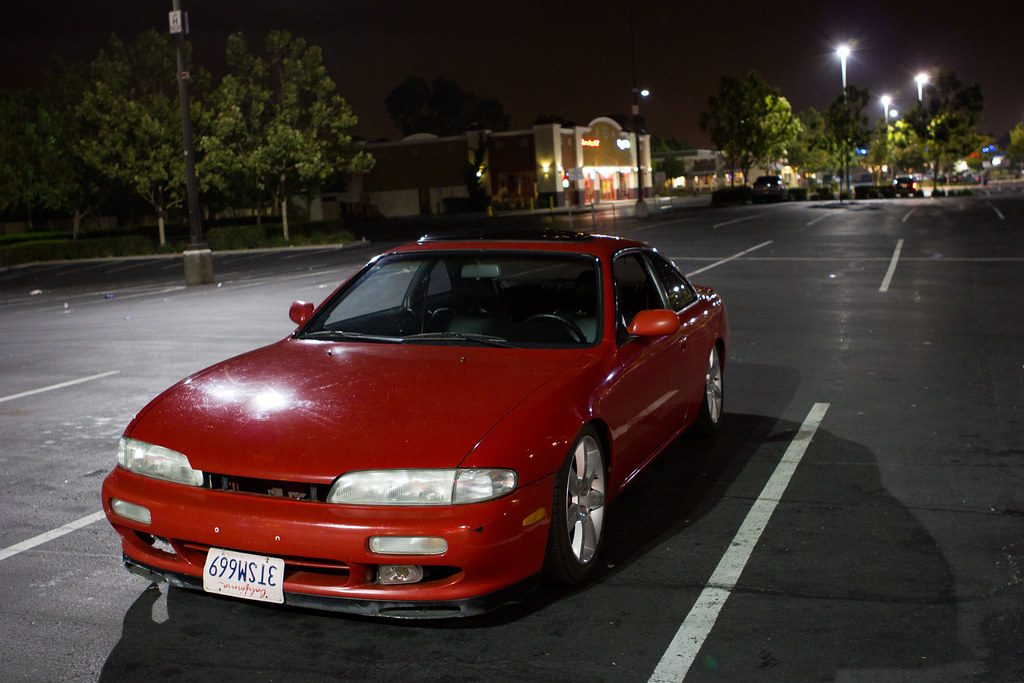
Got me some battles...
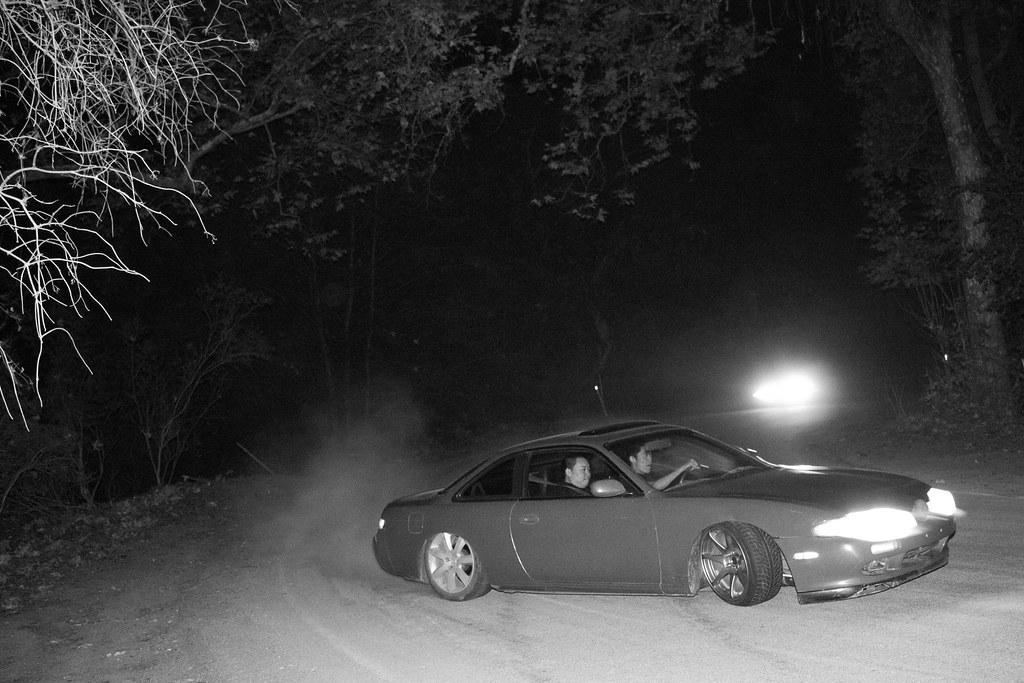
Got me some 5zigens...
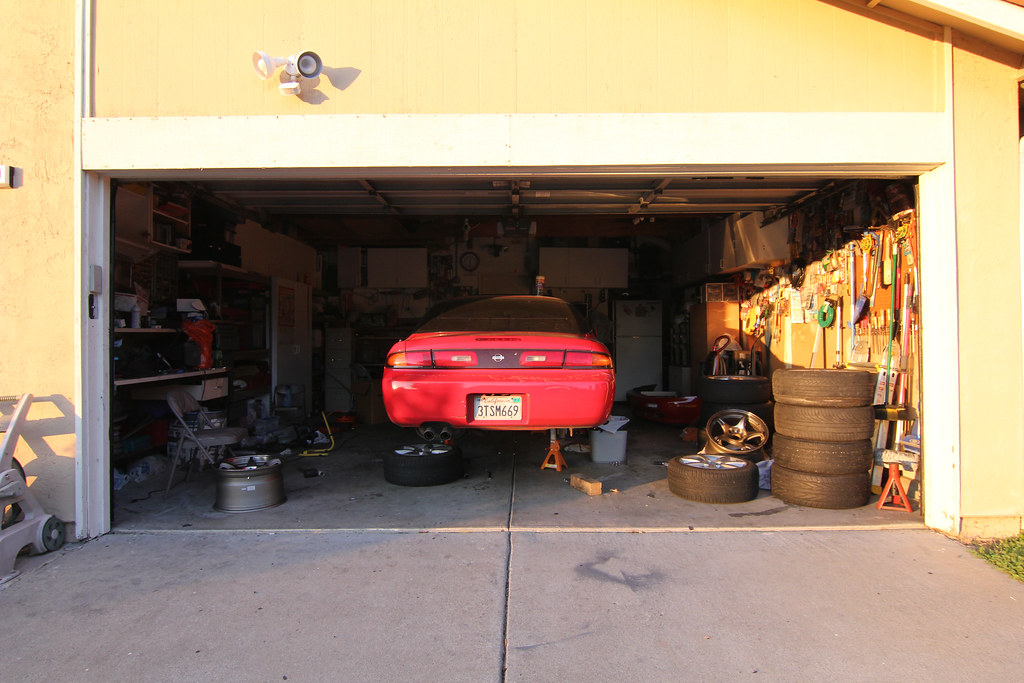
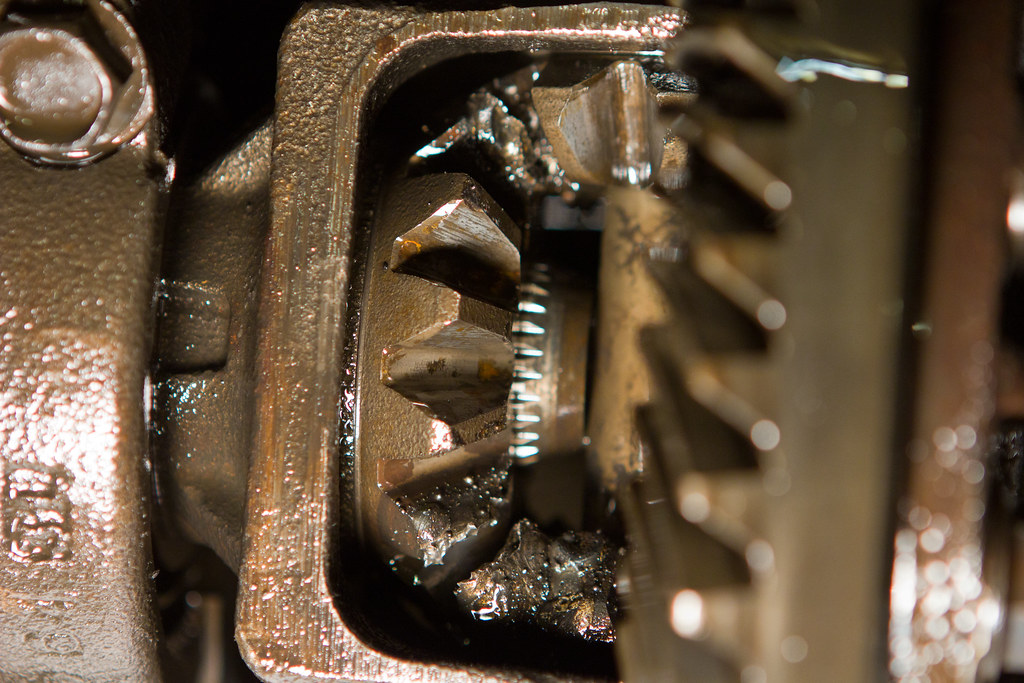
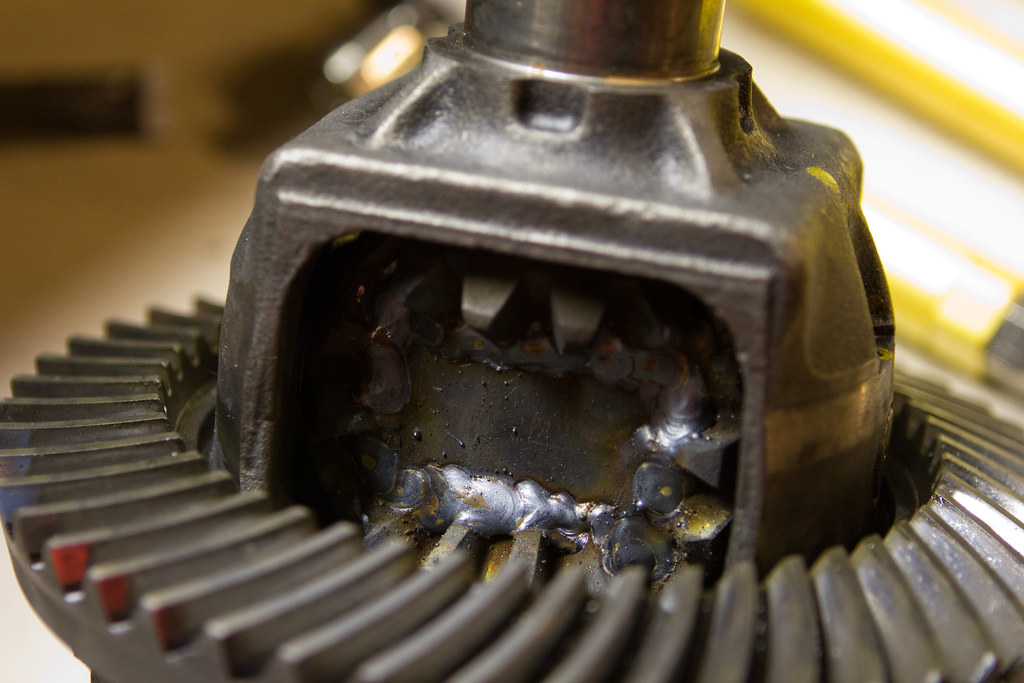
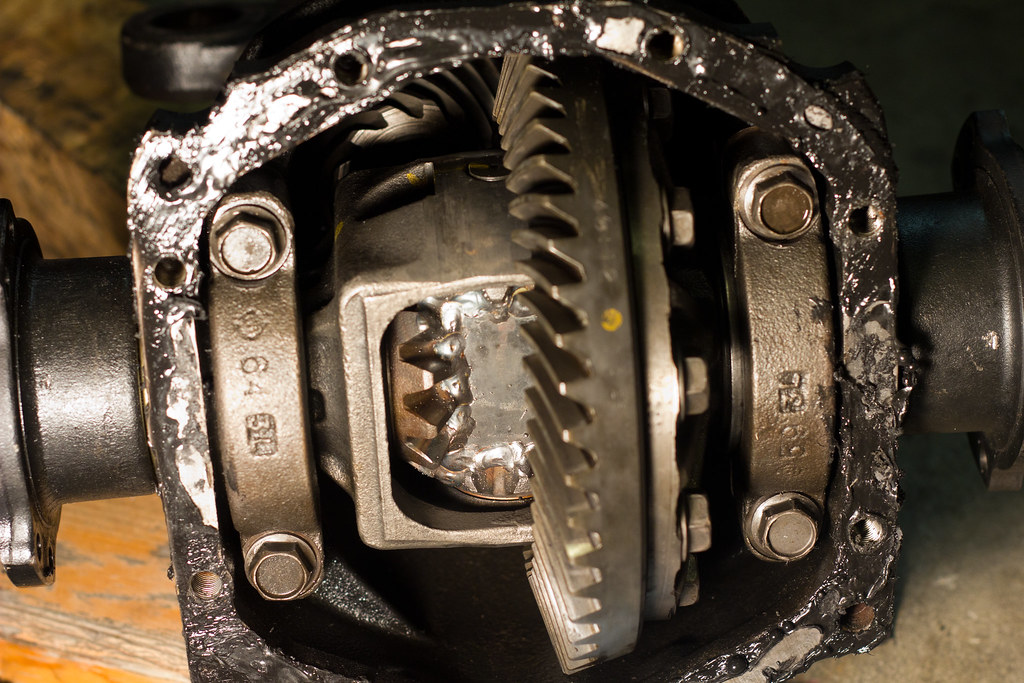
I bought a welded diff from a friend who didnt tell me it was a backyard special welded diff.. That broke and then got a new one plate welded...
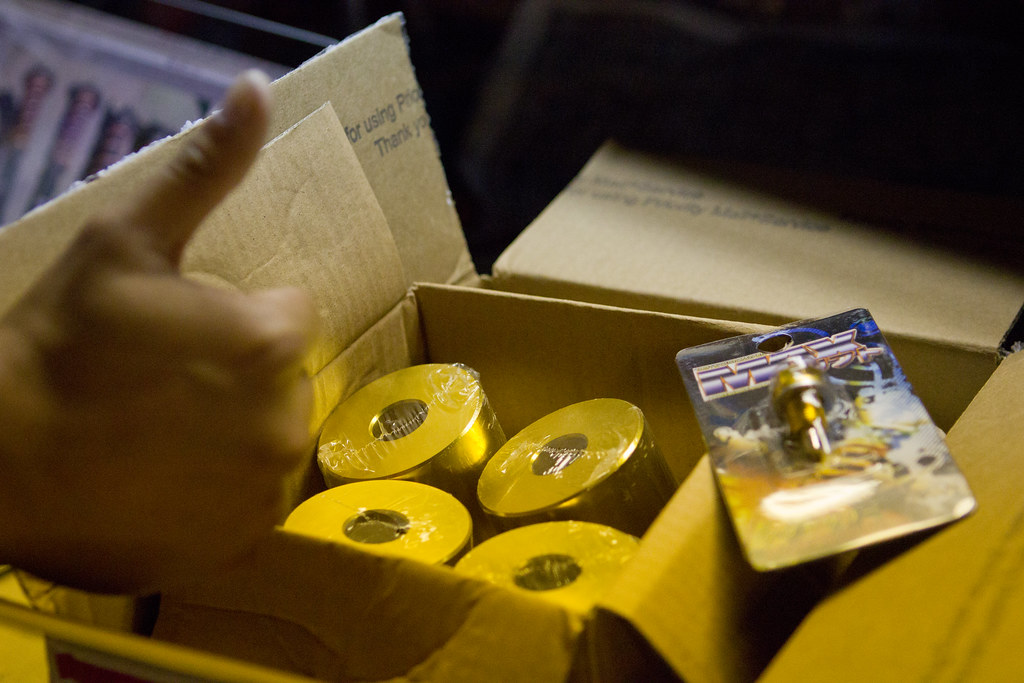
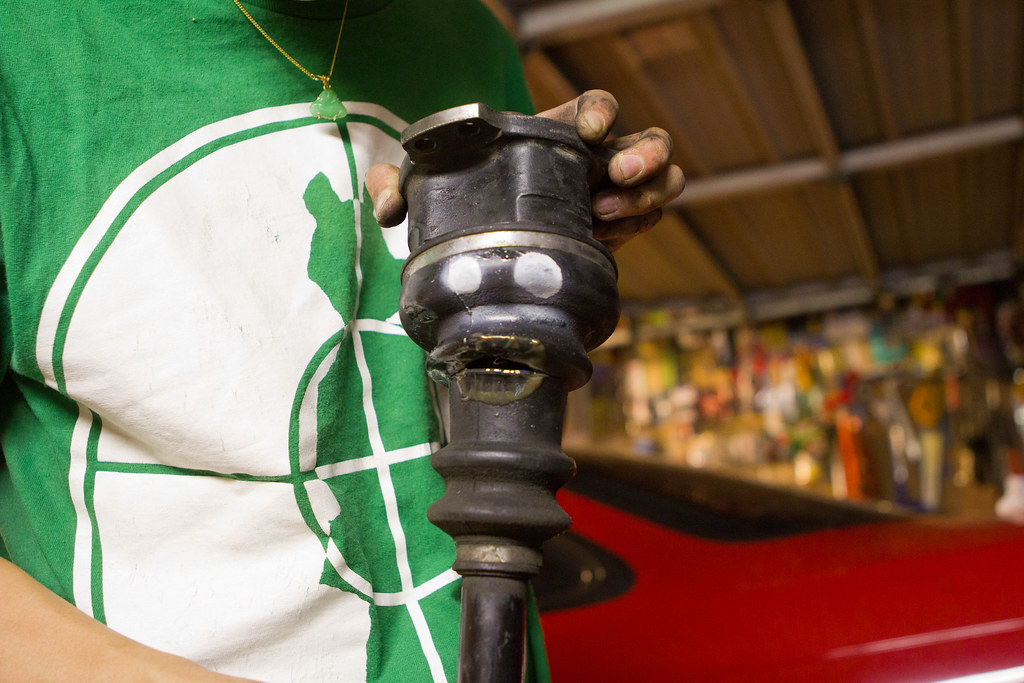
I kept breaking axles so people told me to get subframe risers so I was like OKIE because I was young, dumb, and didn't know any better.
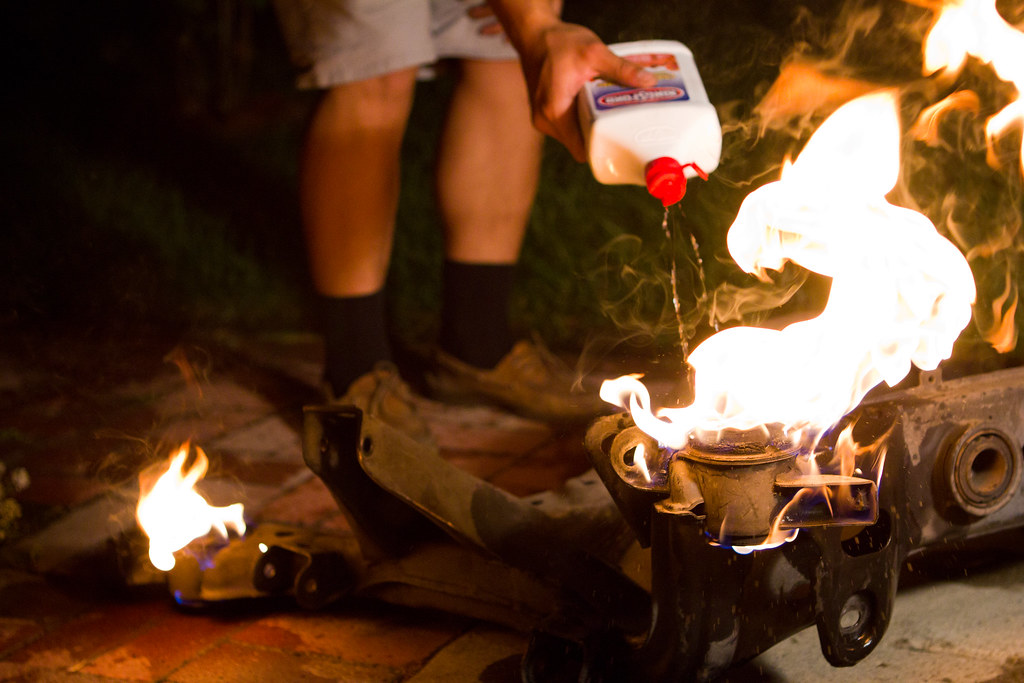
Sure my car felt a little tighter since I got rid of my shot subframe bushings, but these risers did not help with the axle breaking...
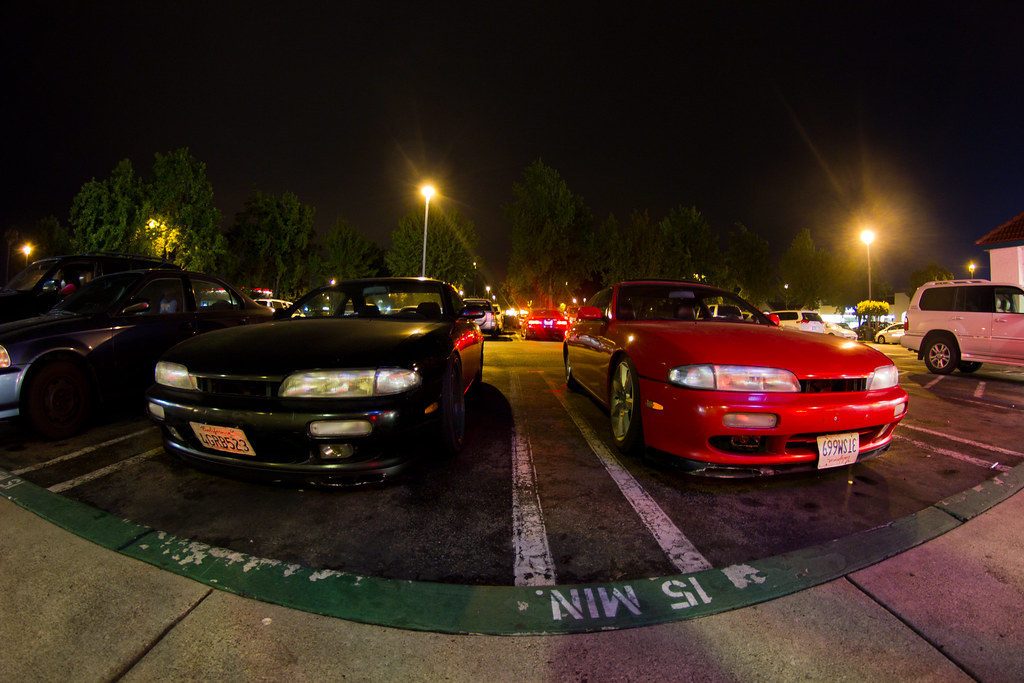
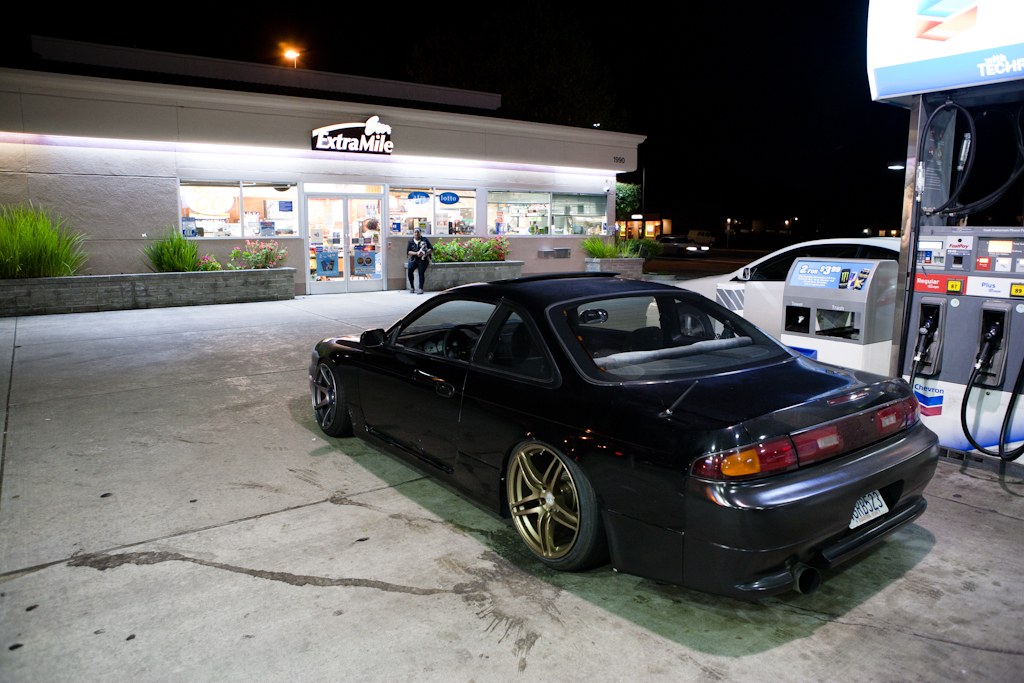
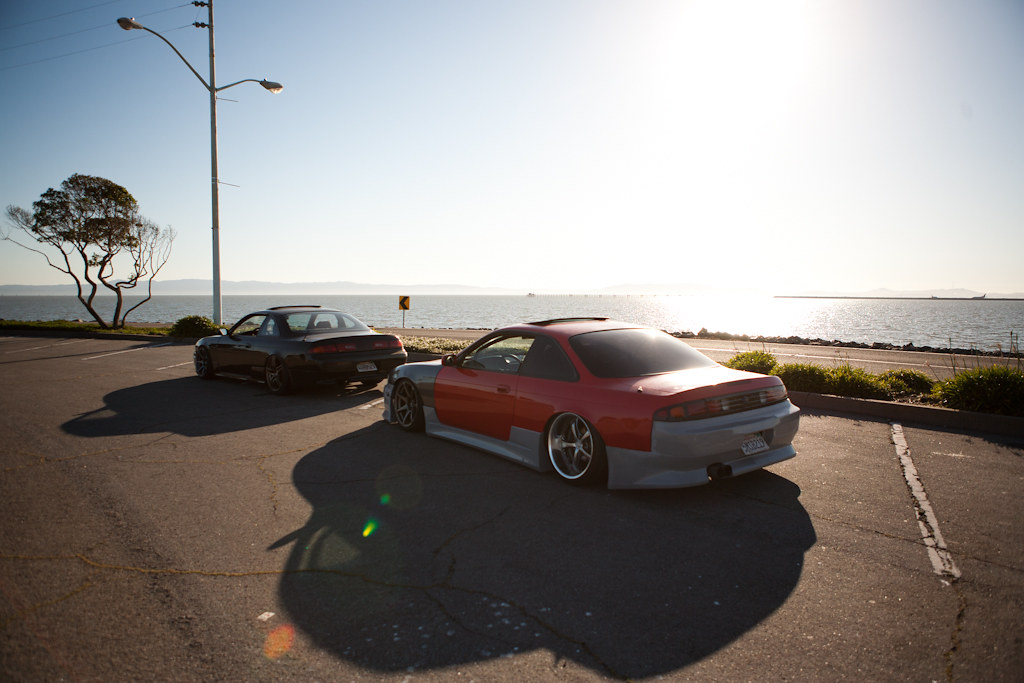
Then I started hanging with more 240 dudes. This guy is now a very good friend of mine. His name is justin garcia,
some of you may know him. His name on ig is justinzenki. He used to have a black bnsports s14 on avs model 5's.
This was a very confusing time in my life...
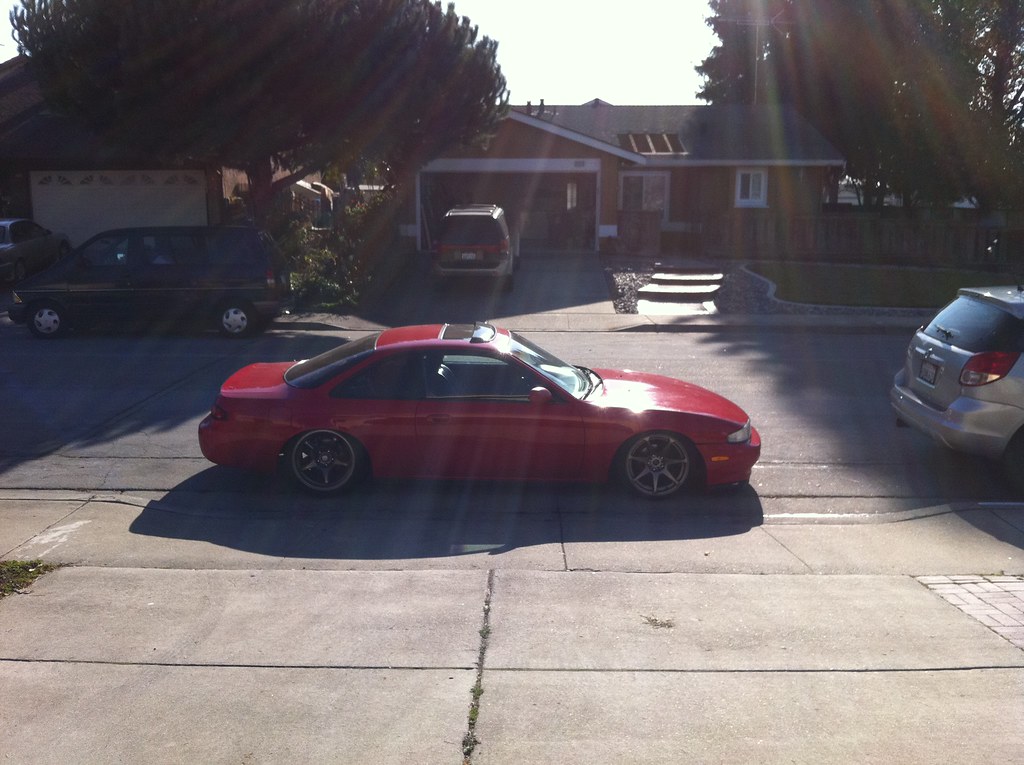
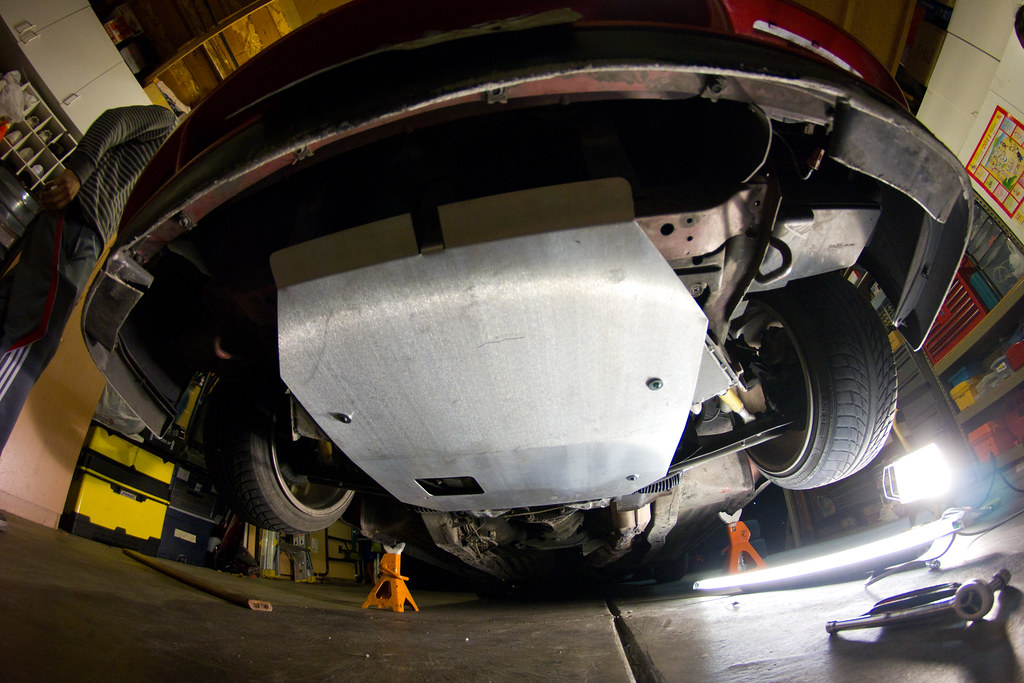
Got a parts shop max skid plate cause I thought I was bad ass and low as hell
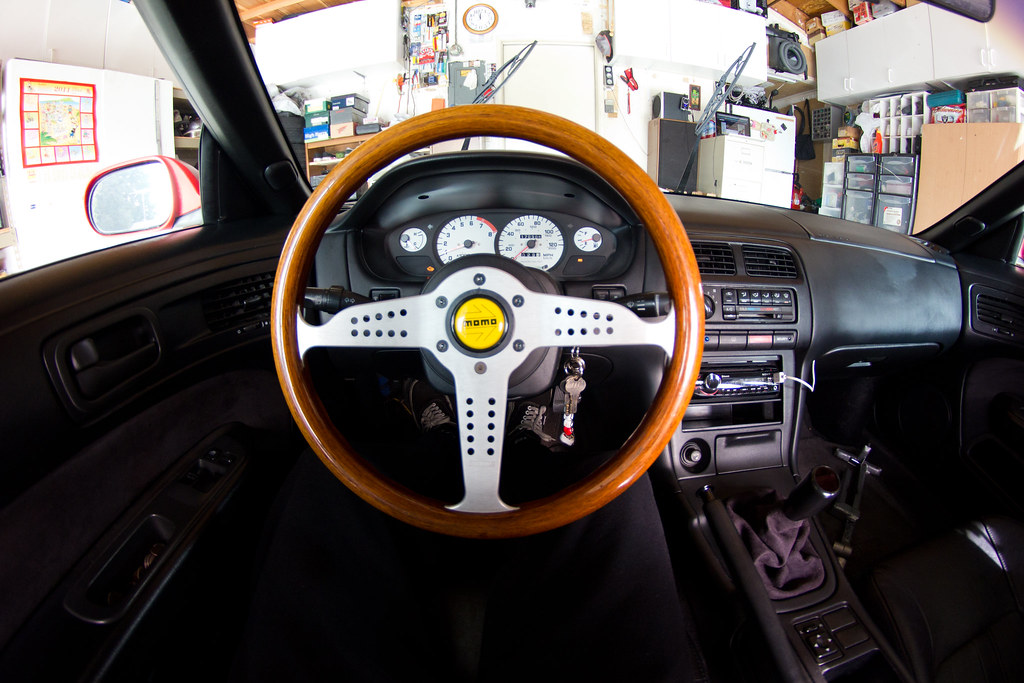
Wood grain grippin...
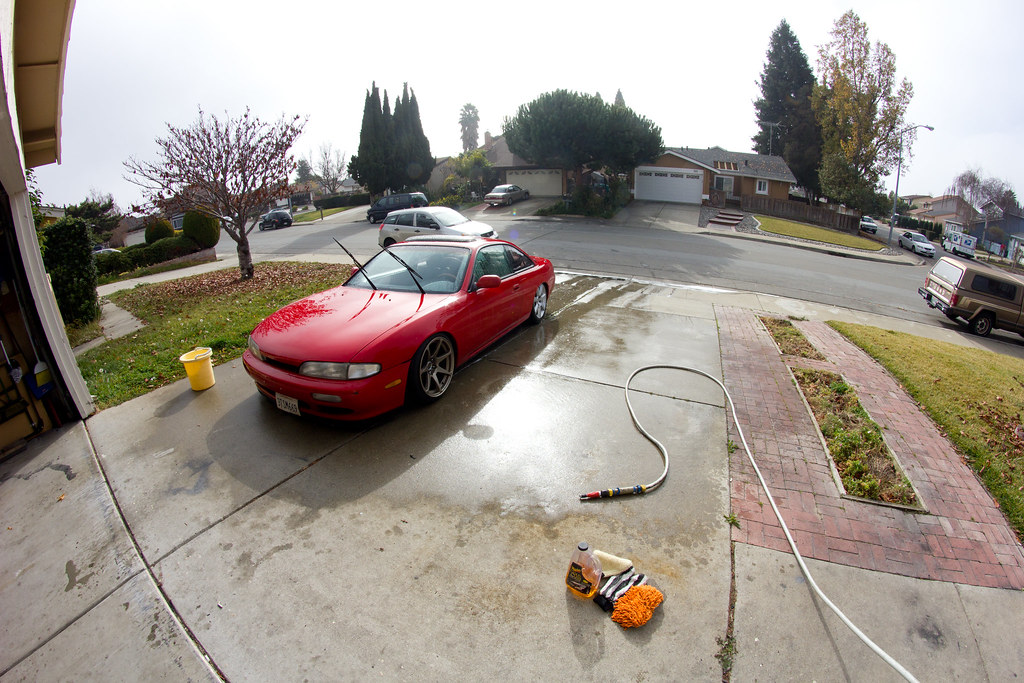
My girlfriend got me some cool gifts for xmas..
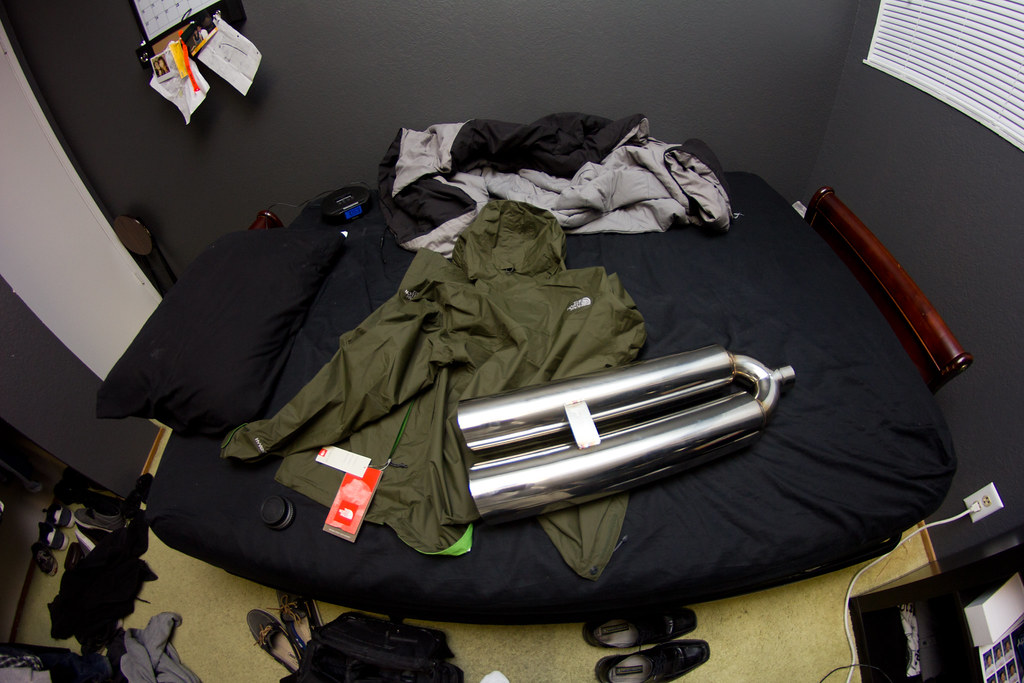
The 240 started really getting beat and gave me a whole slew of problems (that I brought onto myself). Being a sophomore in college (with a girlfriend) I no longer had the time or money to work on the car.
I decided it was time to part ways with it and get more reliable (yet still fun). I listed my s14 on craigslist.
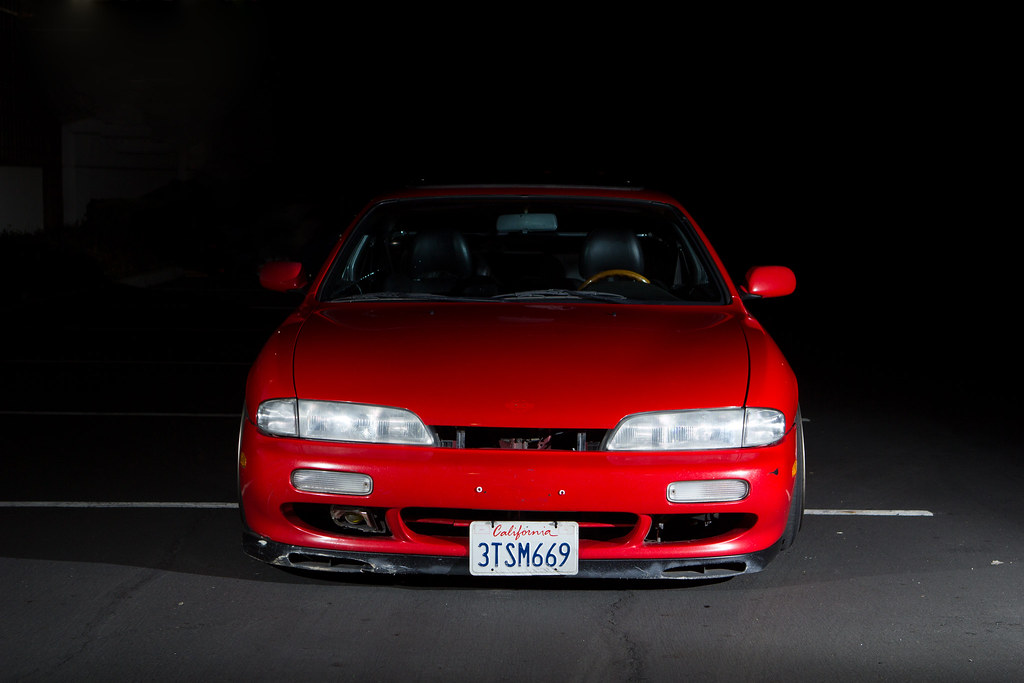
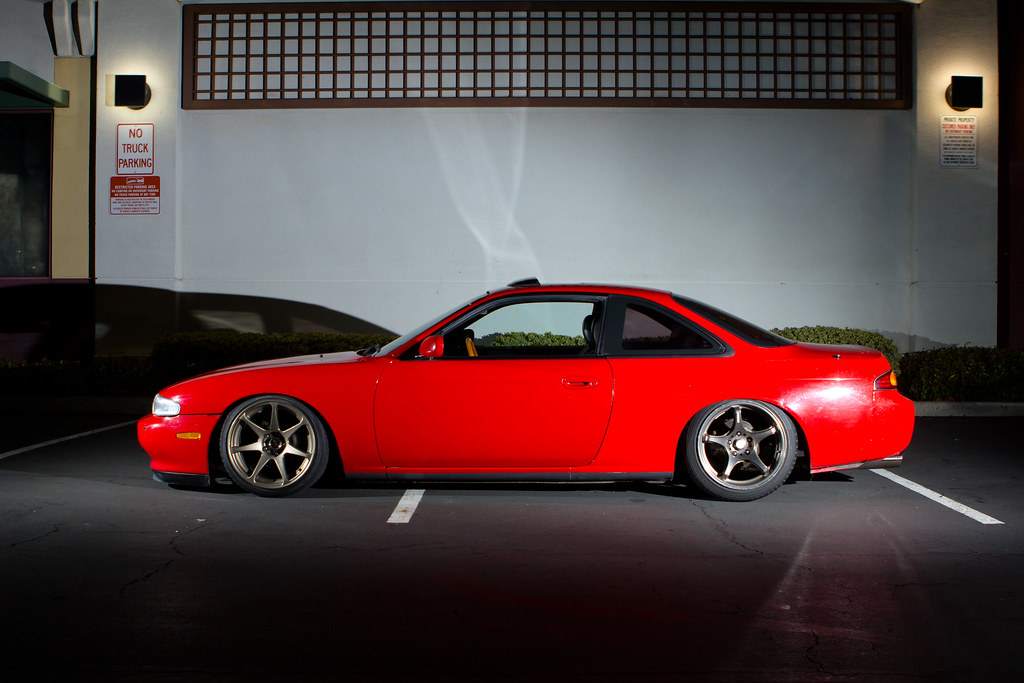
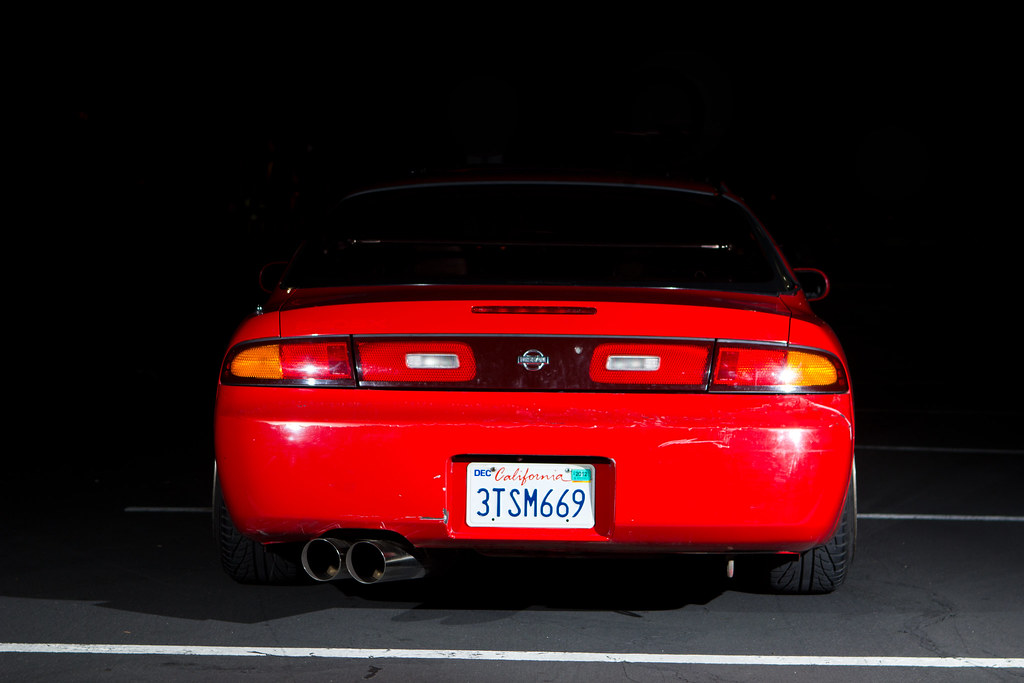
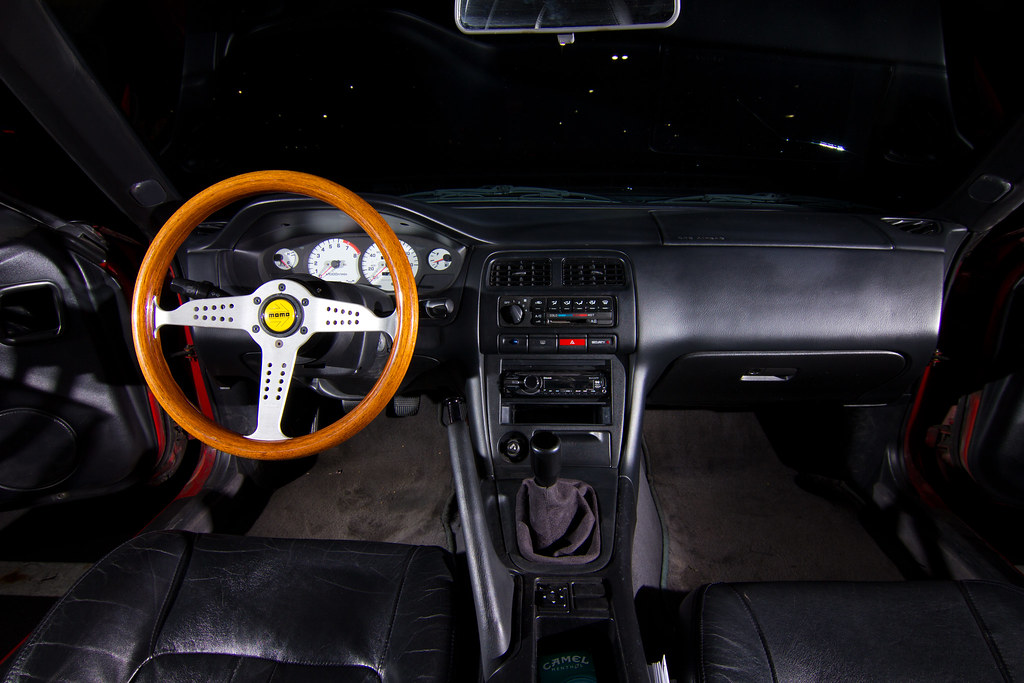
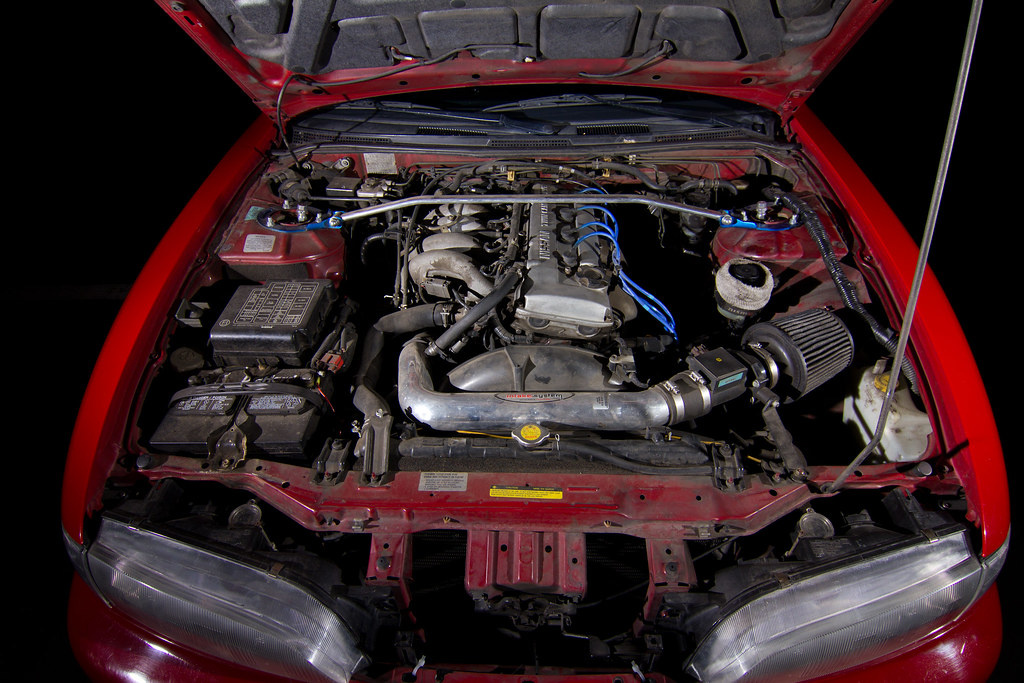
Here was my last time leaning on the hood... look like a familiar pose?
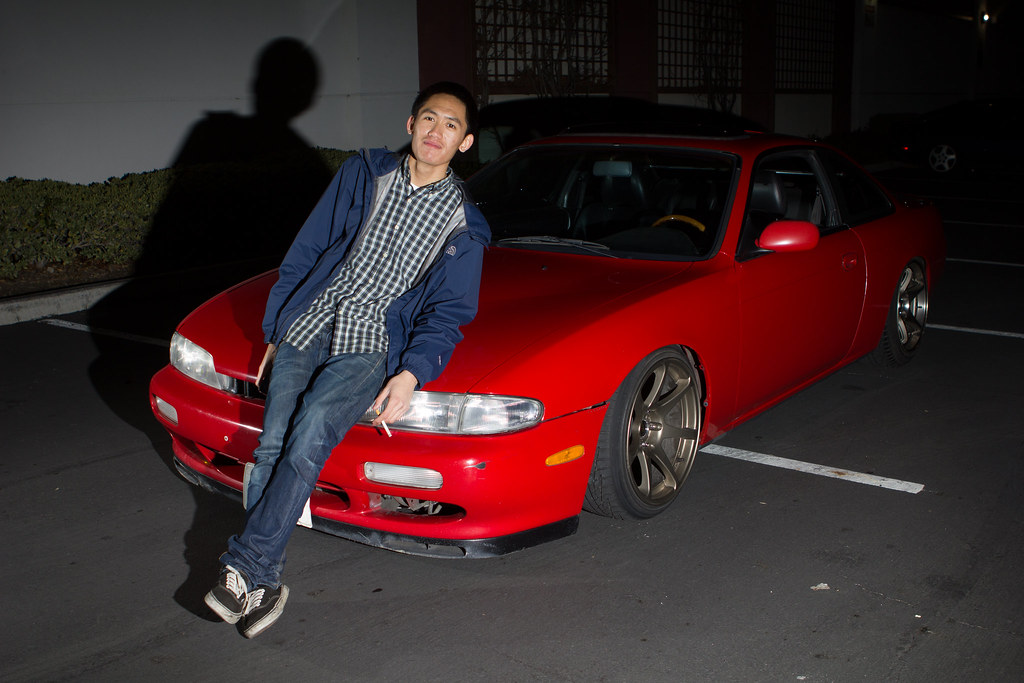
I ended up selling the car to a mutual friend for crackhead cheap because I just wanted it gone. I later regretted it. I found another car on craigslist
which was way out of my budget, but thankfully my parents lent me some money. I was able to afford this car by using some money I had saved,
combined with my parents money and the money I made selling my s14.
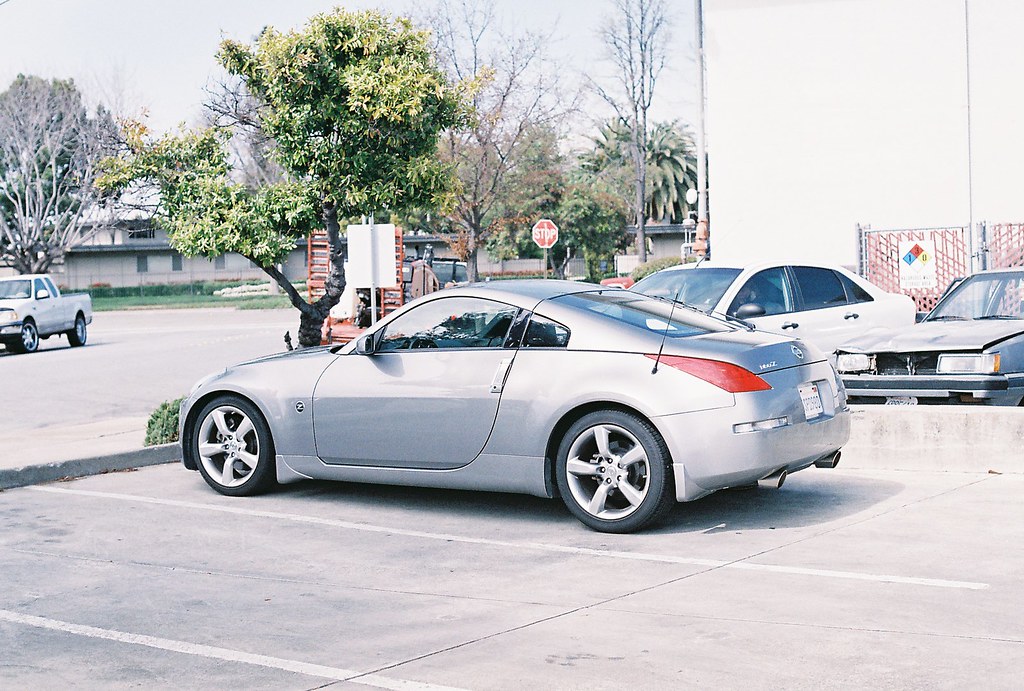
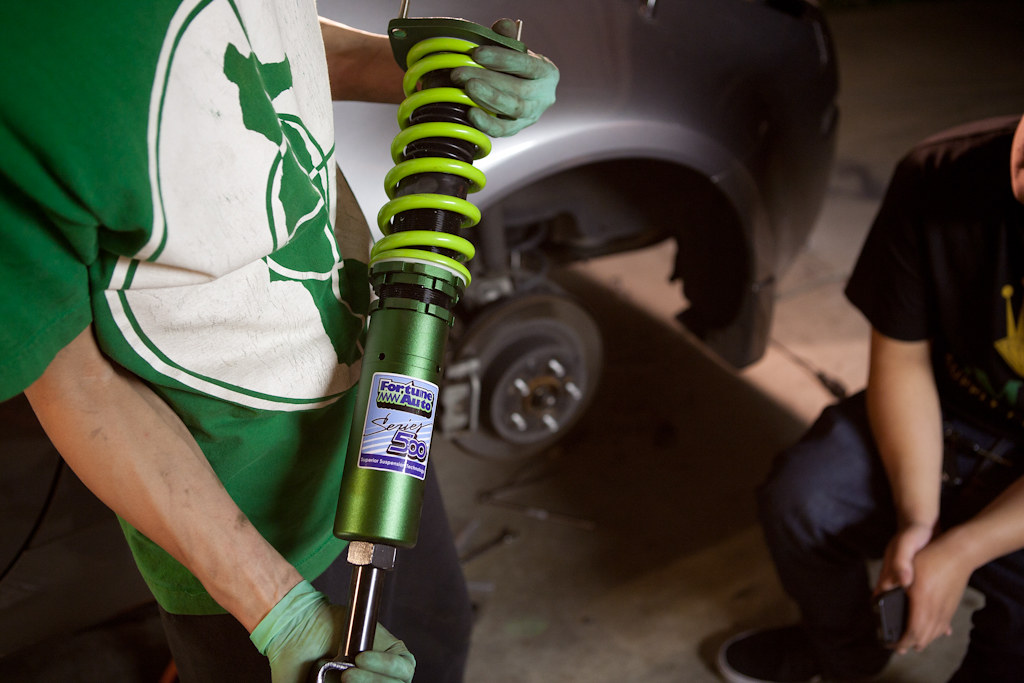
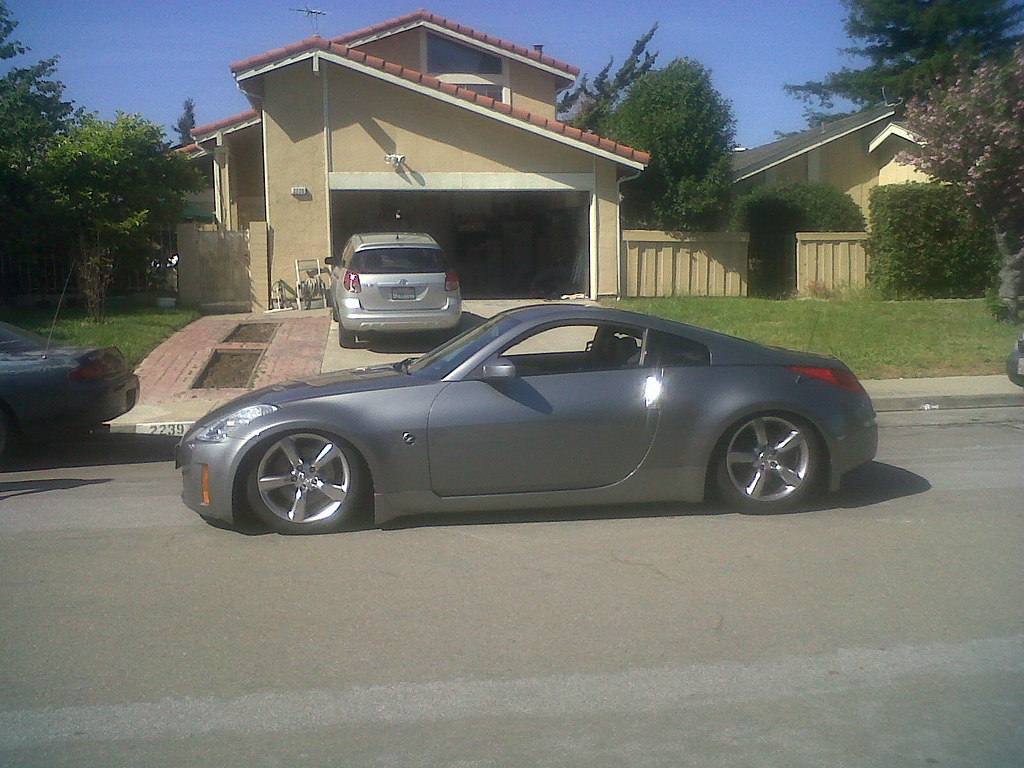
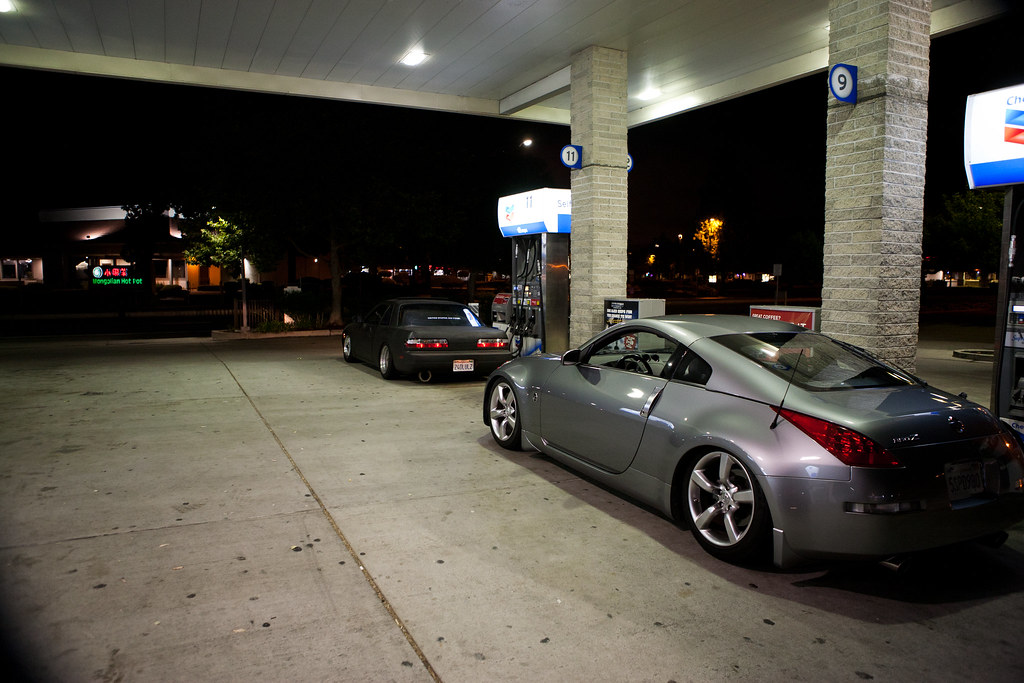
I was not happy with how ugly the car looked at stock height so I got to work...
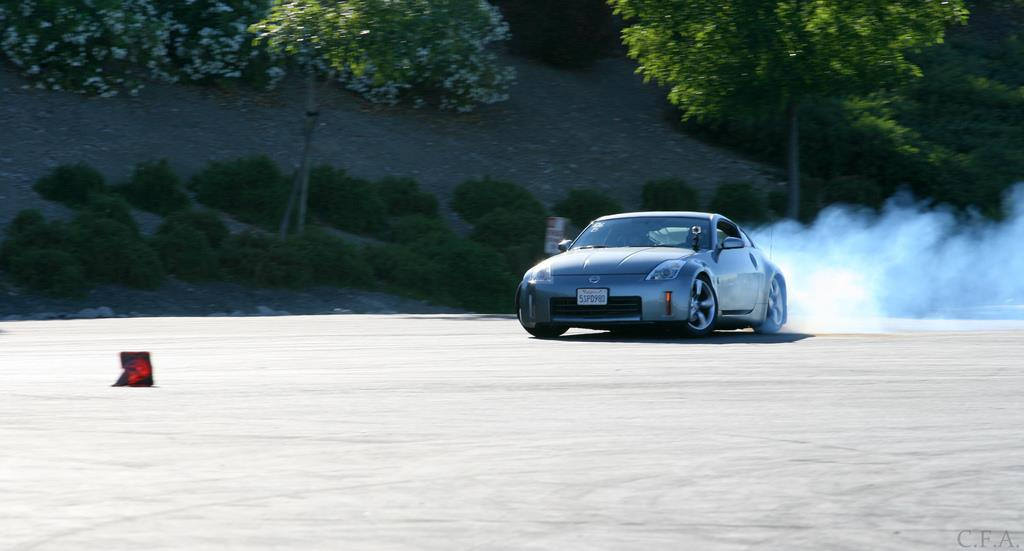
Then a few weeks later after getting it I wanted to answer a few questions I had for this car... one of them being "does it drift"?
Putting in some more work... threw on some SPL goodies...
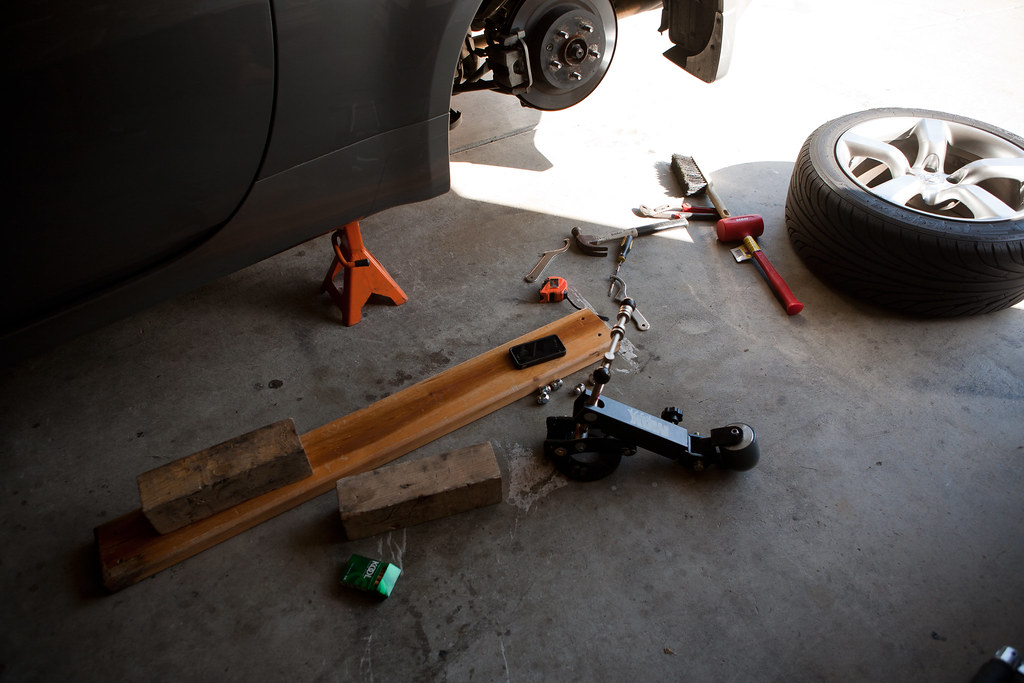
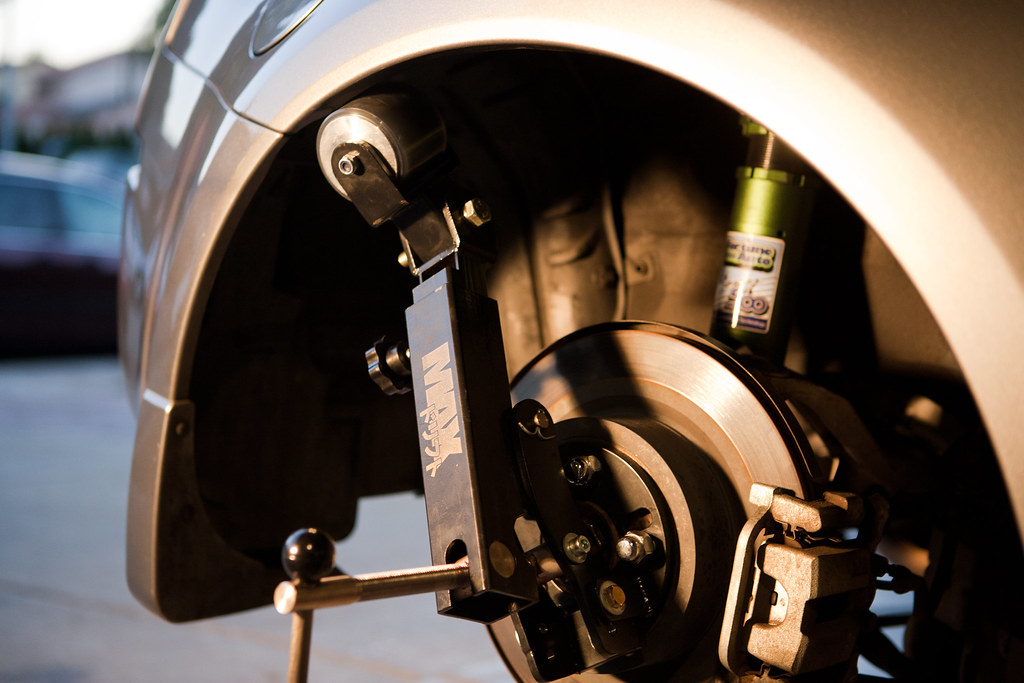
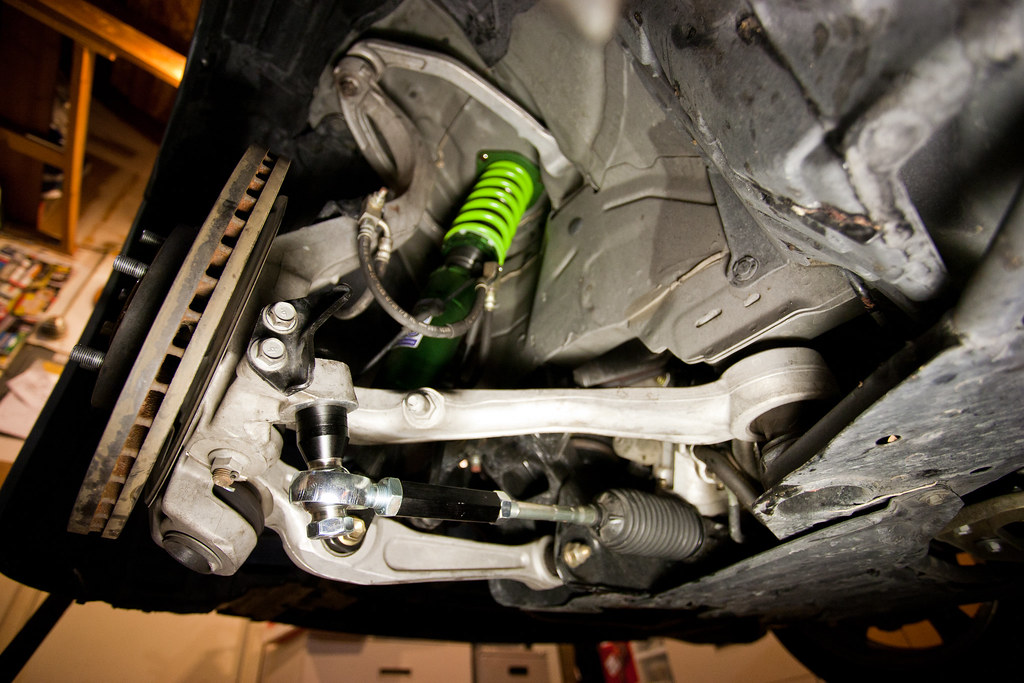
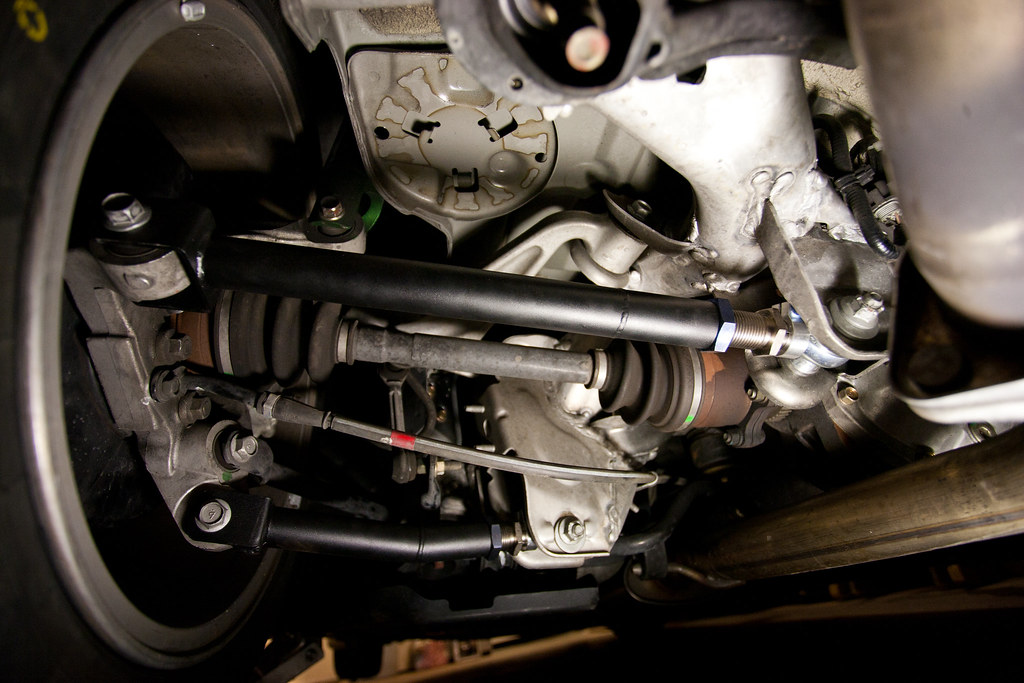
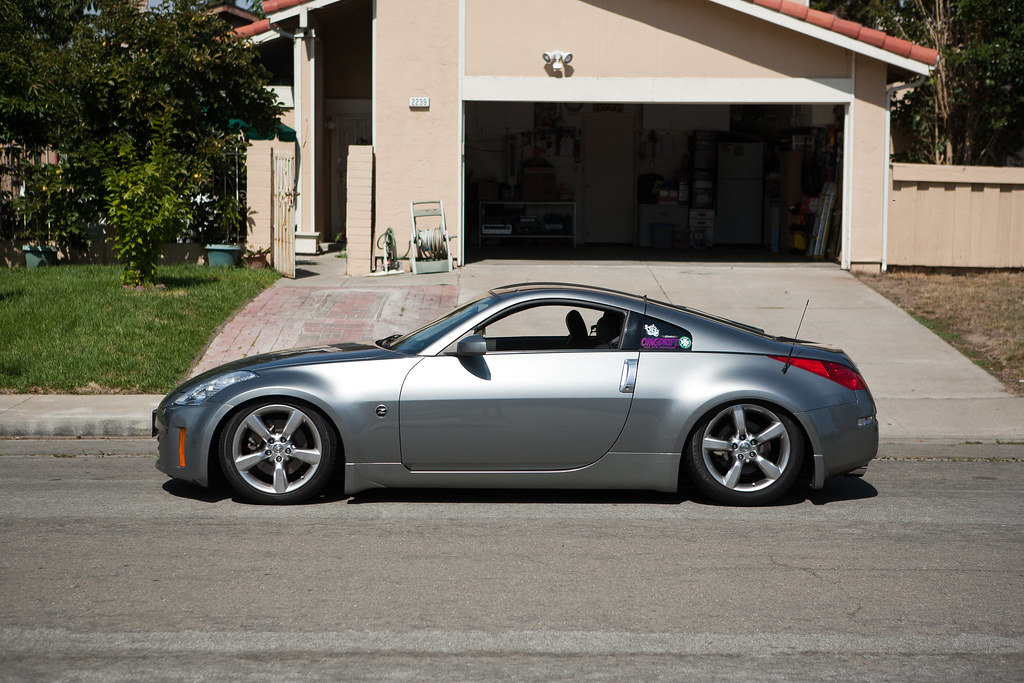
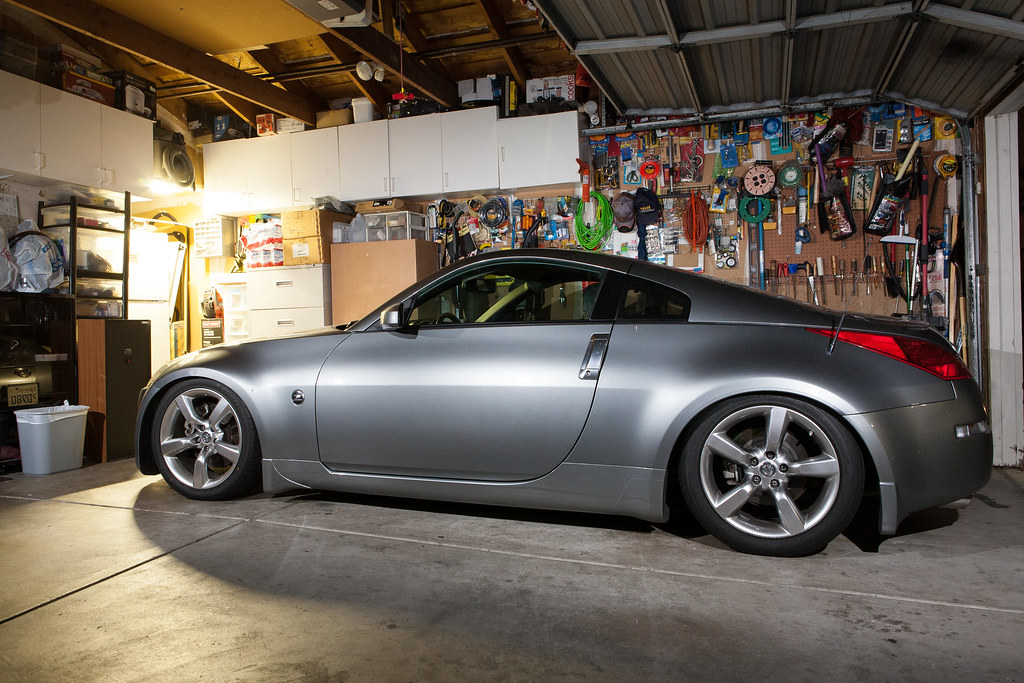
Got some wheels... drove all the way to LA to pick them up. Did a 1 day trip with a buddy which ended up being an awesome time.
When I got home and started test fitting the wheels I found out the previous owner got the measurements wrong. The ended up being
WAY more aggressive than I expected..

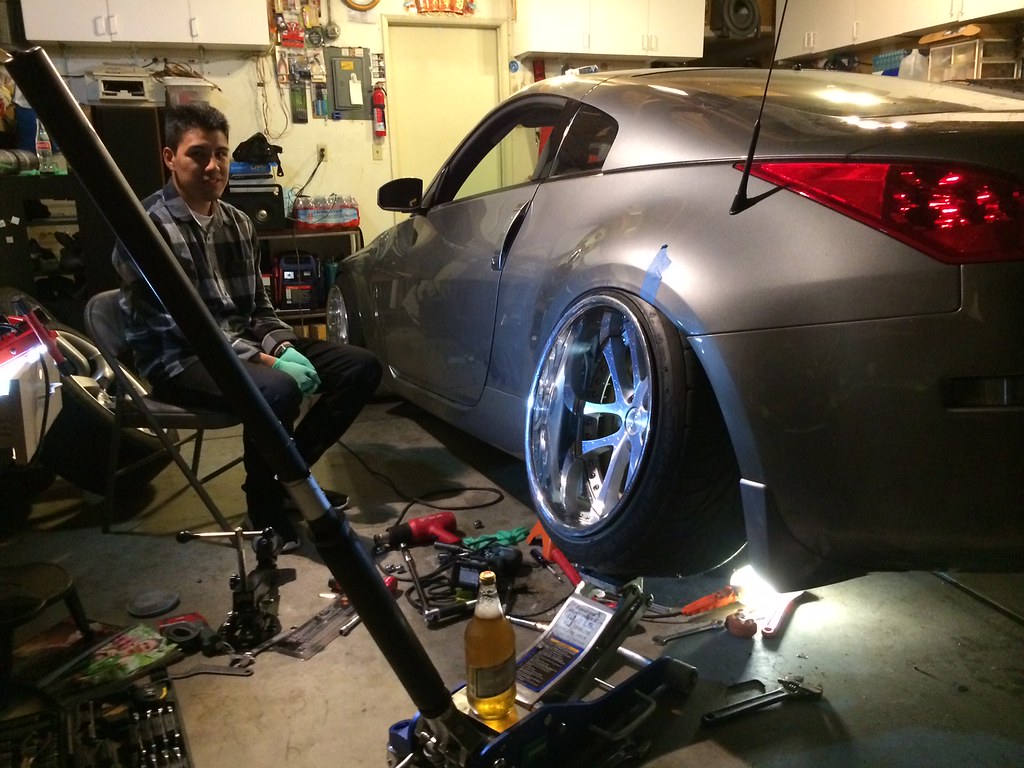
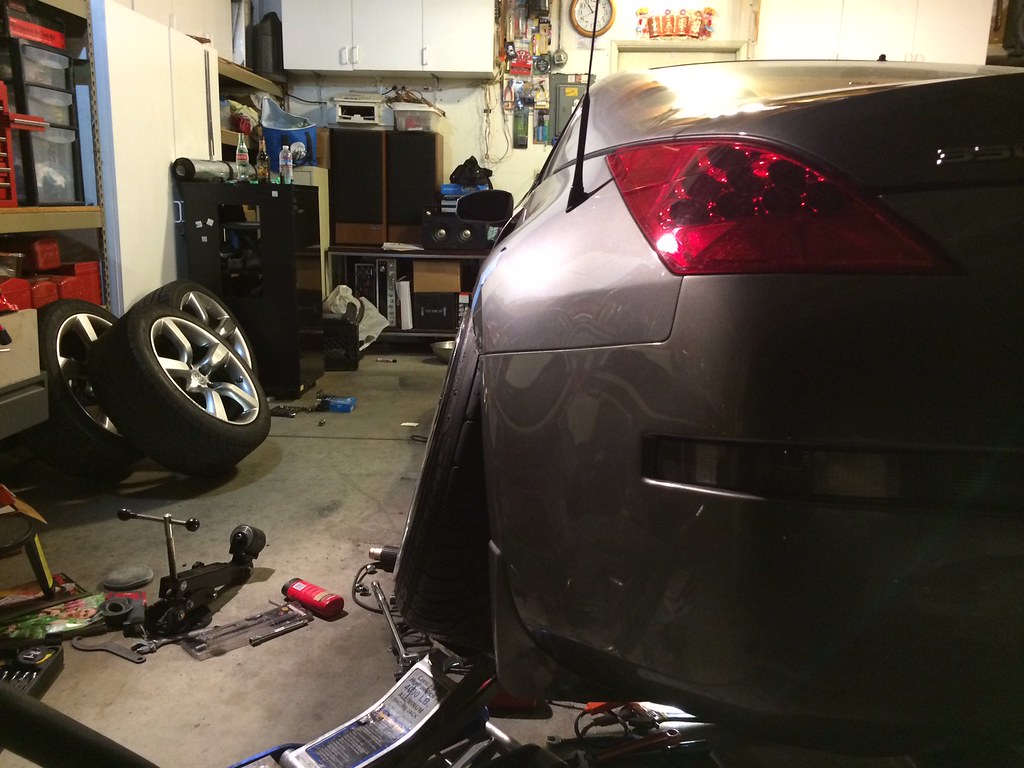
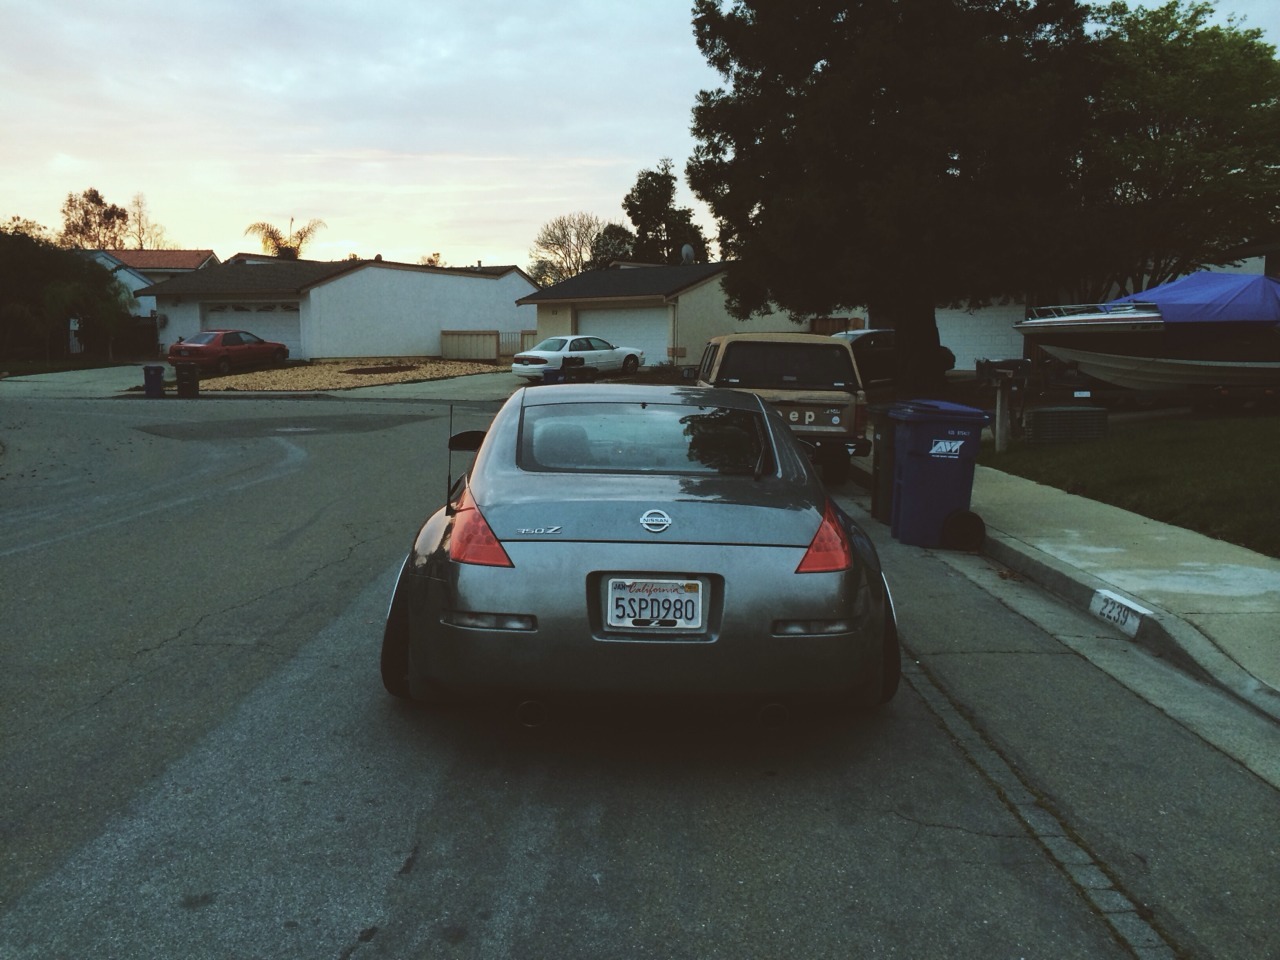
Ended up scrapping those wheels and decided that I wanted step up to 19s... Picked up some 19 inch kranzes from the east coast.
Also got some new suspension goodies...
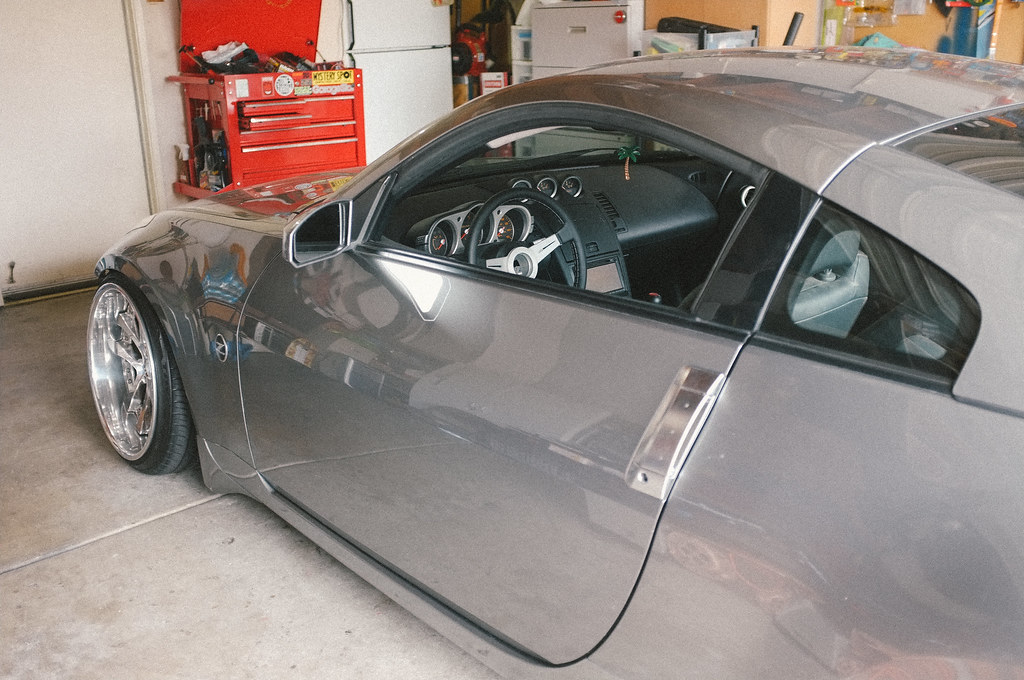

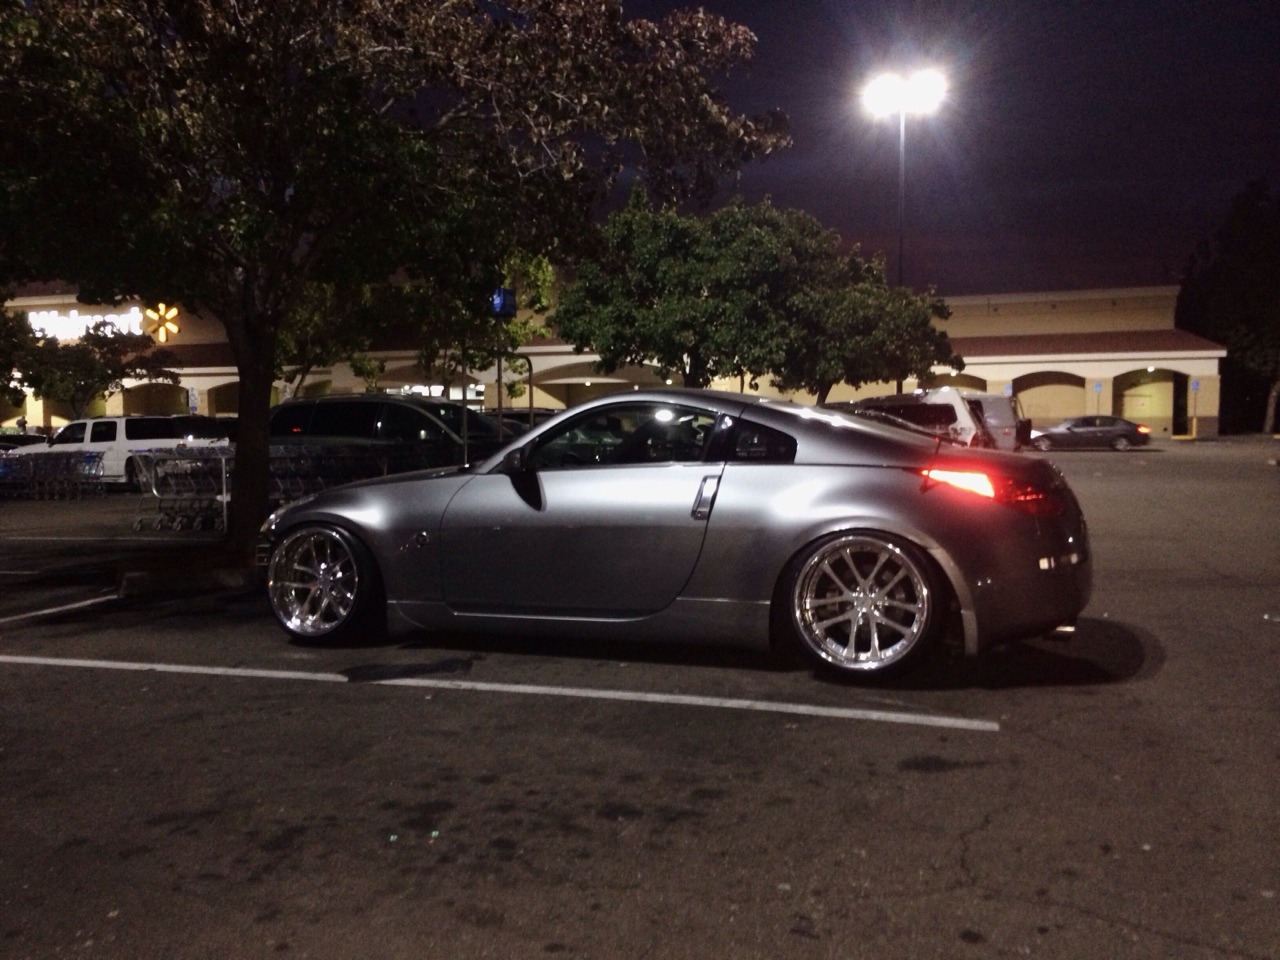
Still working on getting the car completely dialed...
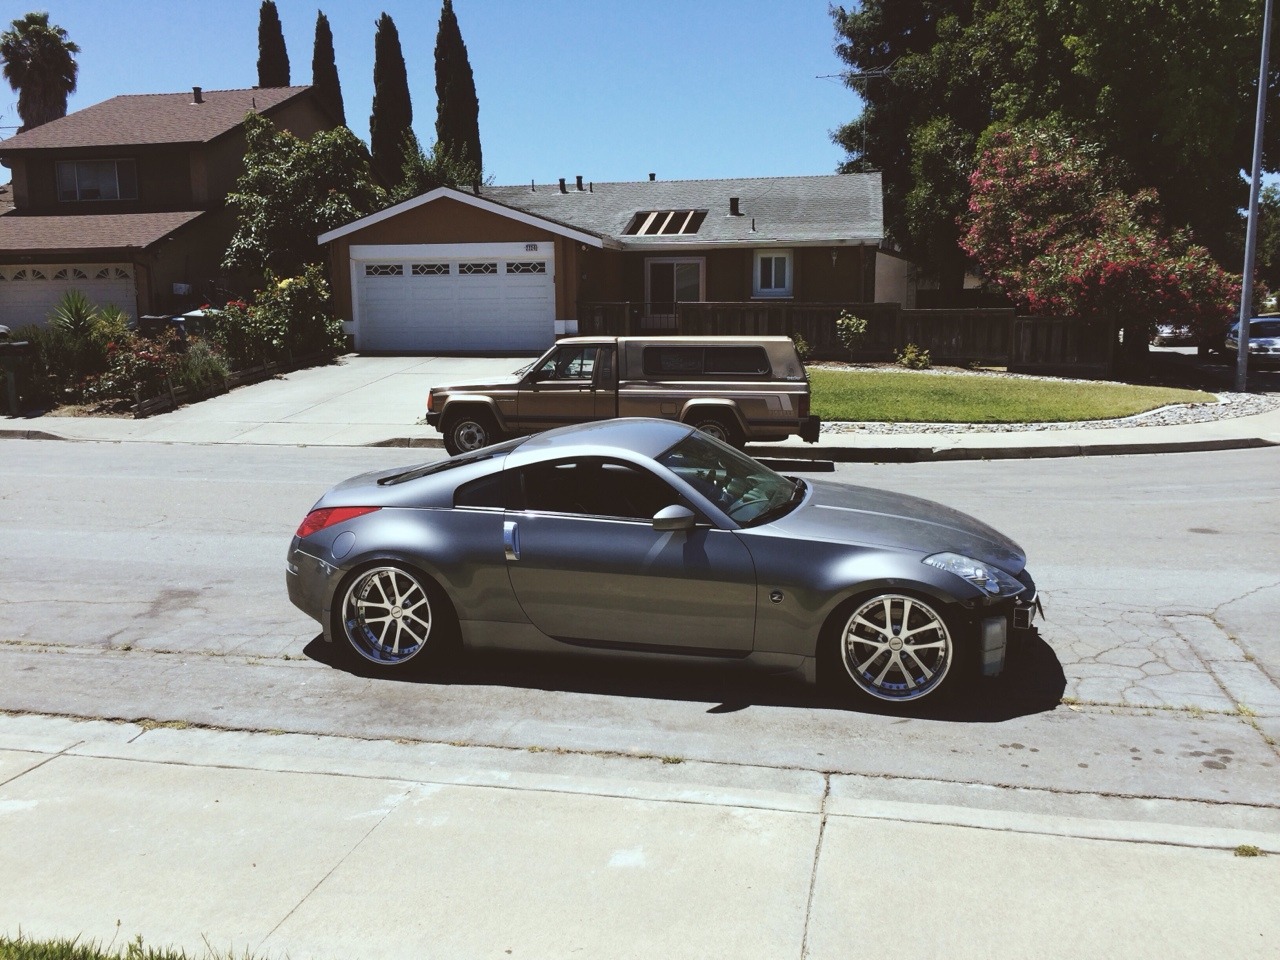
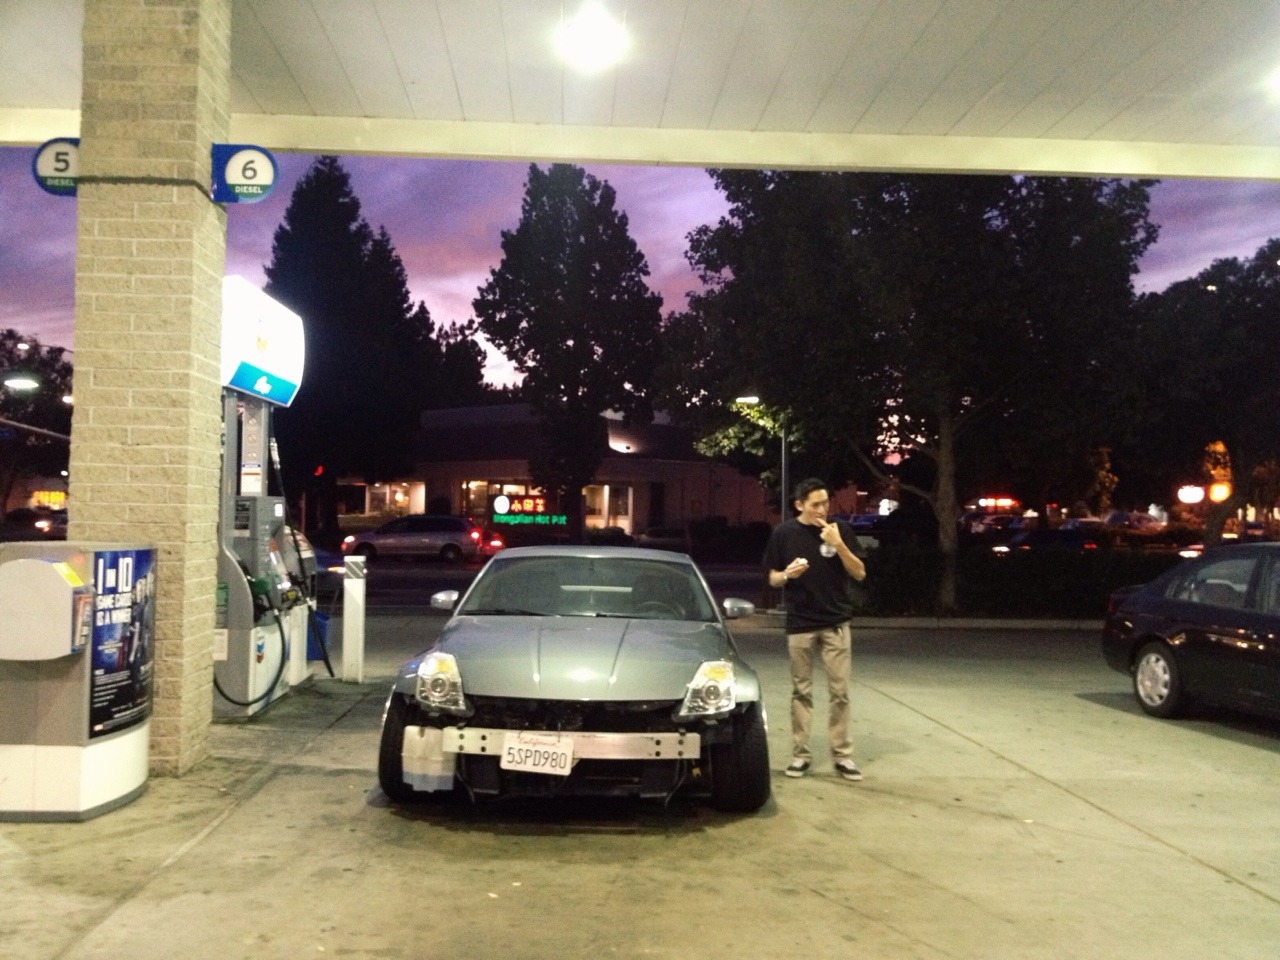
Got the car dialed finally...
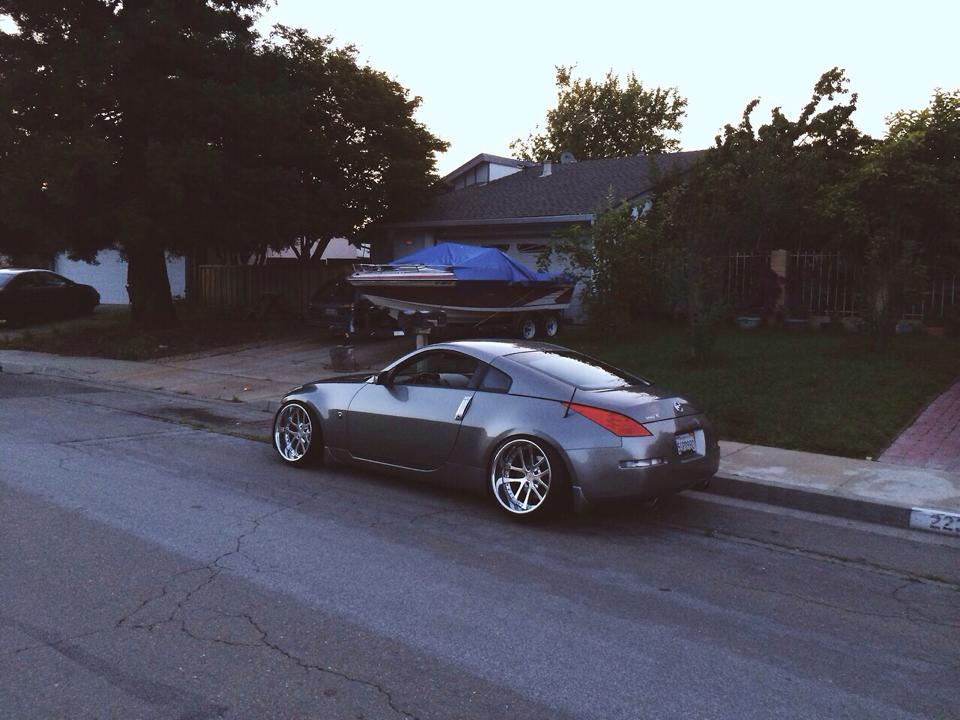
Then I graduated college...

Decided that I didn't really like my 350z any more. I had one car I truely wanted to modify and build to the next level. That when this happened...
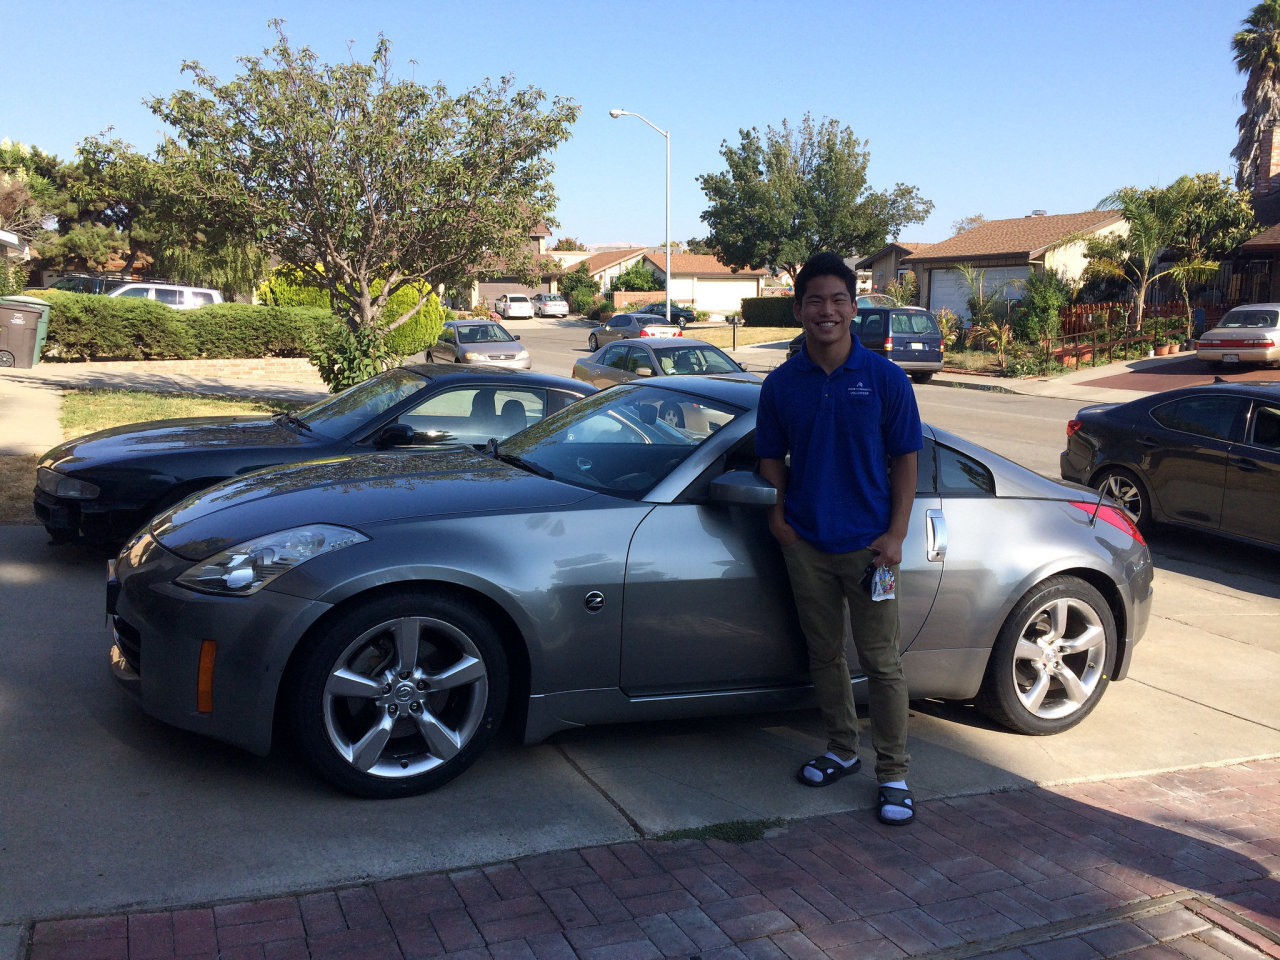
I completely parted my 350z and sold it to this kid to enjoy. I think it was his highschool graduation present.
This is where one door closes and many more open. That's because I ended up driving this car through the door...
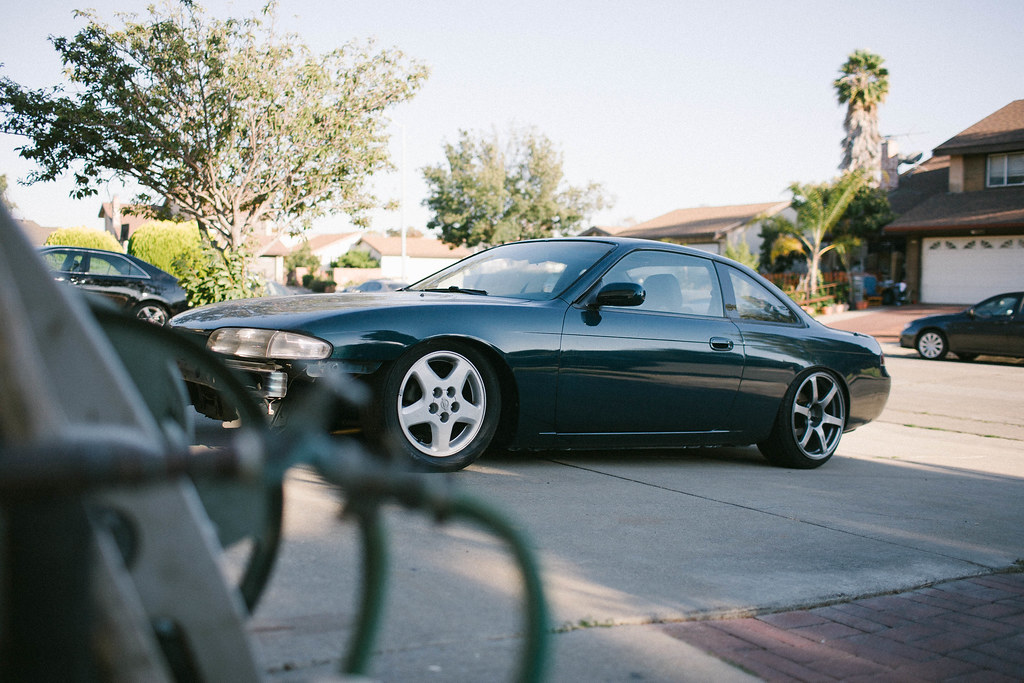
THIS IS WHERE MY S14 BUILD BEGINS! LOL! If you took time to read my super long intro I thank you. I felt like I wanted to introduce
myself and give some history of myself before this s14.
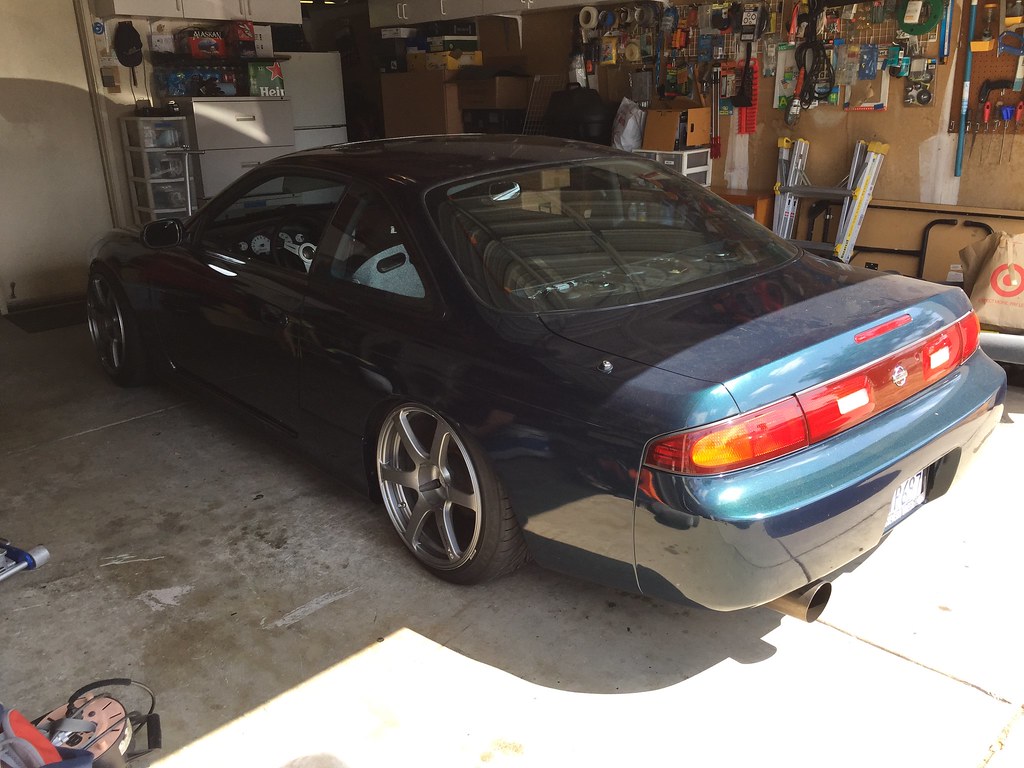
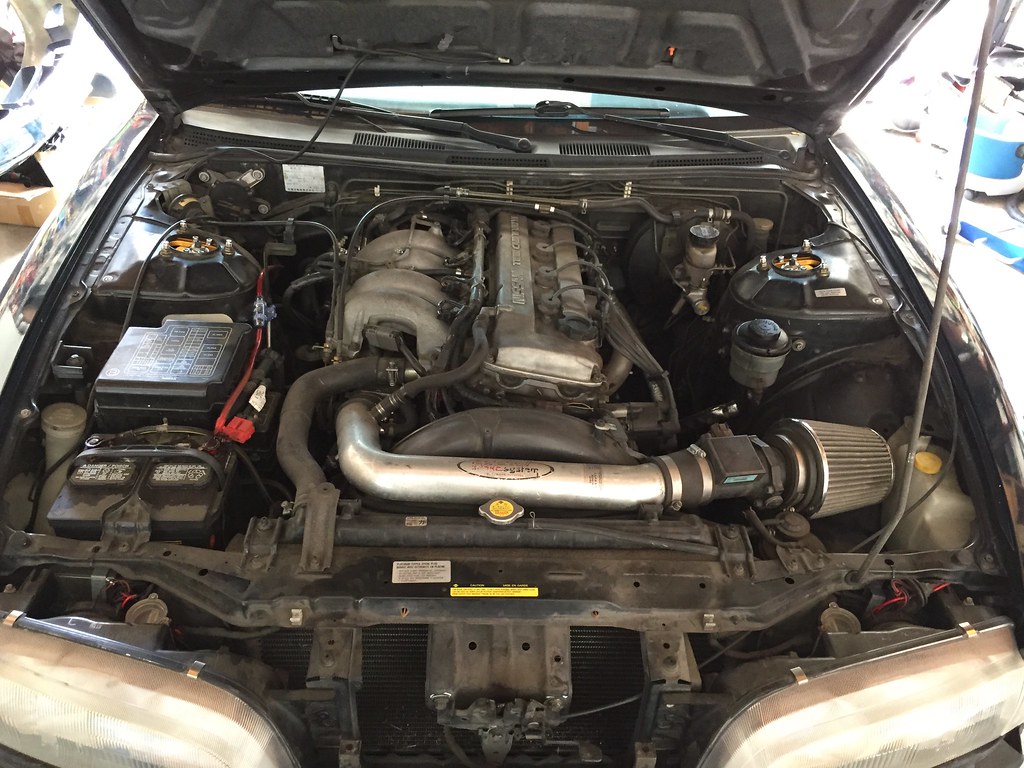
So I ended up picking up another s14. This time it was emrald green, clean title, with 156,000 miles. I did not hesistate to hit the
ground running with this car.
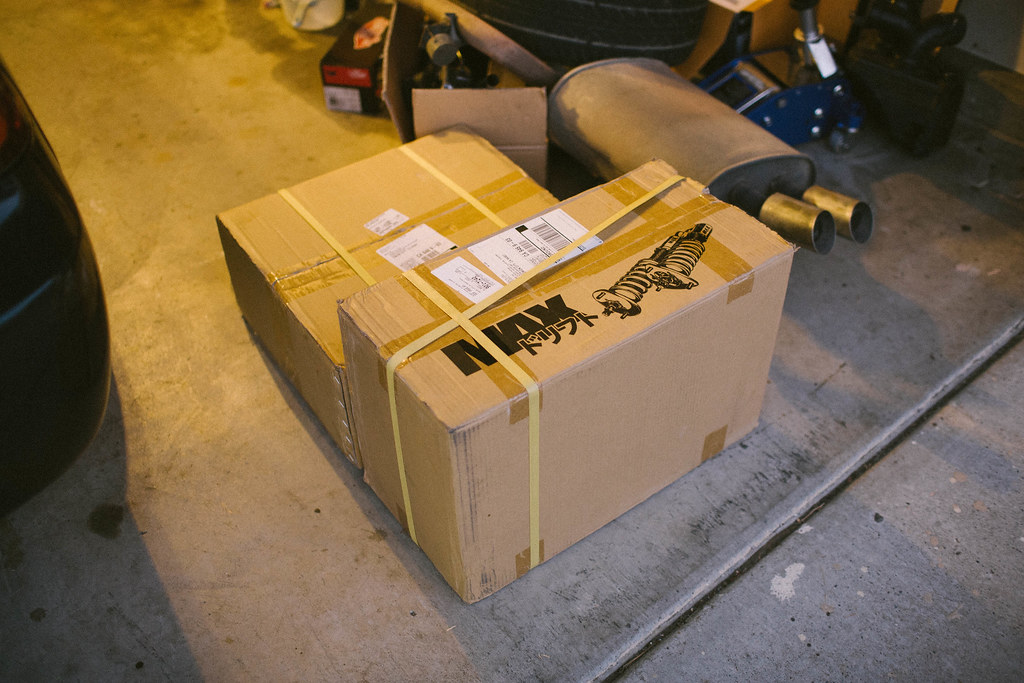
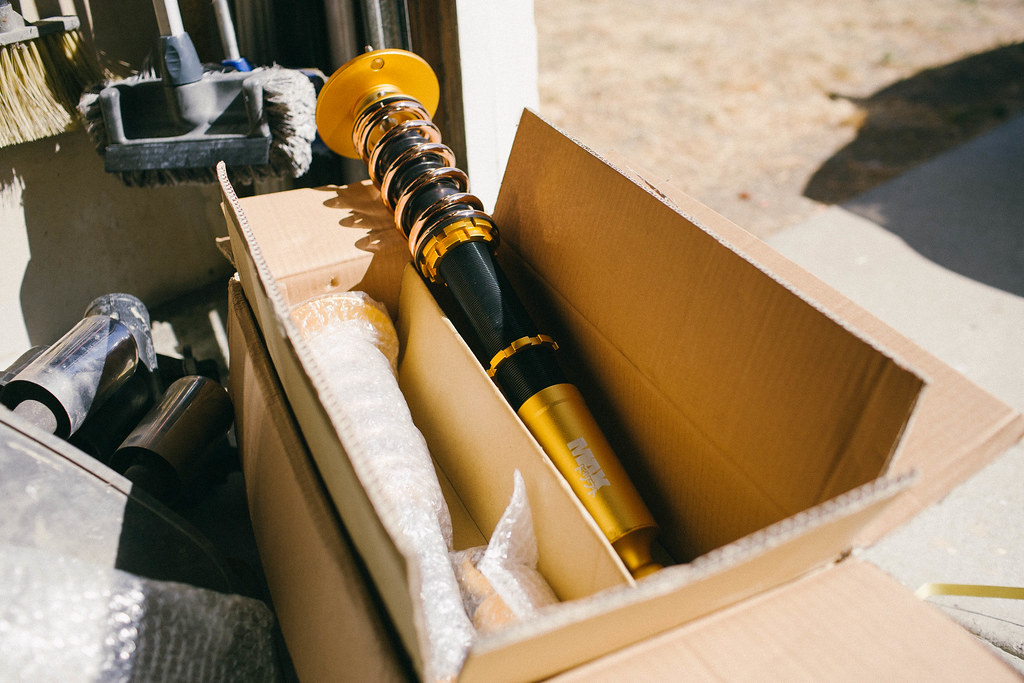
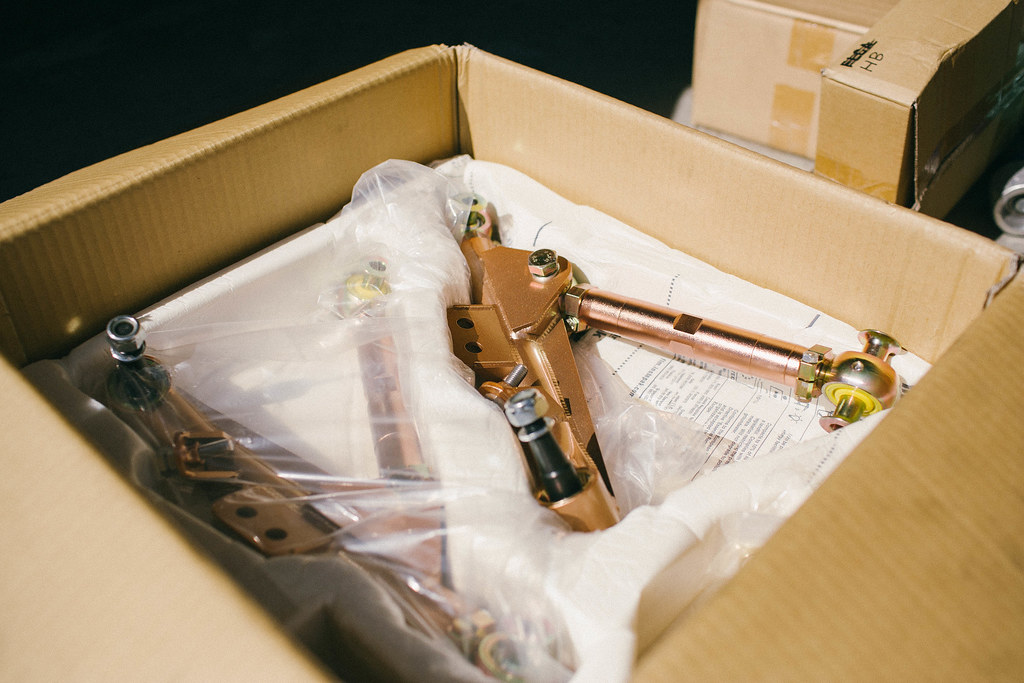
Picked up some parts shop max goodies... coilovers and FLCA with front tension rod combo...
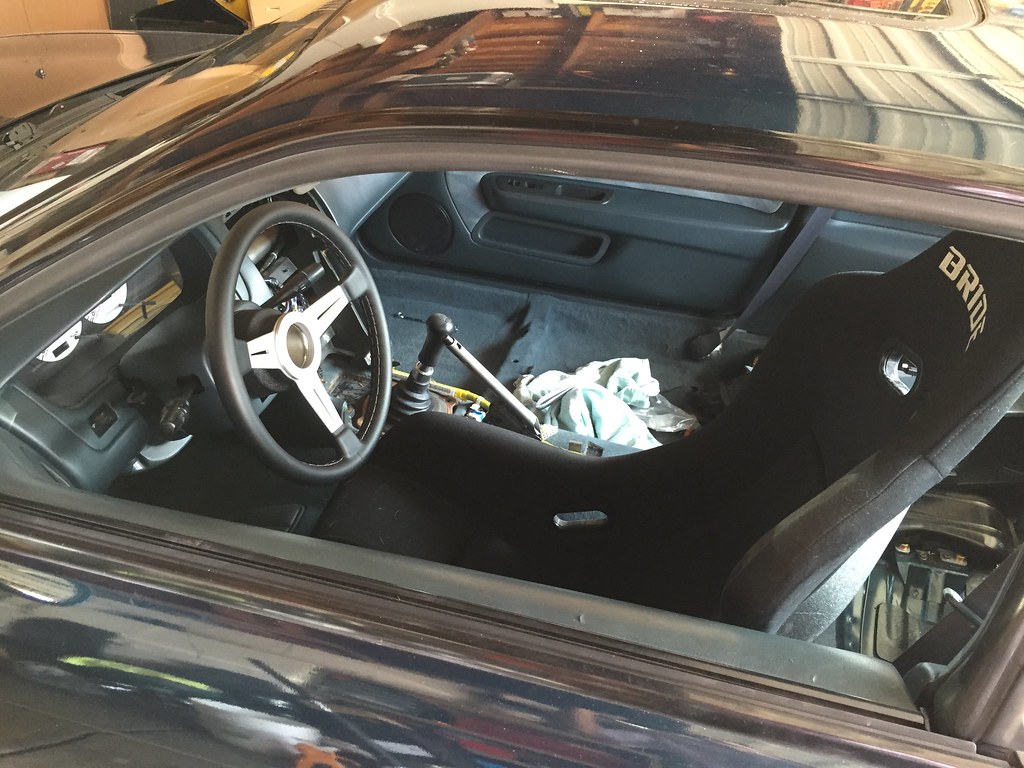
THen picked up a bride seat, advan model t6 18x9.5 +22 18x10 +25...
My name is albert. I want to build a fun street car. That is it.
Before I start my wavy zenki build, I thought I would take a stroll through memory lane...
I got my first car in 2008, at the age of 17. It was a 1989 s13 hatch. It had 123,000 miles when I bought it. I was the second owner.
I picked it up for $2200. It got hit by someone who hit and ran. I was really bummed out. The damage was very minor looking back,
but at the time I thought it was game over.


I also got my first ticket in this car... (for stopping over the line while making a right hand turn on a red light)

I ended up selling it because I wanted to buy a toyota MR2 since all my friends had them..
(when you're young, you want to do everything your friends do. If they jumped off a bridge, I probably would have too...lol)

It was an awesome car. The 4age was such a fun little motor in the canyons.
I fell in love with touge and gripping through a local backroad we had. I drove it everywhere, it was reliable and great on gas.
Even though I couldn't get any b*tches in it I still loved it. I even had a friend's mom call it the Mentally Retarded 2 (MR2).
Unfortunately, I ended up crashing it on the backroads I loved driving so much.


I ended up fixing the damage, painted it flat black and enjoyed it for a little bit longer before I decided to list it up for sale.


I ended up getting rid of the MR2 for $1800 to some random dude off of craigslist.
Some old MR2 inspiration... (not a photo of my car)

What now? Wasn't sure what I wanted anymore. My friends that had MR2's were no longer really into cars.
Not many of my friends at the time were into cars so I didn't really know much. I really liked my hatch and thought about getting another 240.
While browsing craigslist I ended up finding the car of my dreams. I ended up picking up a 1991 s13 coupe. It had a brand new pearl white paintjob,
origin rear tail lights, full oem silvia front (polyurethane bumper/metal fenders/brick headlights), megan coilovers,
fully restored interior, personal steering wheel, etc...

It was honestly the cleanest s13 my eyes have ever laids eyes on. I literally spent every penny I had saved to purchase it.
I still remember all of the butterflies I felt driving it home. Was one of the best feelings of my life (like losing your virginity, but with like, cars).
I had alot of fun driving it, the suspension was dialed perfect. Unfortunately, I couldn't stay off the backroads and ended up crashing it into a ditch...
luckily it wasn't too bad and I was able to keep driving hard.


Started getting bored of the car and entertained getting rid of it to get something else.


I was really bothered by the fact that I got many compliments on how nice the coupe was but I could not take credit since I didn't build the car.
I purchased it exactly how you see it in the photos. I wasn't able modify the car since I was a broke college kid who spent his whole savings on the car.


The car was super reliable and fun to drive. I had no complaints really... I just wish I had built the car myself. I wanted something to be proud of.
I decided to list my s13 coupe on craigslist and see if I could get rid of it and start fresh with something stock. I was ready to build a car on my own.
Then out of the blue I received an email from a guy who was local and had an s14 that he was interested in trading for my s13. I did not know how to feel.
I never even looked at s14s or even thougth about owning one. They just seemed so far out of my league... here are the photos he sent me...


It looked clean and from the details provided it was all stock and unmoleted. Exactly what I wanted... so we met up and checked each others cars out.


Dude was really cool. I drove his car and he didn't get to drive my car because my starter ended up taking a crap just as he hopped in the car.
Luckily my dad came to the rescue with an umbrella and we stabbed the starter to death until it started. He ended up really liking the coupe and
I ended up really liking the s14. So we worked out the details and were set to trade after I removed some of the parts off the coupe.
I felt like my s13 was worth alot more since he was only giving me the s14 without the work meisters. He is a photo of my last time leaning on my s13...
(pretending to be sad about it leaving...)

My buddy Angel ended up picking up a coupe and wanted some of the parts so we ended up swapping all of my aftermarket parts with his stock oem parts.


Check yo boy out in his new s14 haha. I ended up driving the s14 to SoCal for EDC LA 2010.


And here is some 2010 throwback inspiration... daniel ressa's car before i knew who he was...


Still a broke college kid... but I finally got some coilovers...

I am good at crashing cars on the touge. This time it wasn't my error... deer ran out in front of me causing me to lock and slide into a mountain.

I ended up picking up a job at my local Fry's Electronics and money started falling out of the sky!! (not really, barely making more than $8 minimum wage).
Finally picked up some parts for the s14...


Progress was slow... I learned how to drift so I started having to spend money on maintenance and tires. I also met my girlfriend which didn't help my bank account...

Got me some battles...

Got me some 5zigens...

I bought a welded diff from a friend who didnt tell me it was a backyard special welded diff.. That broke and then got a new one plate welded...


I kept breaking axles so people told me to get subframe risers so I was like OKIE because I was young, dumb, and didn't know any better.
Sure my car felt a little tighter since I got rid of my shot subframe bushings, but these risers did not help with the axle breaking...


Then I started hanging with more 240 dudes. This guy is now a very good friend of mine. His name is justin garcia,
some of you may know him. His name on ig is justinzenki. He used to have a black bnsports s14 on avs model 5's.


This was a very confusing time in my life...

Got a parts shop max skid plate cause I thought I was bad ass and low as hell

Wood grain grippin...


My girlfriend got me some cool gifts for xmas..

The 240 started really getting beat and gave me a whole slew of problems (that I brought onto myself). Being a sophomore in college (with a girlfriend) I no longer had the time or money to work on the car.
I decided it was time to part ways with it and get more reliable (yet still fun). I listed my s14 on craigslist.


Here was my last time leaning on the hood... look like a familiar pose?

I ended up selling the car to a mutual friend for crackhead cheap because I just wanted it gone. I later regretted it. I found another car on craigslist
which was way out of my budget, but thankfully my parents lent me some money. I was able to afford this car by using some money I had saved,
combined with my parents money and the money I made selling my s14.

I was not happy with how ugly the car looked at stock height so I got to work...


Then a few weeks later after getting it I wanted to answer a few questions I had for this car... one of them being "does it drift"?

Putting in some more work... threw on some SPL goodies...


Got some wheels... drove all the way to LA to pick them up. Did a 1 day trip with a buddy which ended up being an awesome time.
When I got home and started test fitting the wheels I found out the previous owner got the measurements wrong. The ended up being
WAY more aggressive than I expected..


Ended up scrapping those wheels and decided that I wanted step up to 19s... Picked up some 19 inch kranzes from the east coast.
Also got some new suspension goodies...


Still working on getting the car completely dialed...


Got the car dialed finally...

Then I graduated college...

Decided that I didn't really like my 350z any more. I had one car I truely wanted to modify and build to the next level. That when this happened...

I completely parted my 350z and sold it to this kid to enjoy. I think it was his highschool graduation present.
This is where one door closes and many more open. That's because I ended up driving this car through the door...

THIS IS WHERE MY S14 BUILD BEGINS! LOL! If you took time to read my super long intro I thank you. I felt like I wanted to introduce
myself and give some history of myself before this s14.
So I ended up picking up another s14. This time it was emrald green, clean title, with 156,000 miles. I did not hesistate to hit the
ground running with this car.

Picked up some parts shop max goodies... coilovers and FLCA with front tension rod combo...


THen picked up a bride seat, advan model t6 18x9.5 +22 18x10 +25...


 Re: wavyzenki s14 build, the street machine
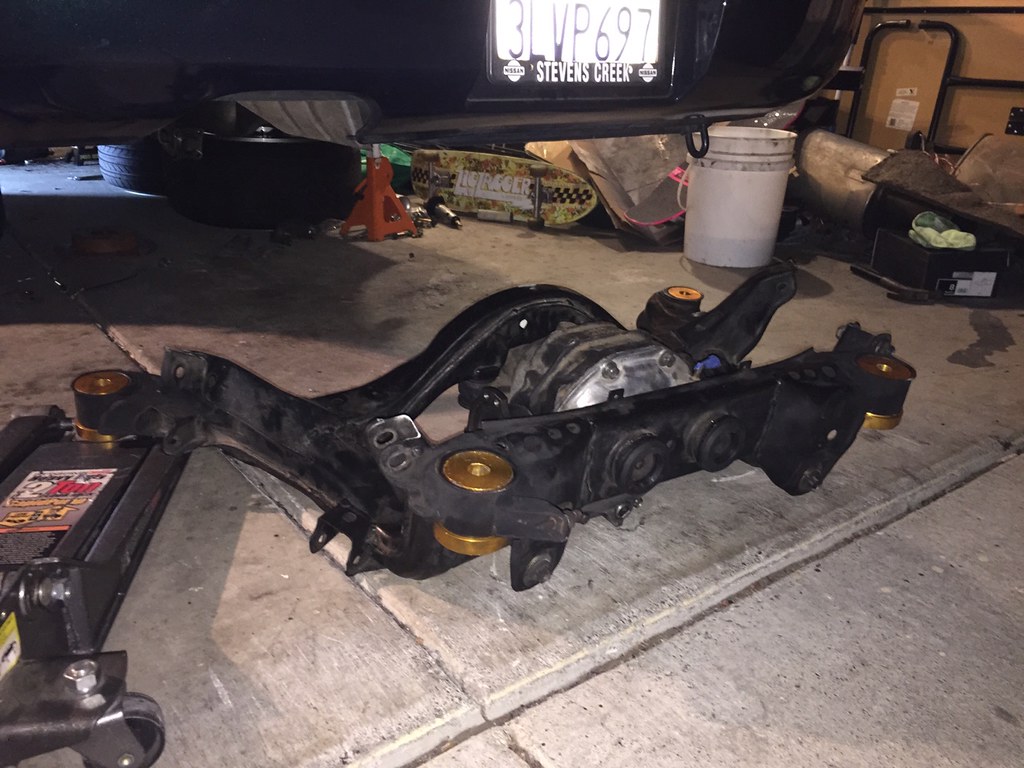
Pulled the subframe to install the risers and get my open diff welded
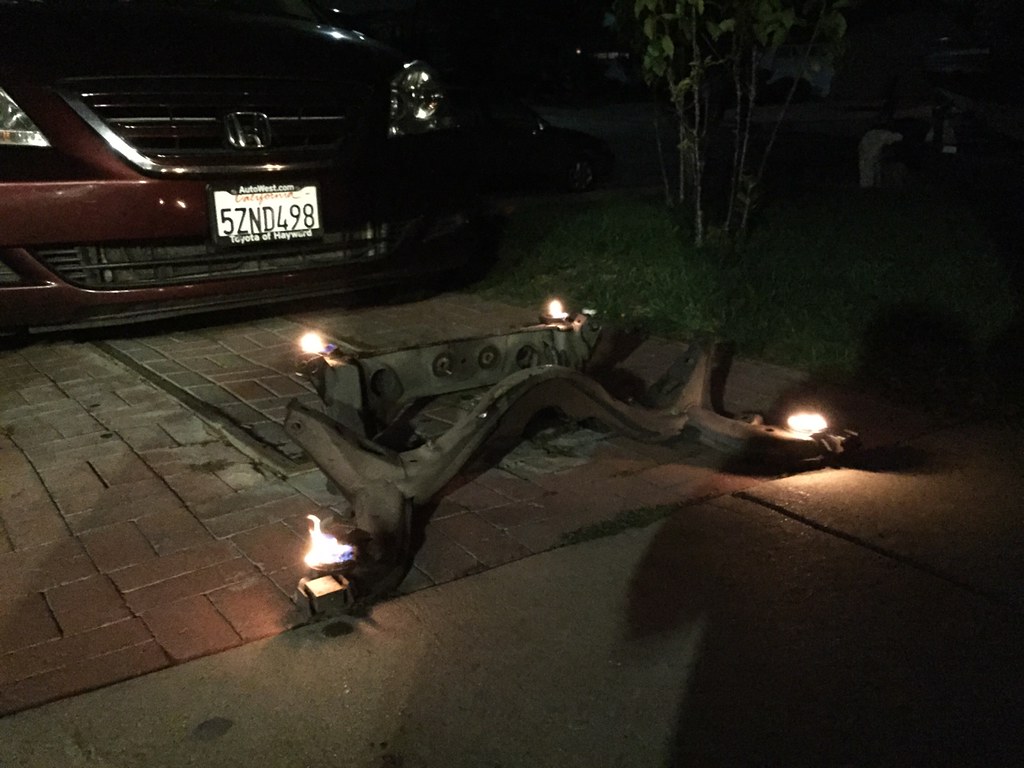
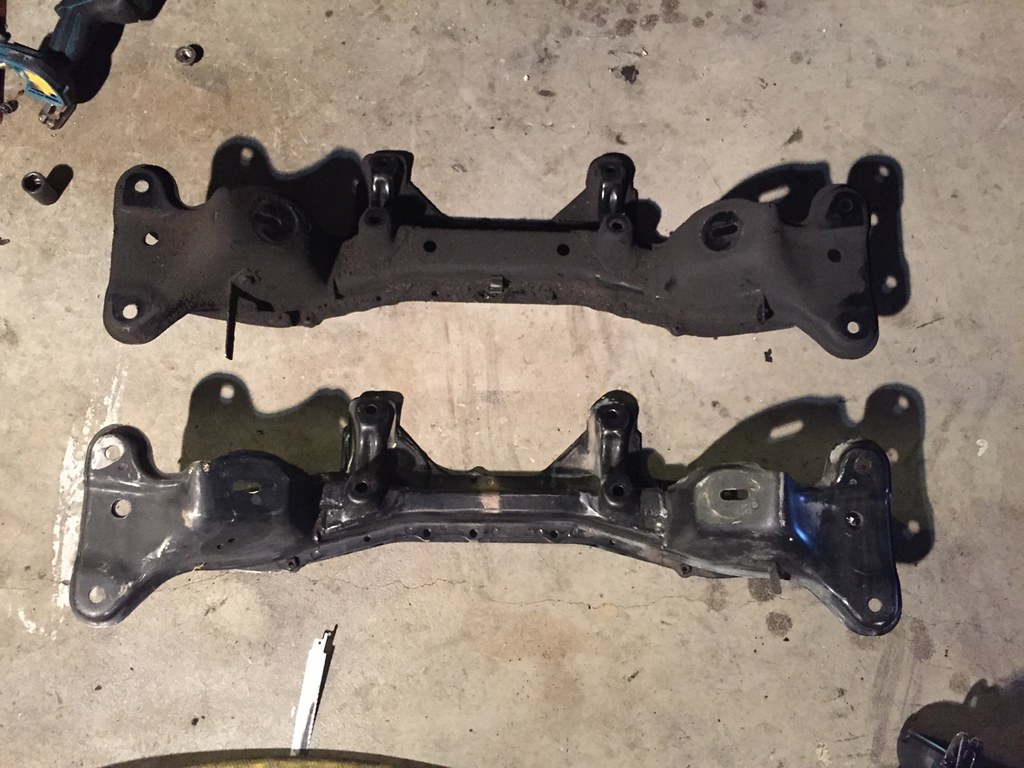
Got a front crossmember modified by abercrombie motorsports that moves the steering rack brackets 1" forward to help with binding issues from the max angle kit...
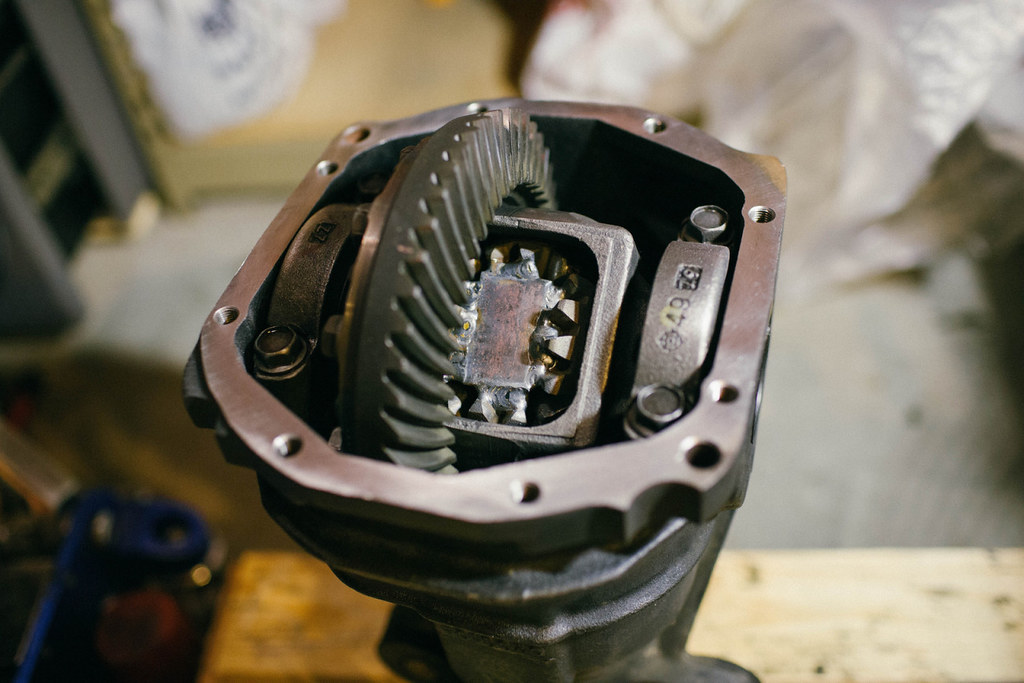
My diff was welded by parts shop max when I stopped by their shop to pick up all of the parts.
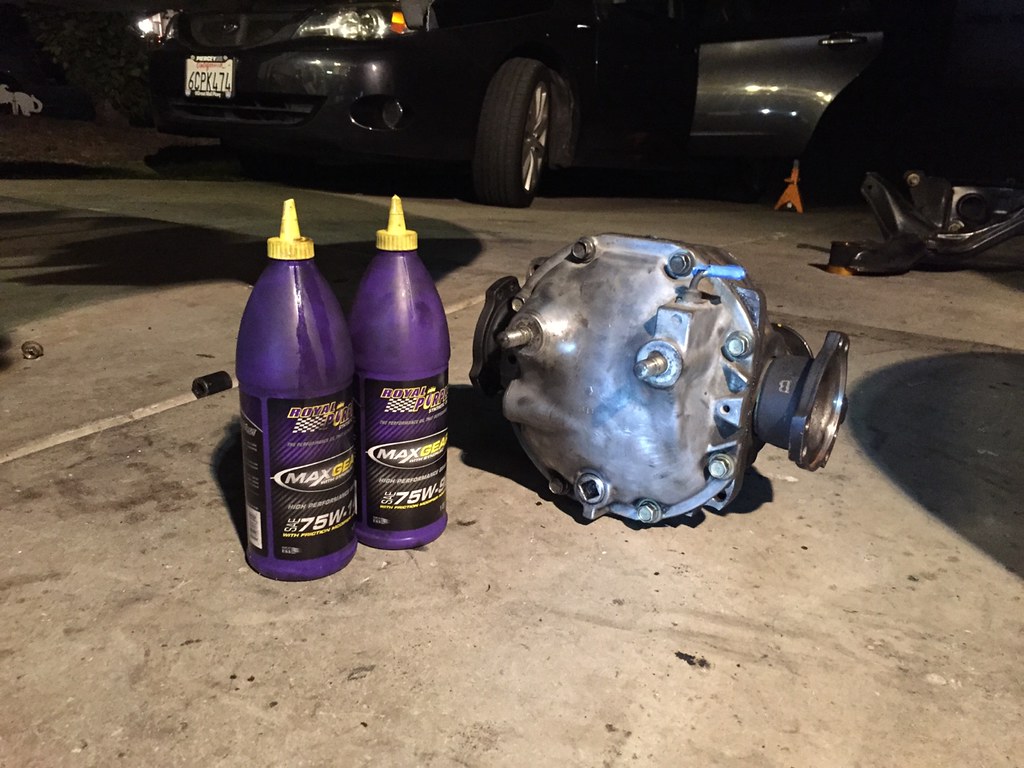
Diff is sealed ready to fill... diff takes 1 1/2 quarts if I remember correctly... just fill it till it leaks out the side fill hole.
Then some more suspension work... all part shop max all around
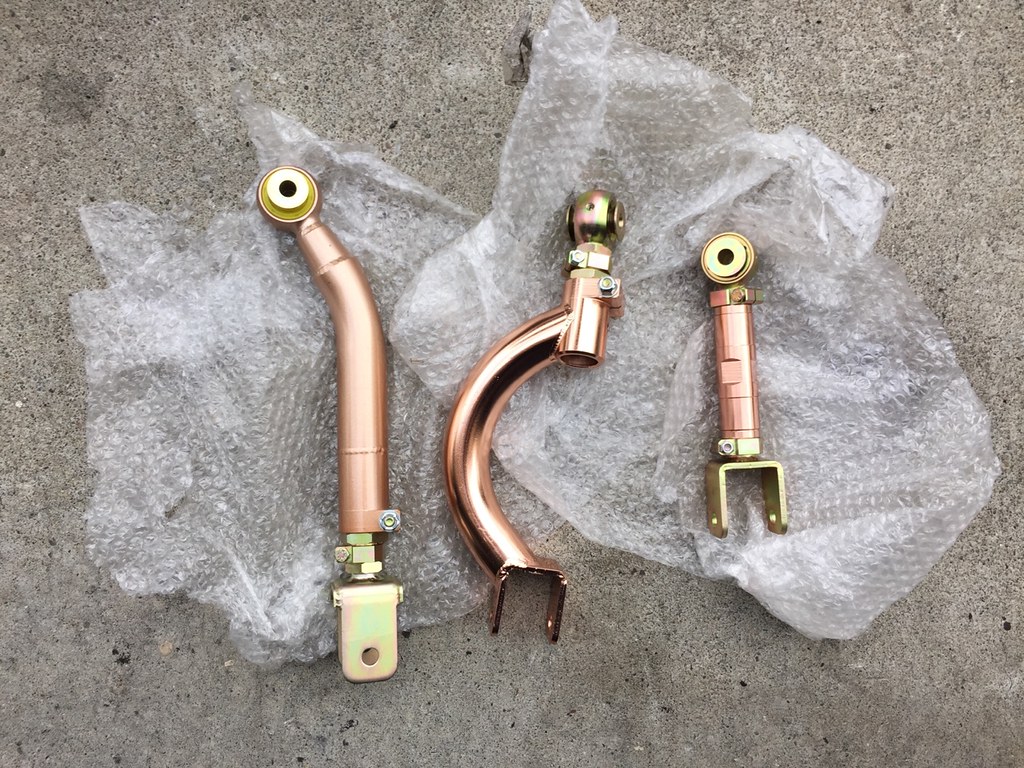
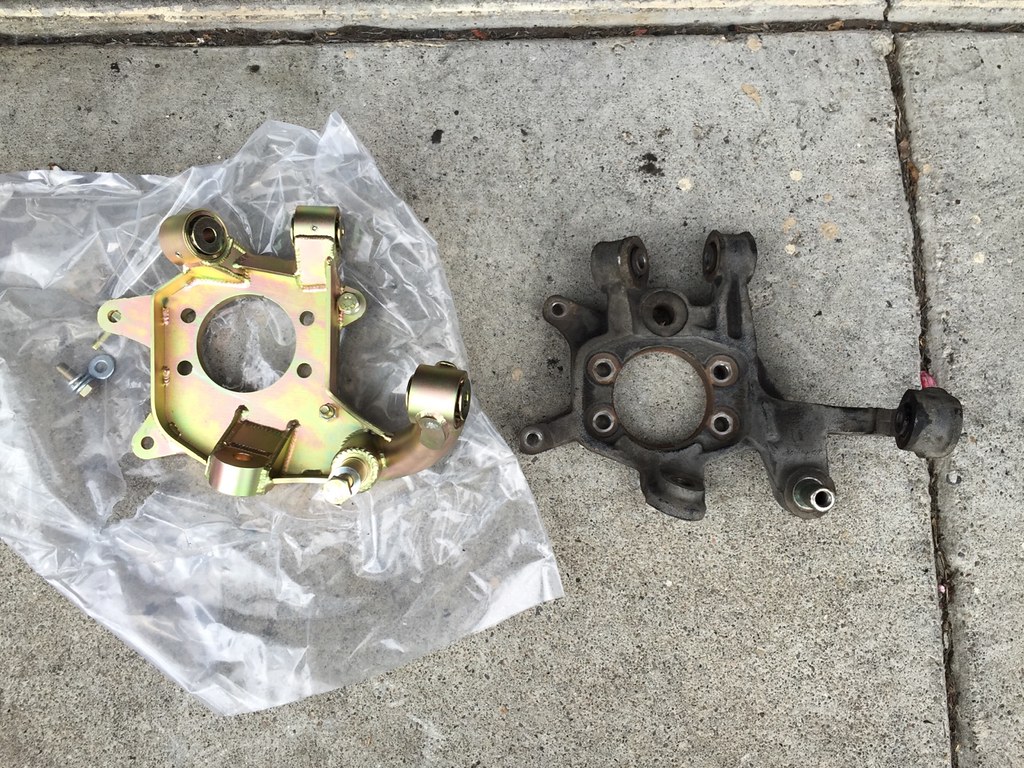
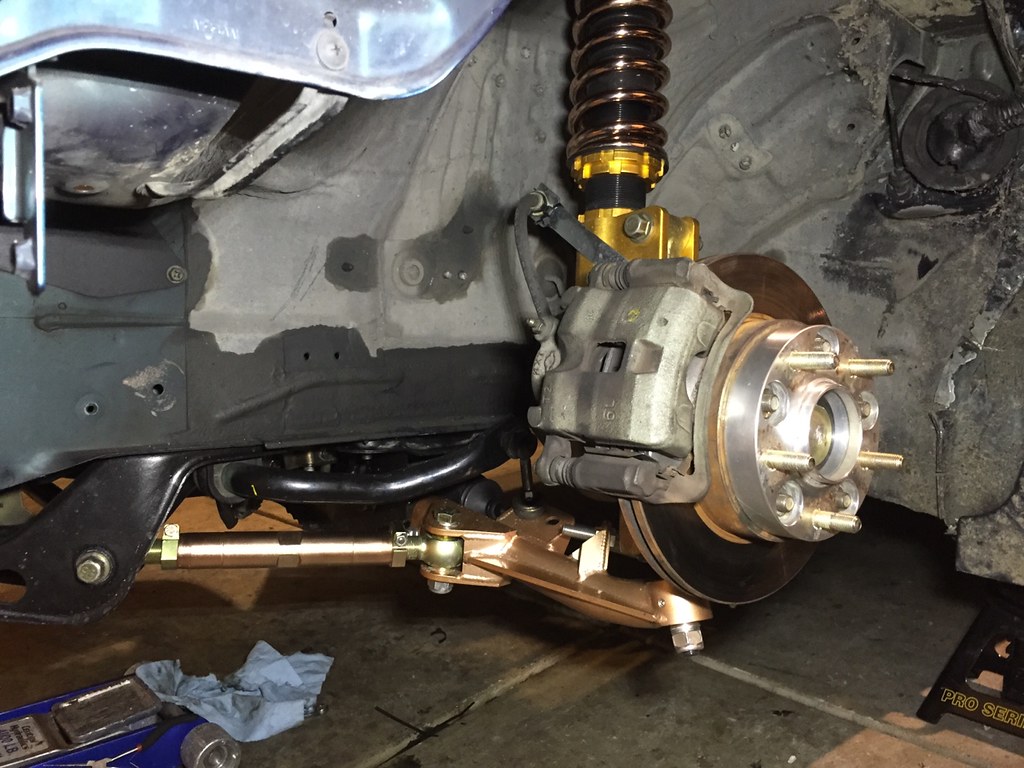
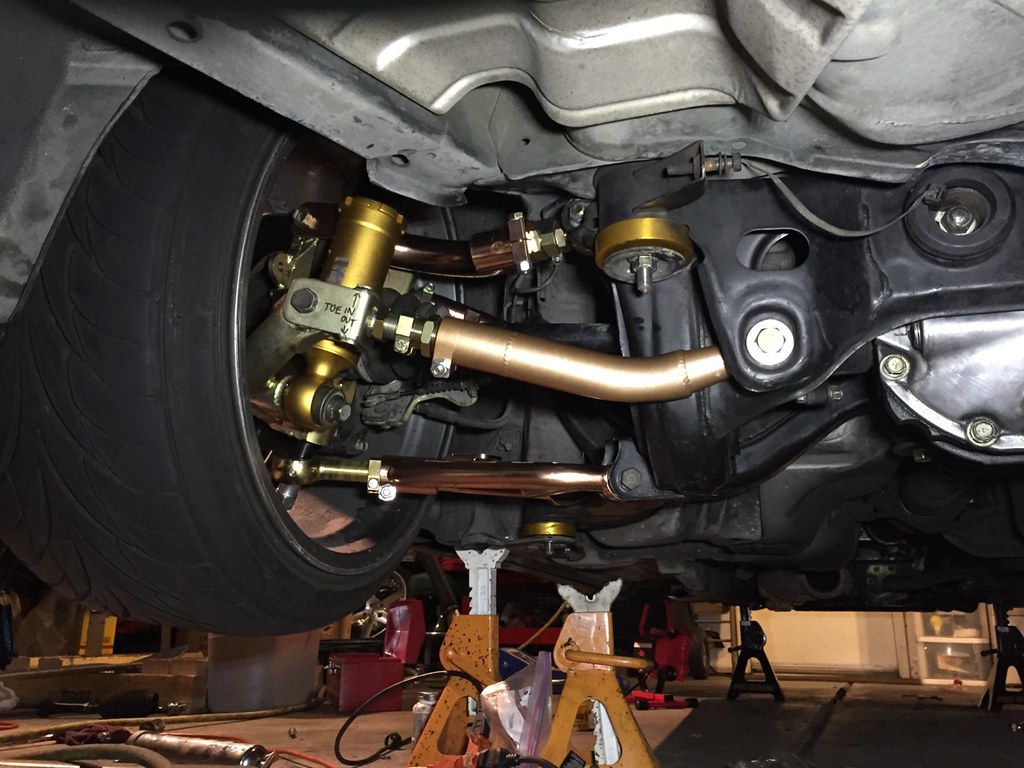
Then started getting the suspension dialed in and made the wheels fit better...
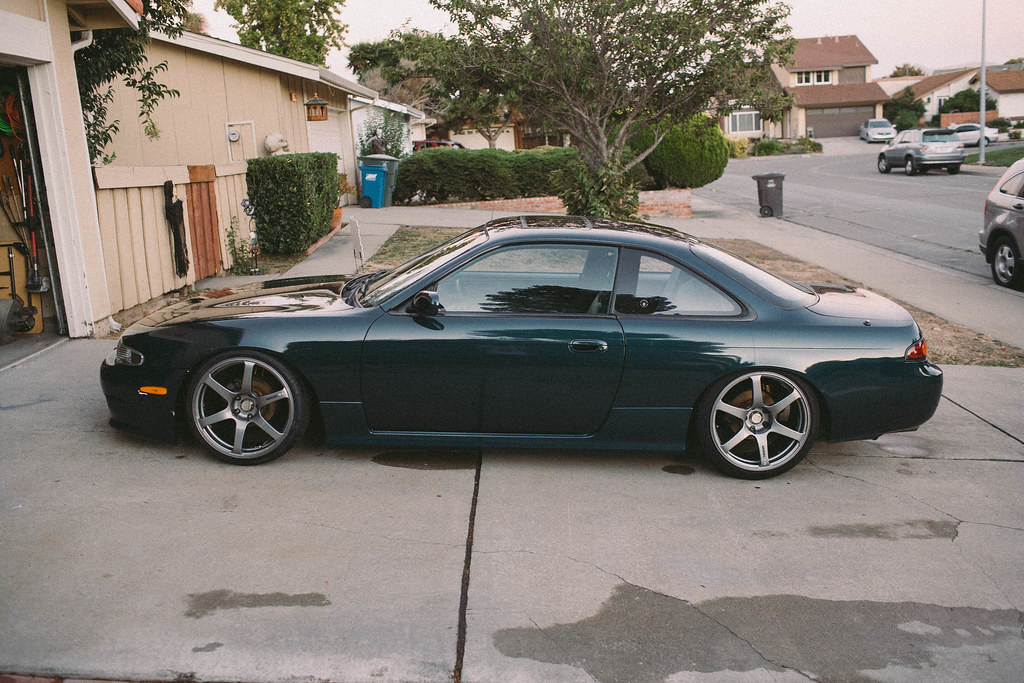
Then I drove the car to work... I really liked this phase of my s14, but it was too simple for me... I wanted something with more WOW factor... I was not entirely happy.
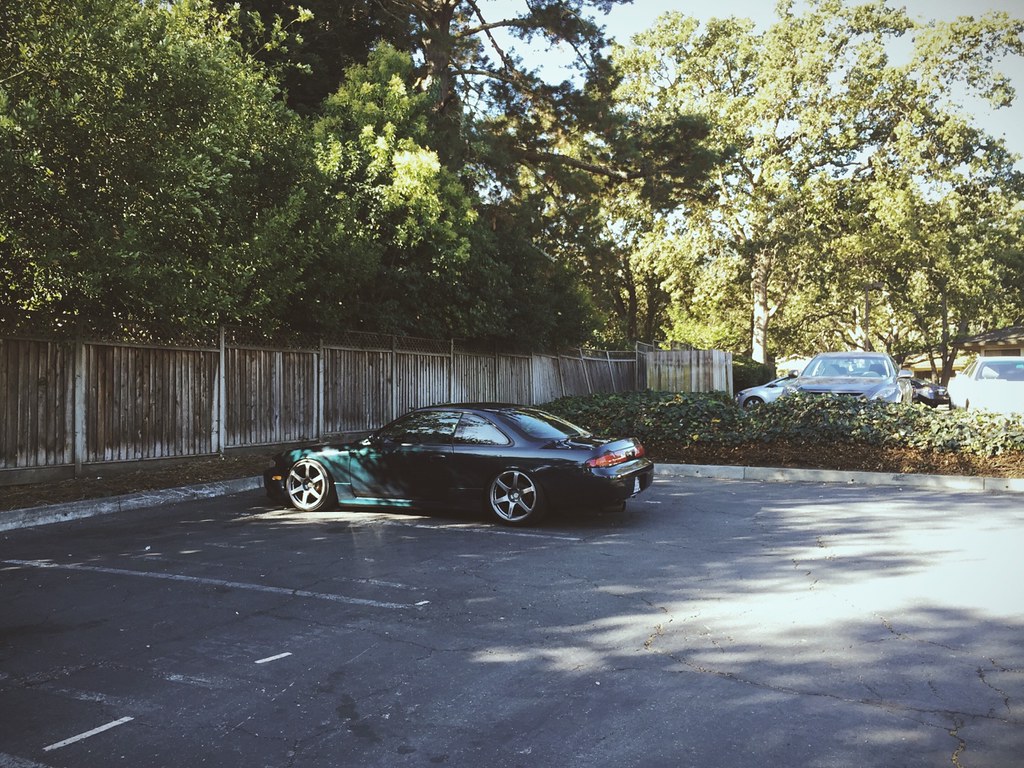
Learned that the rear drop knuckle pushes the wheel up further causing you to have to add more negative camber to adjust... so then I did this...
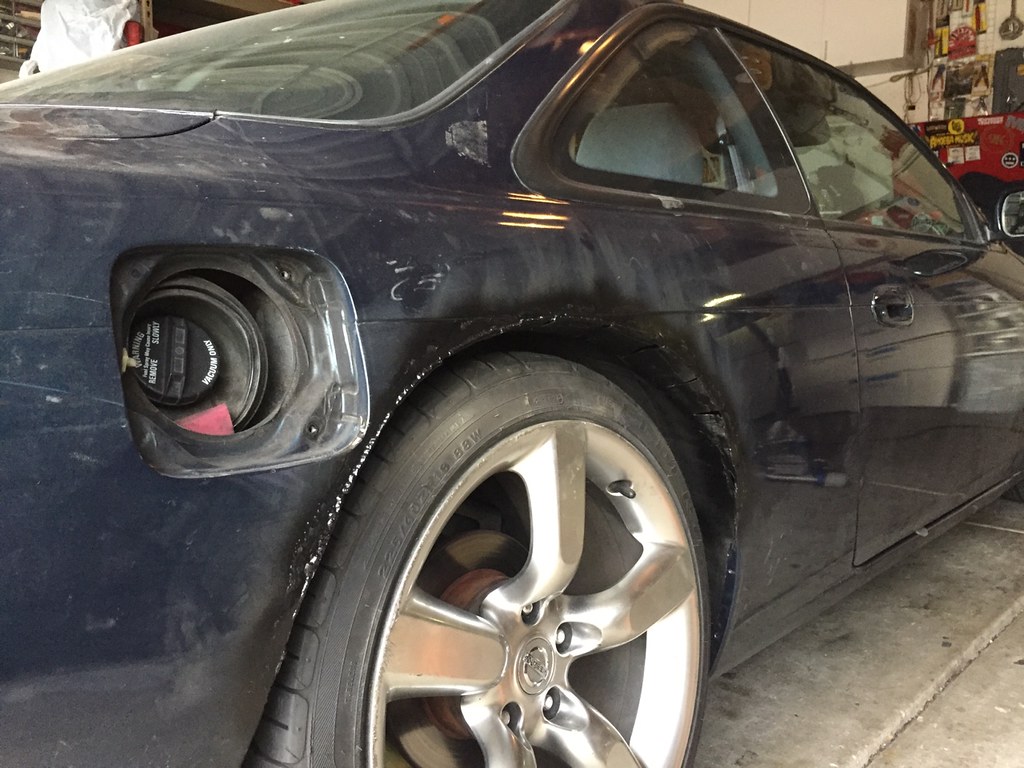
and then went to a drift event...
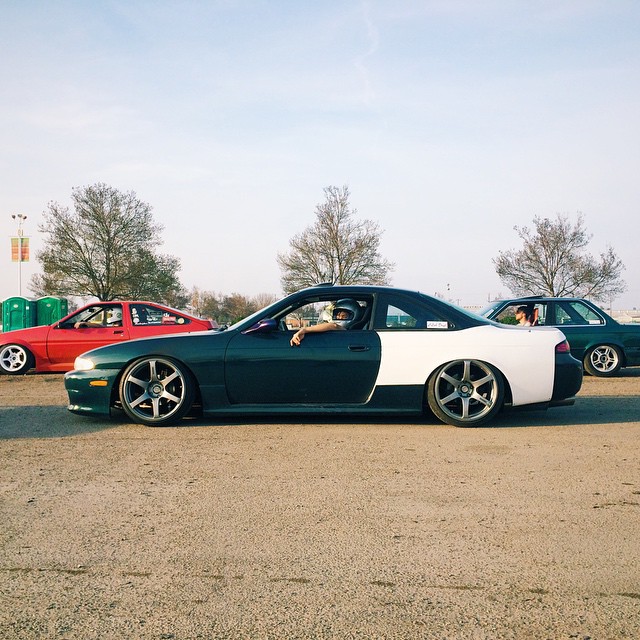
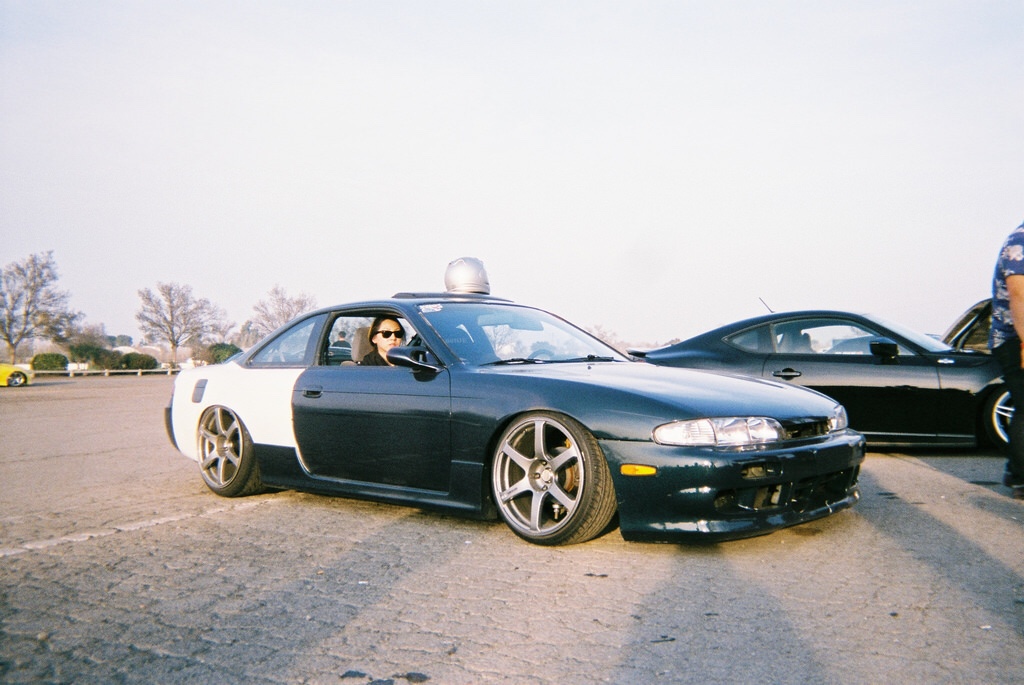

Had a blast. Decided I needed some more aggressive wheels... ended up picking these up.

Working on getting the equips to fit.
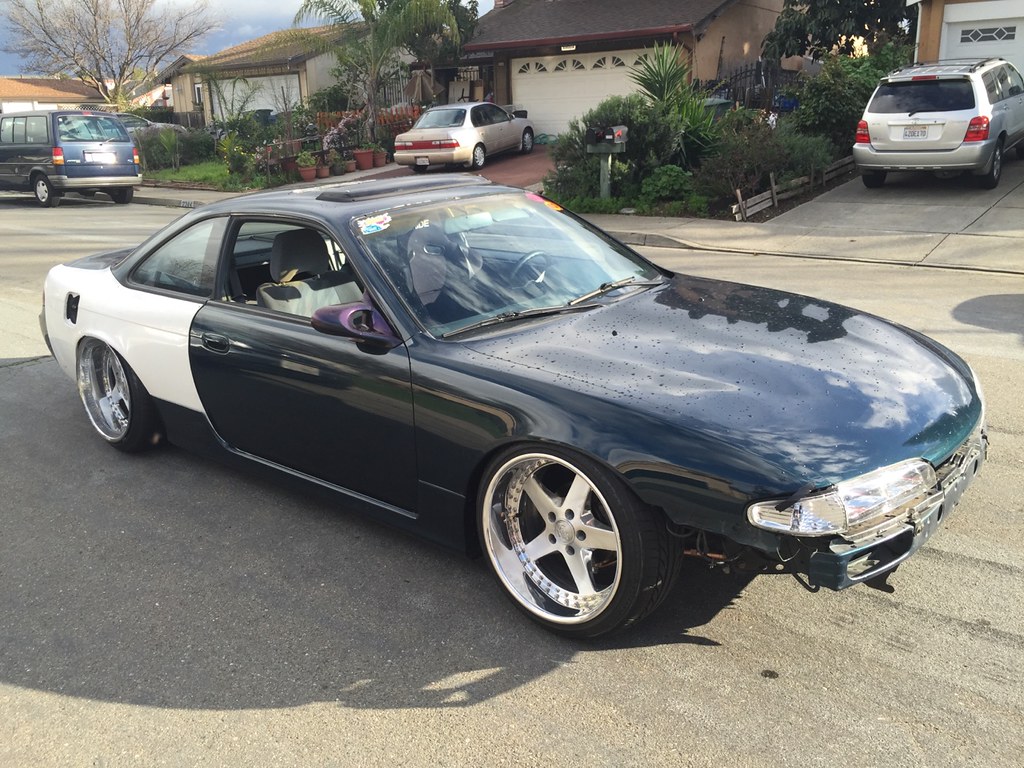
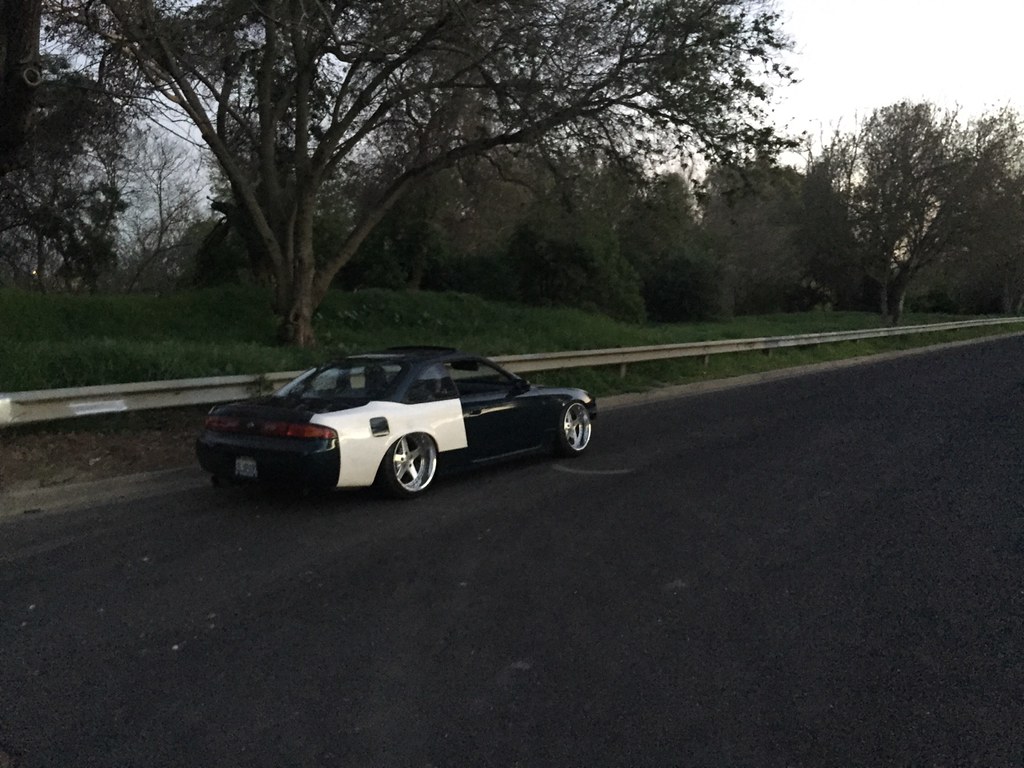
The loves of my life...
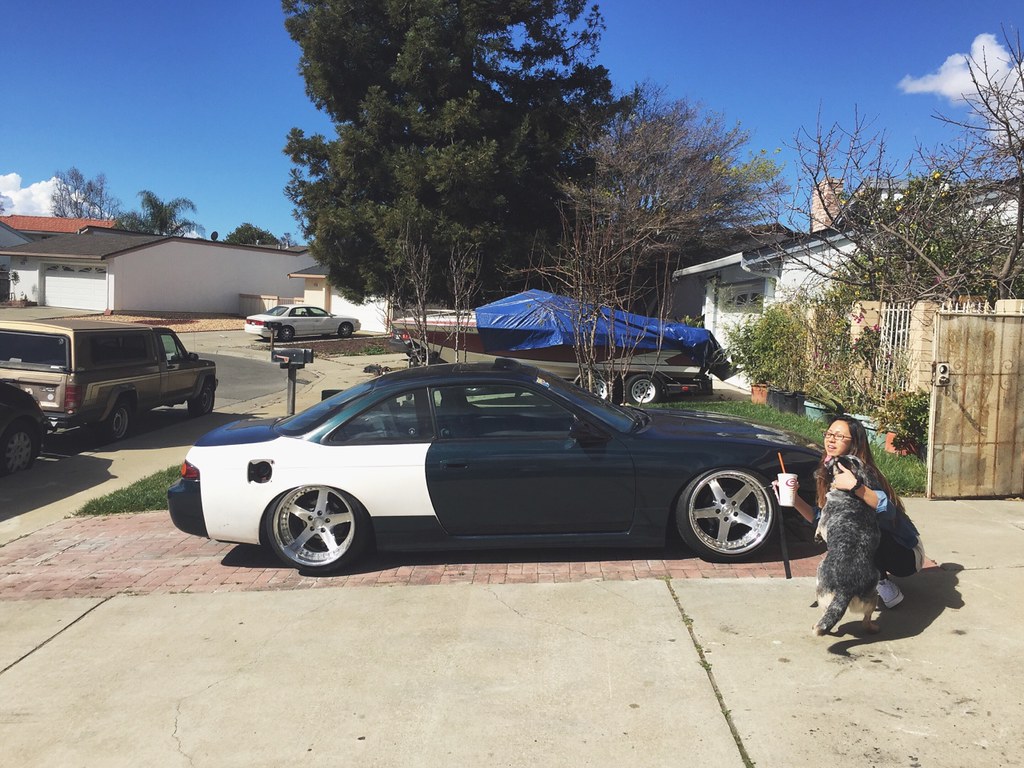
Got some new tail lights... didn't like the zenki tailights or the kouki tail lights... Also got an origin roof wing (which ended up falling off and getting demolished 2 weeks later)
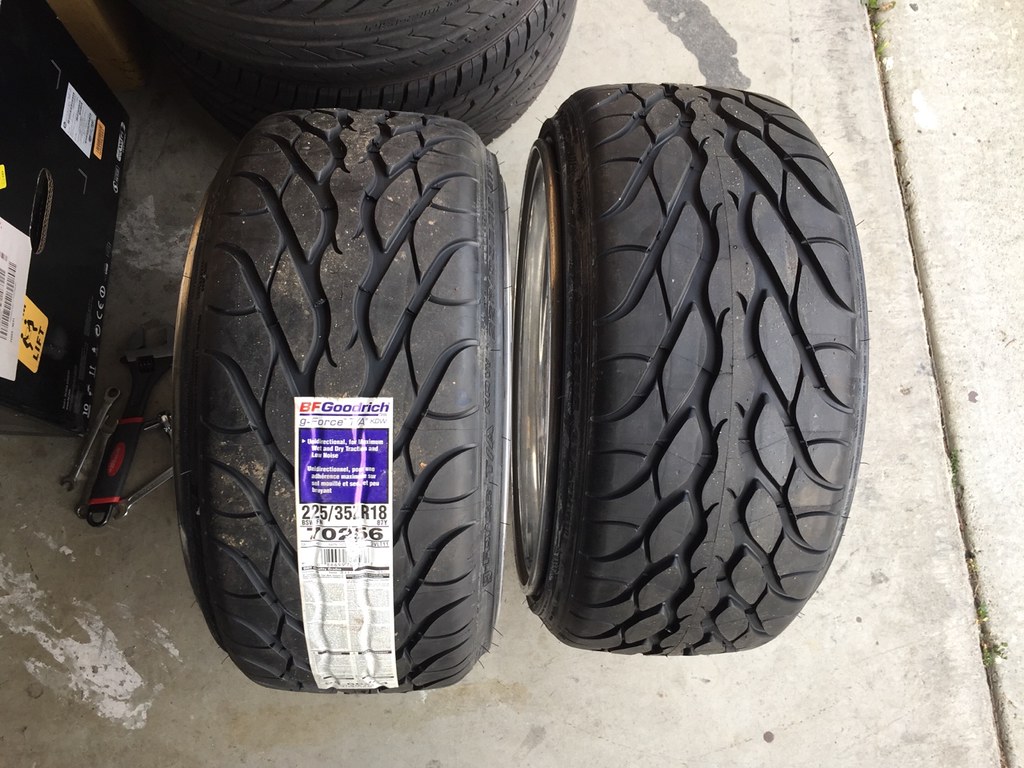
Got some new rubber for the front equips...
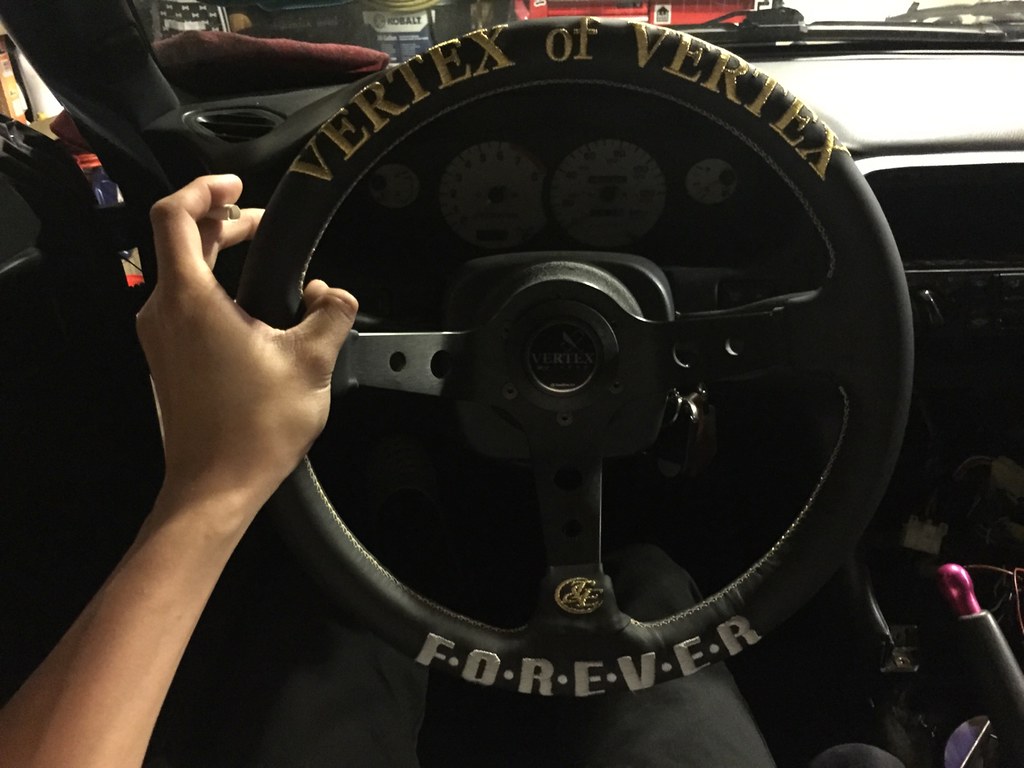
Ditched the nardi for something different... not sure how I feel about it yet
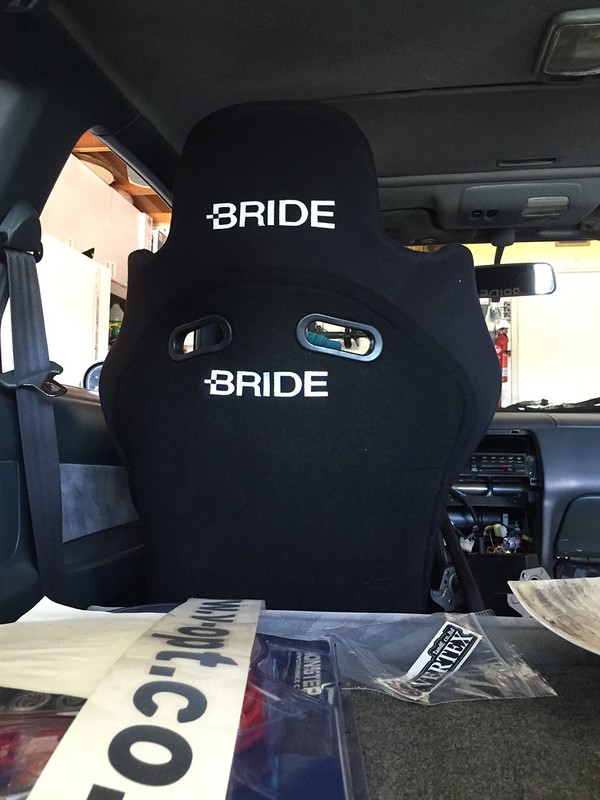
Got a back cover for the maxis seat
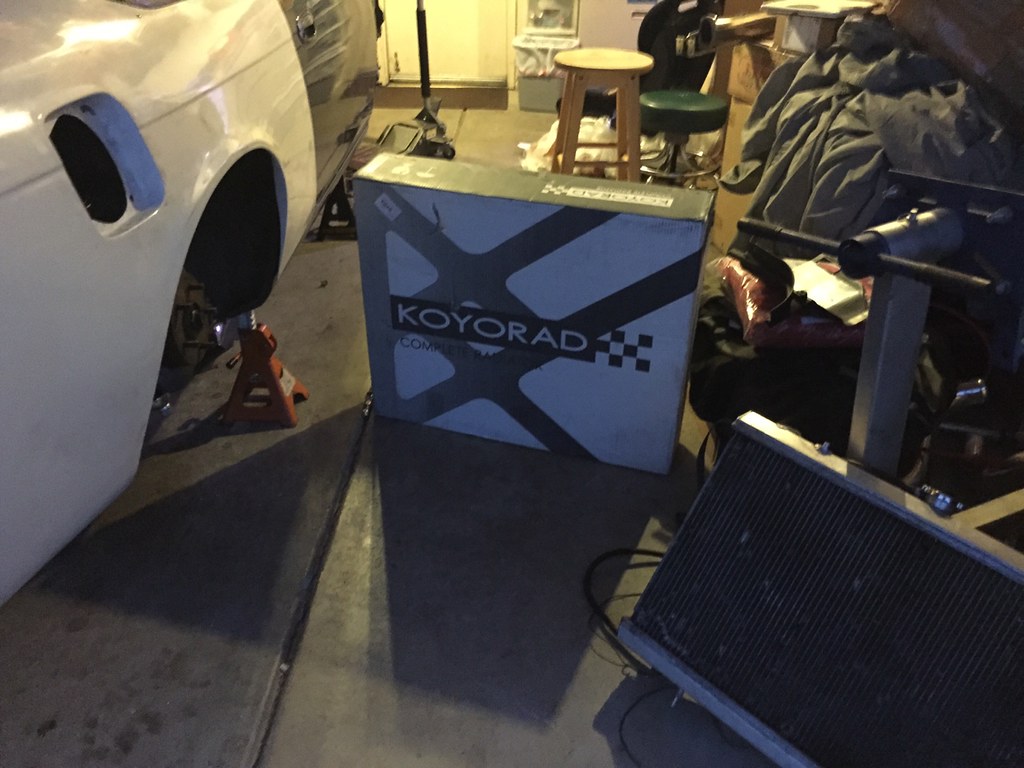
Rad Koyo
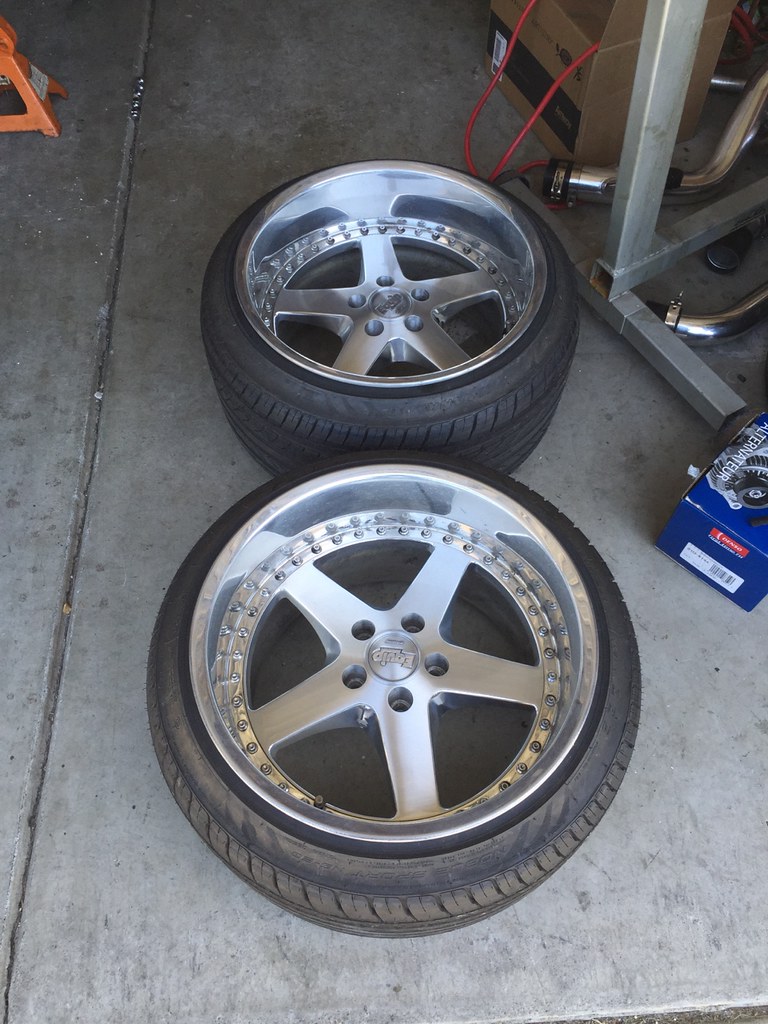
Last time I will see these equips 18x12.5. Will be rebarreled at wheelflip to 18x10.5
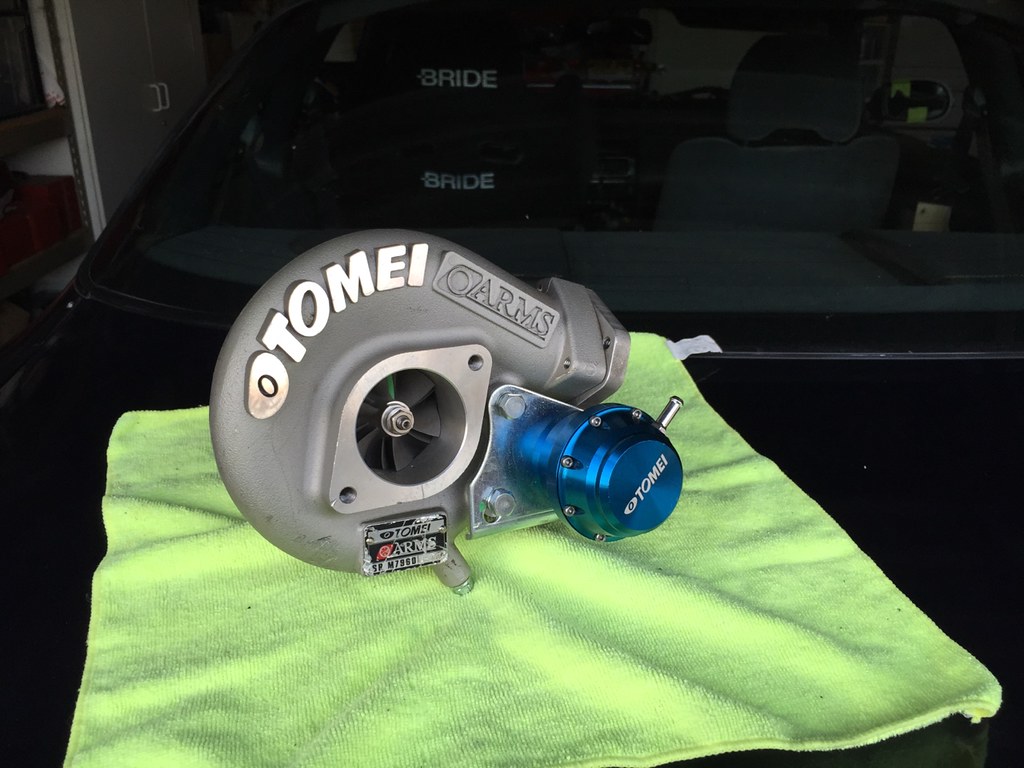
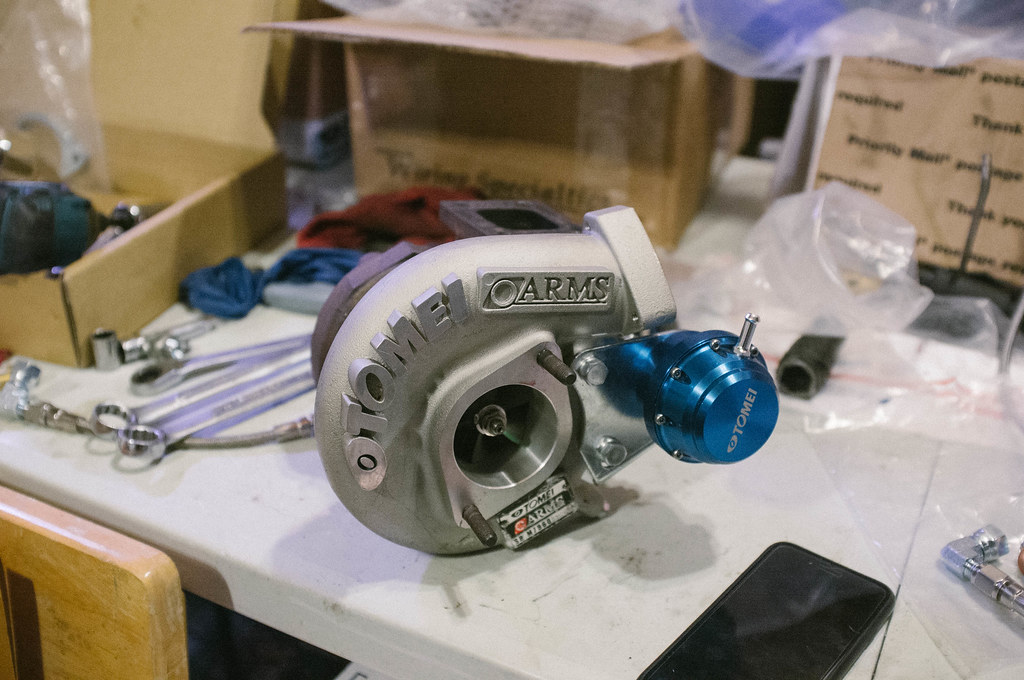
Got this cool m7960 tomei turbo for my sr
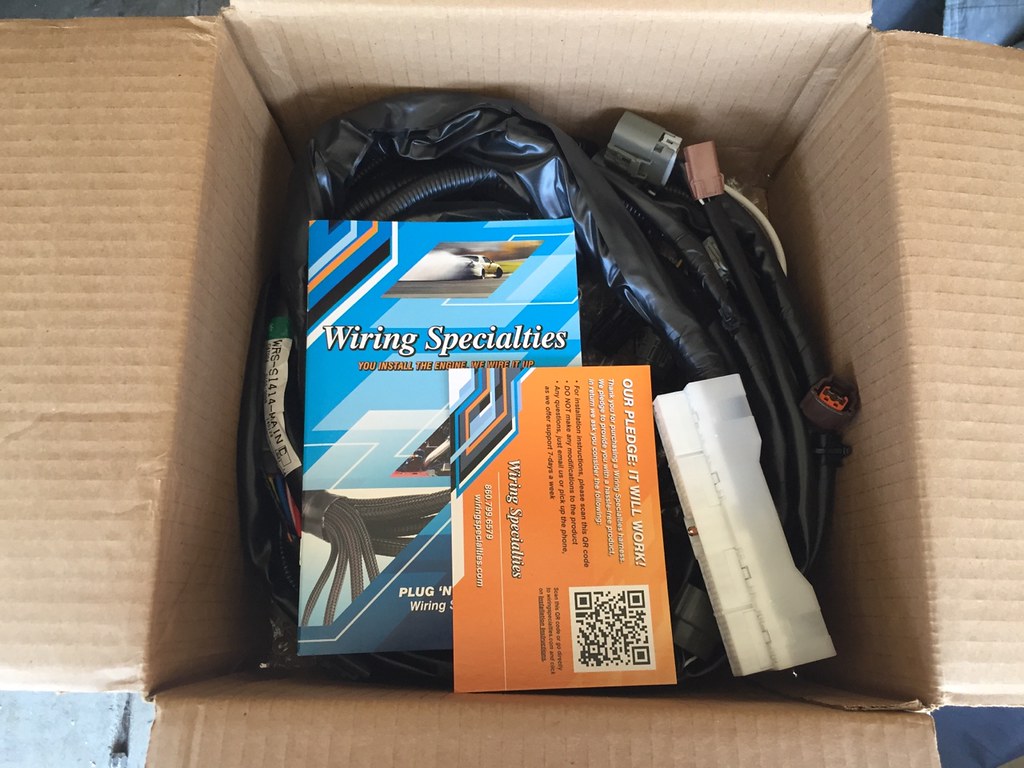
Wiring specialties harness for s14 to s14 sr
Wasn't planning on running ganadors with my new setup.. but I couldn't resist holding on to a pair of these. We'll see which ones I plan on running once the cars done and put together...
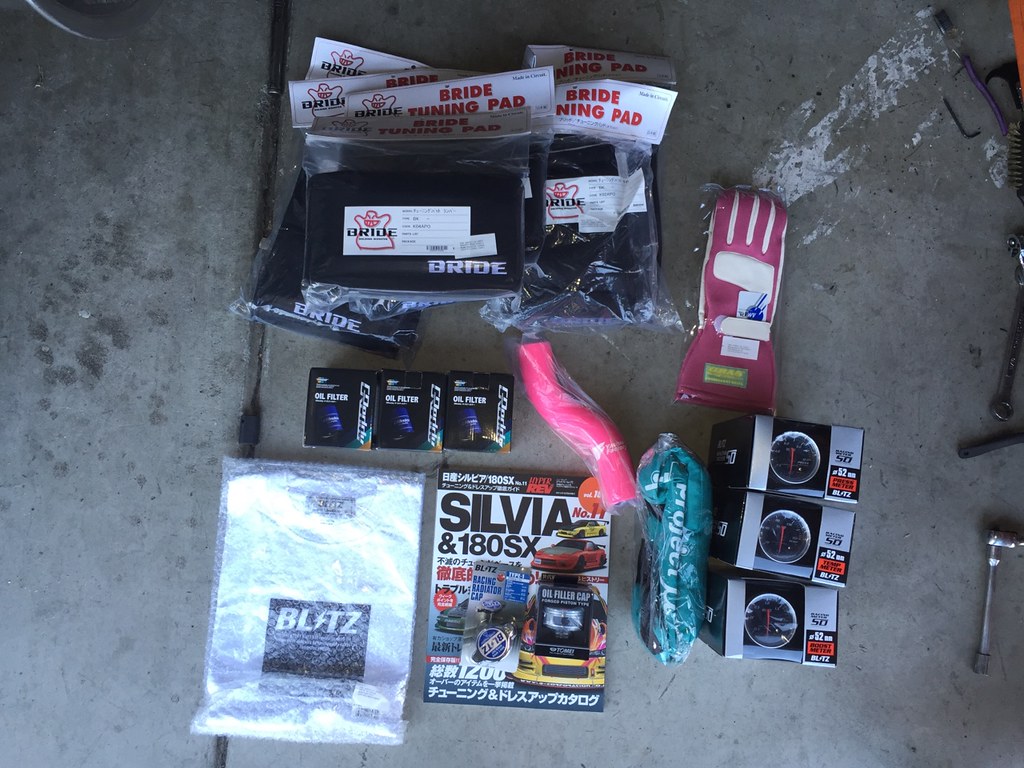
Some goodies from RHDjapan
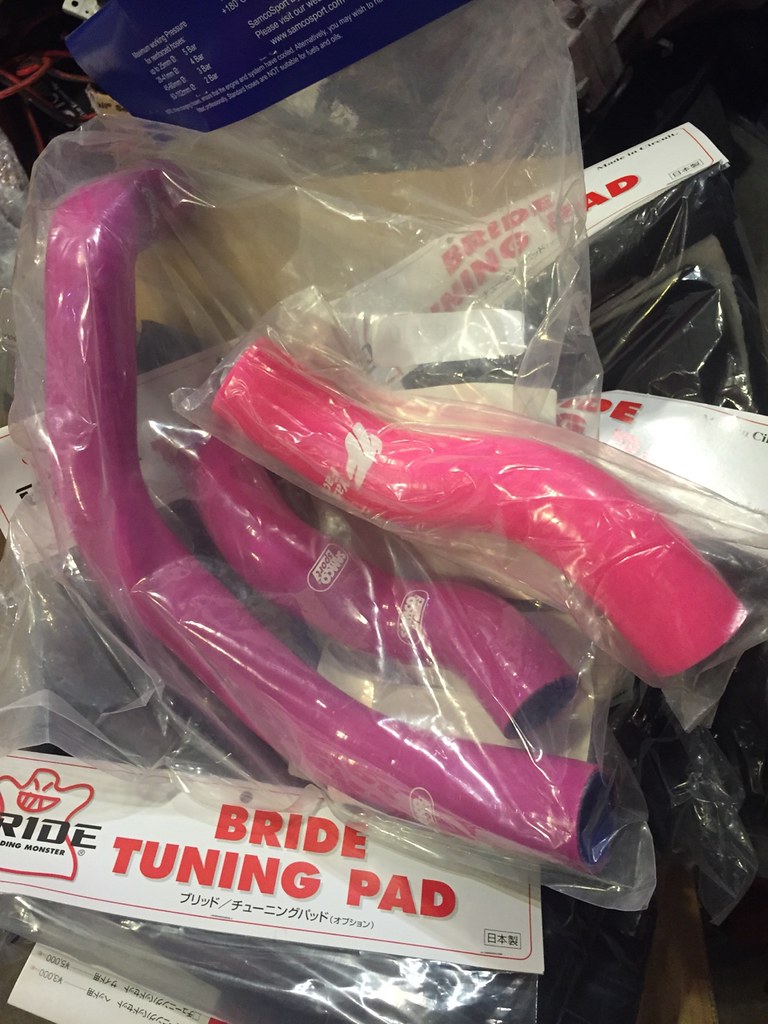
Kinda bumpped the yashio factory only makes the upper radiator hose so I ordered the pink samco hoses... looks like they arent the same pink. What a bummer. Oh well.
Found this thing.. had to get it... sorry mom
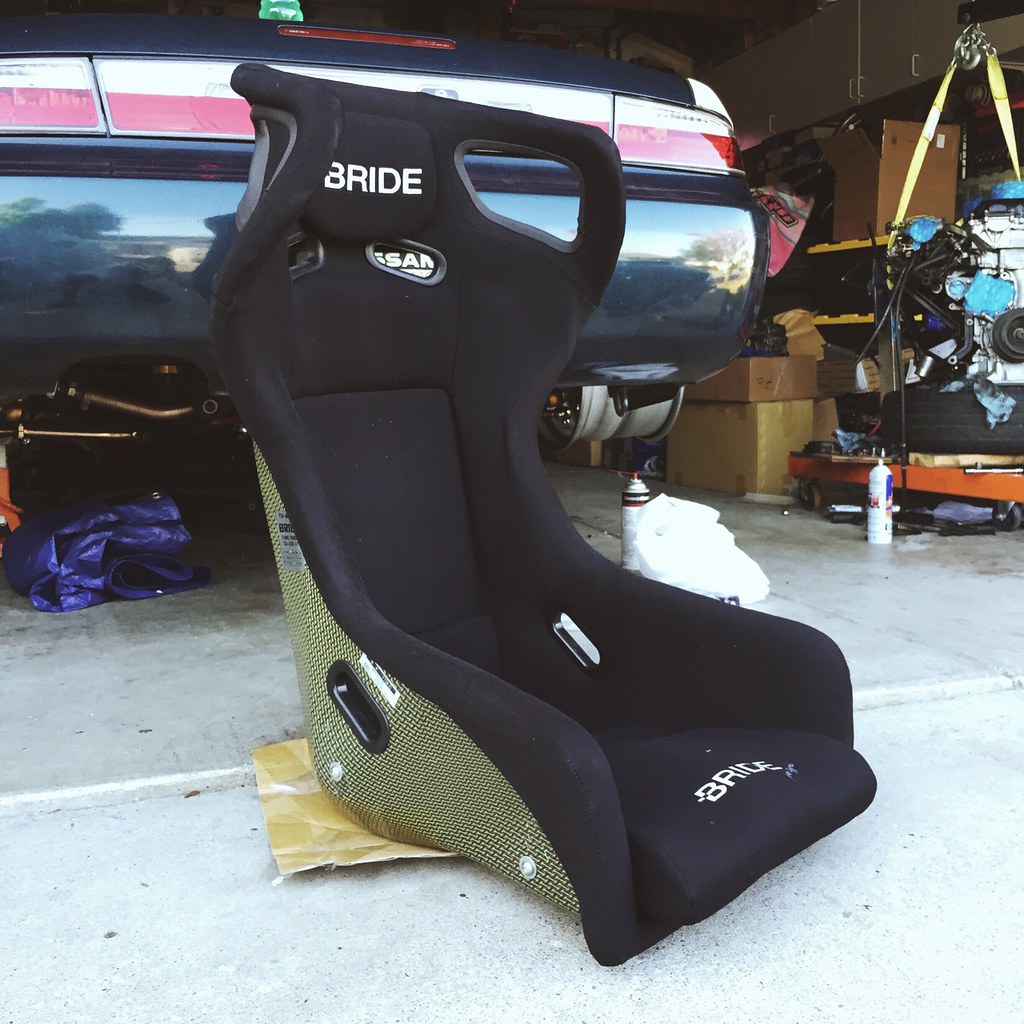
Ok... this is kind of where the build gets more serious....
I can't count how many times I have came into the garage and just stared at this thing... too many thoughts run through my head about this car. It's quite a rollercoaster ride of emotions.
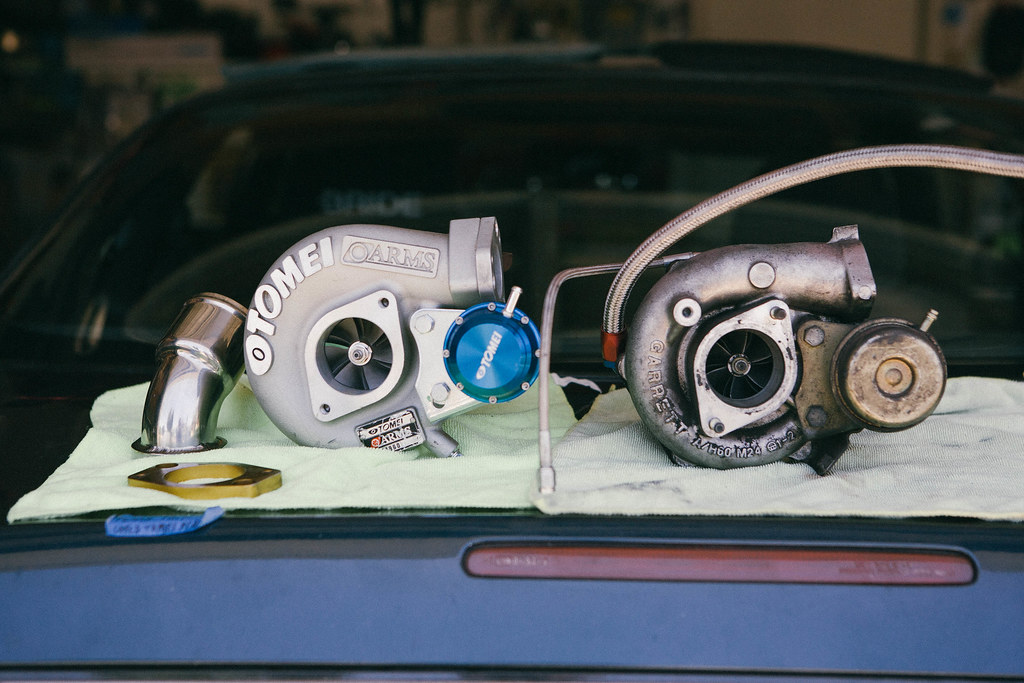
Tomei M7960 next to the stock s14 t28 turbo
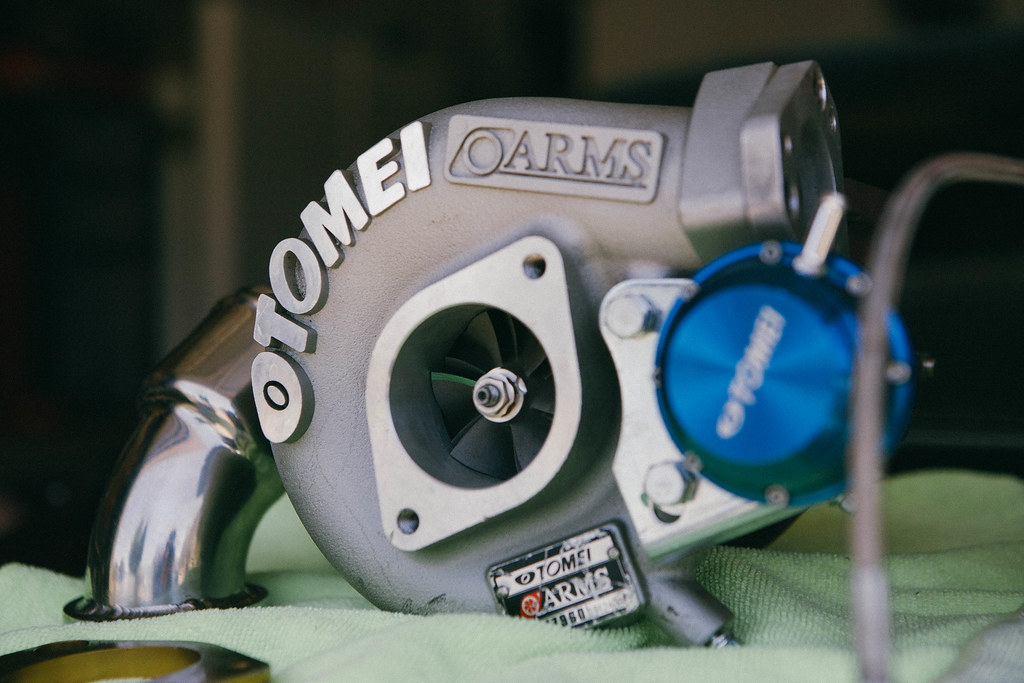
Turbo porn
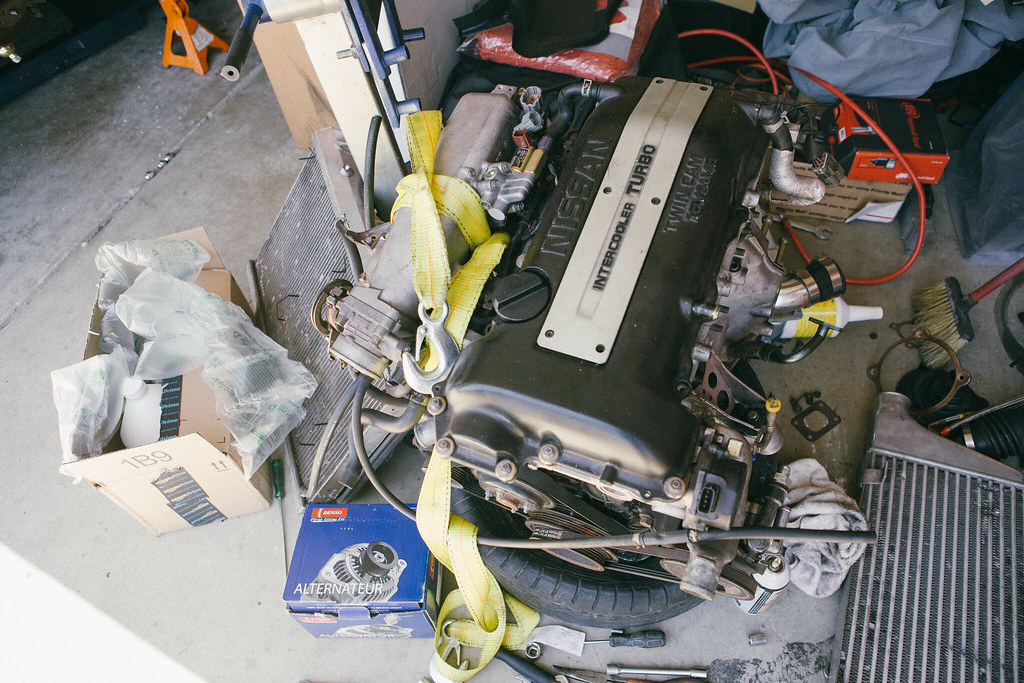
Pulled off all the stuff on the exhaust side.
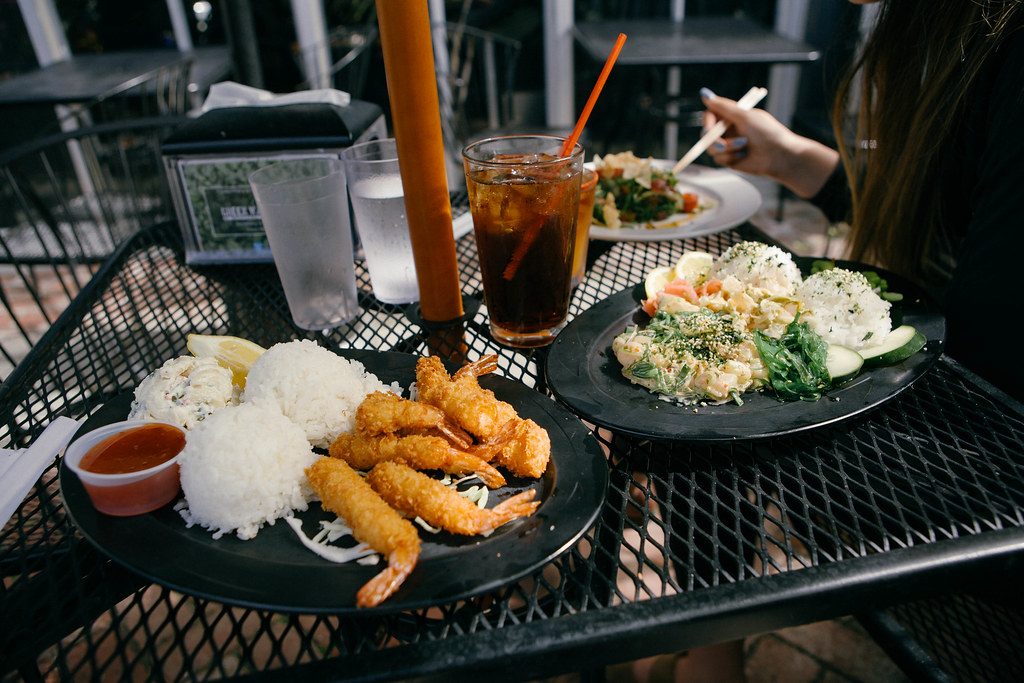
Got some delicious hawaiian food with my gf
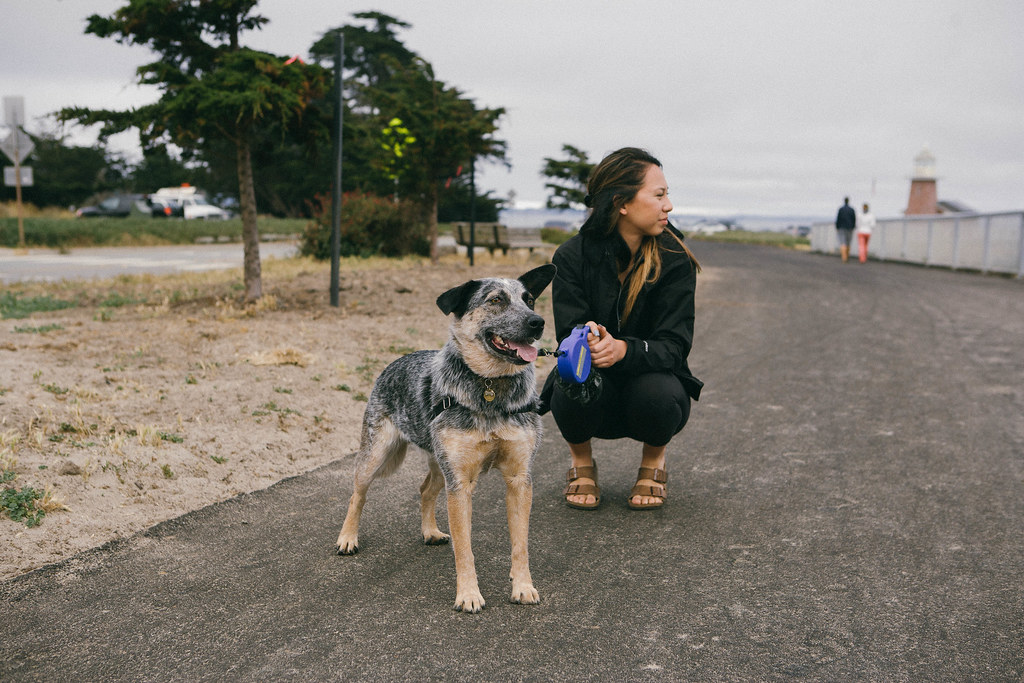
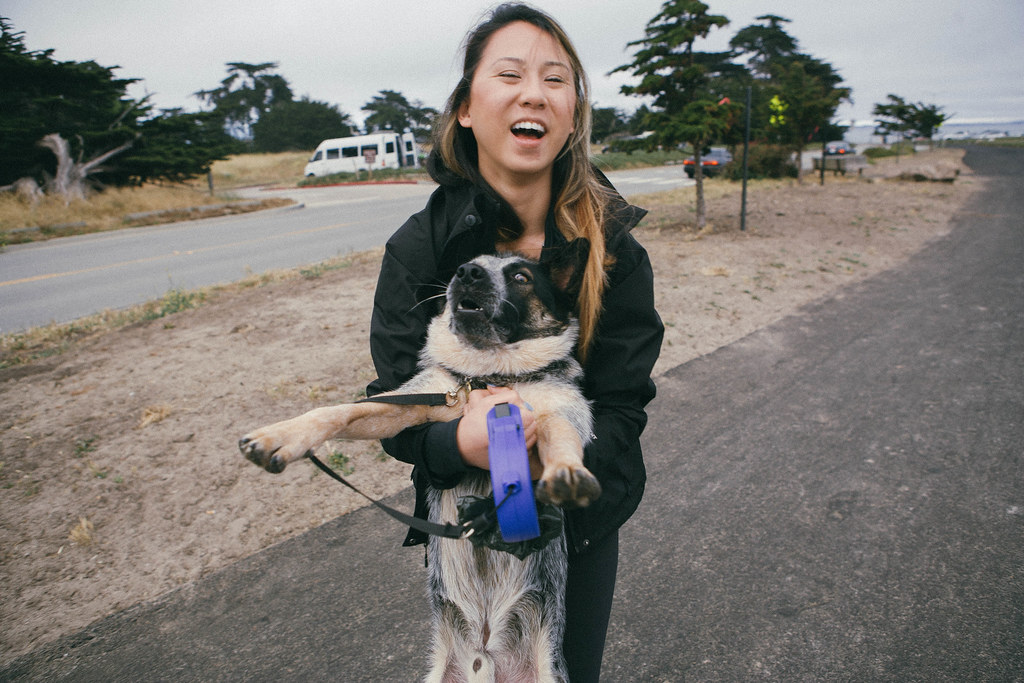
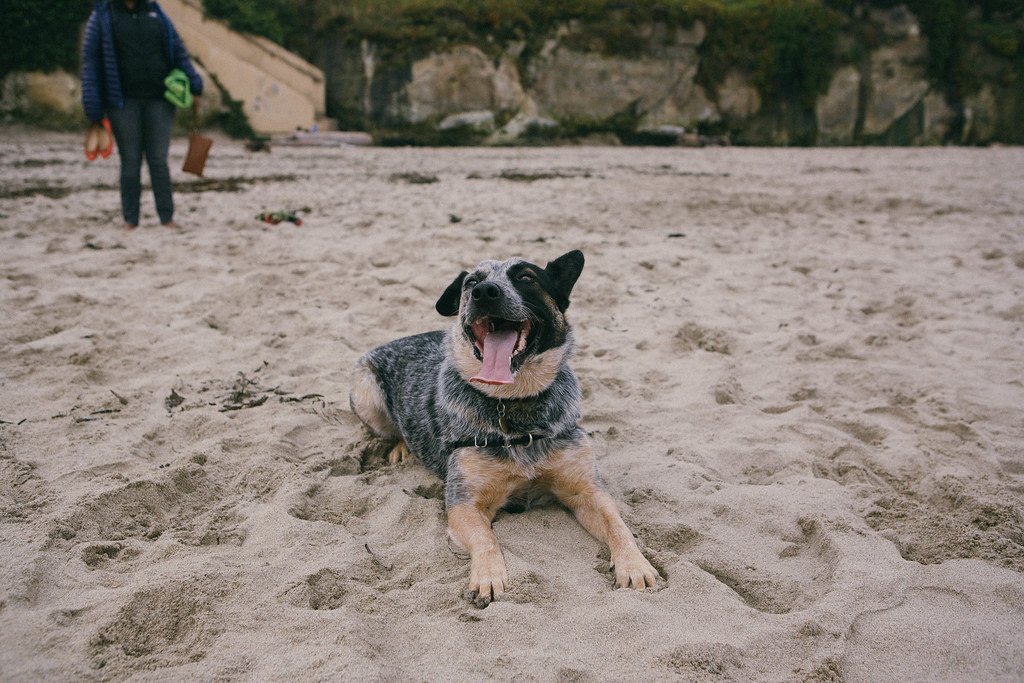
Then hung out in santa cruz with my dog chance and my gf
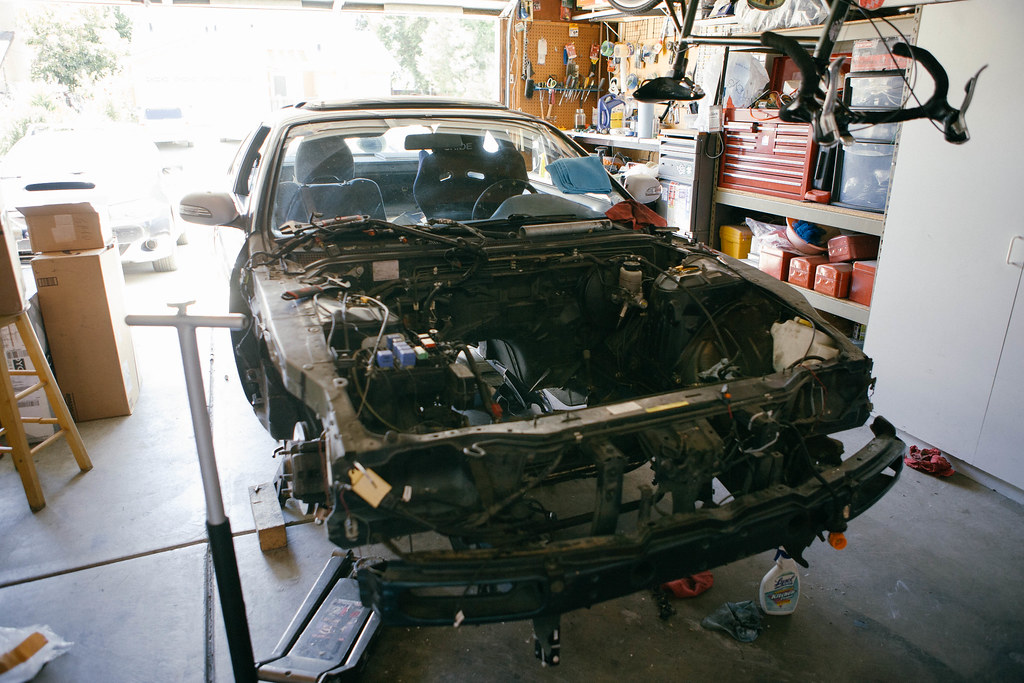
Proceeded to rip the interior apart...
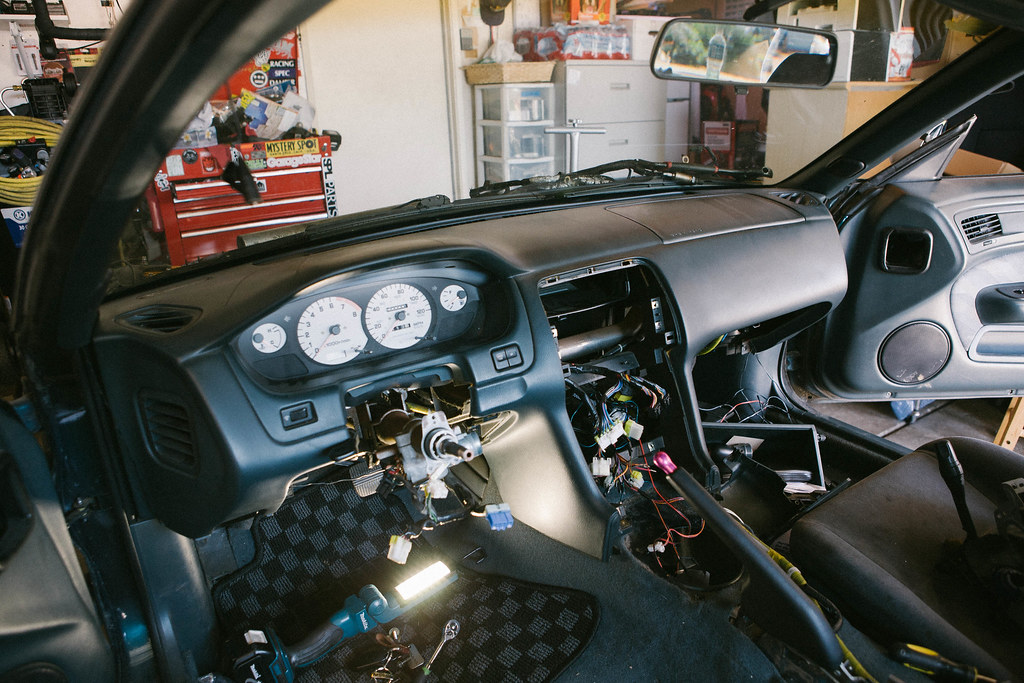
Previous owner parked this thing out in the sun.. poor dash
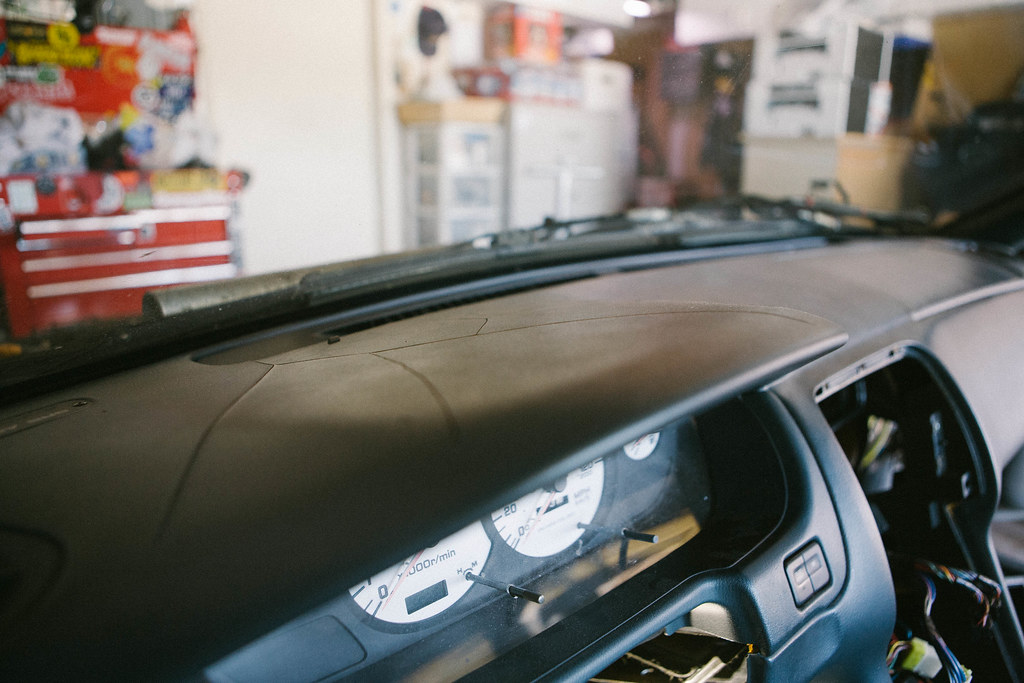
It is impossible to pull this piece off when its been sun dried.. thing was brittle as hell.. Barely any pressure was used and it straight snapped... luckily FRsport sells these for a decent price.
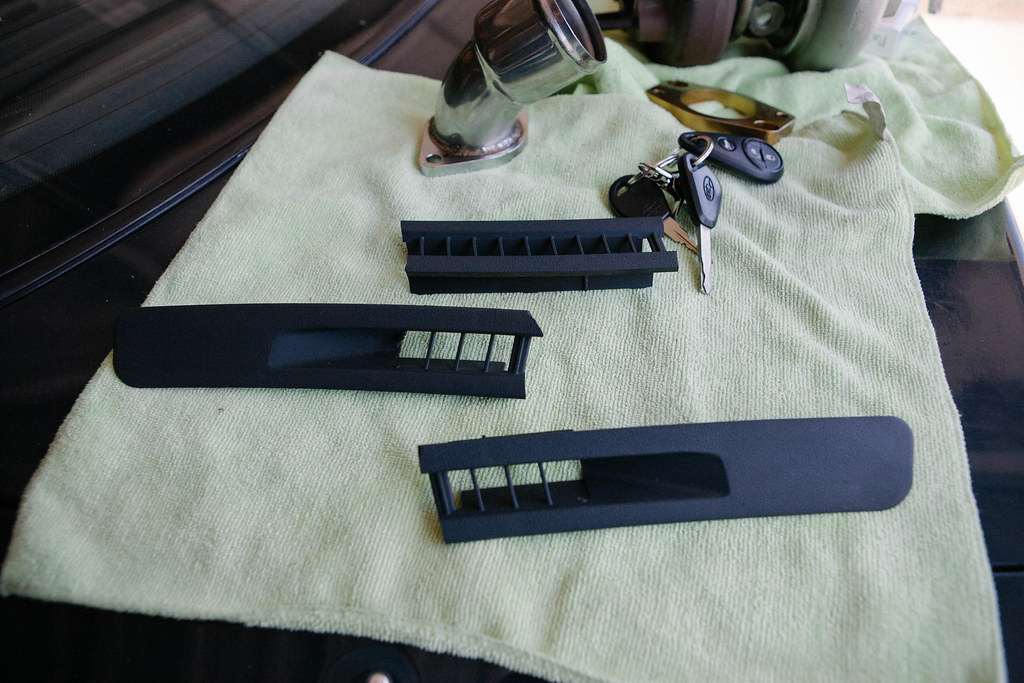
Getting there..
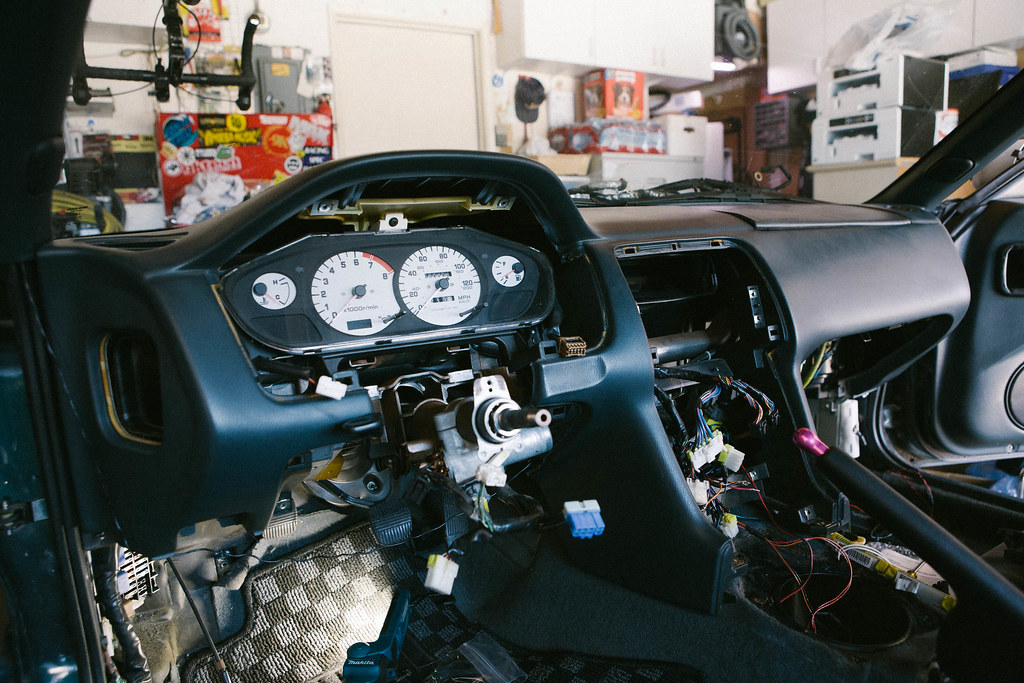
Rusty bar... no good.
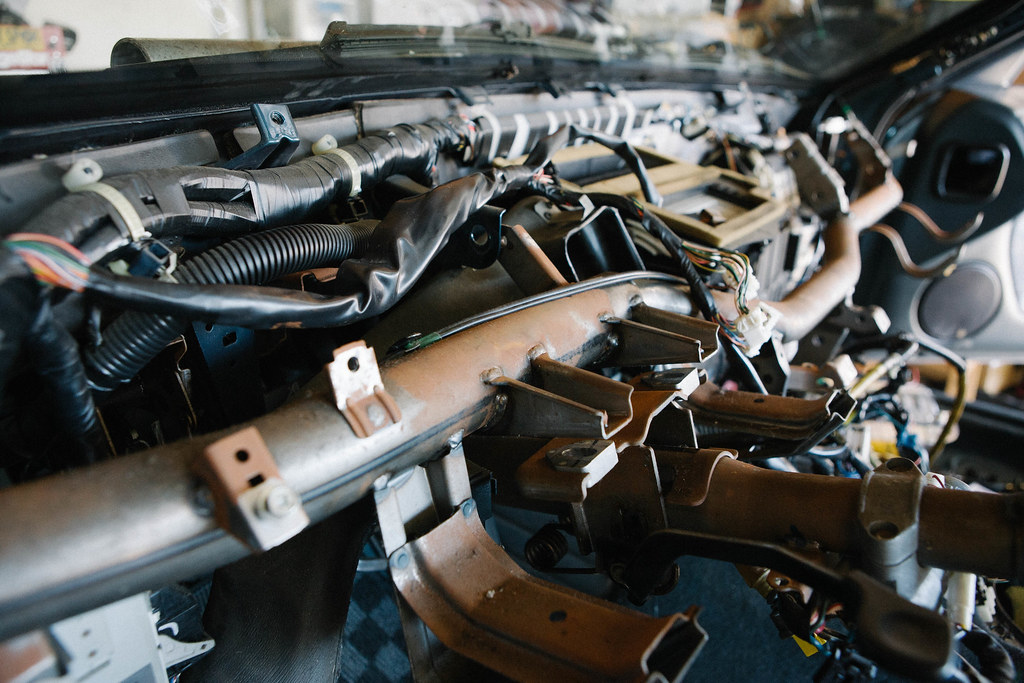
Gonna paint this thing.
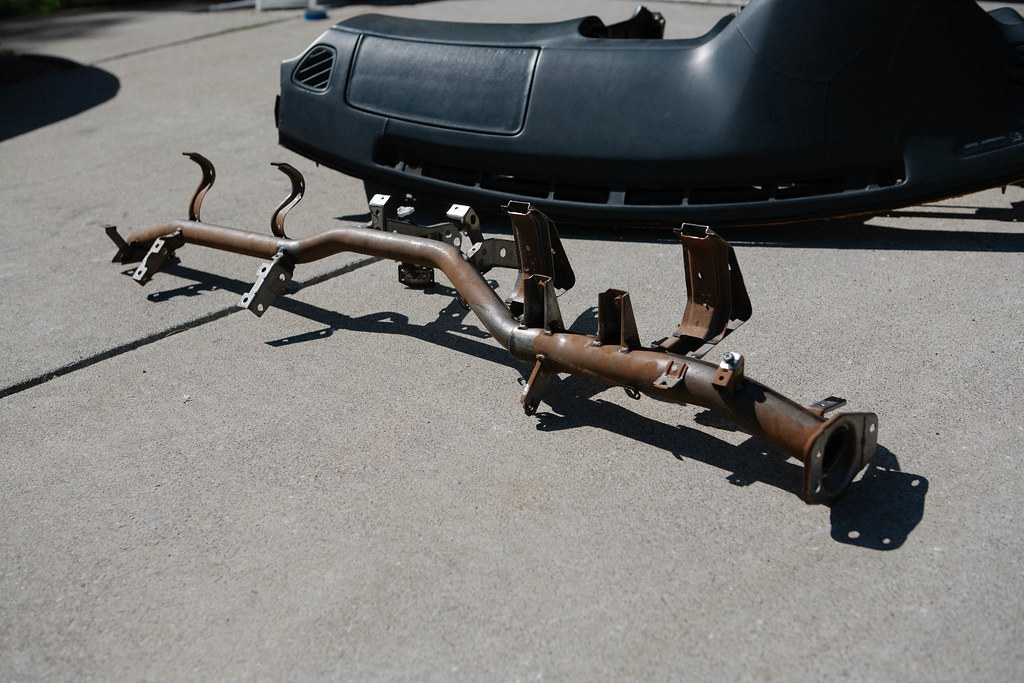
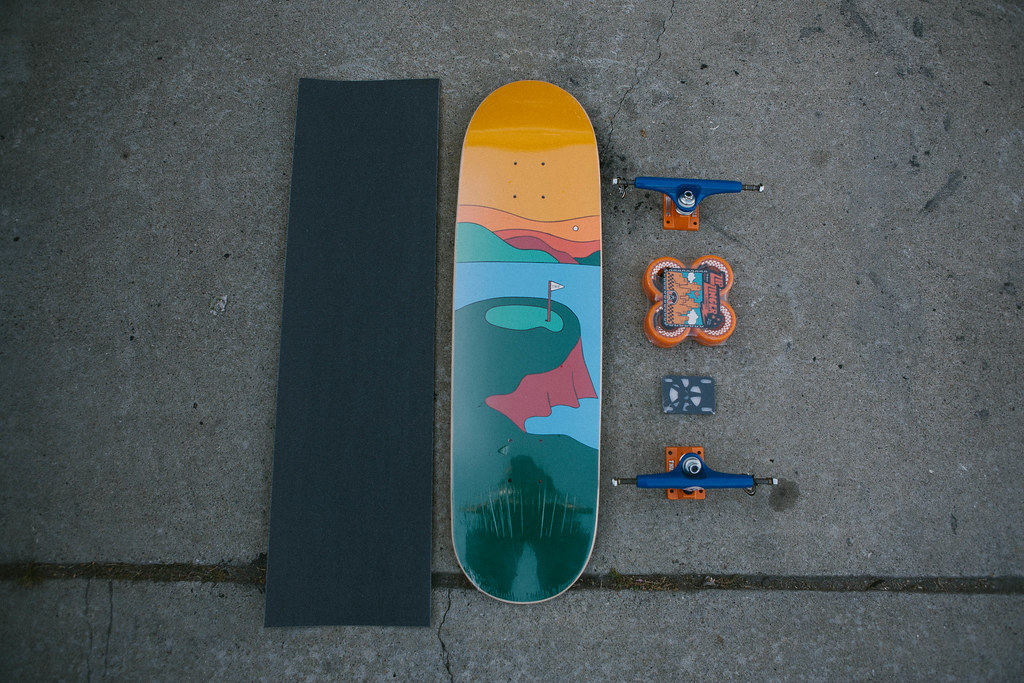
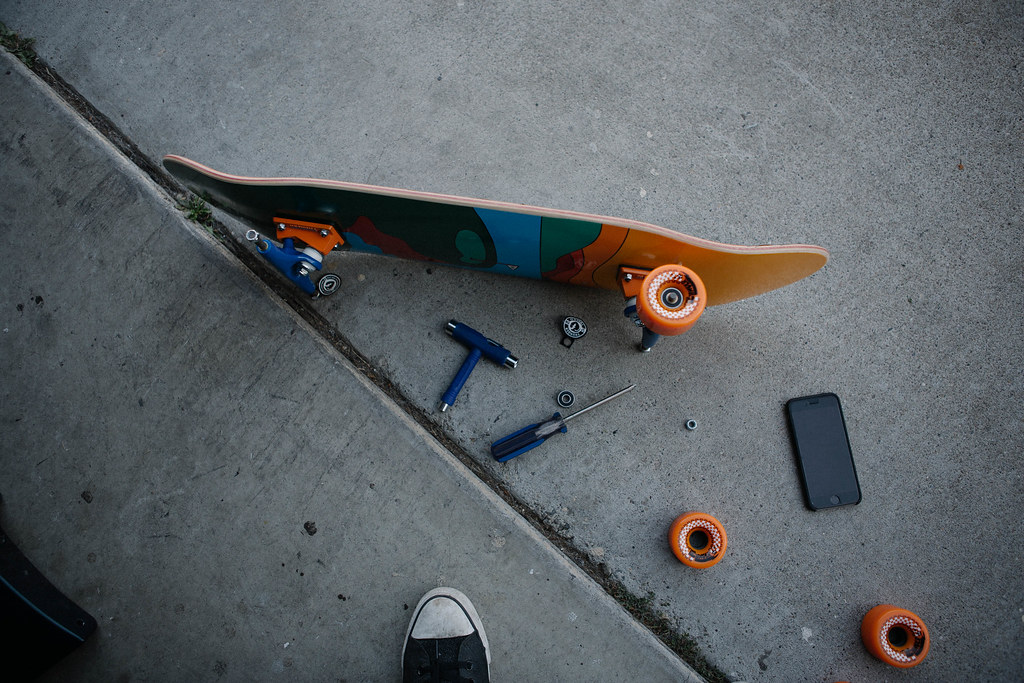
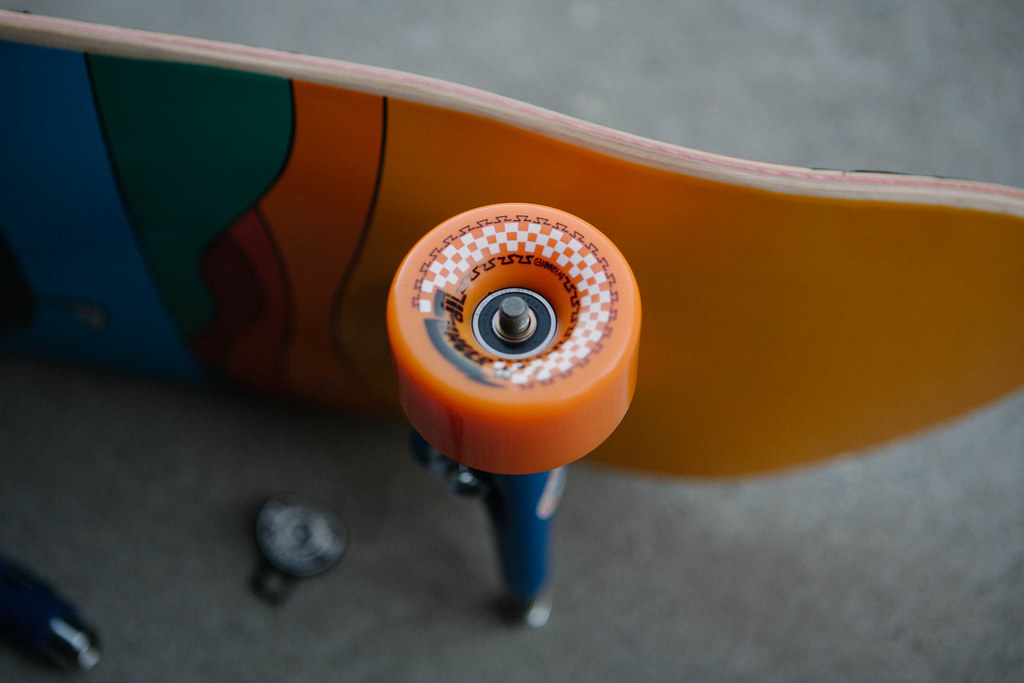
BUT FIRST, let me assemble my new skateboard
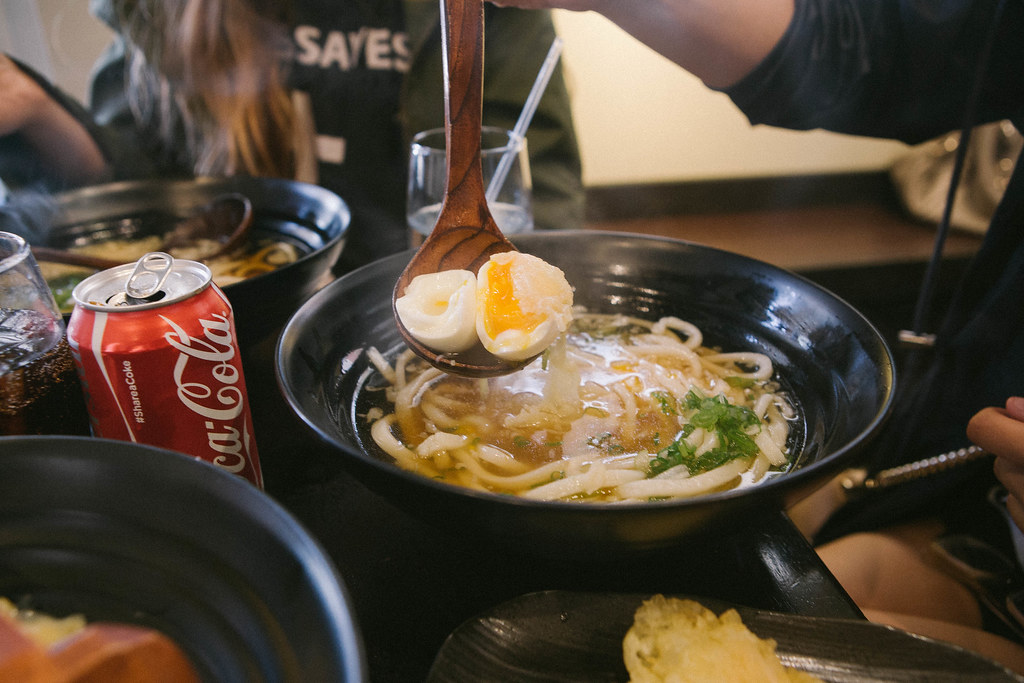
Got some bomb udon with my girl. Eat good, live good.



Got a front crossmember modified by abercrombie motorsports that moves the steering rack brackets 1" forward to help with binding issues from the max angle kit...

My diff was welded by parts shop max when I stopped by their shop to pick up all of the parts.

Diff is sealed ready to fill... diff takes 1 1/2 quarts if I remember correctly... just fill it till it leaks out the side fill hole.

Then some more suspension work... all part shop max all around


Then started getting the suspension dialed in and made the wheels fit better...

Then I drove the car to work... I really liked this phase of my s14, but it was too simple for me... I wanted something with more WOW factor... I was not entirely happy.

Learned that the rear drop knuckle pushes the wheel up further causing you to have to add more negative camber to adjust... so then I did this...

and then went to a drift event...


Had a blast. Decided I needed some more aggressive wheels... ended up picking these up.

Working on getting the equips to fit.


The loves of my life...

Got some new tail lights... didn't like the zenki tailights or the kouki tail lights... Also got an origin roof wing (which ended up falling off and getting demolished 2 weeks later)

Got some new rubber for the front equips...

Ditched the nardi for something different... not sure how I feel about it yet

Got a back cover for the maxis seat

Rad Koyo

Last time I will see these equips 18x12.5. Will be rebarreled at wheelflip to 18x10.5

Got this cool m7960 tomei turbo for my sr

Wiring specialties harness for s14 to s14 sr

Wasn't planning on running ganadors with my new setup.. but I couldn't resist holding on to a pair of these. We'll see which ones I plan on running once the cars done and put together...

Some goodies from RHDjapan

Kinda bumpped the yashio factory only makes the upper radiator hose so I ordered the pink samco hoses... looks like they arent the same pink. What a bummer. Oh well.

Found this thing.. had to get it... sorry mom

Ok... this is kind of where the build gets more serious....
I can't count how many times I have came into the garage and just stared at this thing... too many thoughts run through my head about this car. It's quite a rollercoaster ride of emotions.

Tomei M7960 next to the stock s14 t28 turbo

Turbo porn

Pulled off all the stuff on the exhaust side.

Got some delicious hawaiian food with my gf

Then hung out in santa cruz with my dog chance and my gf


Proceeded to rip the interior apart...

Previous owner parked this thing out in the sun.. poor dash

It is impossible to pull this piece off when its been sun dried.. thing was brittle as hell.. Barely any pressure was used and it straight snapped... luckily FRsport sells these for a decent price.

Getting there..

Rusty bar... no good.

Gonna paint this thing.

BUT FIRST, let me assemble my new skateboard


Got some bomb udon with my girl. Eat good, live good.


 Re: wavyzenki s14 build, the street machine
We often get stuck so deep in our build we forget to enjoy our lives. Remember to enjoy your life!
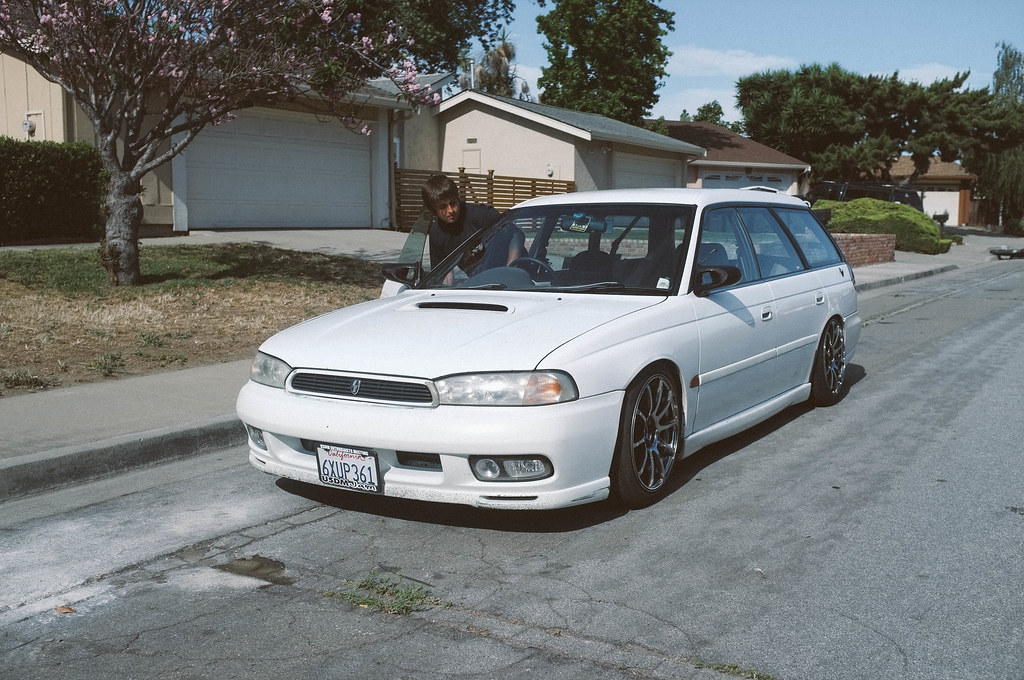
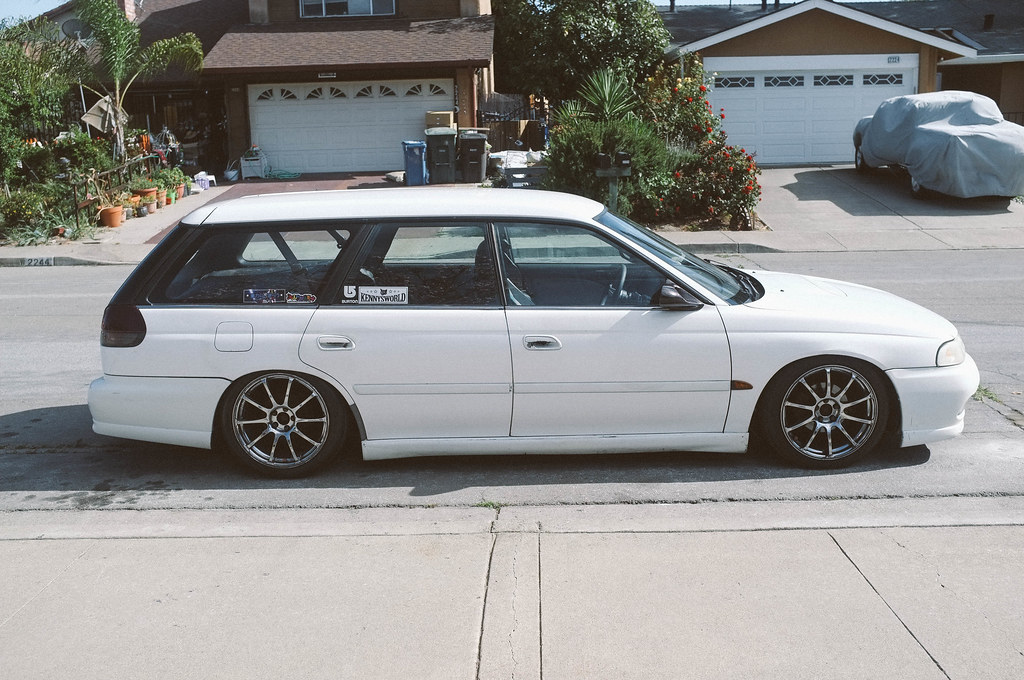
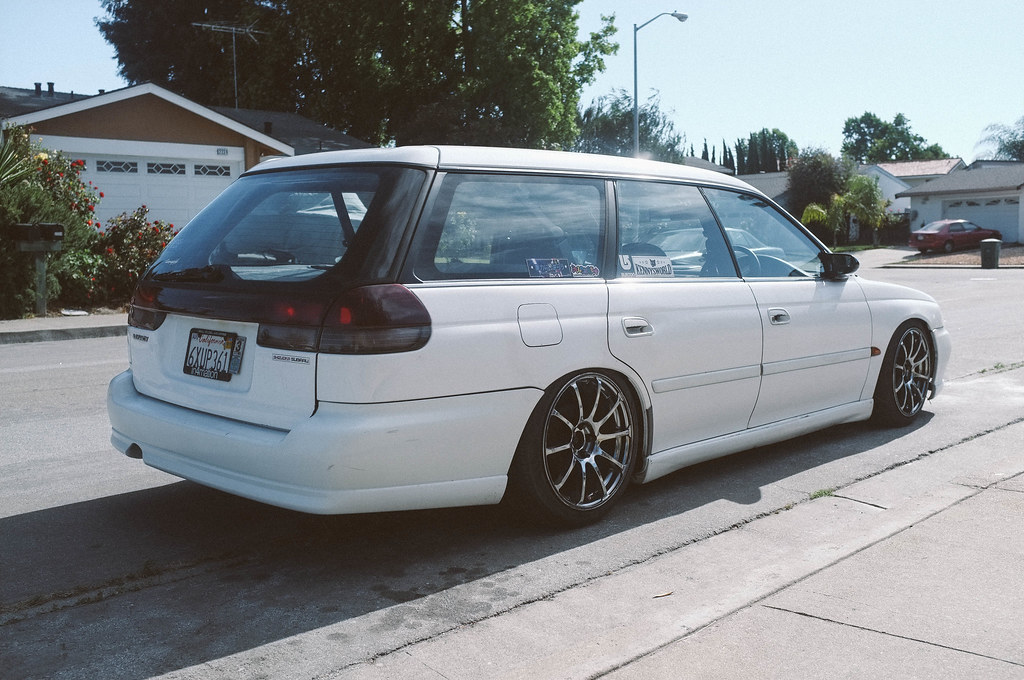
My friend sam stopped by with kennys old rhd legacy wagon. I wish I could have bought this thing..
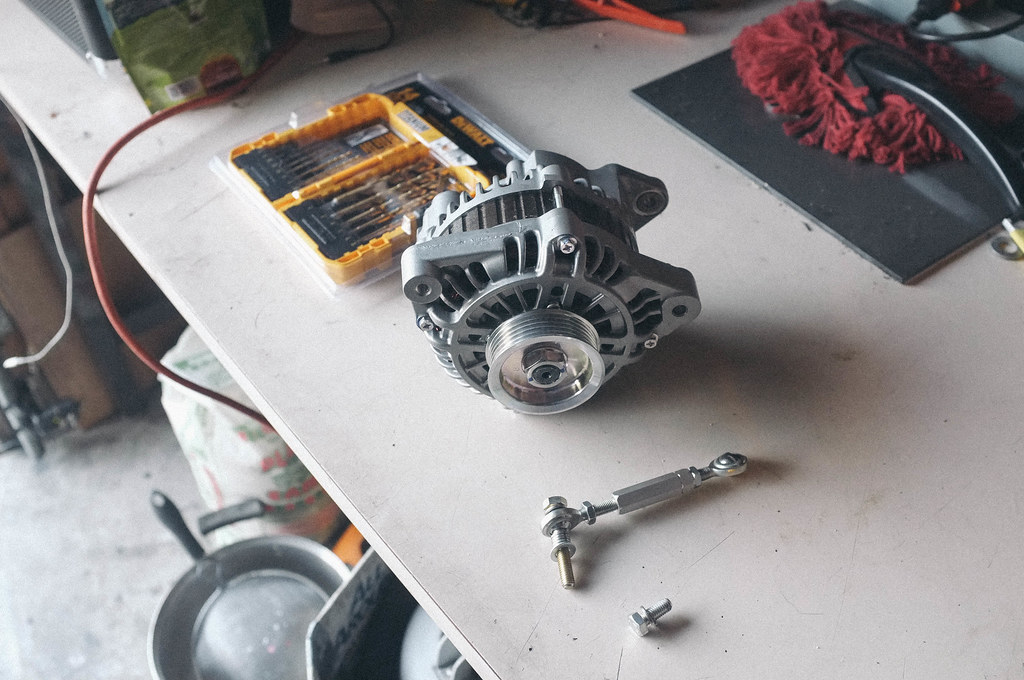
Modifying the nissan quest alterator with cody ace bracket.
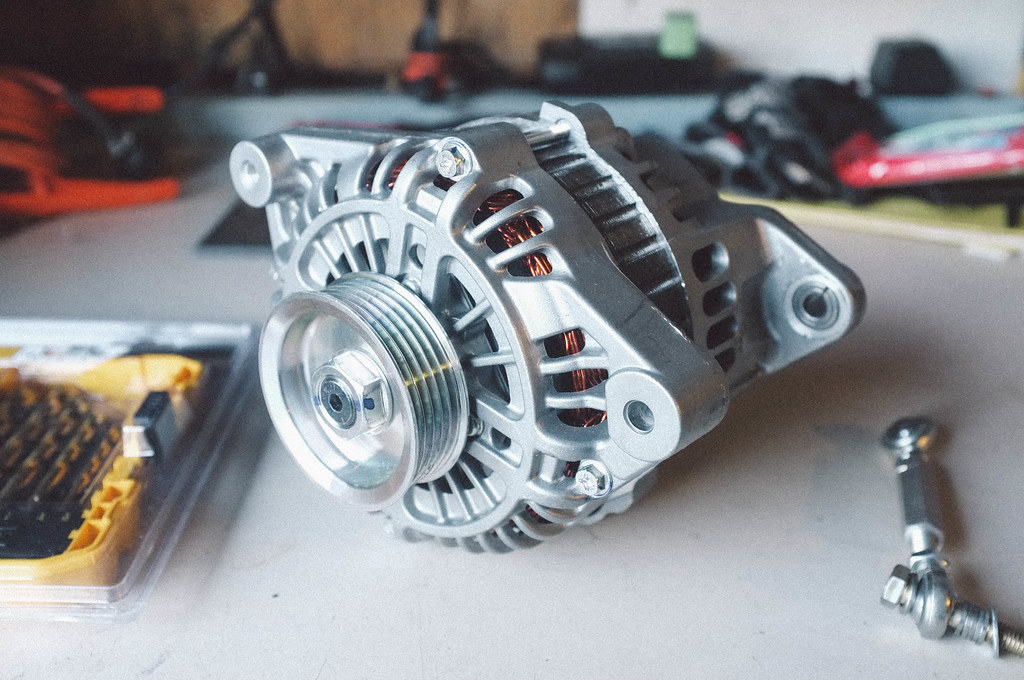
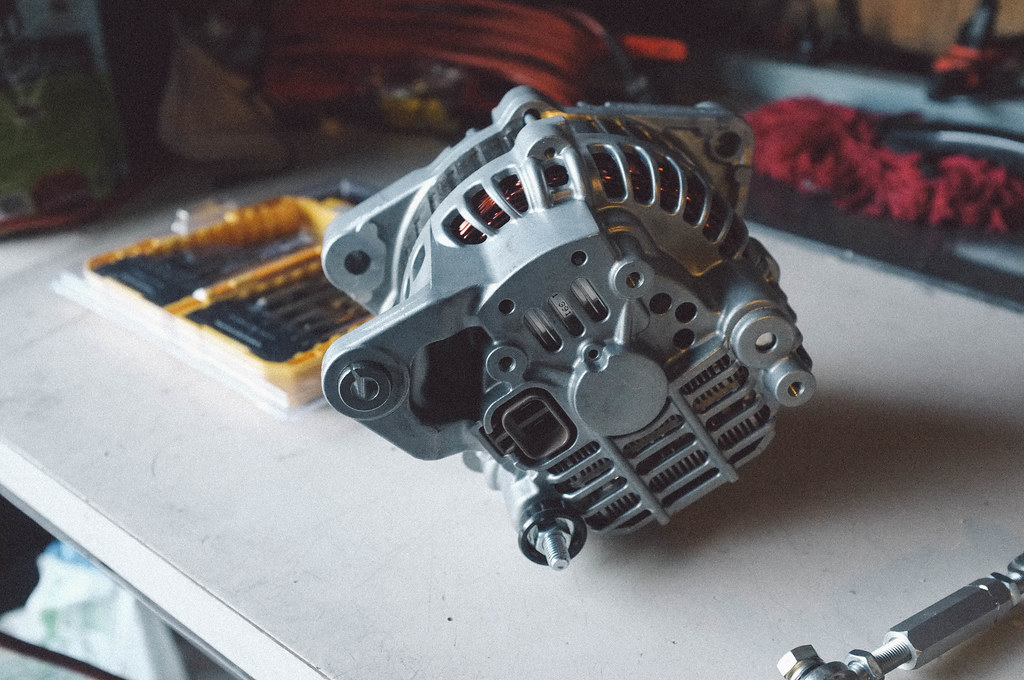
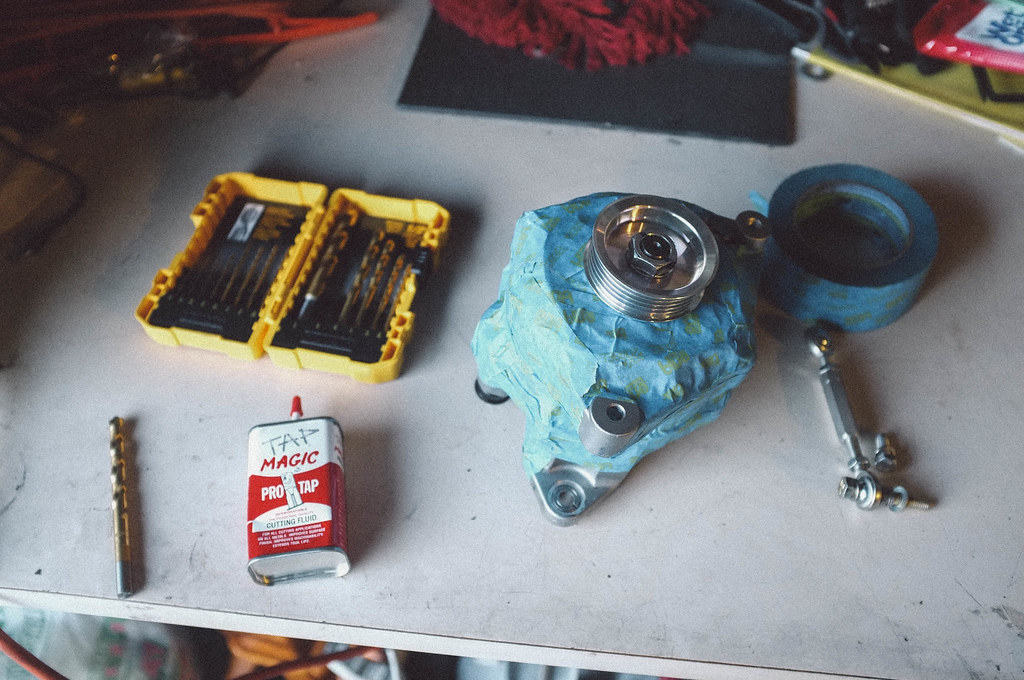
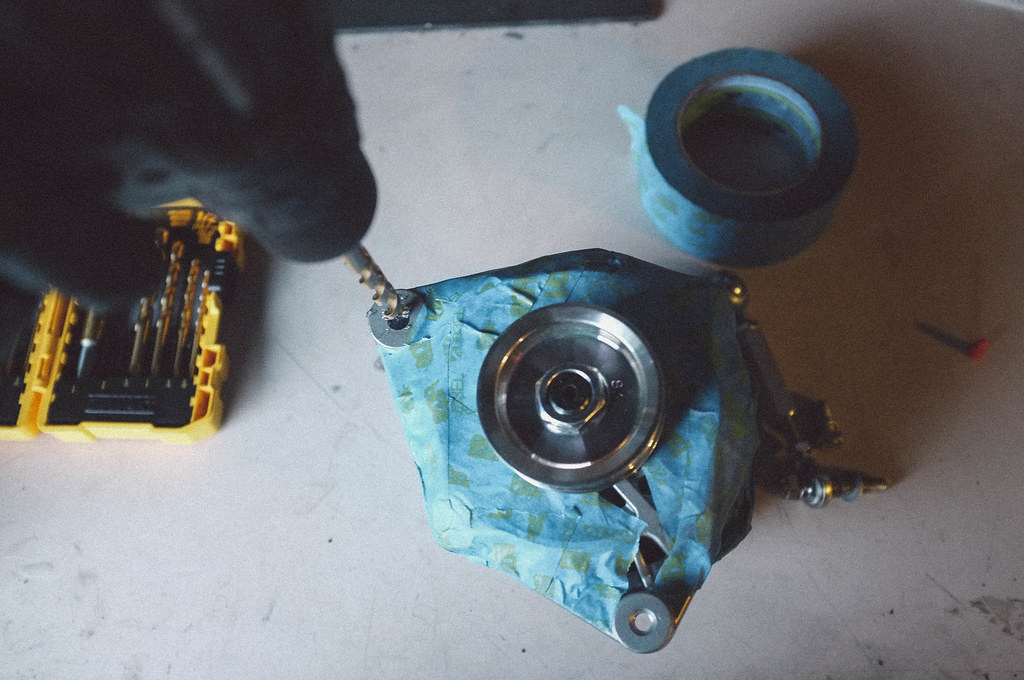
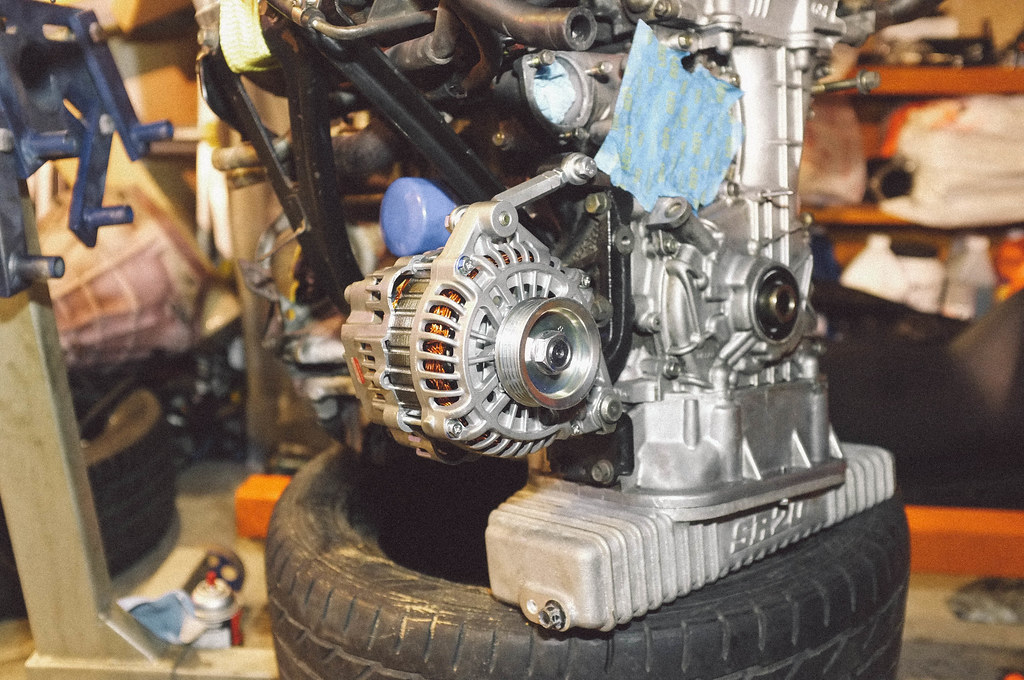
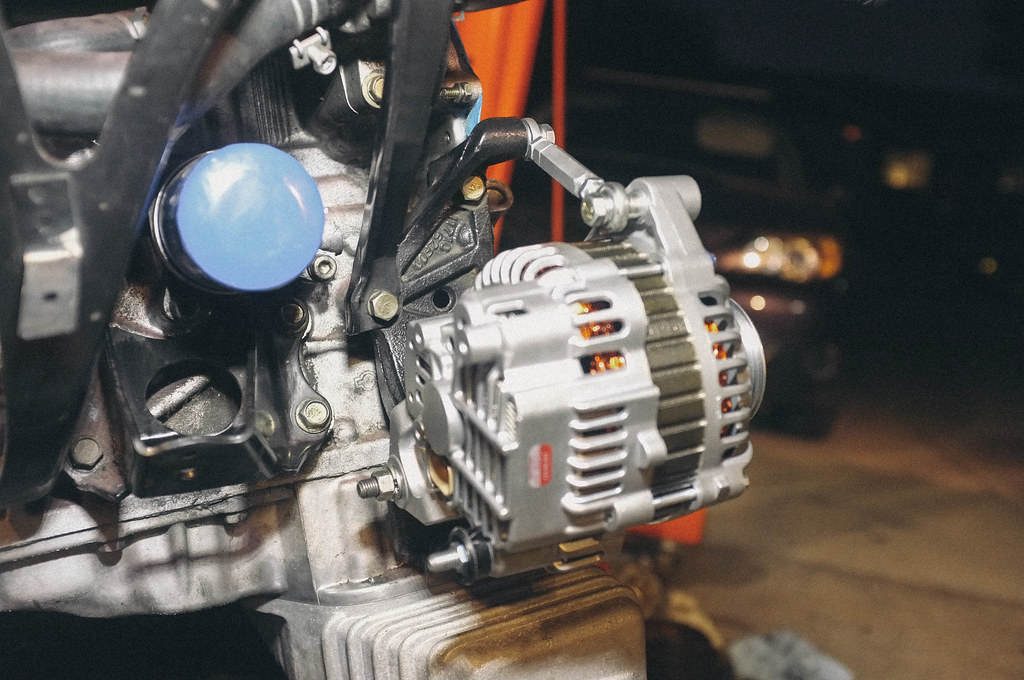
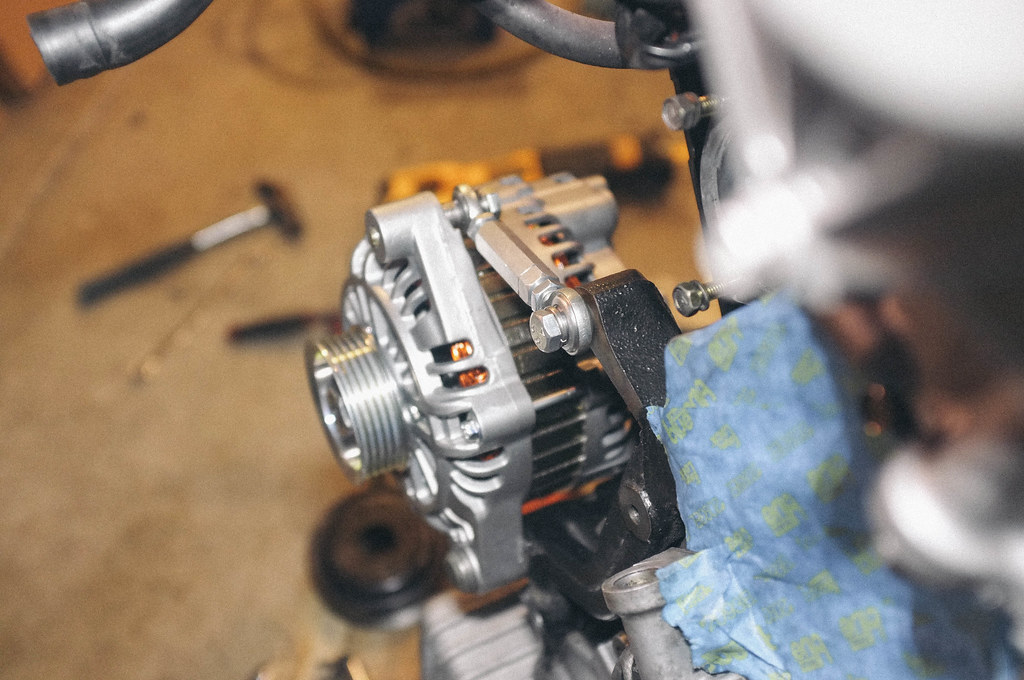
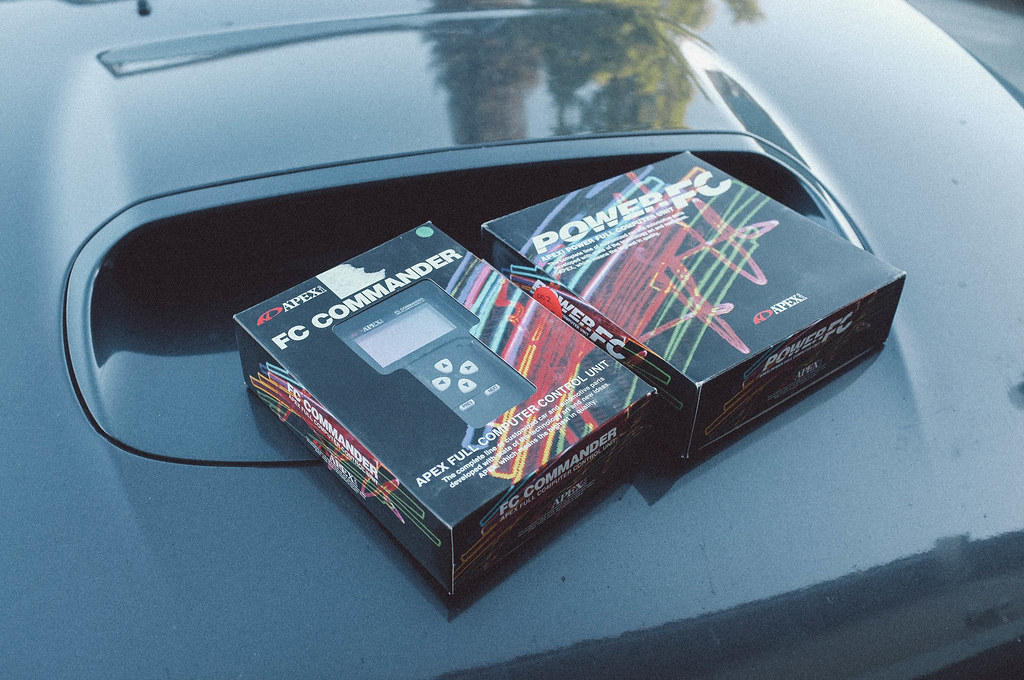
Got something in the mail today...
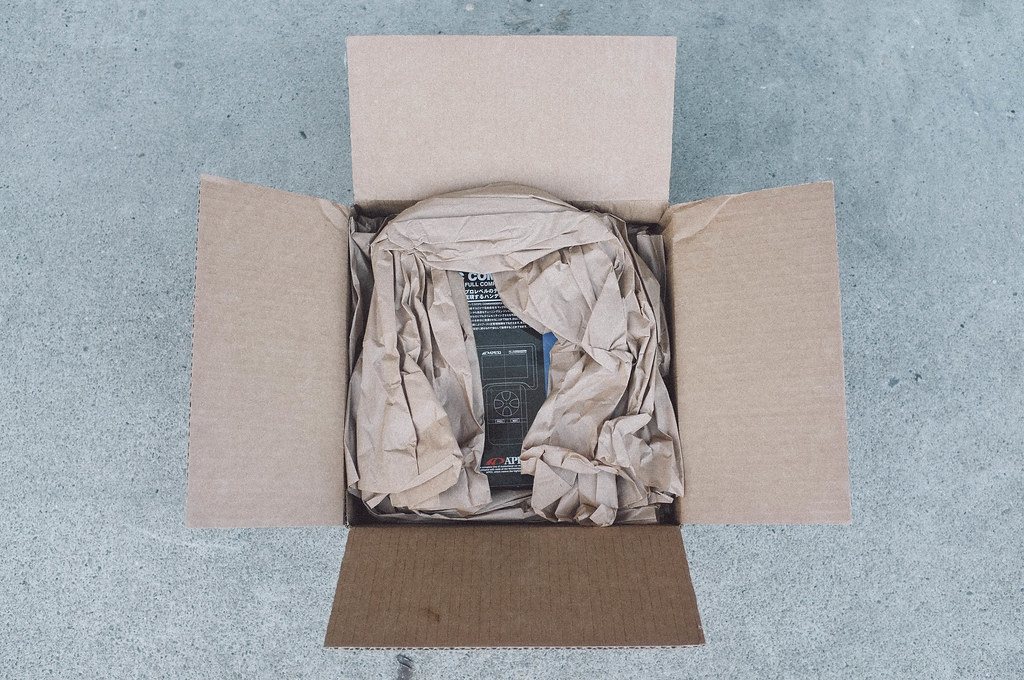
Apexi power fc l-jetro
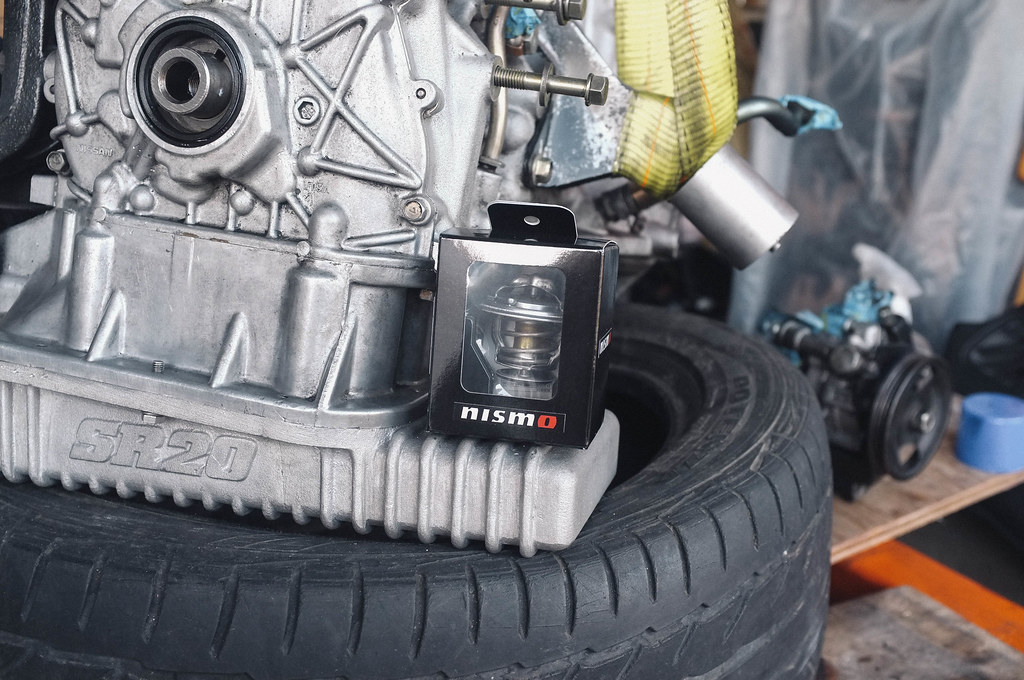
Nismo thermostat
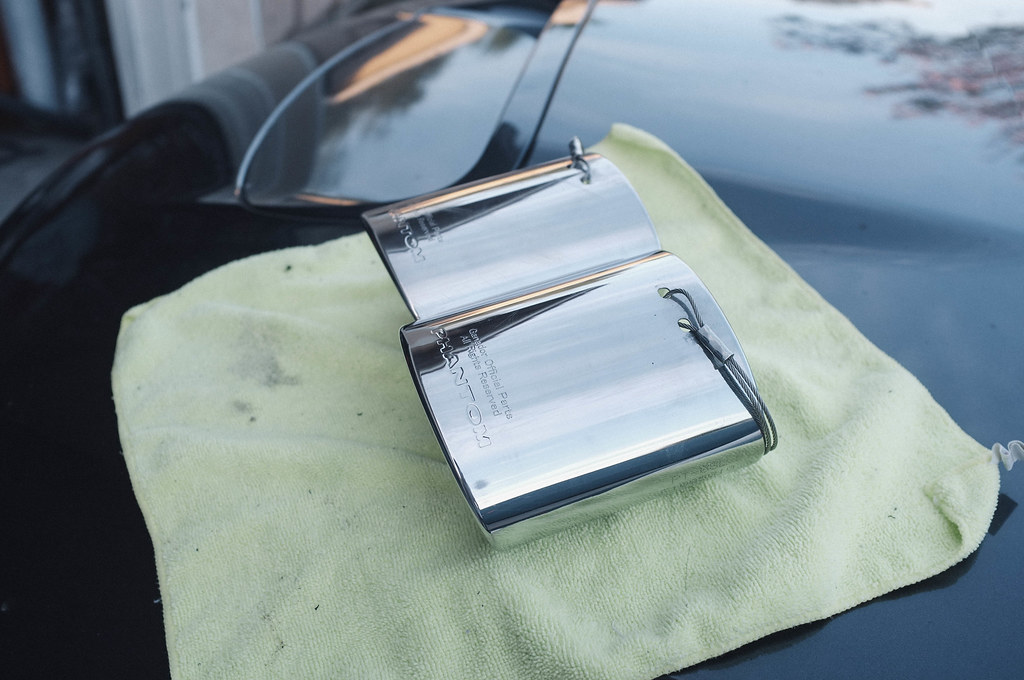
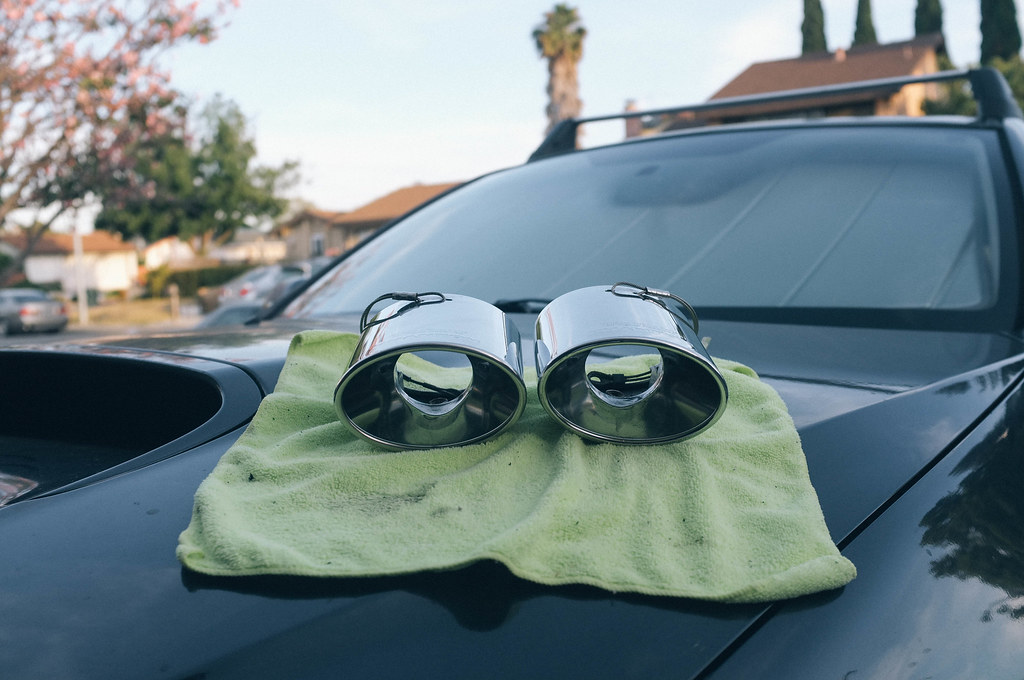
Ganador exhaust tips
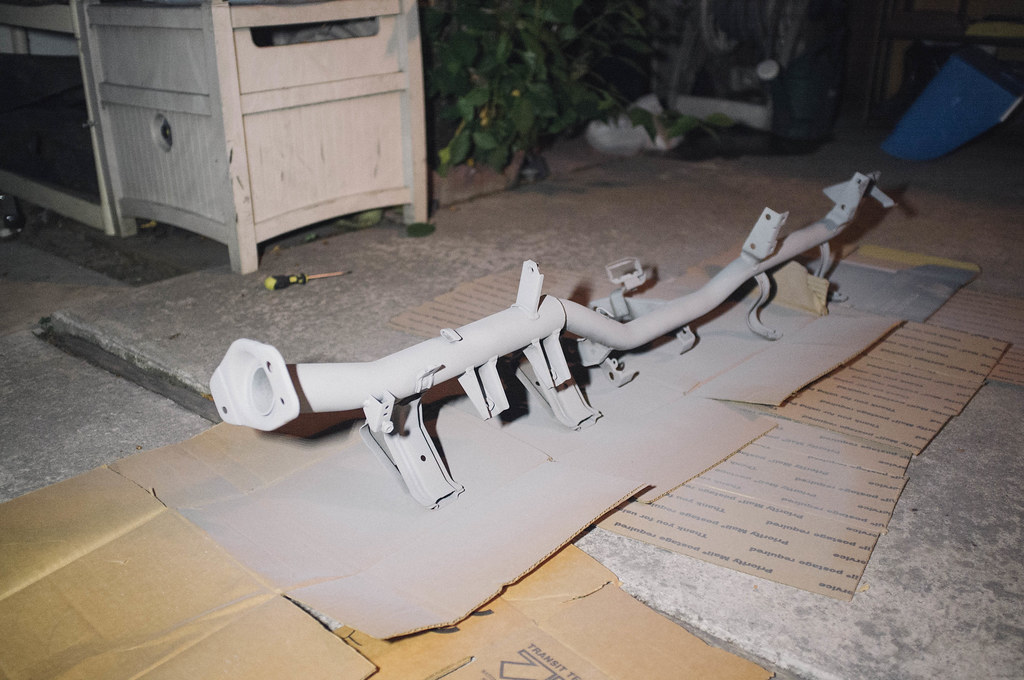
Laying down some primer on that dash bar...
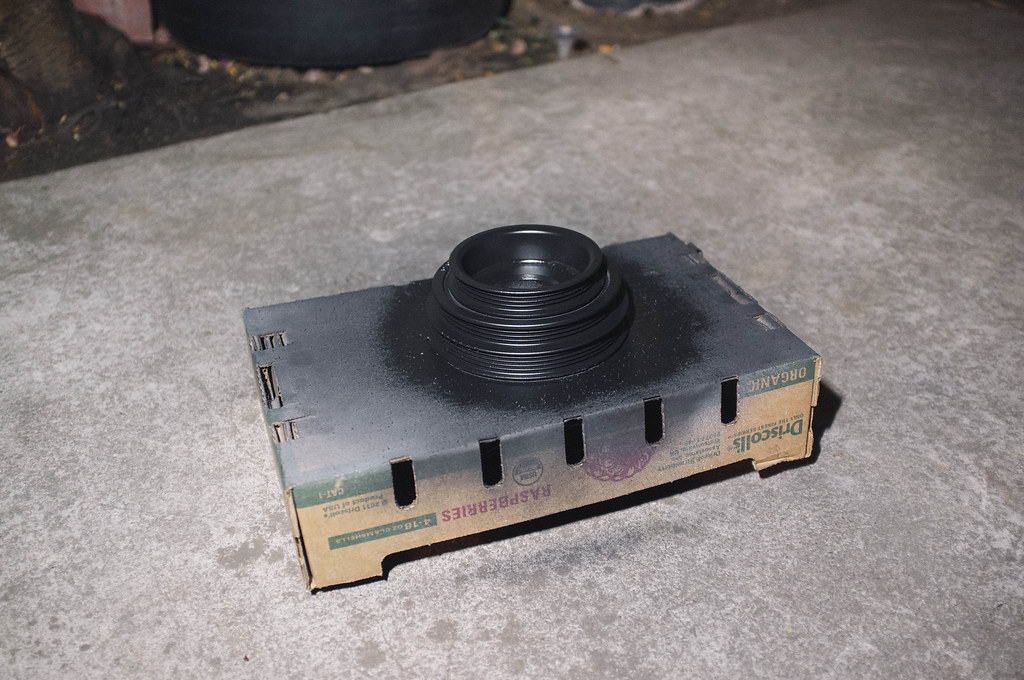
Was kinda broke and couldn't afford the AIT super damper so I just decided to freshen up my stock pulley...
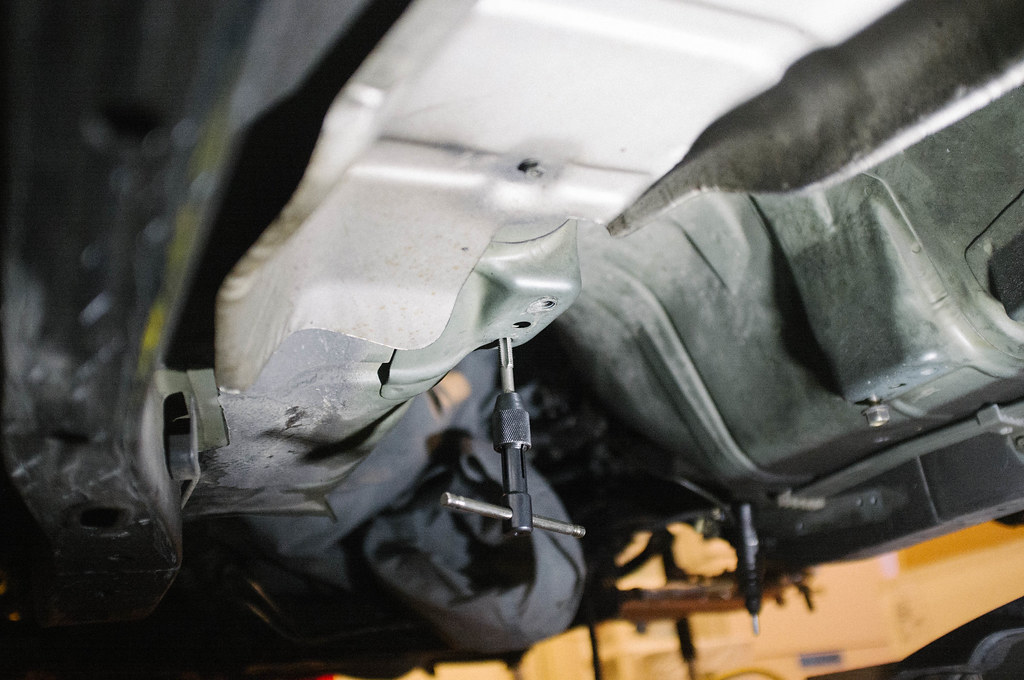
Retapped a stipped hole where the transmission crossmember bolts up.
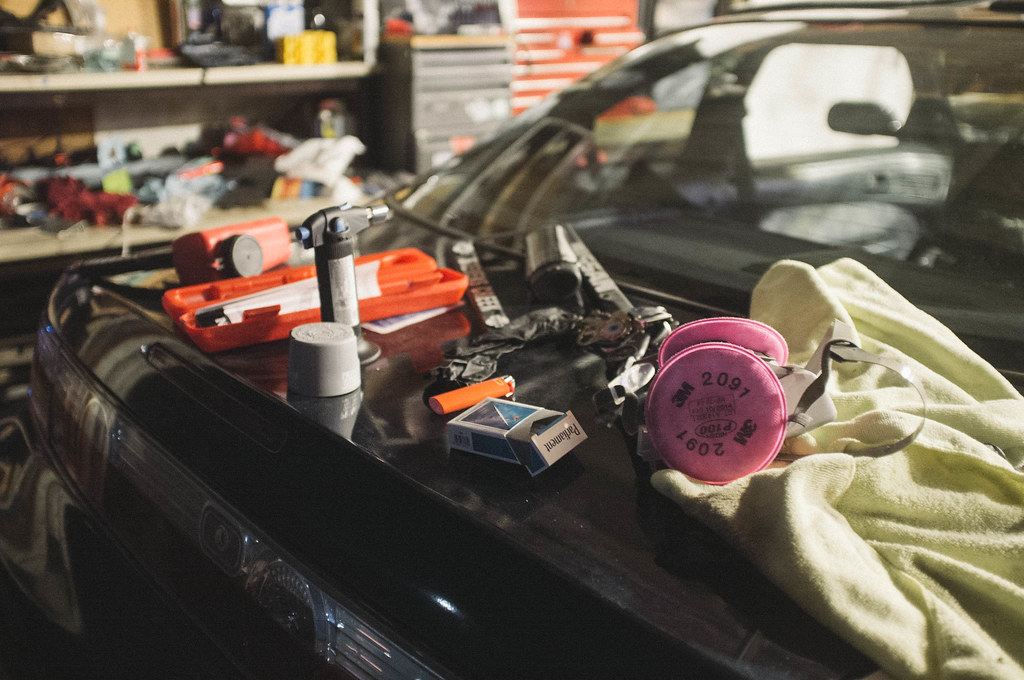
Too many late nights in the garage...
Dinner n brews with some buds
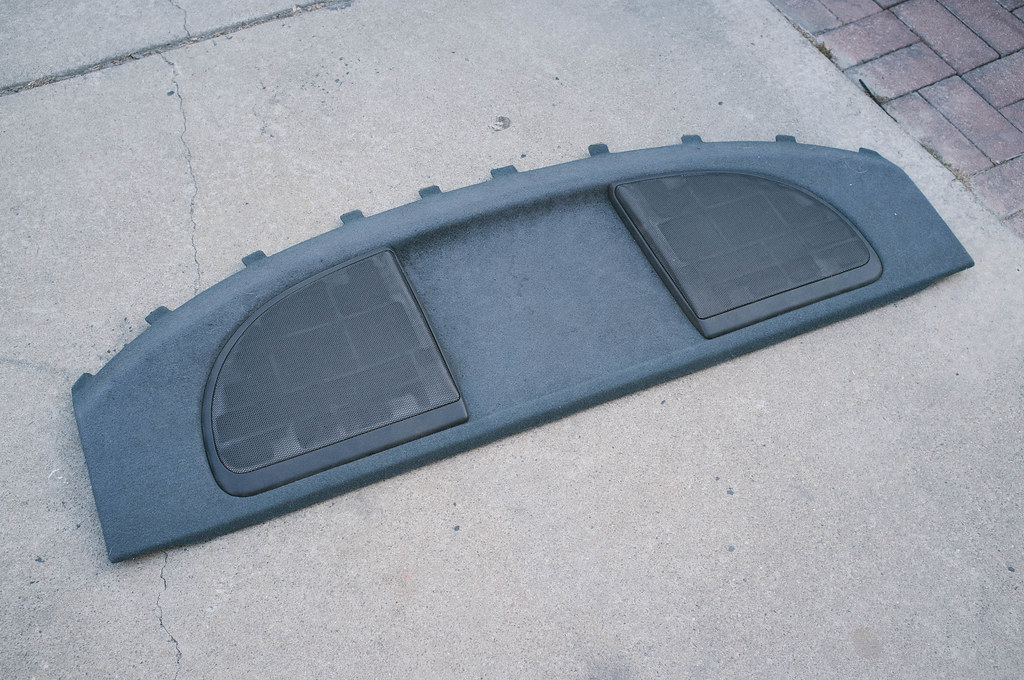
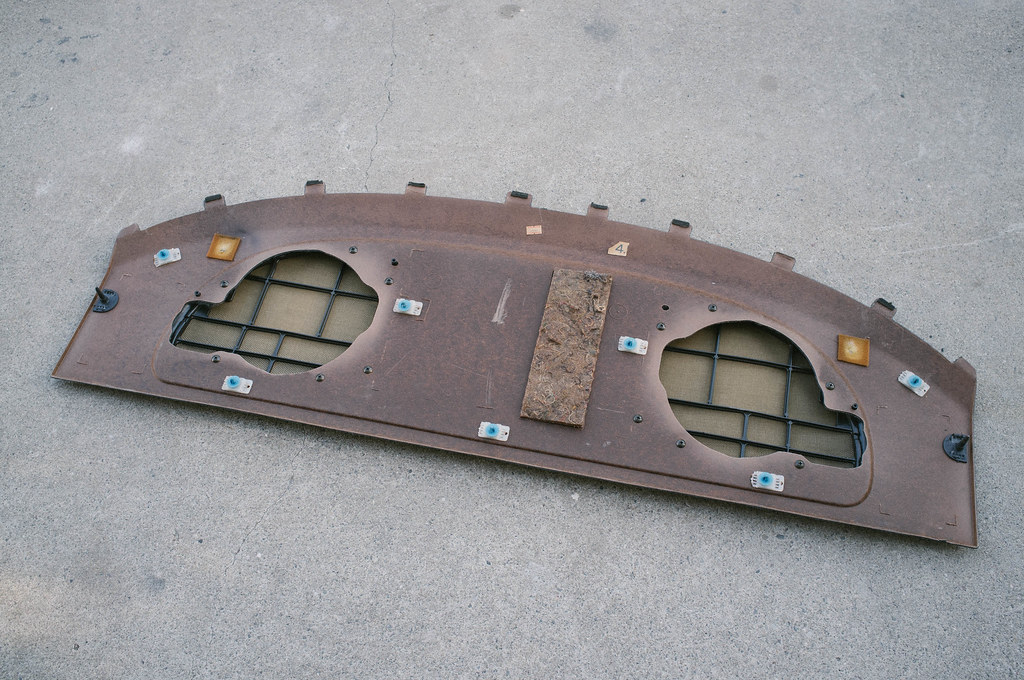
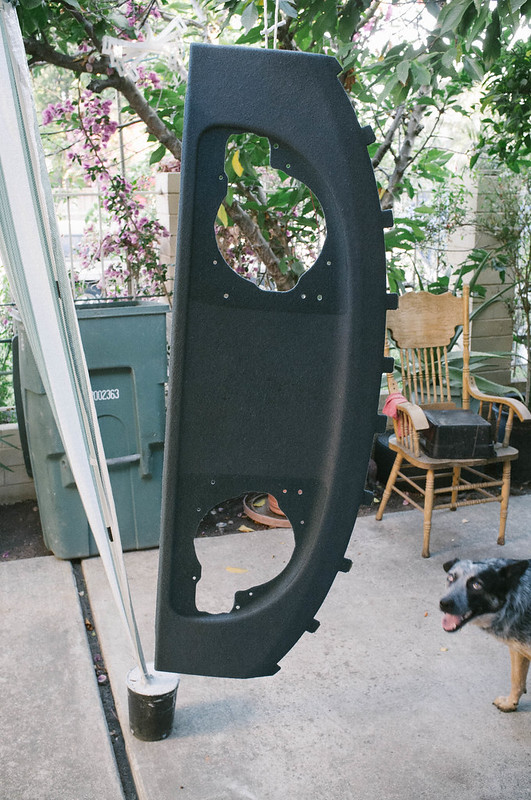
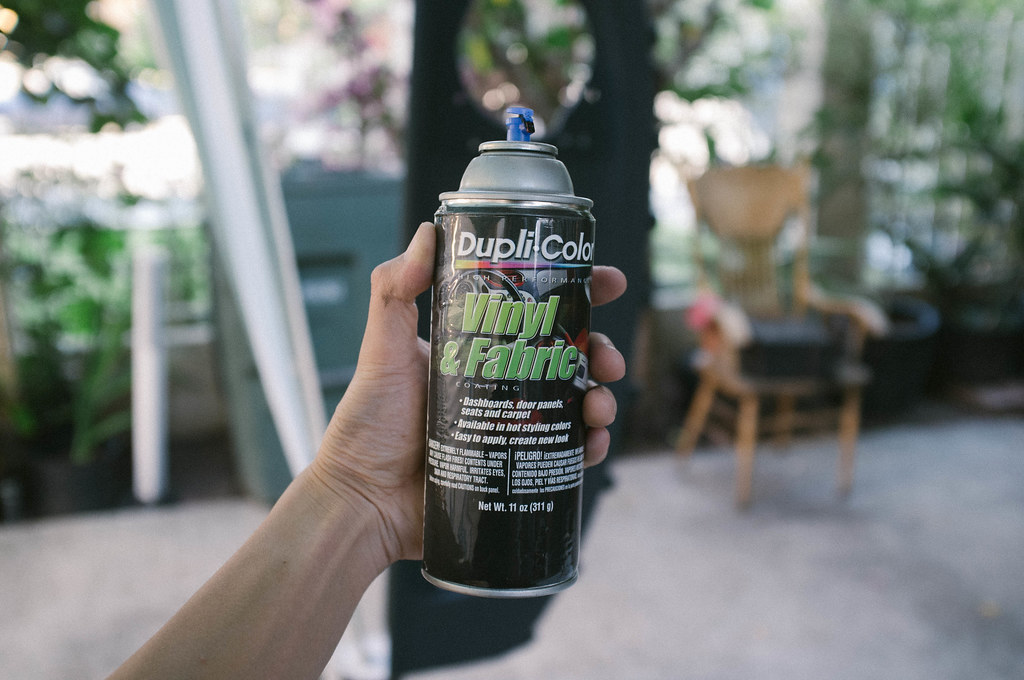
Slowly but surely getting my interior converted from blue to black at all costs... first piece to play with was the rear radio surround. Cleaning and prepping for some paint.
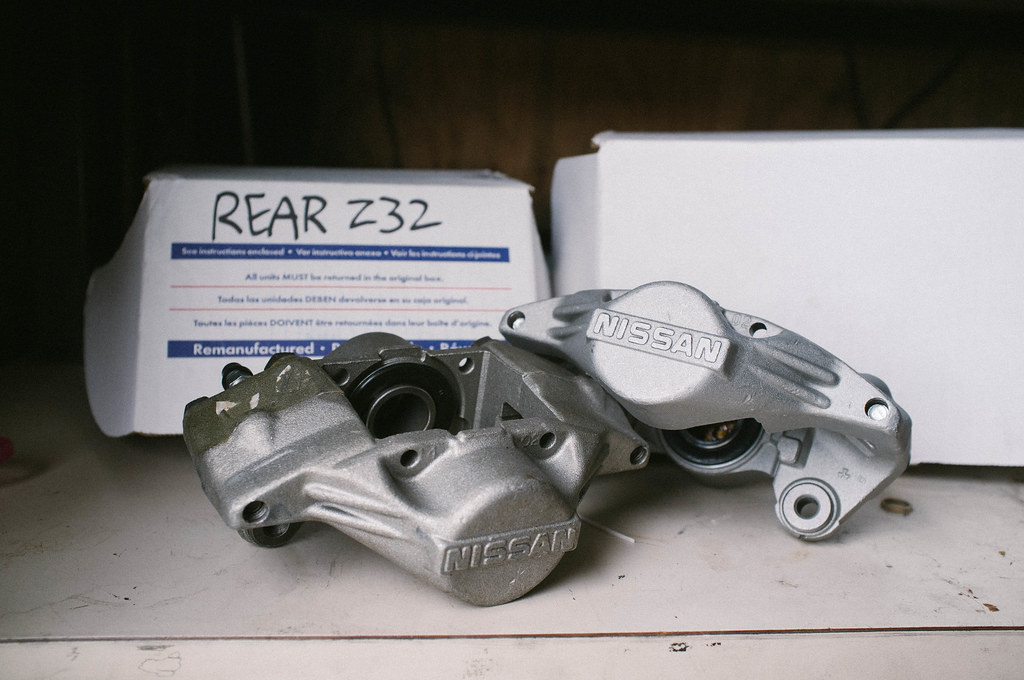
My buddy who sold me the SR had these laying around and decided I could put them to use... still debating if I want to run these or wilwood in the rear..
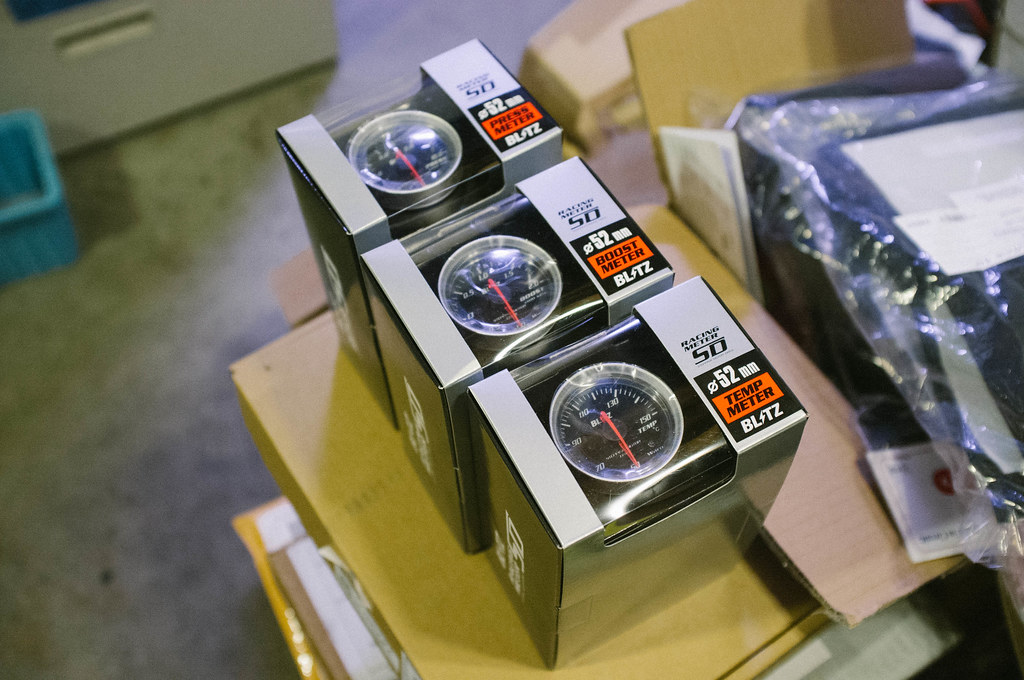
Blitz gauges... took me awhile to find the perfect gauges. It was either these or the defi gauges. I went with blitz. My interior MUST be perfect...
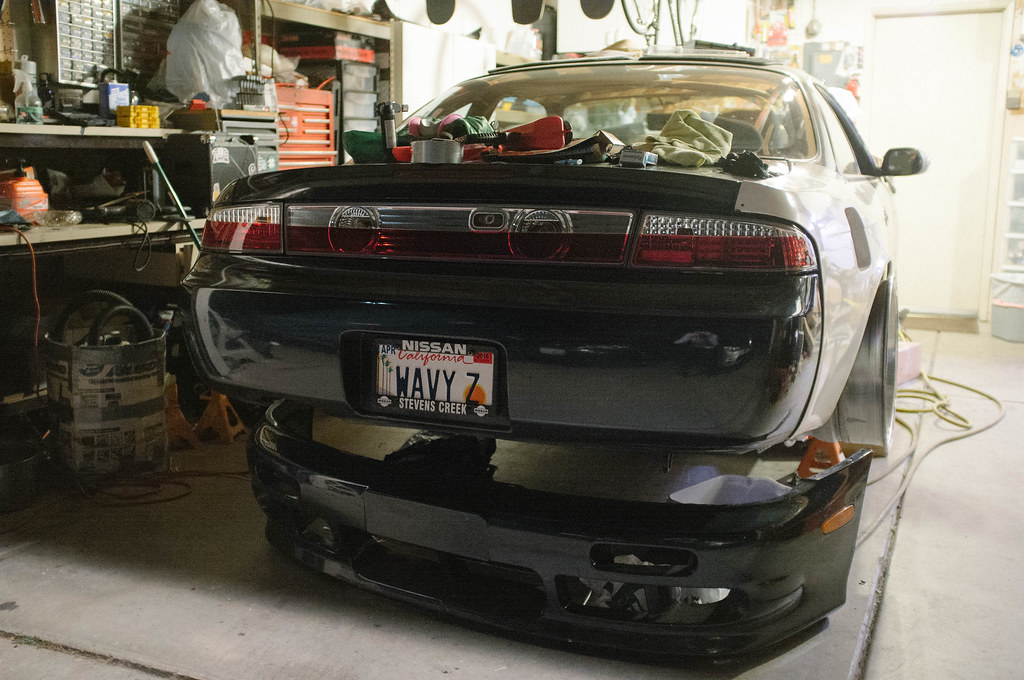
Got my new plates.. wavy z... short for wavy zenki. There is a story behind these plates. I originally wanted wavy14, but realized that I ordered plates for me 350z that I never picked up. Buddy of mine told me, "Hey, why not pick up the 350z plates and make the z stand for zenki?". Lightbulb went off in my tiny head and straight to the DMV I went. I got there just in time as they were days away from chucking the plates out (since I went months without picking them up).
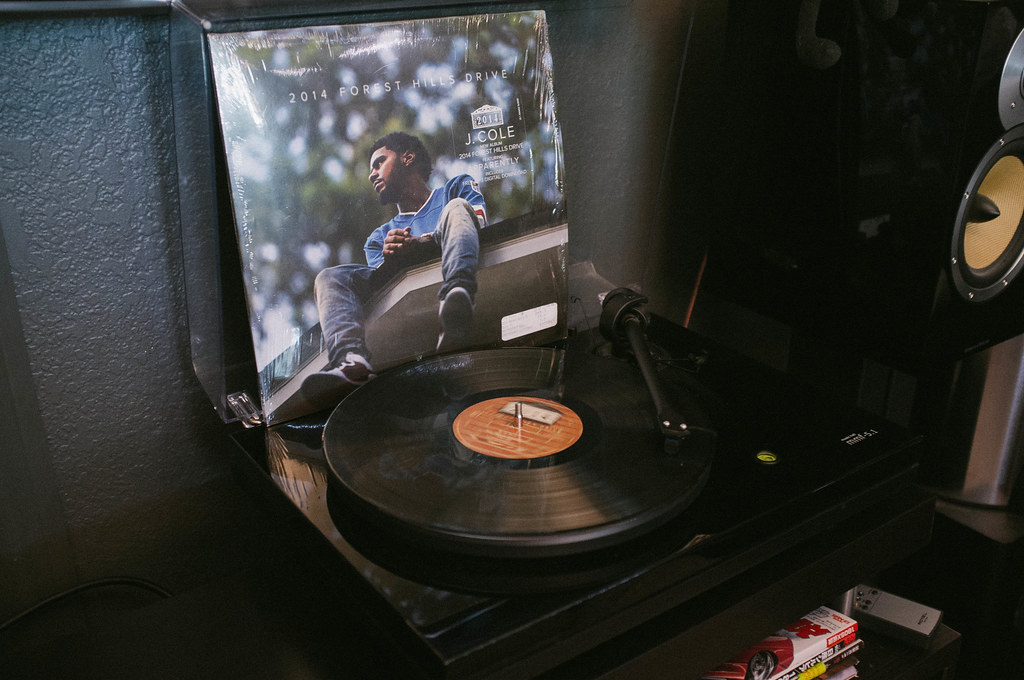
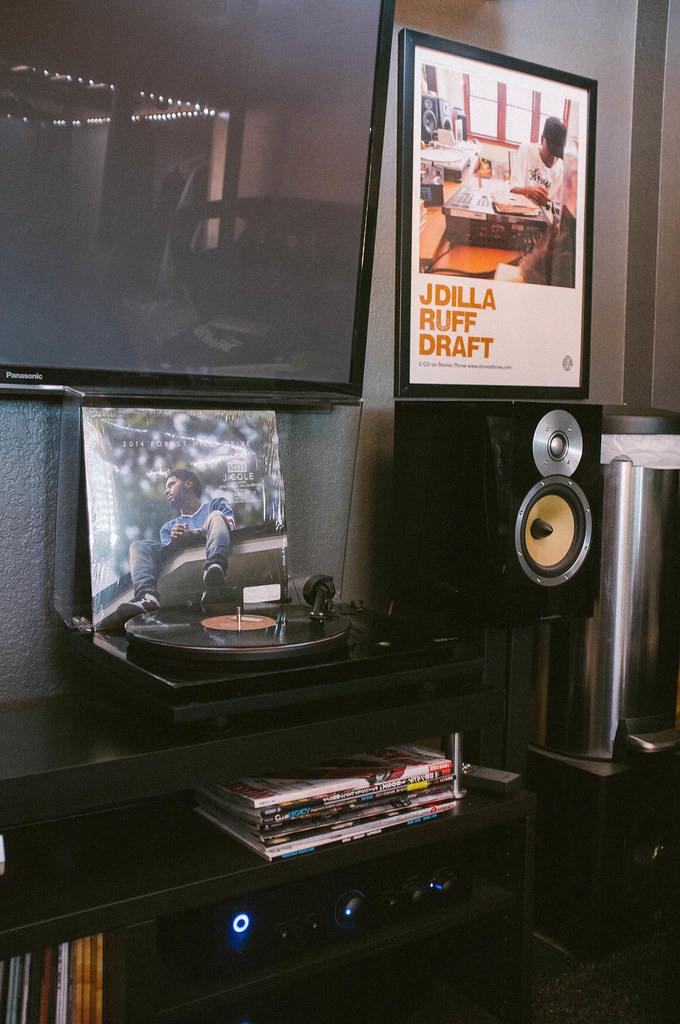
Been neglecting my room so I threw on J Cole's 2014 Forest Hills Drive and cleaned my room. We got any vinyl junkies/audiophiles on here? I can post a photo of my audio setup if anyone is interested...
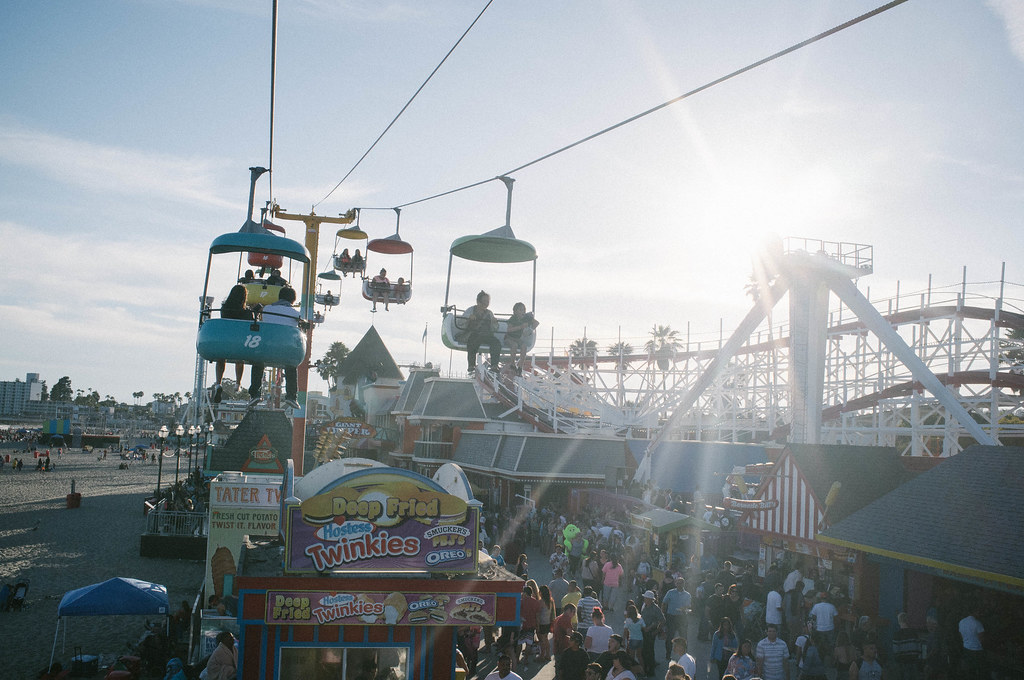
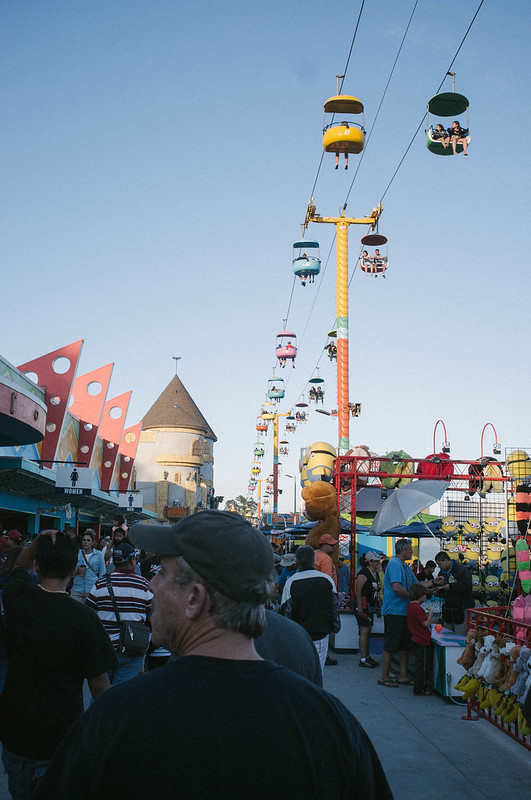
Had some fun in santa cruz with some family out of state (Pasco, Washington to be exact). Trying not to let my car take over my life. It helps to get out the house and enjoy what else the world has to offer lol.

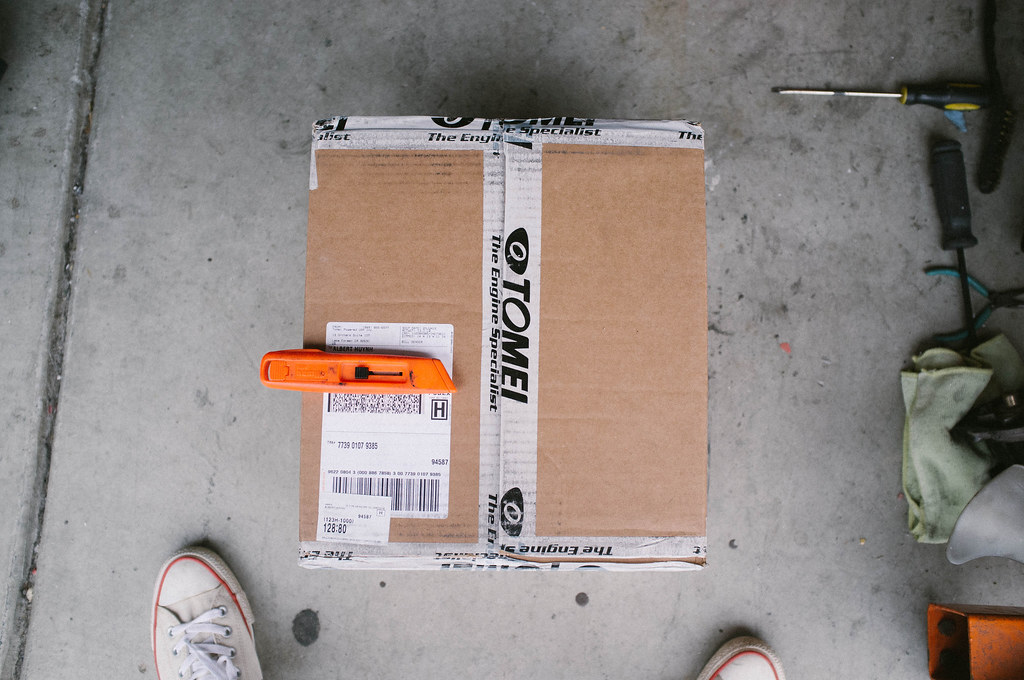
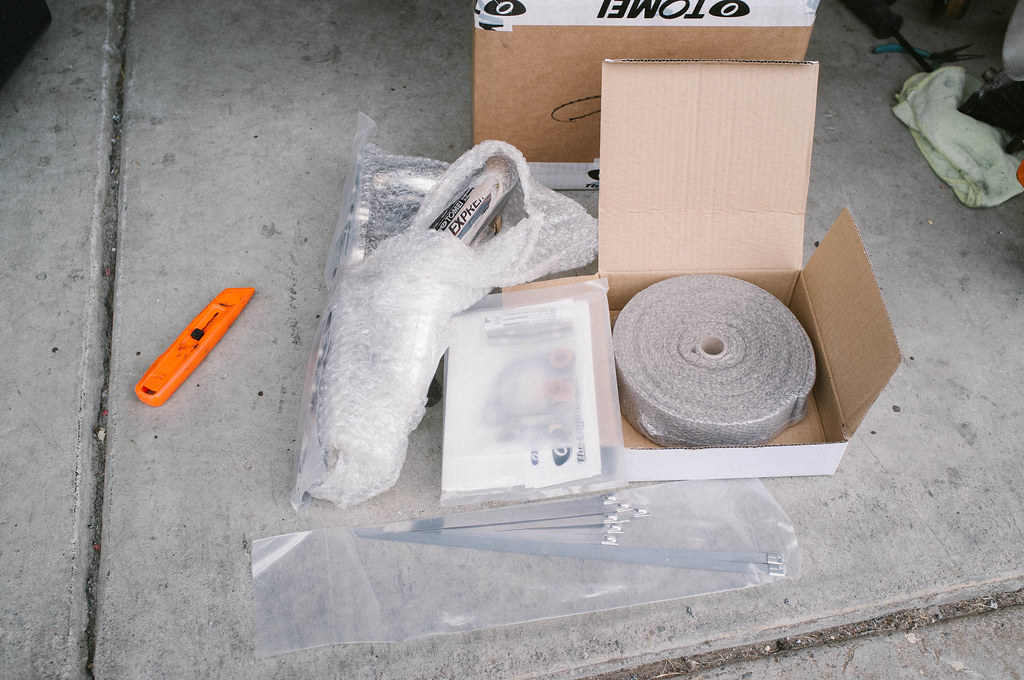
Got something back from Tomei... They seriously have some of the best products and customer service. They have secured a long time customer for sure. Was happy to have this manifold back from them so I could start getting the exhaust side put together.
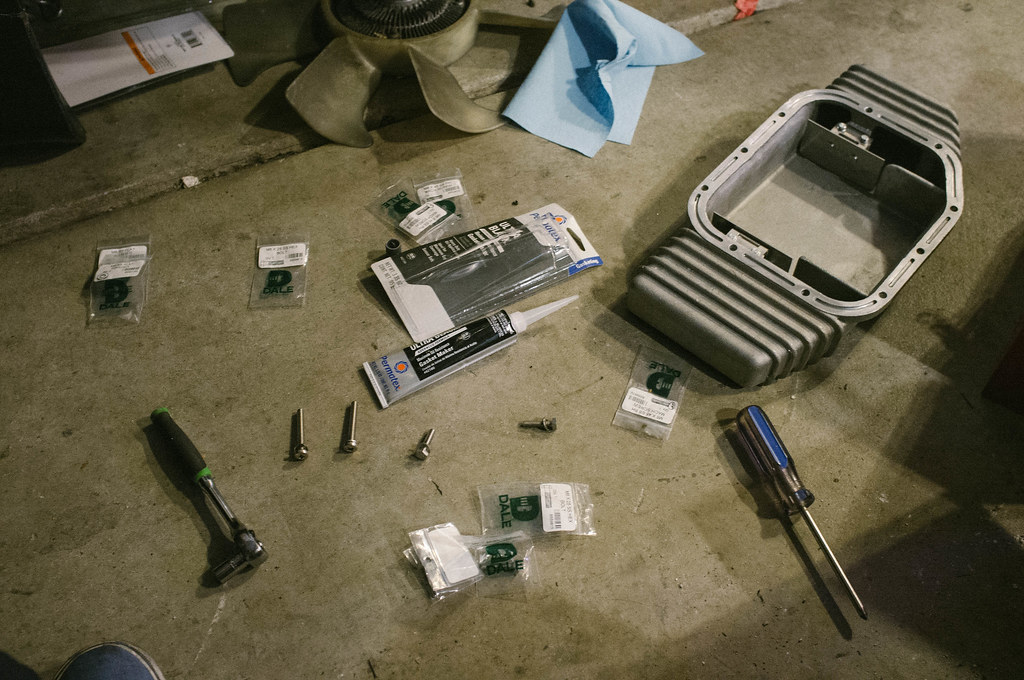
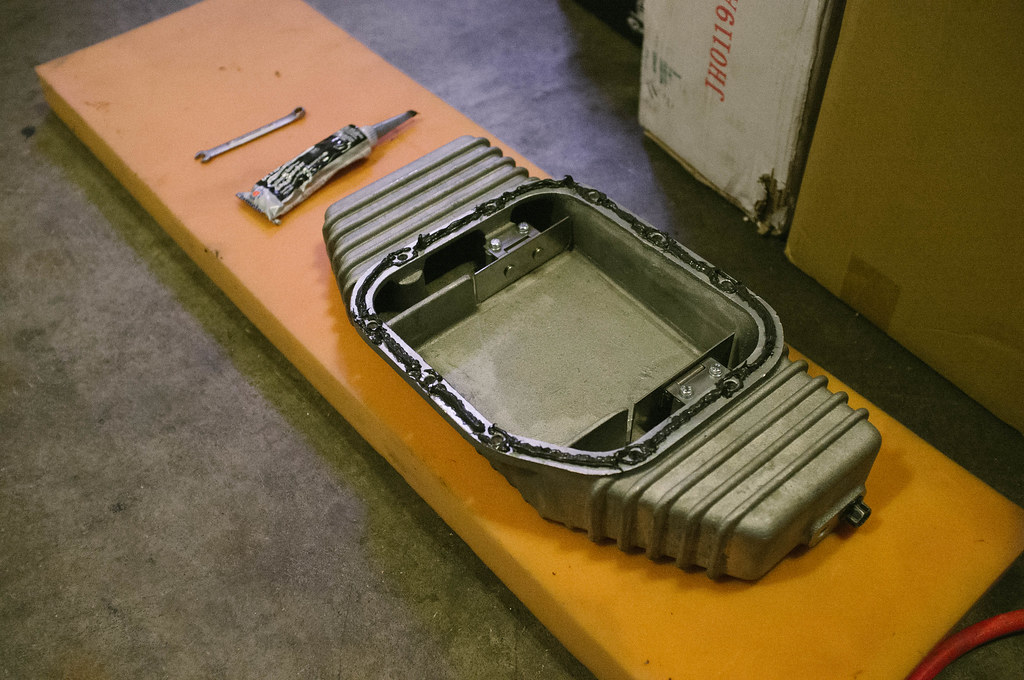
Prepping to get this trust/greddy oil pan on...
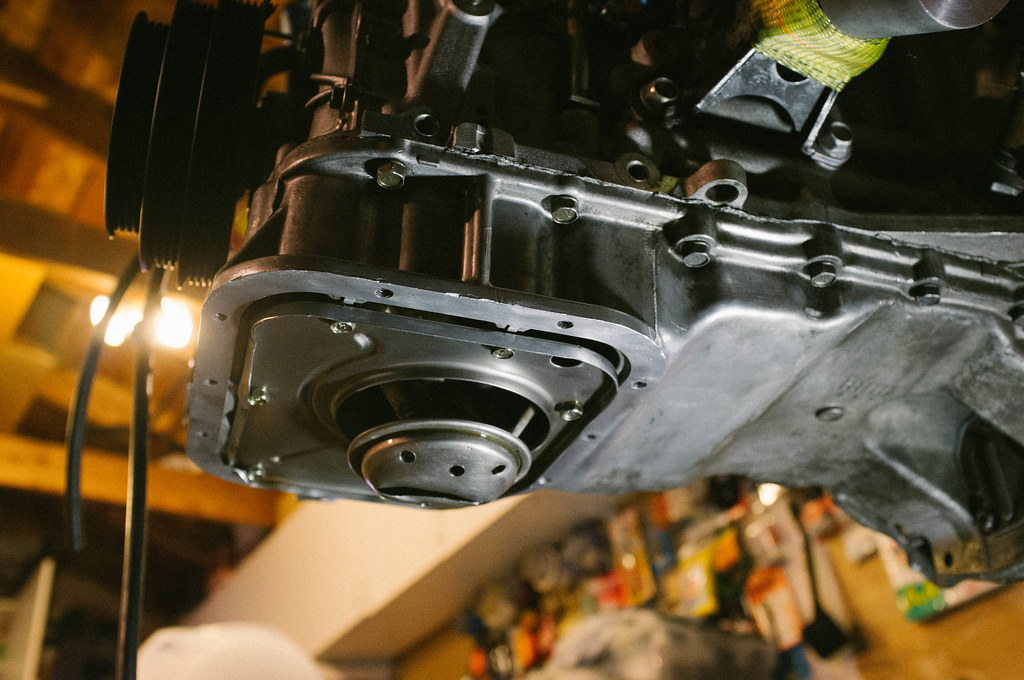
Oil pickup slightly bruised. I think it still looks ok so I didn't end up changing it. Anyone disagree?
EDIT:
9/16/15 - Sileighty_85 made a very good point about the holes being drilled into the oil pickup.. I didn't even notice those. If my oil goes low while I am cornering I could pickup air causing my oil pressure to drop. So I decided I will be replacing this item in a later post.
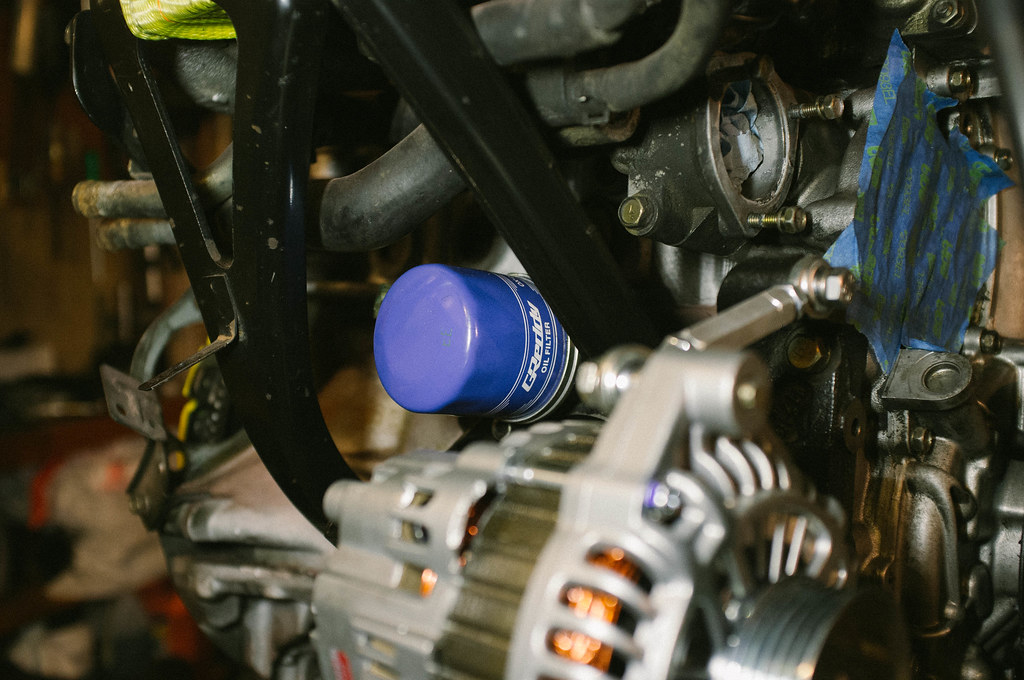
Threw the Greddy oil filter on... coooool stufff
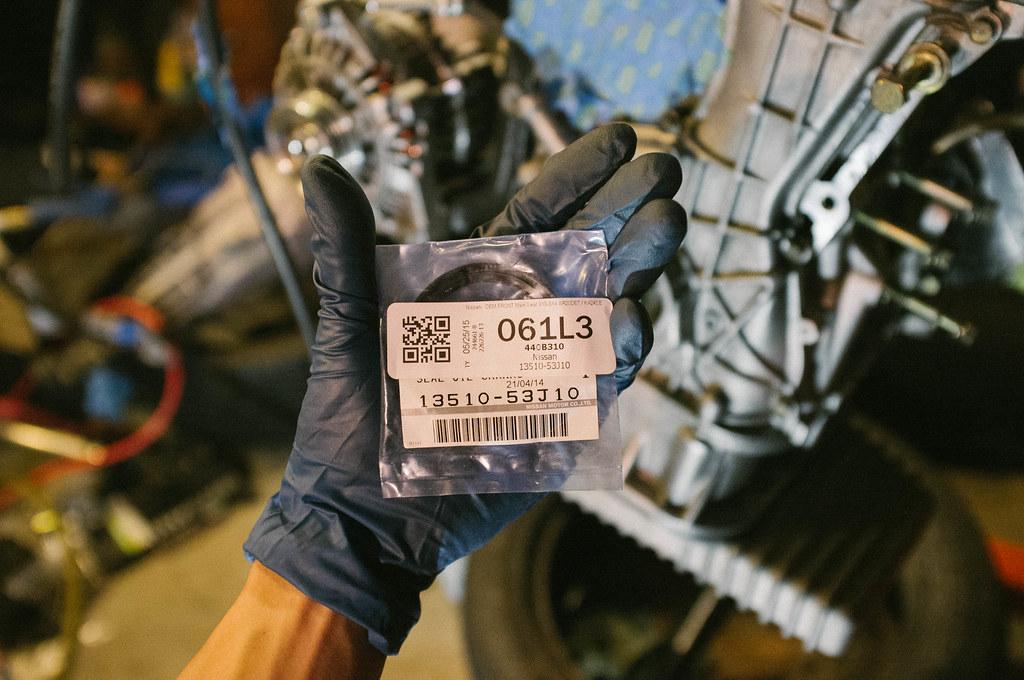
Got a new OEM front main seal. Old one was leaky. Cheap and easy to replace, why not?
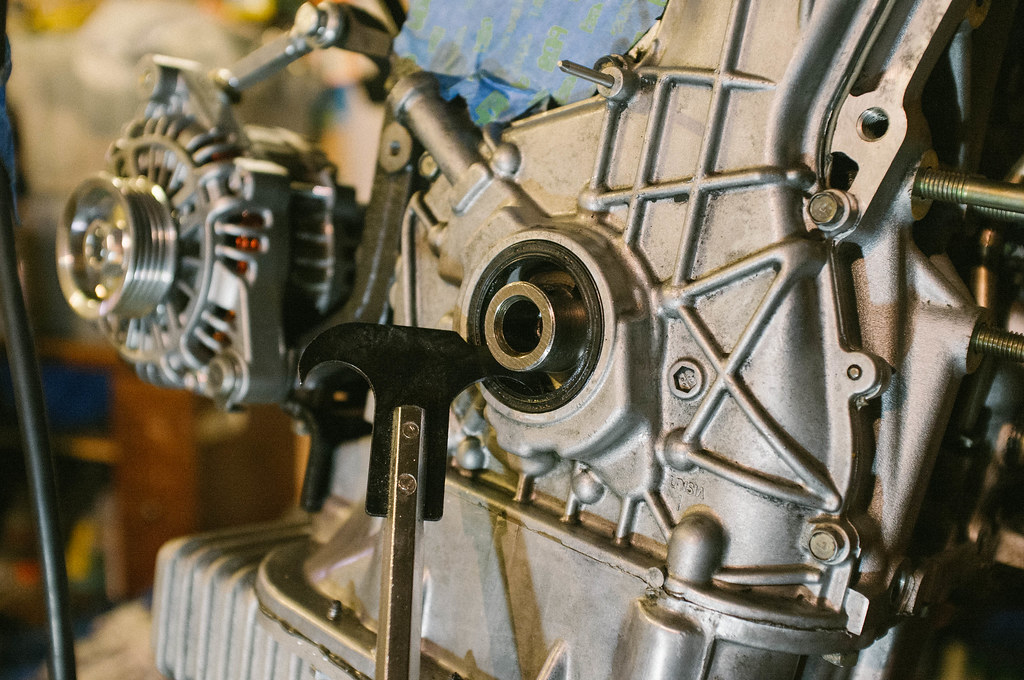
Pulled the sucker out with a seal puller from harbor freight.. could have probably used a flathead. Be careful not to damage anything in that area when getting the seal out.
Nismo Thermostat going in...
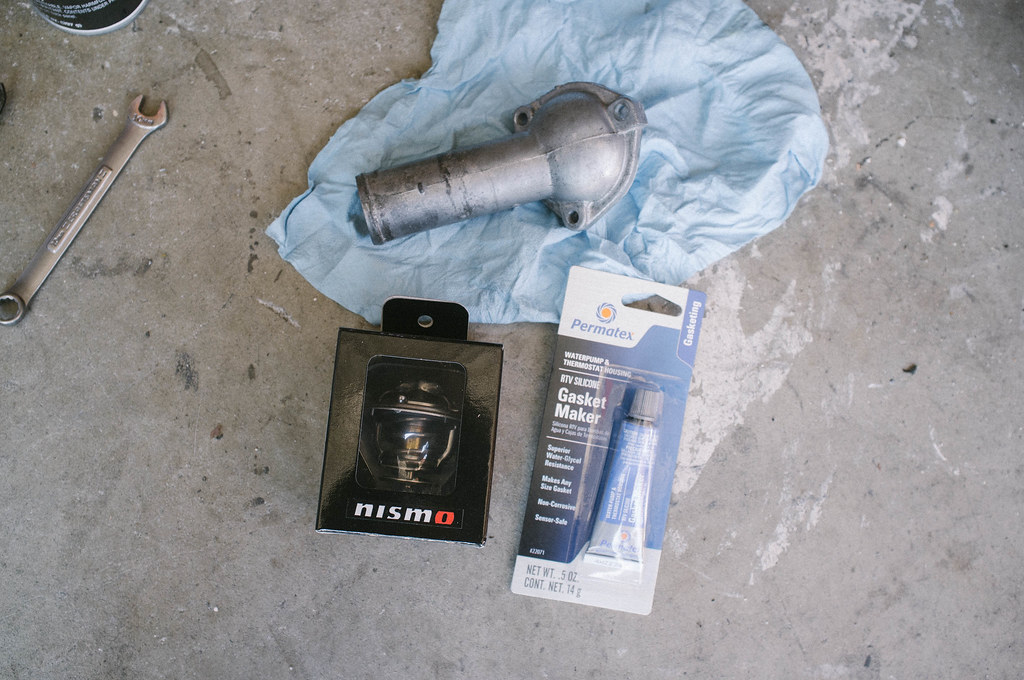
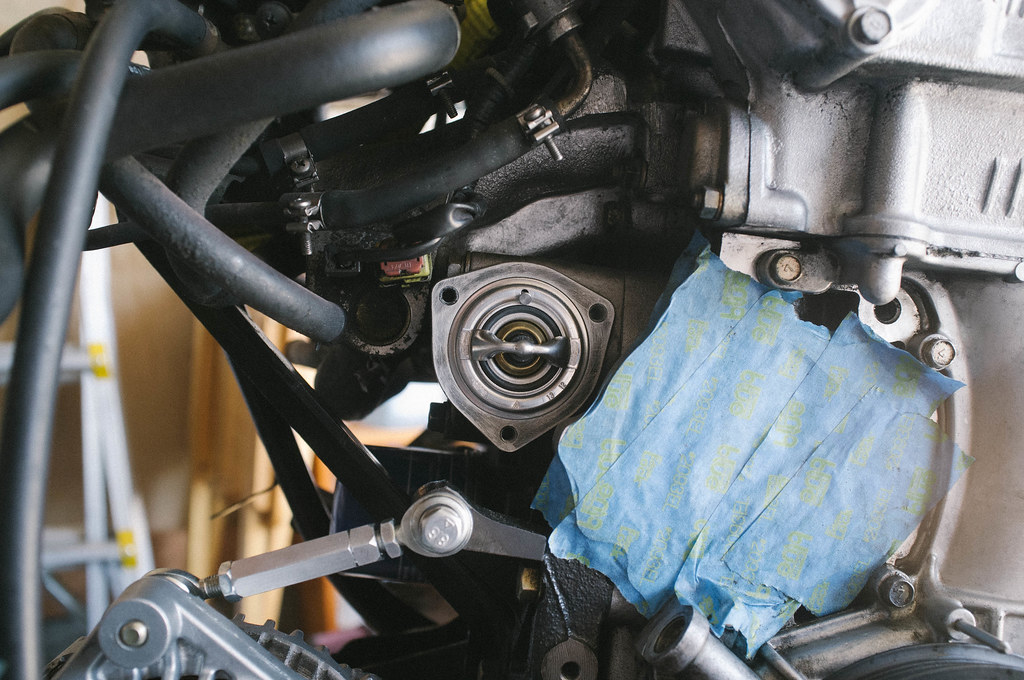
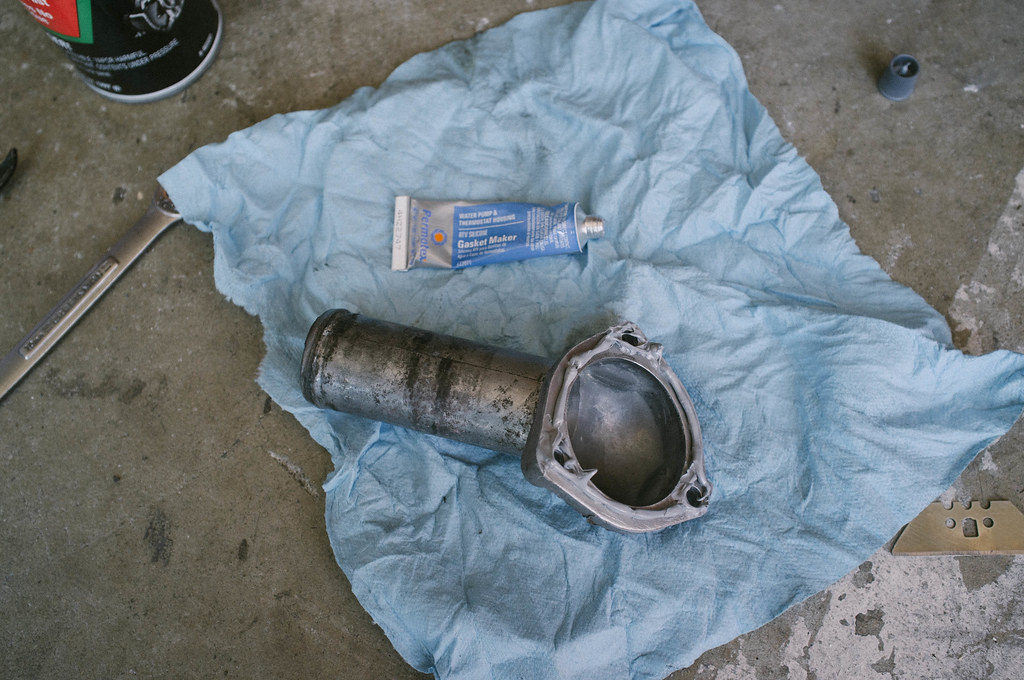
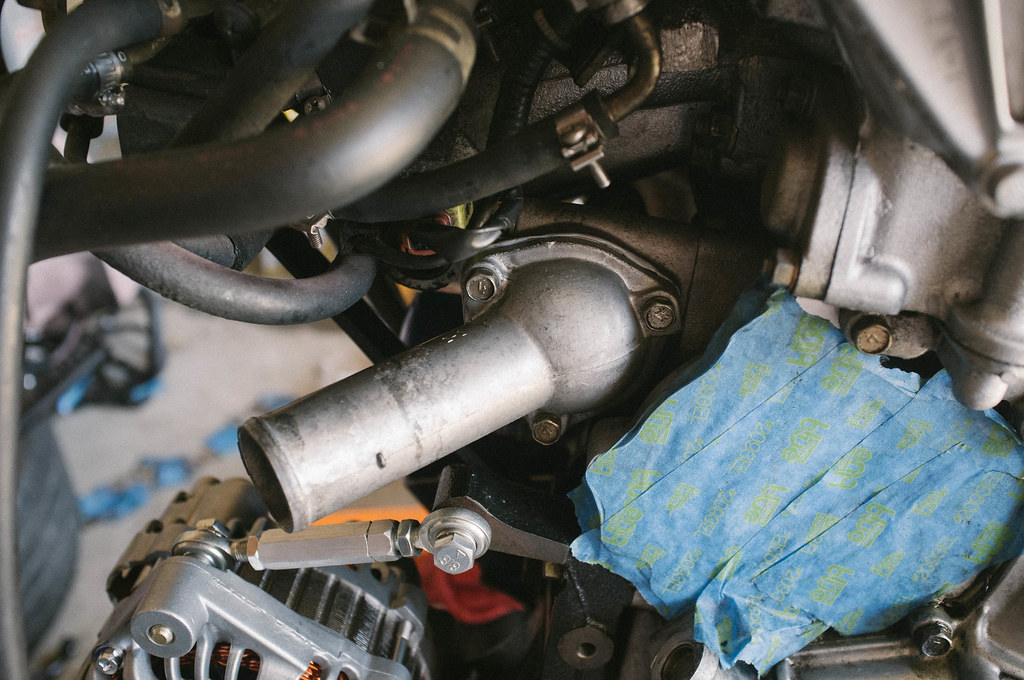
Installing the new OEM water pump
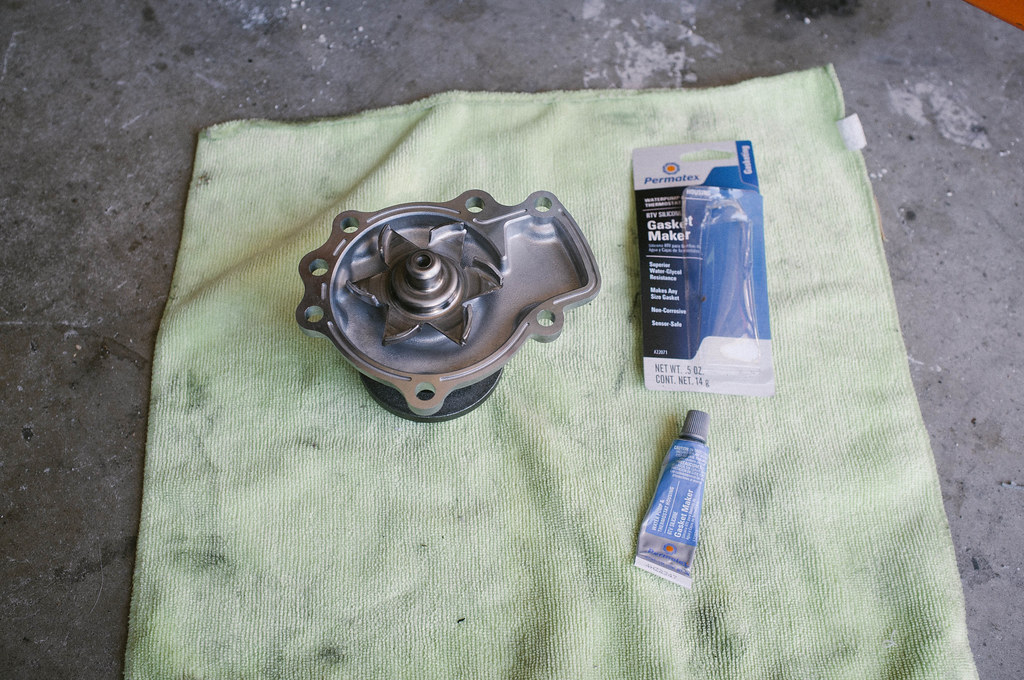
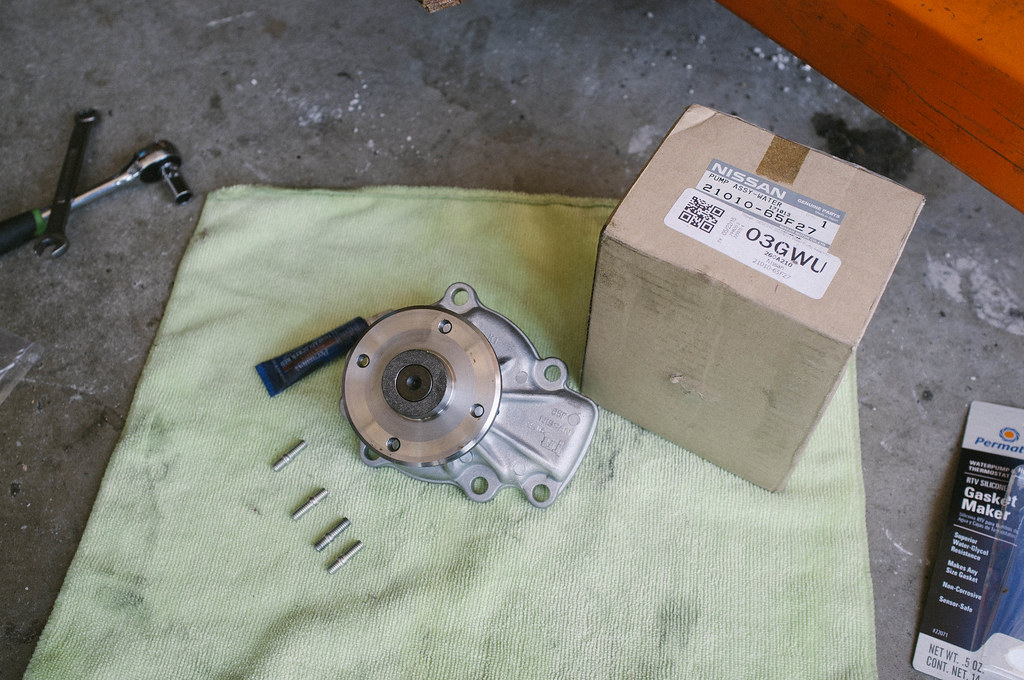
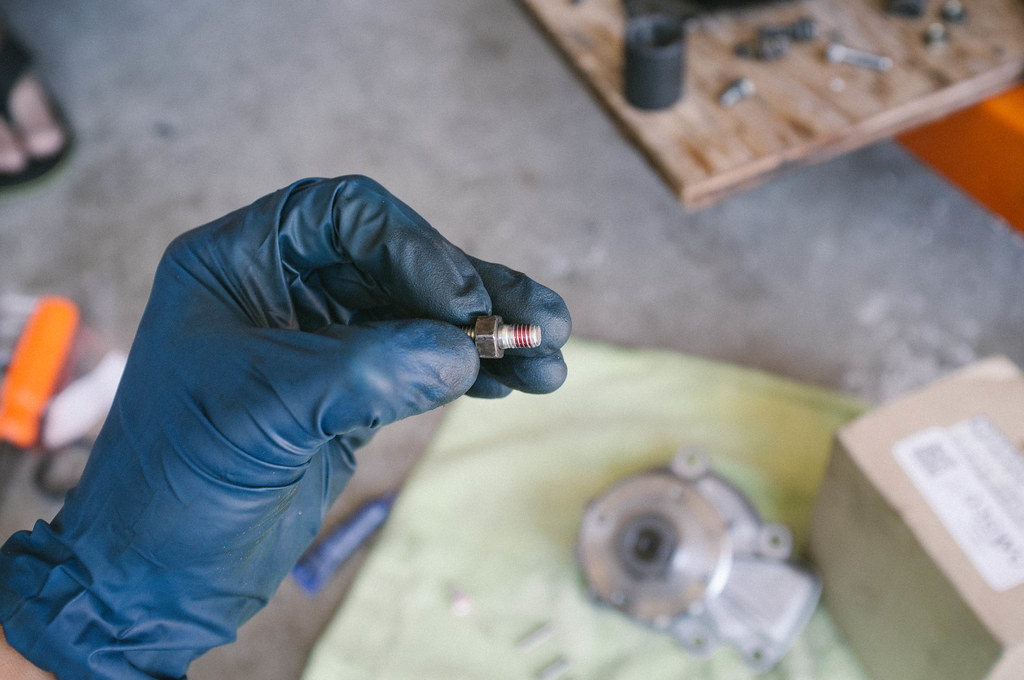
Some red loctite to hold the studs in better.
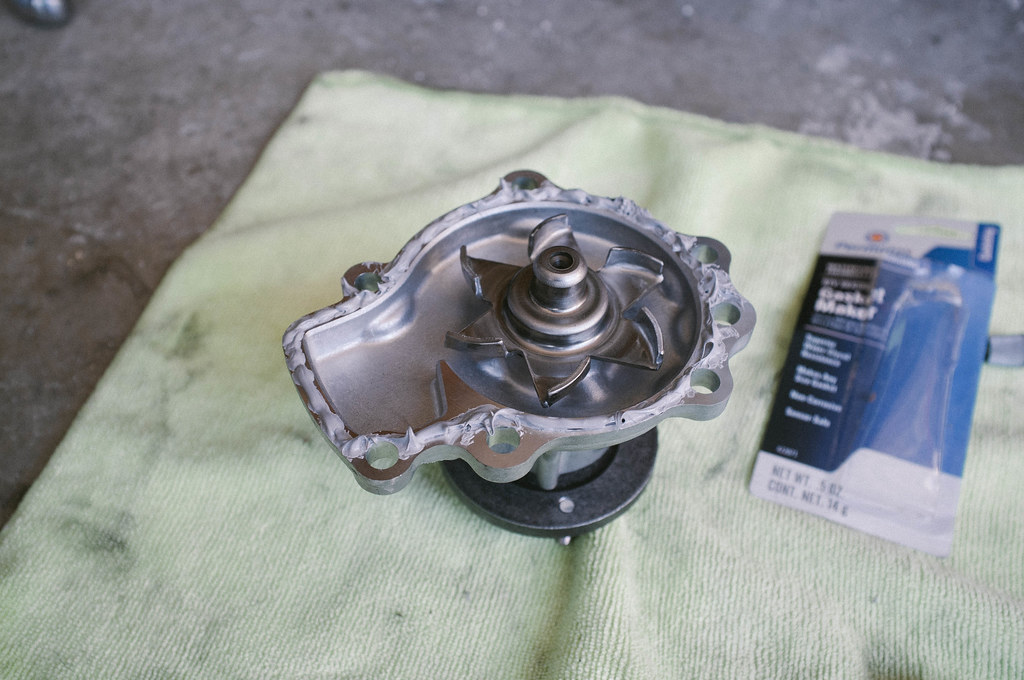
Seal em up
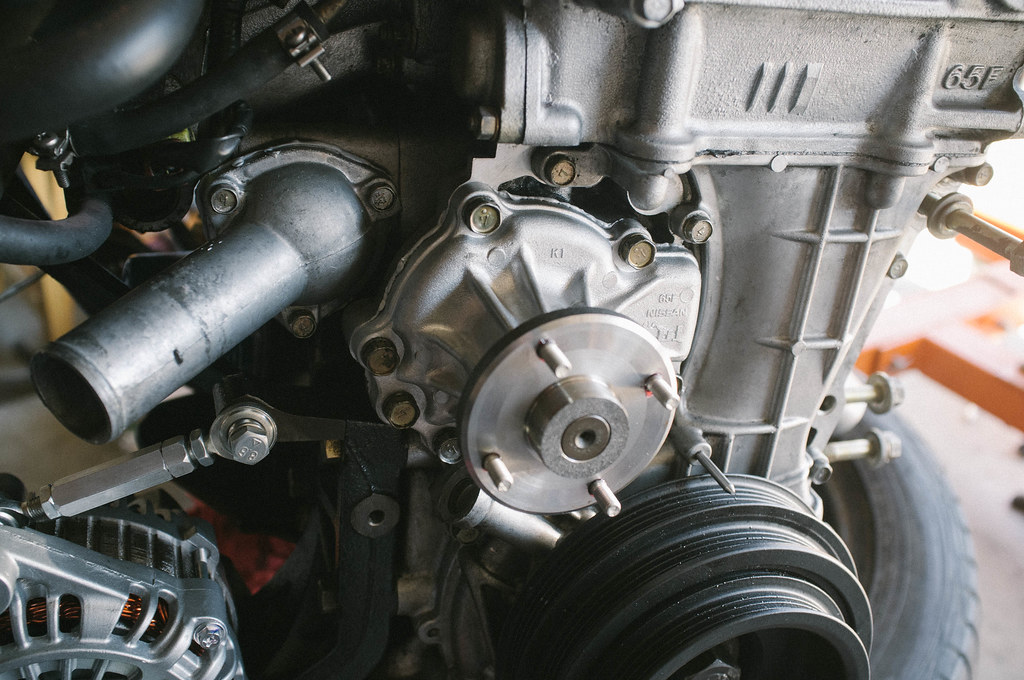
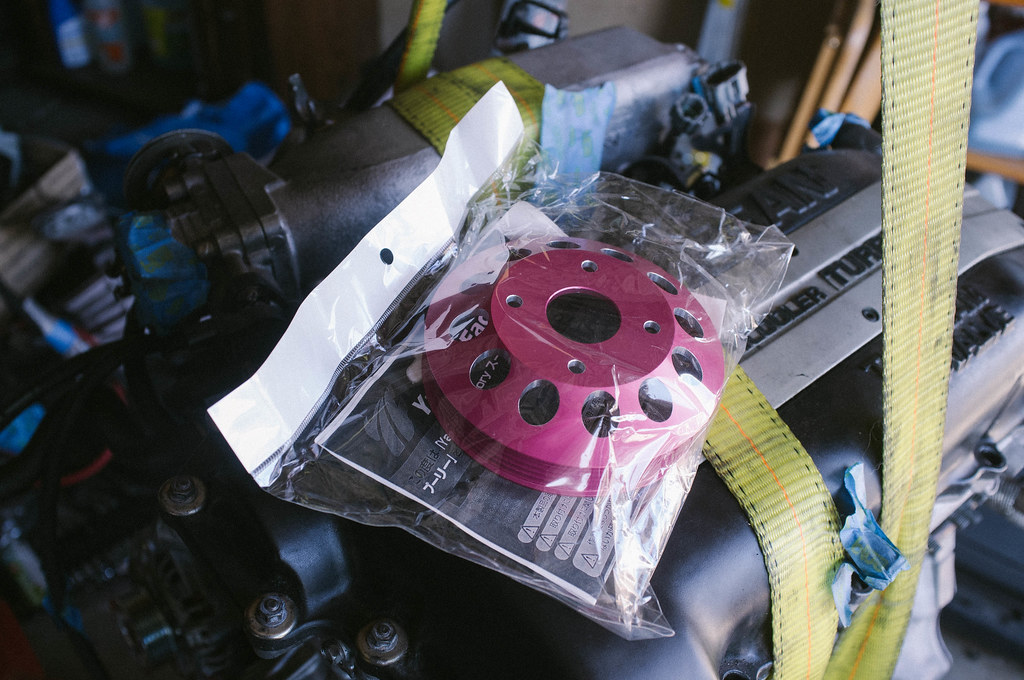
Yashio factory water pump pulley... pink is cooooool.
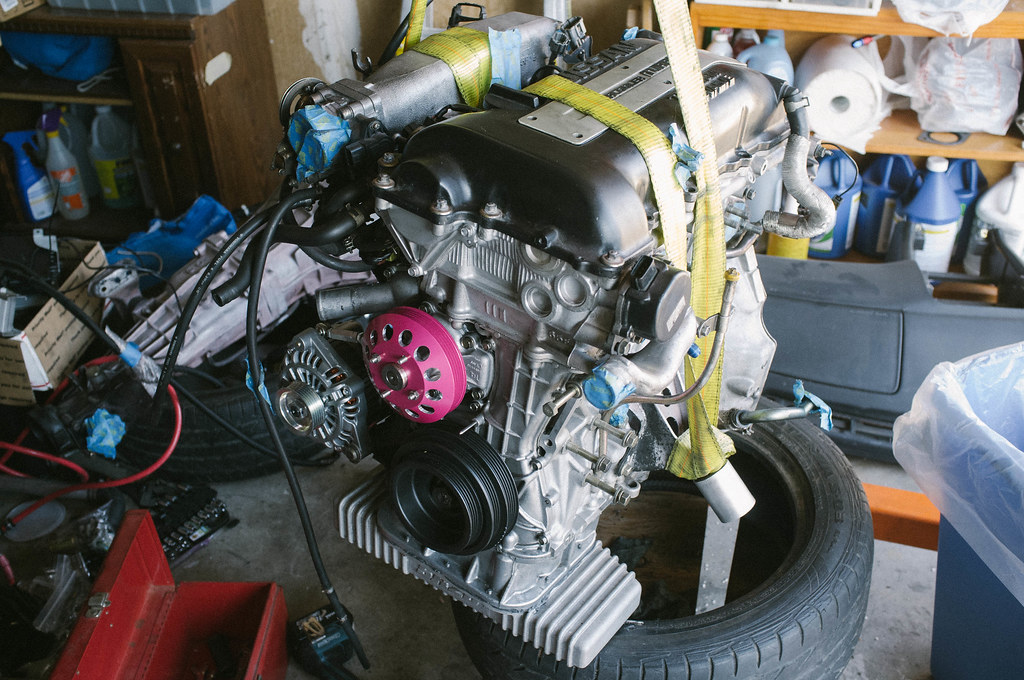
Progress was made today...
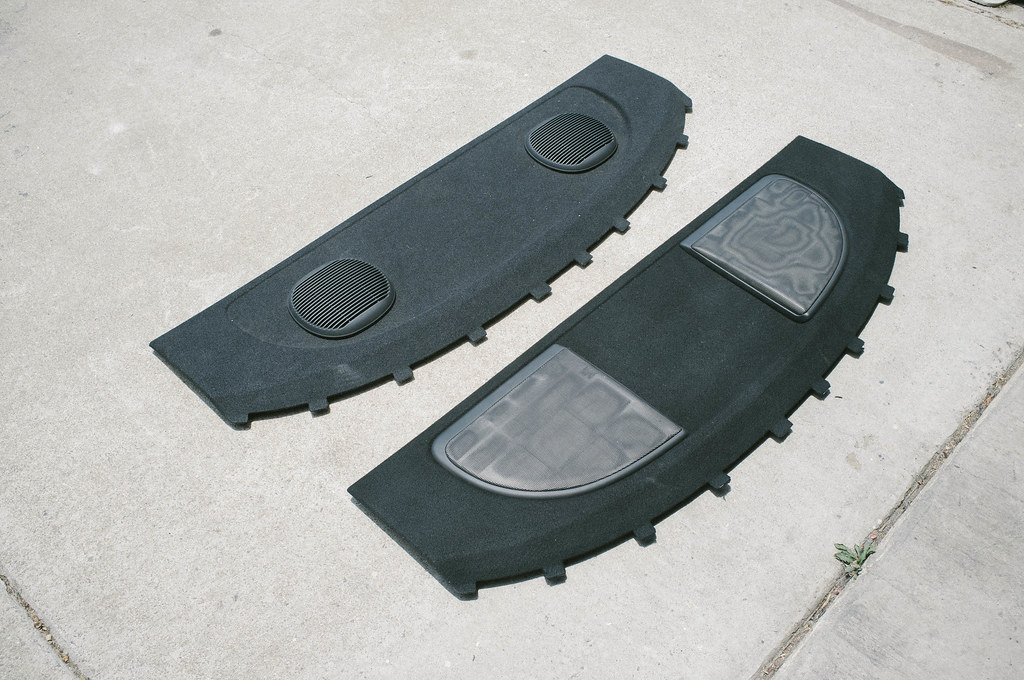
The blue speaker cover I sprayed black on the right vs a spare grey cover i had got the the pick n pull on the left. I like the SE style cover vs the base model with the circle grills. Turned out pretty good.
My neglected daily. 2008 wrx hatch...
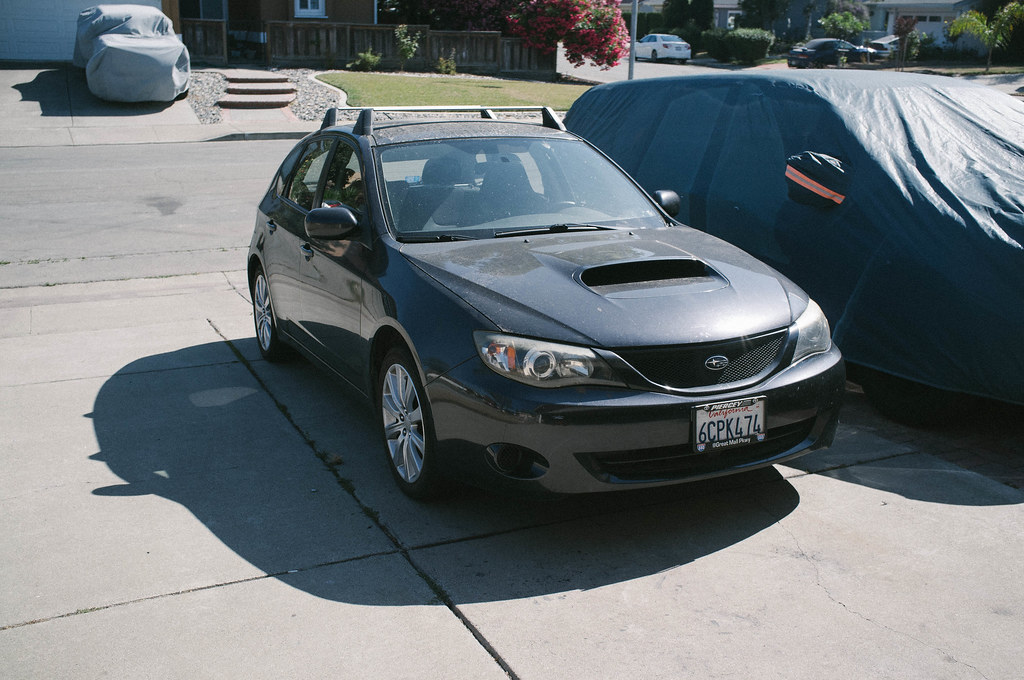
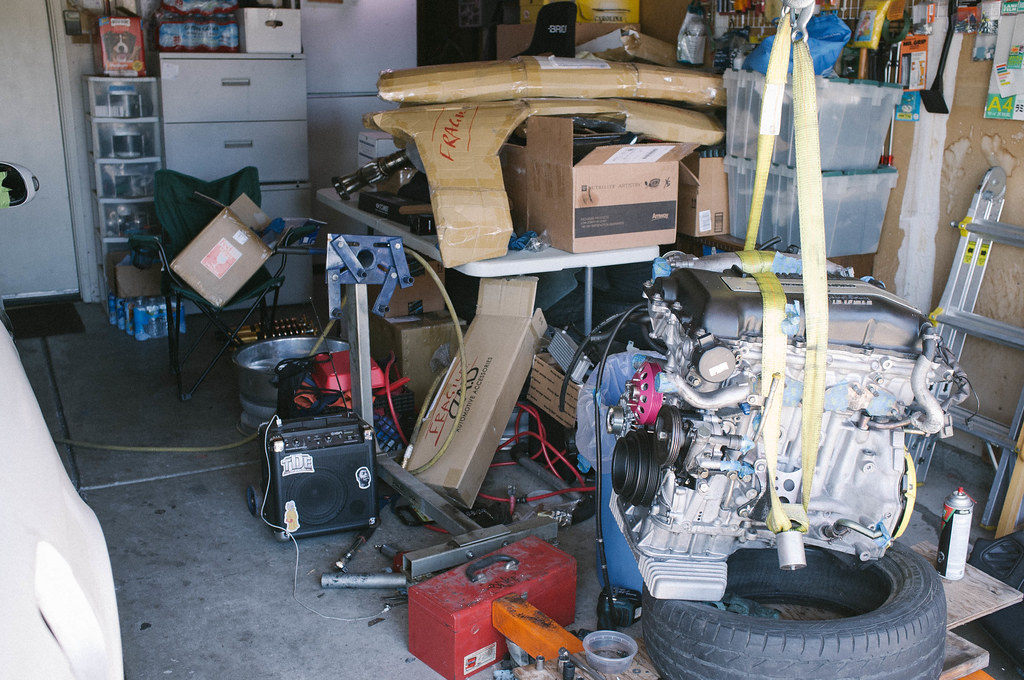
Messy garage....
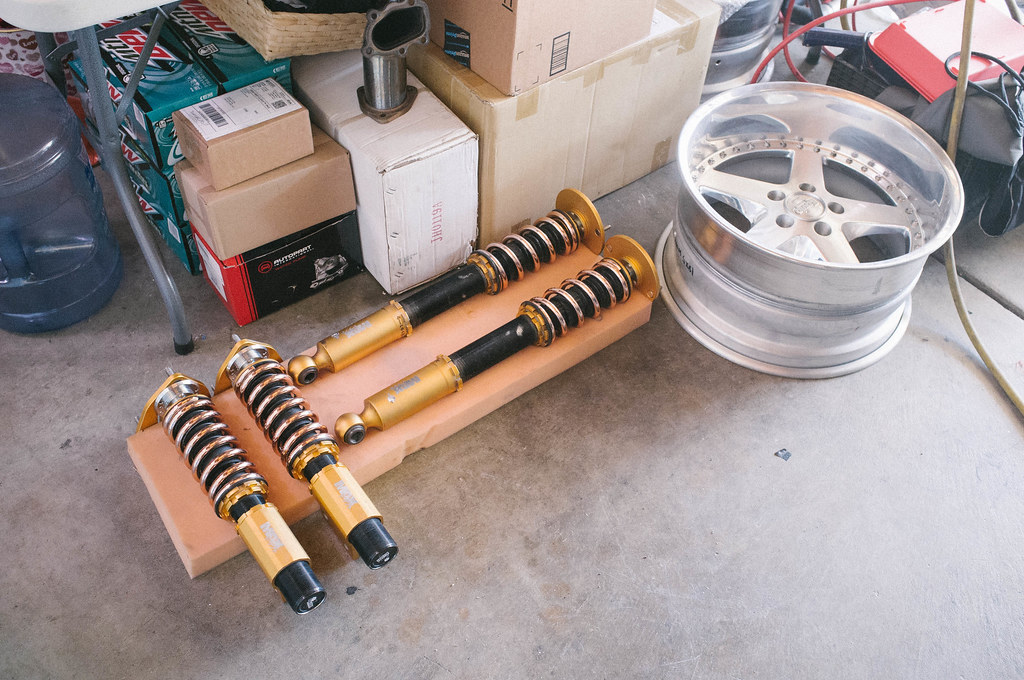
Pulled the parts shop max coils... for sale... (sold)
Moar parts
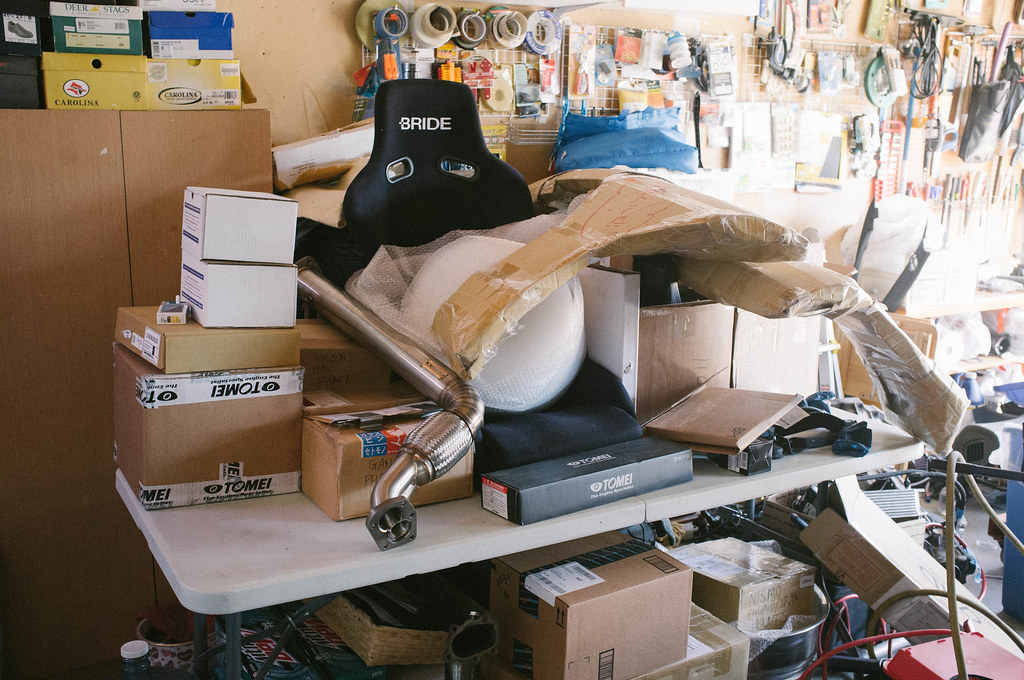
Dirty...
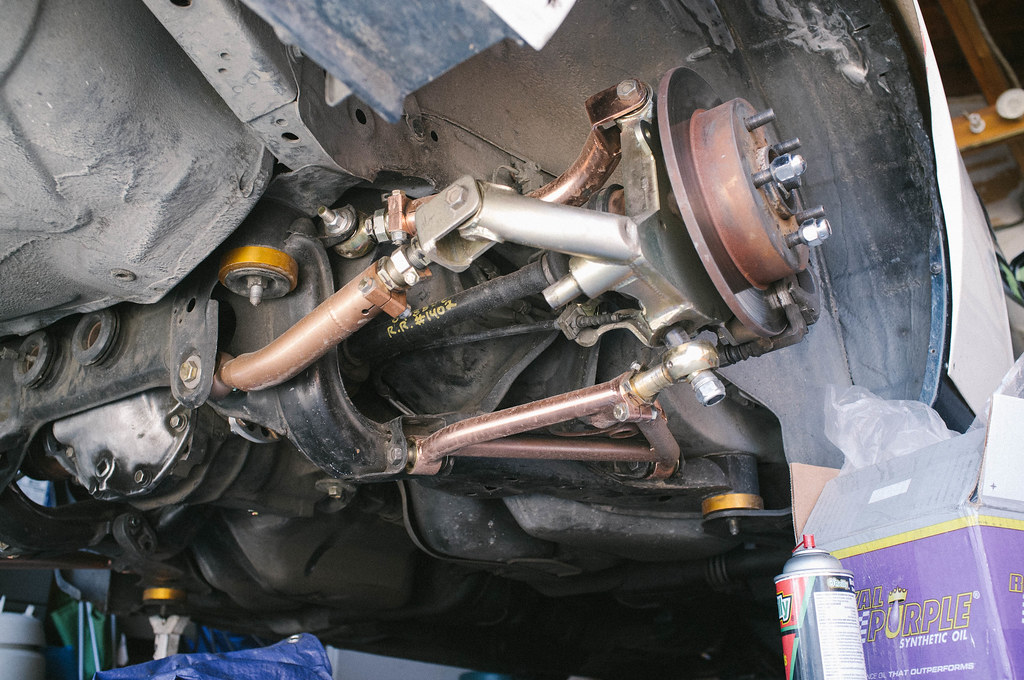
Brunch has got to be my favorite meal of the day... crab egg benedict



My friend sam stopped by with kennys old rhd legacy wagon. I wish I could have bought this thing..


Modifying the nissan quest alterator with cody ace bracket.


Got something in the mail today...

Apexi power fc l-jetro

Nismo thermostat

Ganador exhaust tips


Laying down some primer on that dash bar...

Was kinda broke and couldn't afford the AIT super damper so I just decided to freshen up my stock pulley...

Retapped a stipped hole where the transmission crossmember bolts up.

Too many late nights in the garage...

Dinner n brews with some buds

Slowly but surely getting my interior converted from blue to black at all costs... first piece to play with was the rear radio surround. Cleaning and prepping for some paint.


My buddy who sold me the SR had these laying around and decided I could put them to use... still debating if I want to run these or wilwood in the rear..

Blitz gauges... took me awhile to find the perfect gauges. It was either these or the defi gauges. I went with blitz. My interior MUST be perfect...

Got my new plates.. wavy z... short for wavy zenki. There is a story behind these plates. I originally wanted wavy14, but realized that I ordered plates for me 350z that I never picked up. Buddy of mine told me, "Hey, why not pick up the 350z plates and make the z stand for zenki?". Lightbulb went off in my tiny head and straight to the DMV I went. I got there just in time as they were days away from chucking the plates out (since I went months without picking them up).

Been neglecting my room so I threw on J Cole's 2014 Forest Hills Drive and cleaned my room. We got any vinyl junkies/audiophiles on here? I can post a photo of my audio setup if anyone is interested...


Had some fun in santa cruz with some family out of state (Pasco, Washington to be exact). Trying not to let my car take over my life. It helps to get out the house and enjoy what else the world has to offer lol.


Got something back from Tomei... They seriously have some of the best products and customer service. They have secured a long time customer for sure. Was happy to have this manifold back from them so I could start getting the exhaust side put together.


Prepping to get this trust/greddy oil pan on...

Oil pickup slightly bruised. I think it still looks ok so I didn't end up changing it. Anyone disagree?
EDIT:
9/16/15 - Sileighty_85 made a very good point about the holes being drilled into the oil pickup.. I didn't even notice those. If my oil goes low while I am cornering I could pickup air causing my oil pressure to drop. So I decided I will be replacing this item in a later post.


Threw the Greddy oil filter on... coooool stufff

Got a new OEM front main seal. Old one was leaky. Cheap and easy to replace, why not?

Pulled the sucker out with a seal puller from harbor freight.. could have probably used a flathead. Be careful not to damage anything in that area when getting the seal out.

Nismo Thermostat going in...


Installing the new OEM water pump


Some red loctite to hold the studs in better.

Seal em up


Yashio factory water pump pulley... pink is cooooool.

Progress was made today...

The blue speaker cover I sprayed black on the right vs a spare grey cover i had got the the pick n pull on the left. I like the SE style cover vs the base model with the circle grills. Turned out pretty good.

My neglected daily. 2008 wrx hatch...

Messy garage....

Pulled the parts shop max coils... for sale... (sold)

Moar parts

Dirty...

Brunch has got to be my favorite meal of the day... crab egg benedict

 Re: wavyzenki s14 build, the street machine
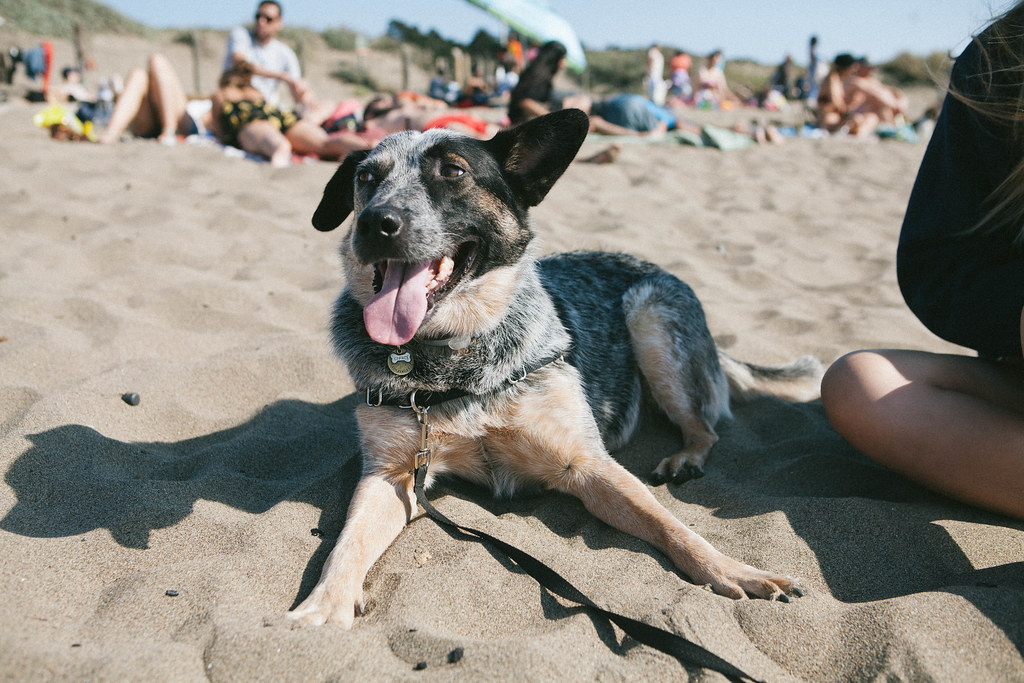
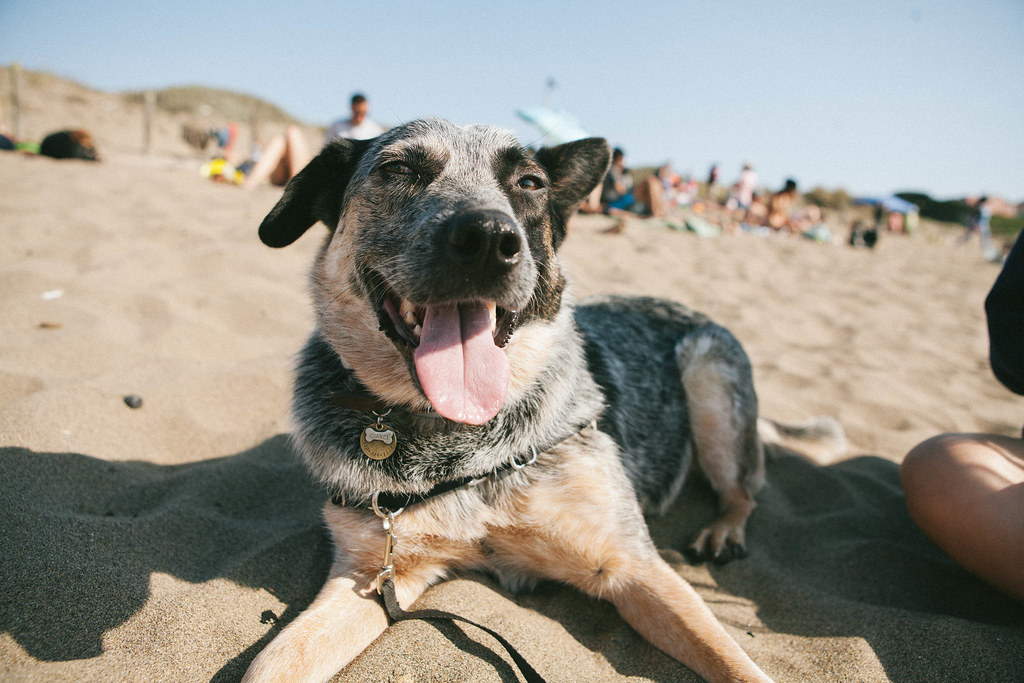
Love hanging out at the beach with my girlfriend and my dog chance.
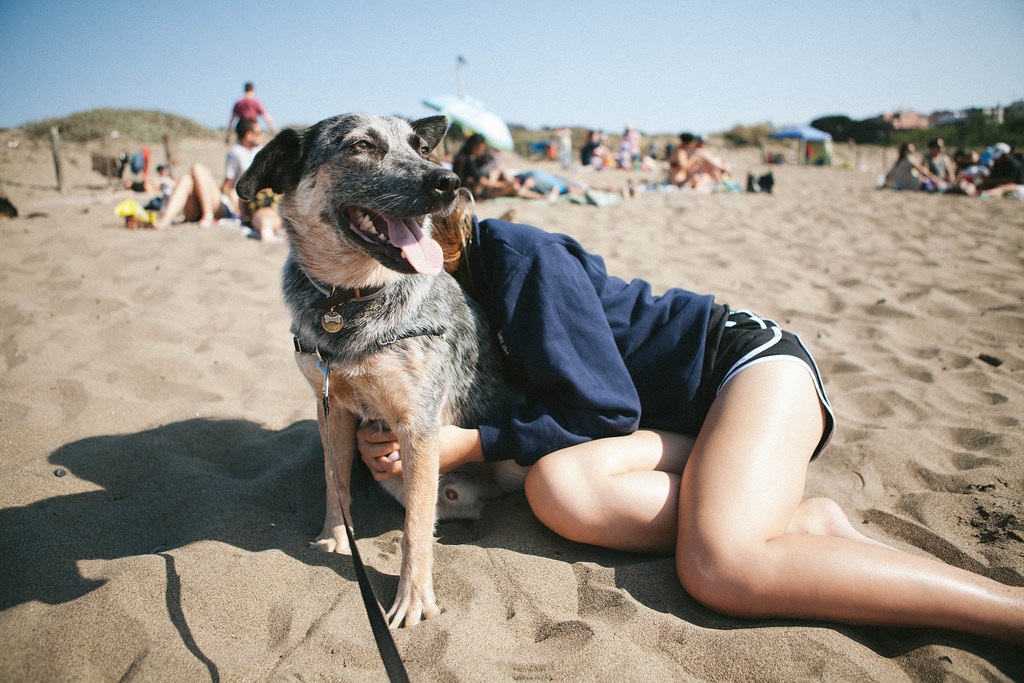
Bun bo hue... favorite viet dish of mine. Gotta get a sugar cane drink as well.

Picked up a boost controller... apexi avcr... got this because I thought it was a fair deal. Turns out I have OCD and wanted the black AVCR instead so I ended up picking another AVCR up. So this one is for sale..
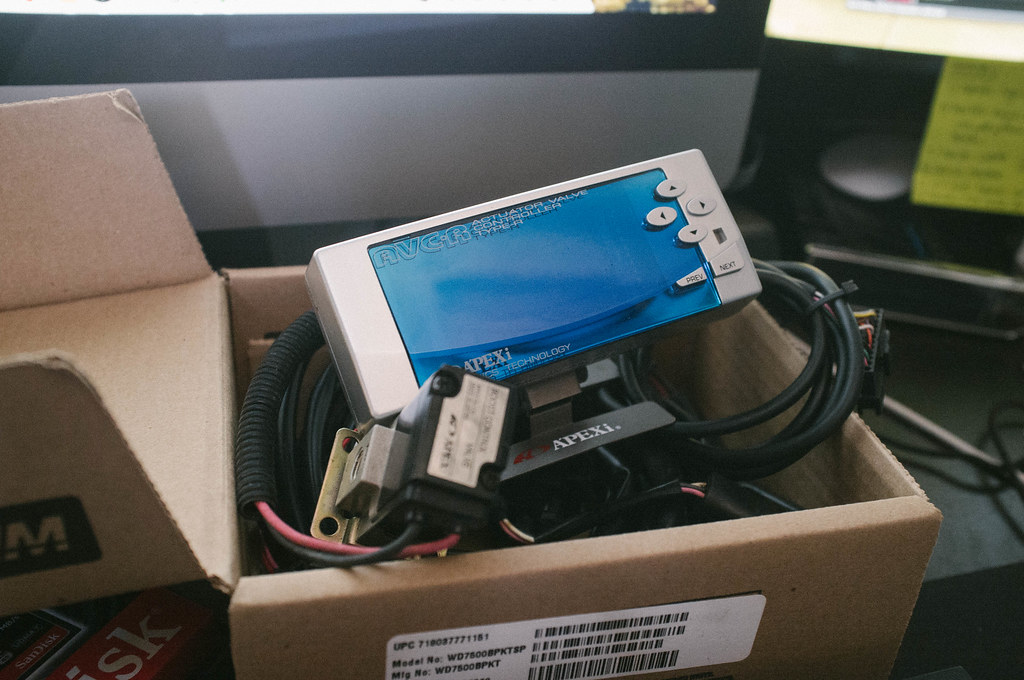
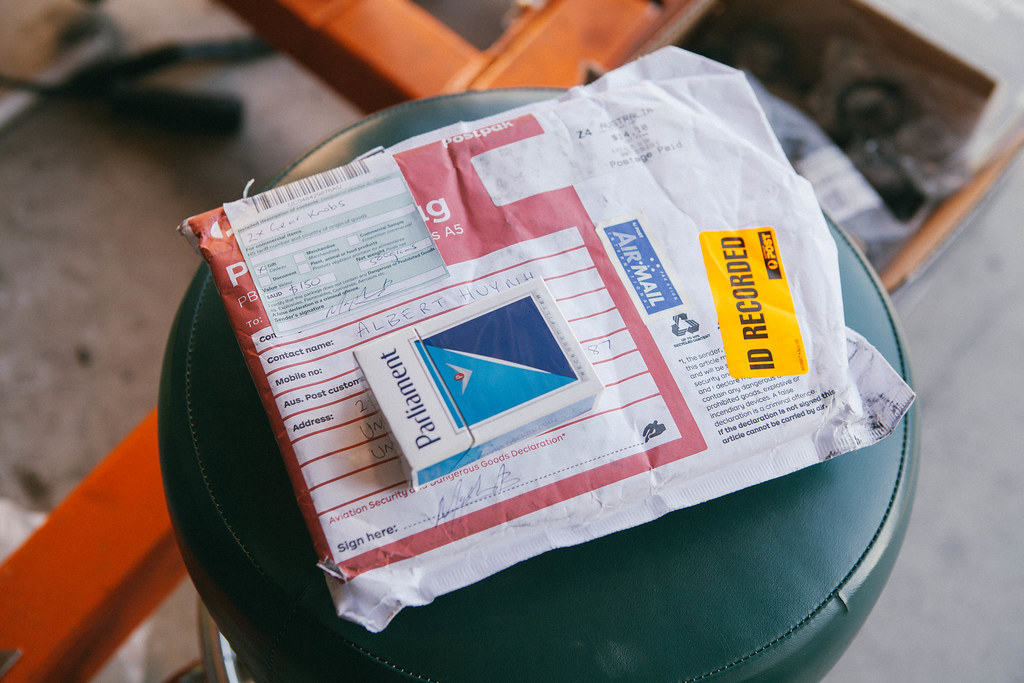
Got something cool from australia
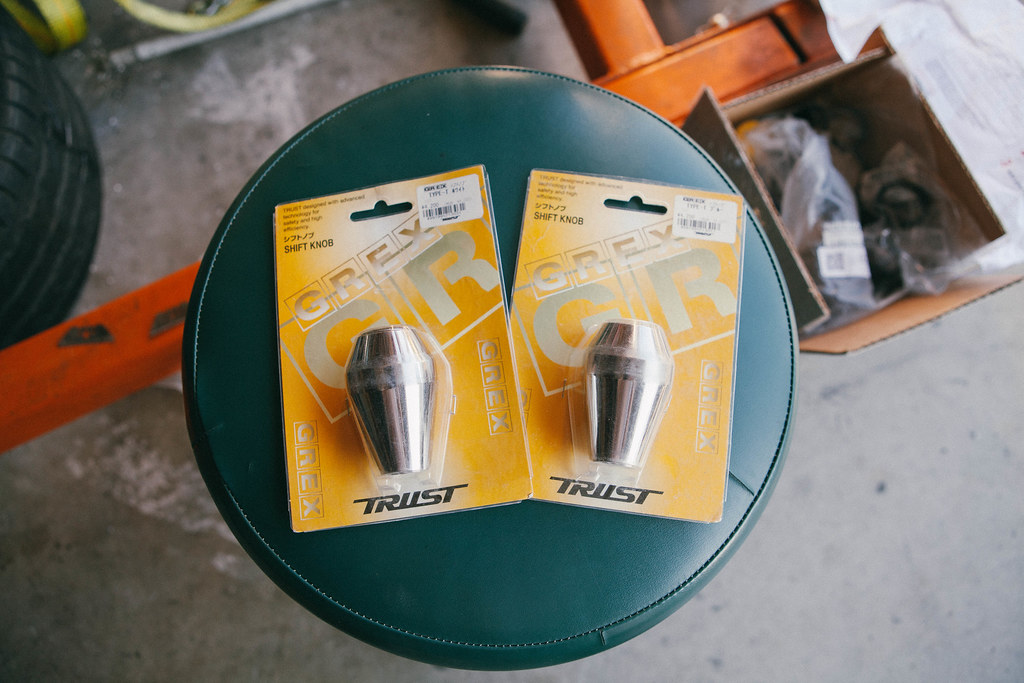
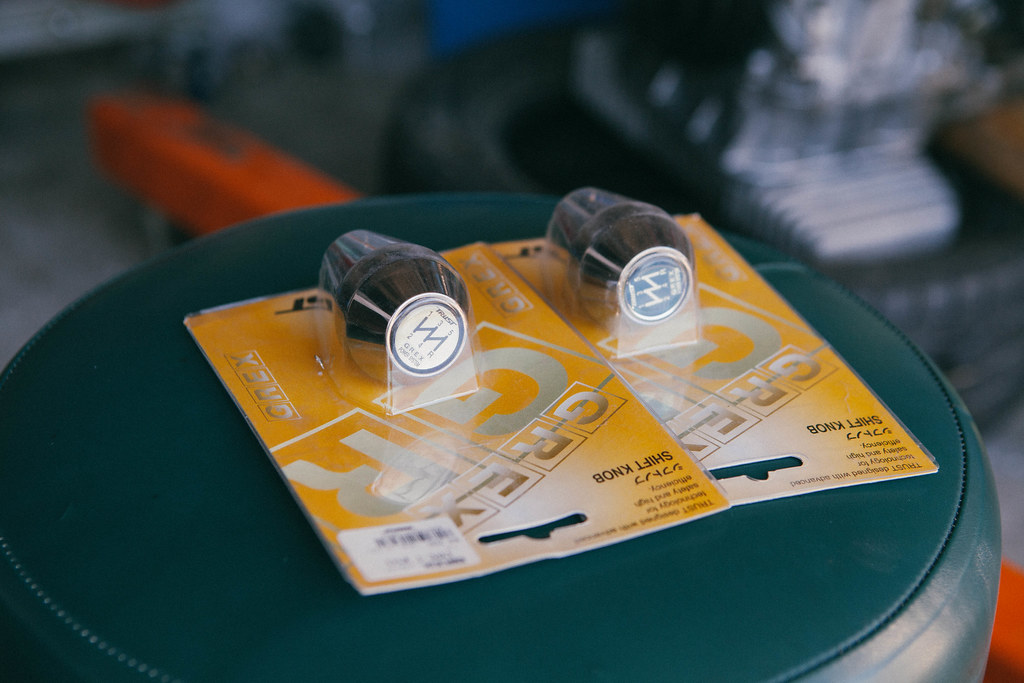
Brand spanking new greddy/trust grex knobs... WOW. Cool right? I already have the yashio knob. I just wanted to horde these...
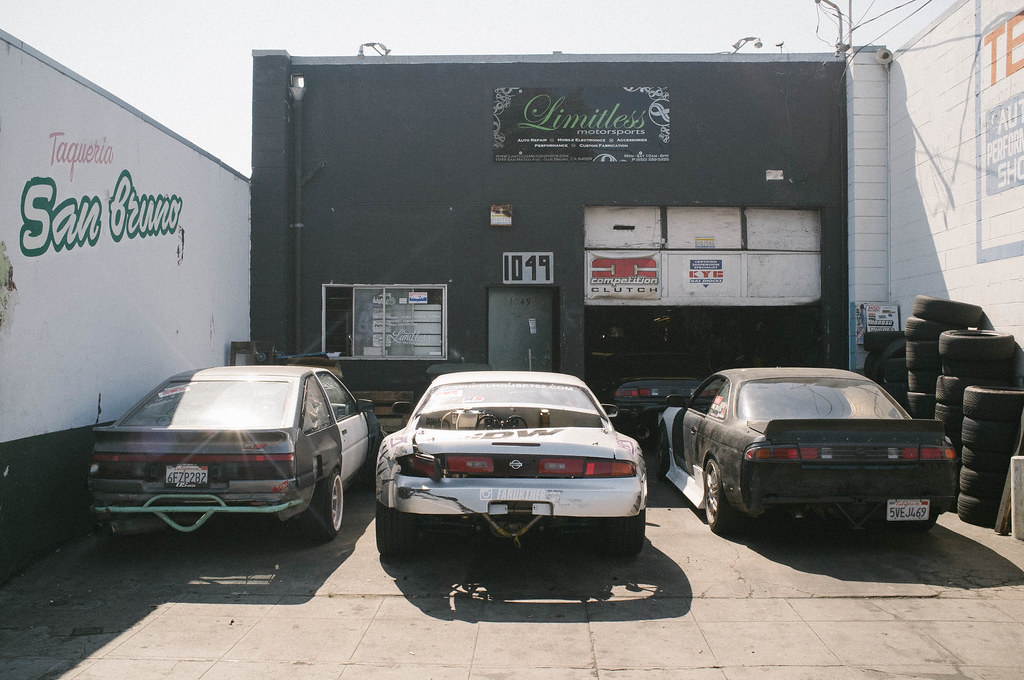
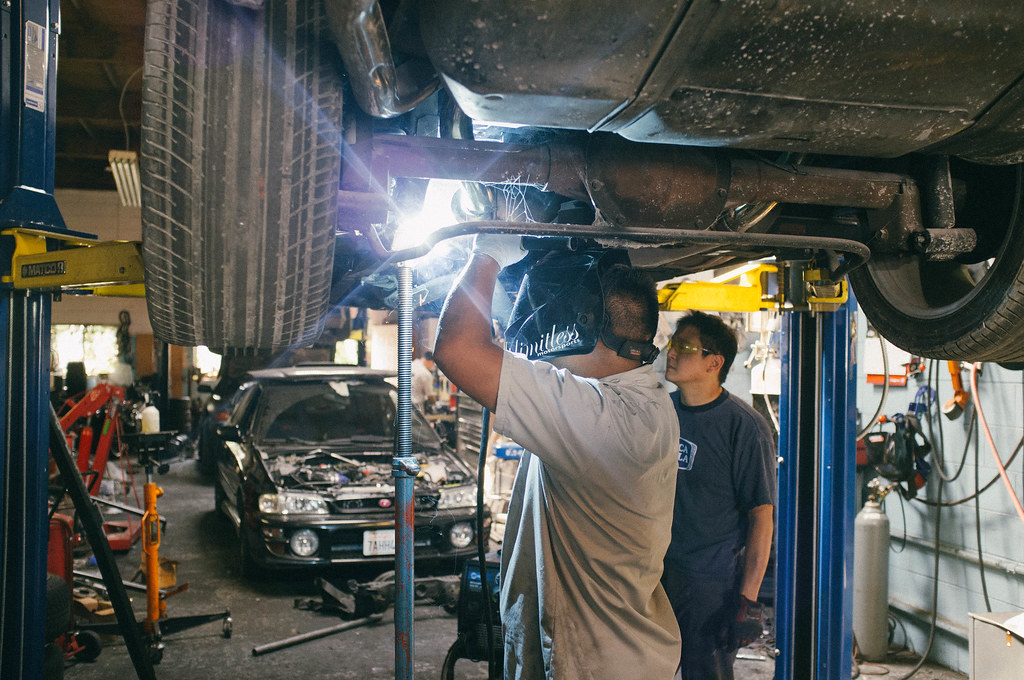
Limitless motorsports. San Bruno, CA. Stopped by to check on my subaru that was getting a clutch done.
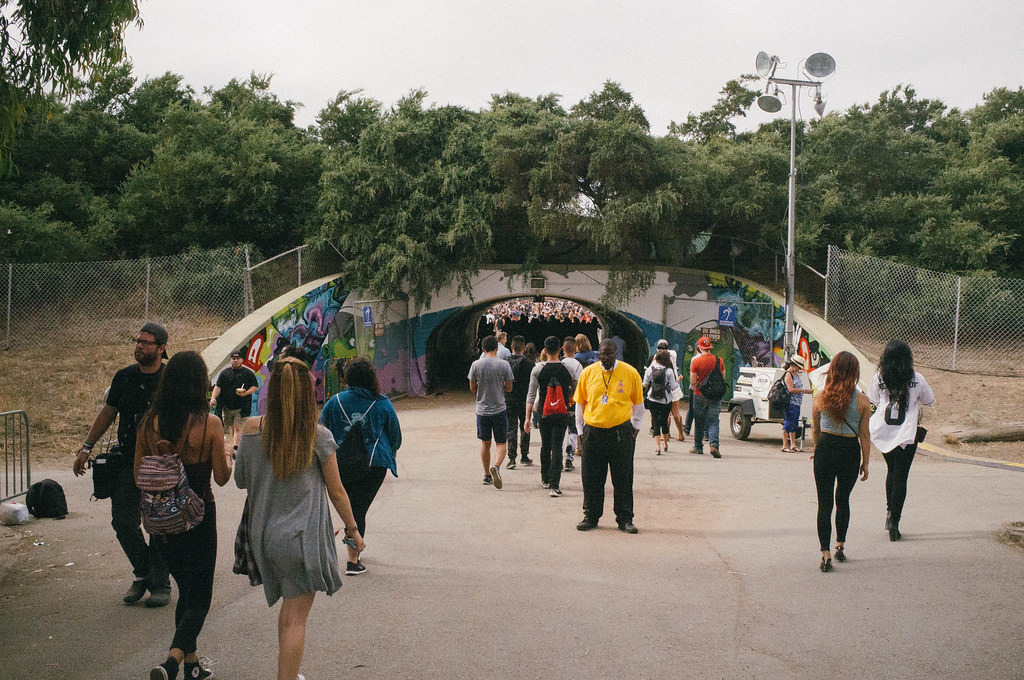
Outside Lands, San Francisco. Chet Faker played an amazing set...


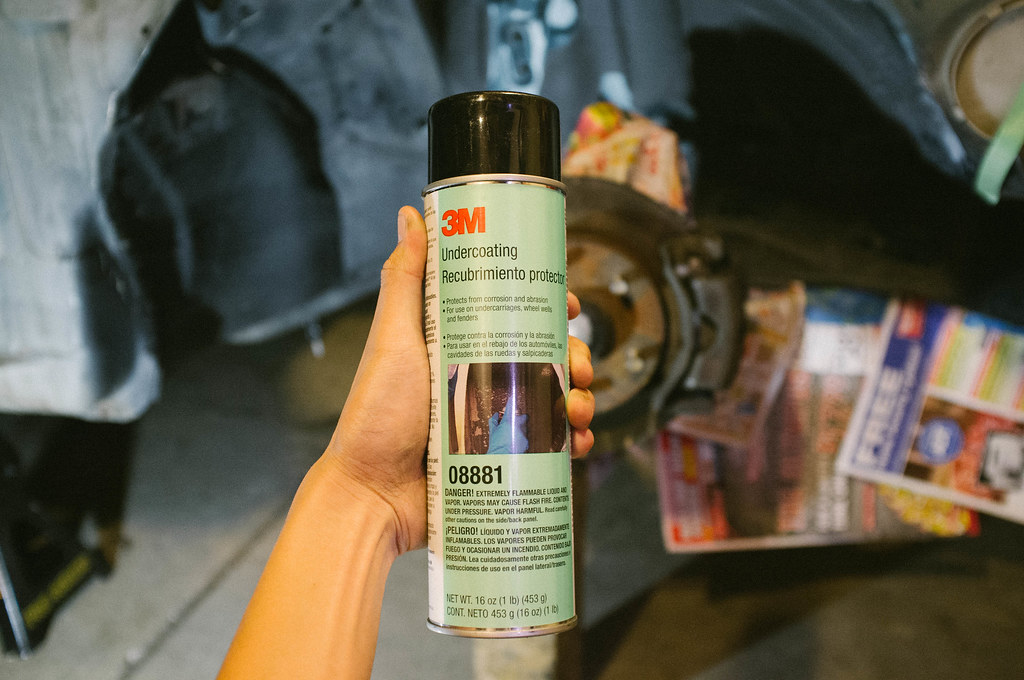
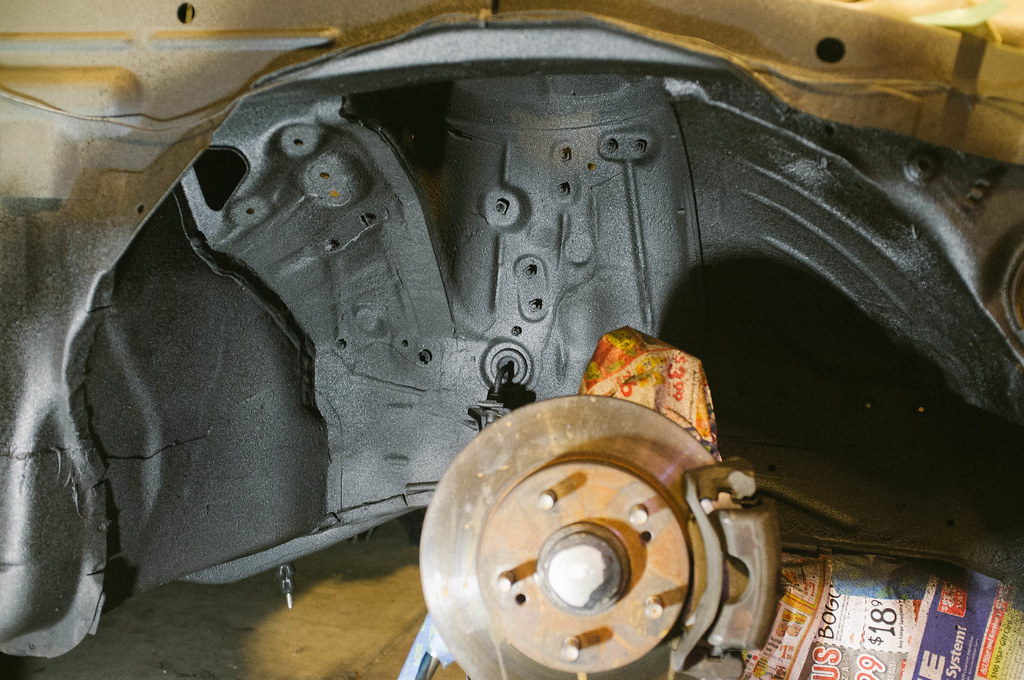
This wheel well was really bothering me. I wanted it clean. So I degreased it, hosed it down, and prepped it for 3M undercoating.
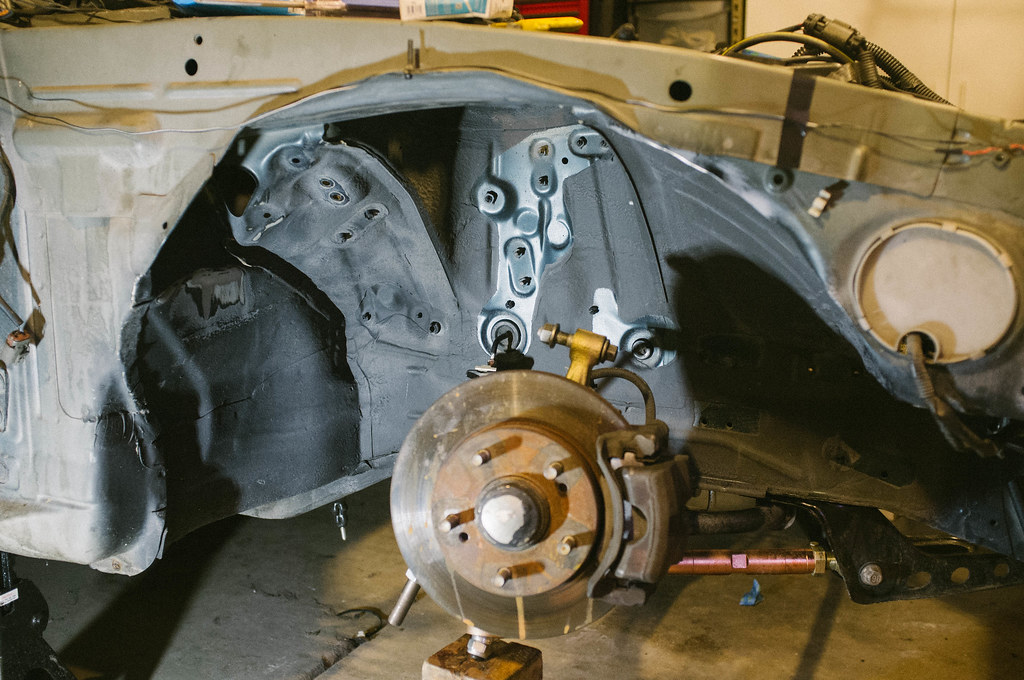
Looks much nicer now after the 3M undercoating.
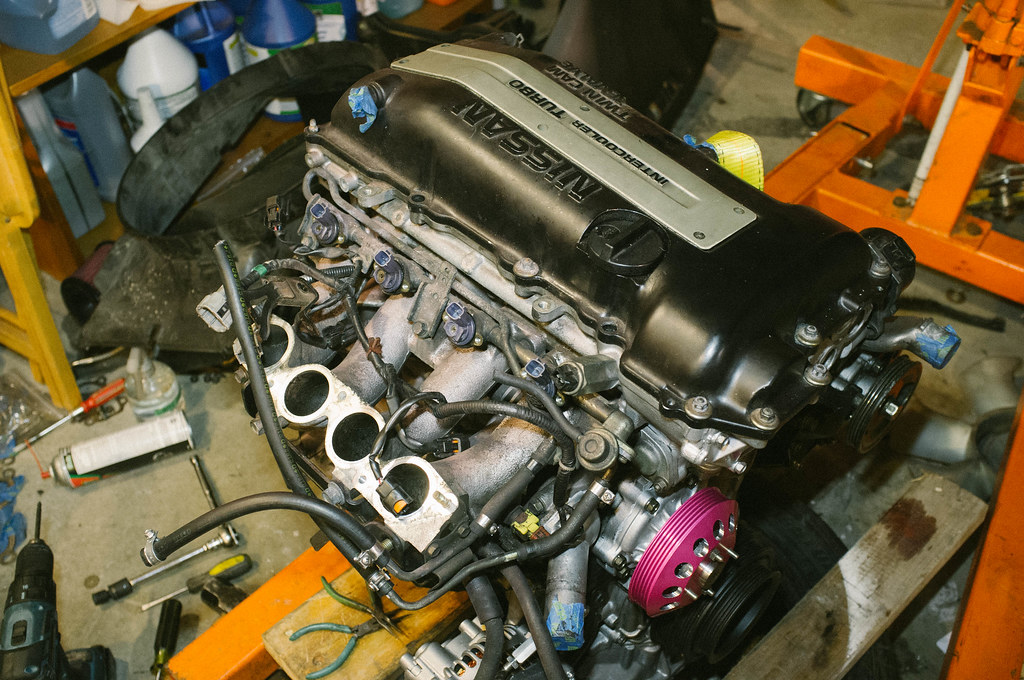
Started tear down on the intake side...
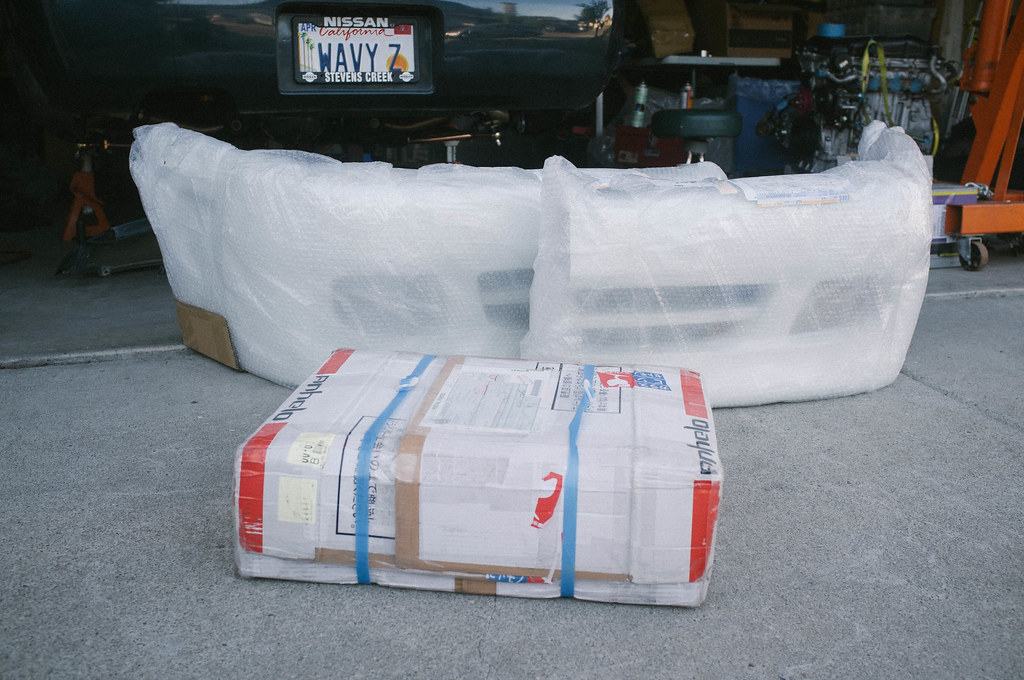
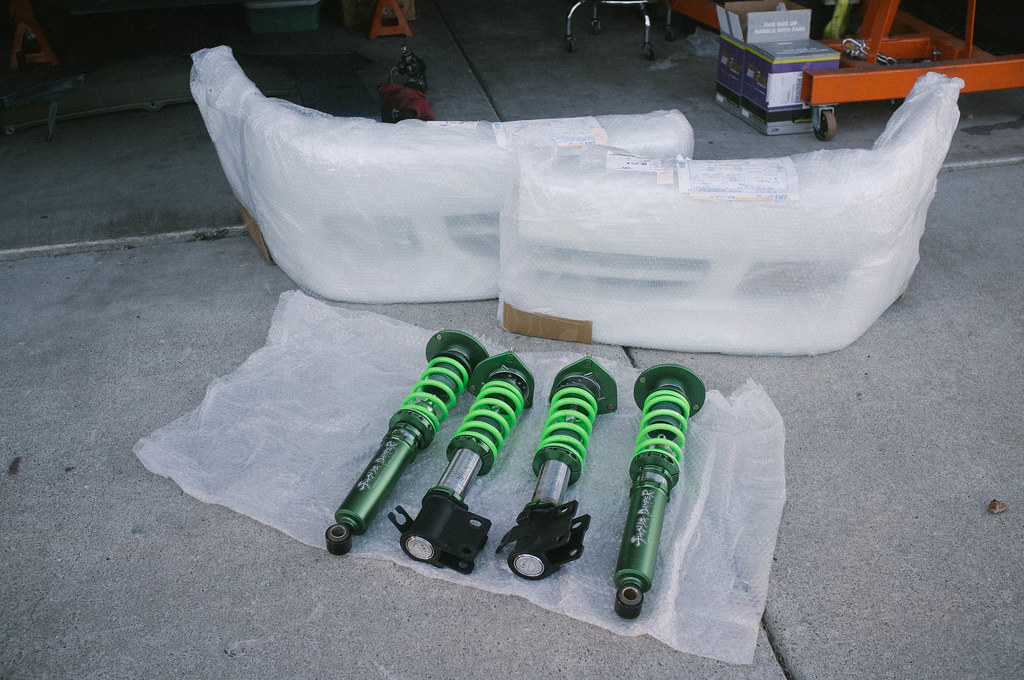
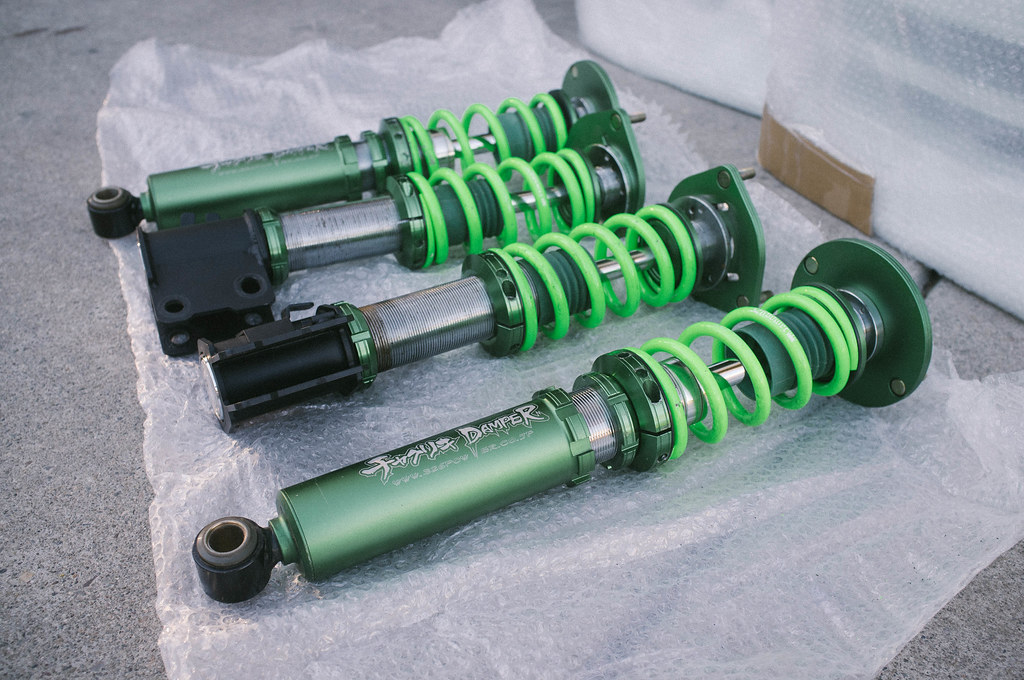
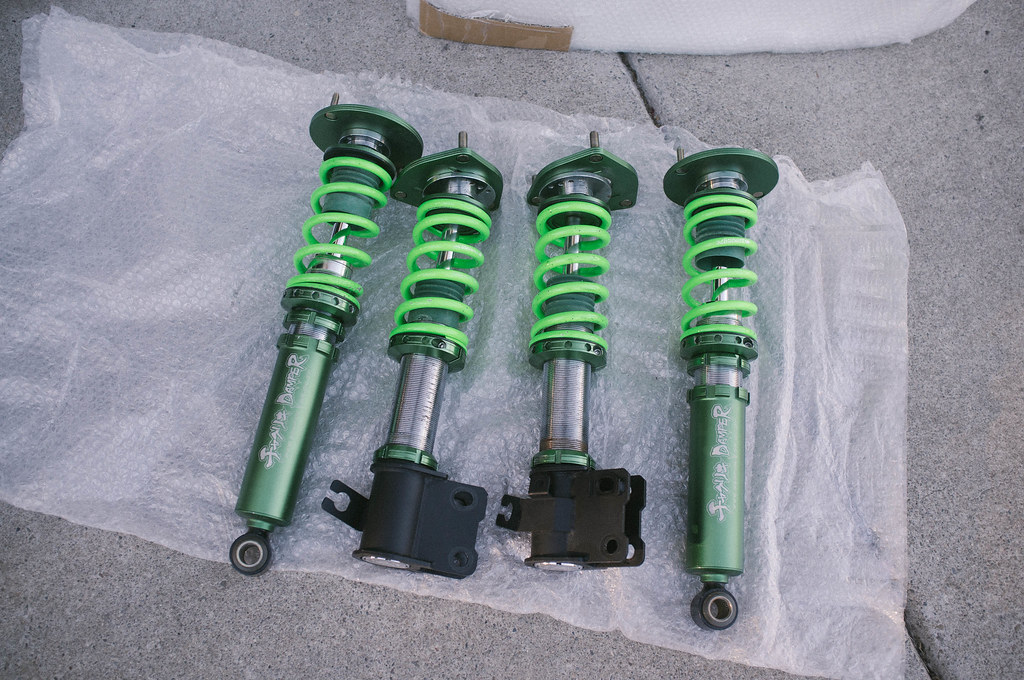
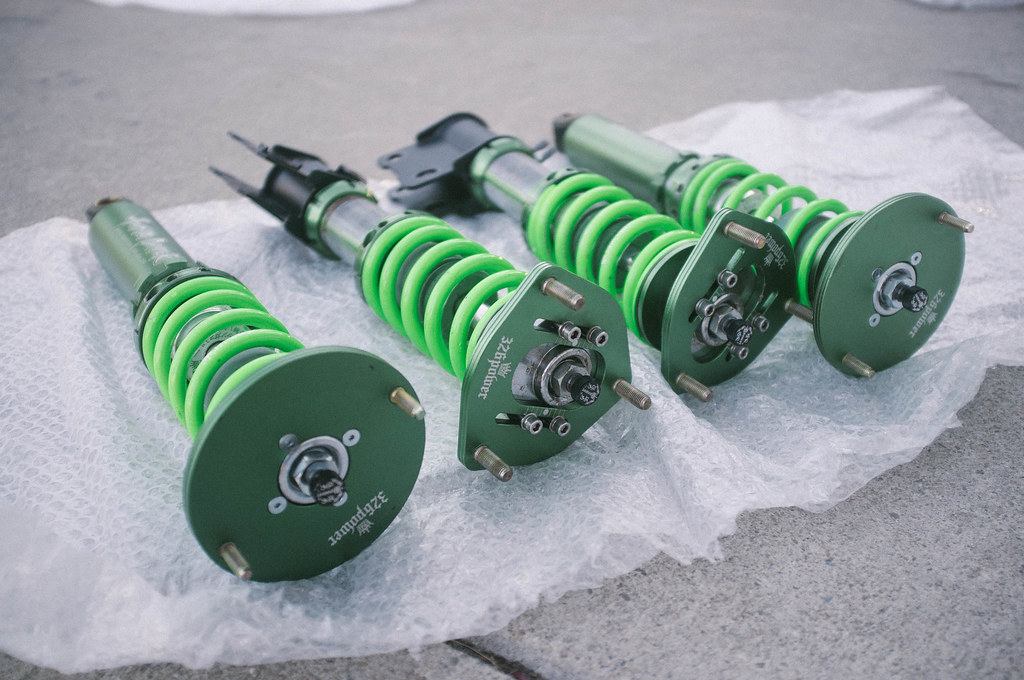
Finally....after 3 months... these two items arrived at the same exact time from different shippers. My 326 front bumper (already got the sides and rear a few months back) plus my 326 coils (sold my part shop max coils that only had 500 miles on them)
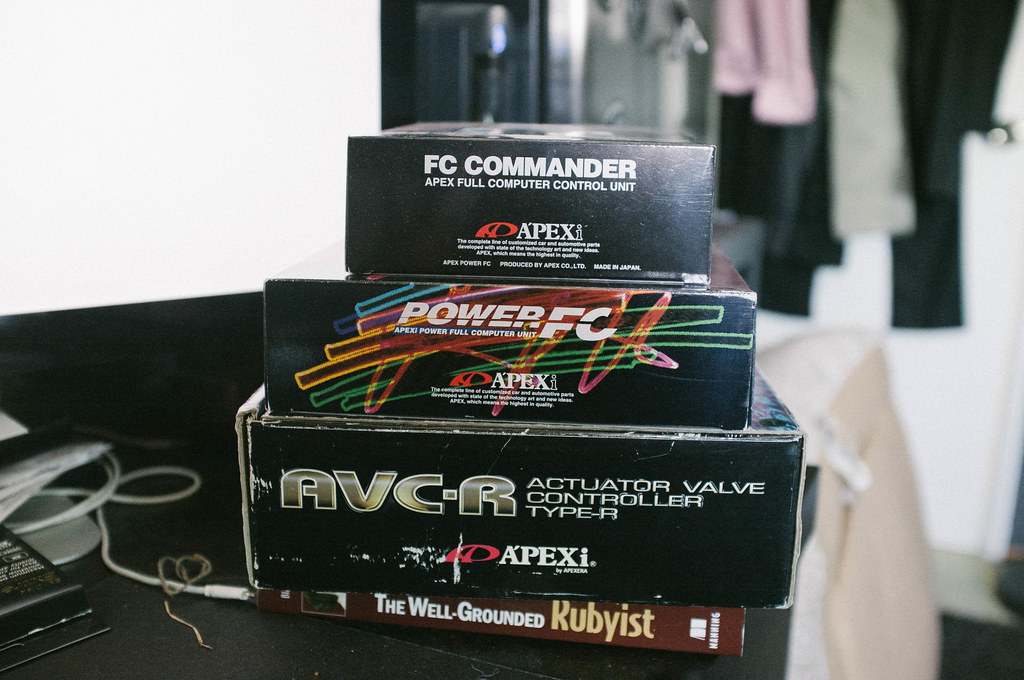
Apexi electronics... peep the new AVCR in black
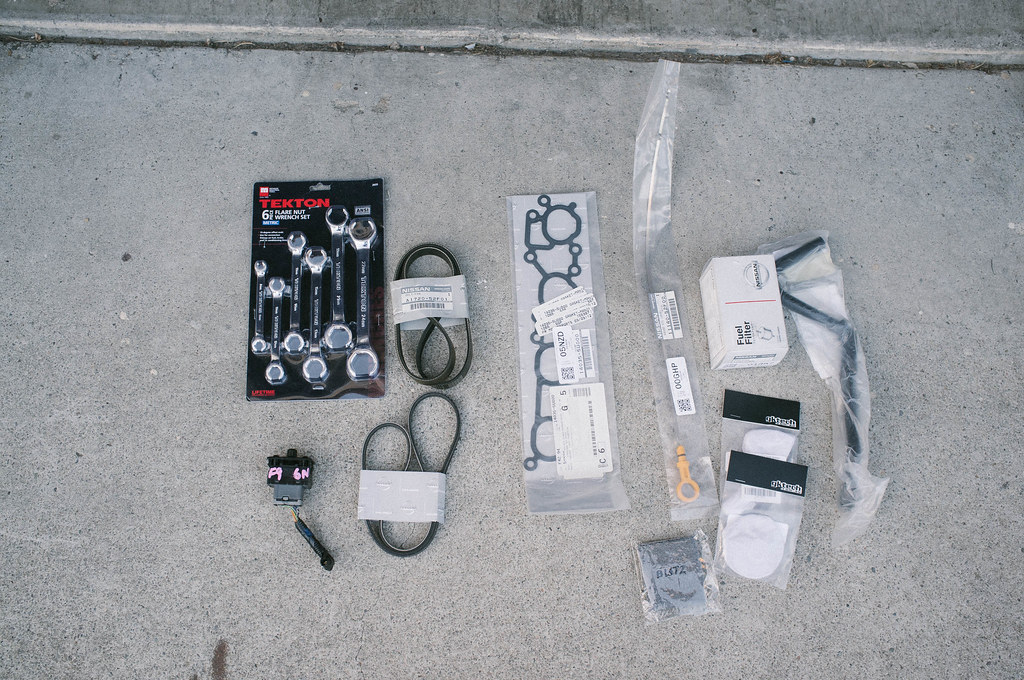
Some more parts for the motor.
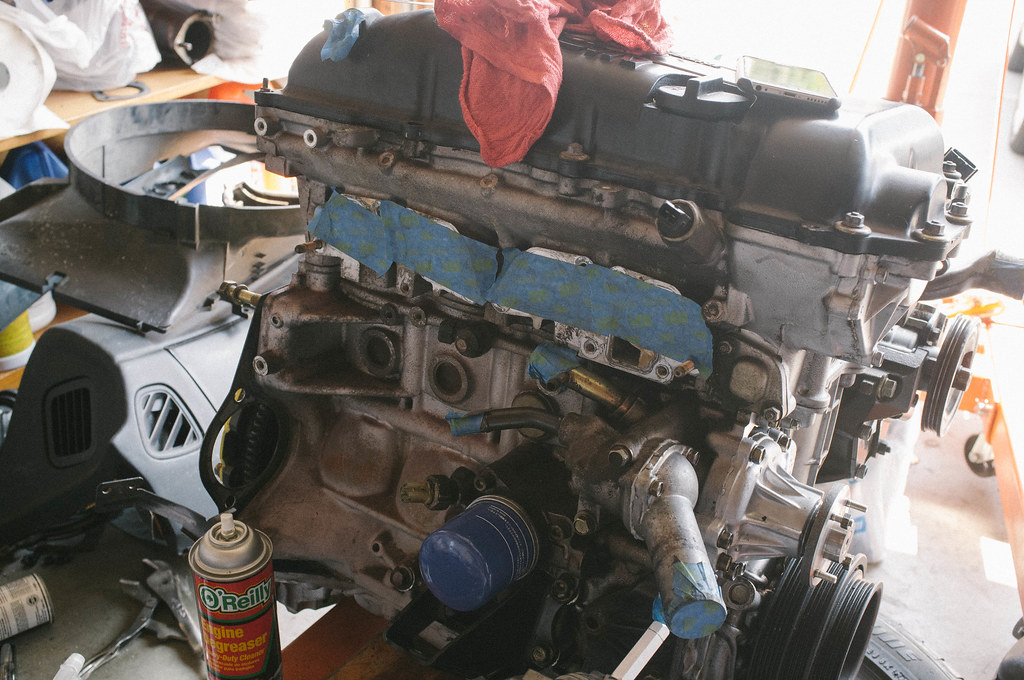
Intake side finally all torn apart.
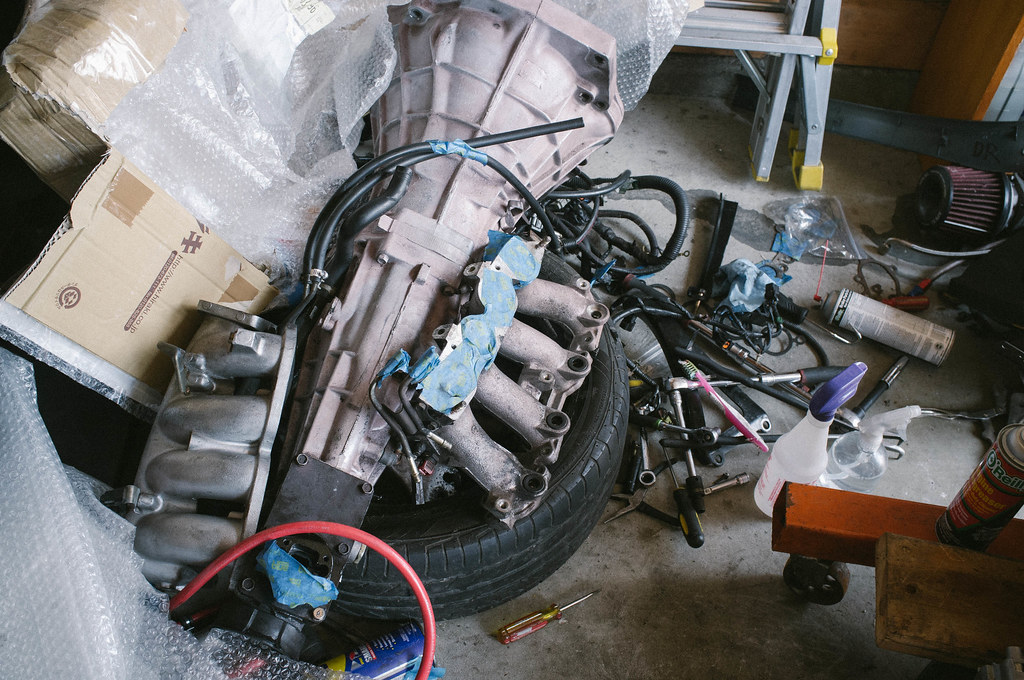
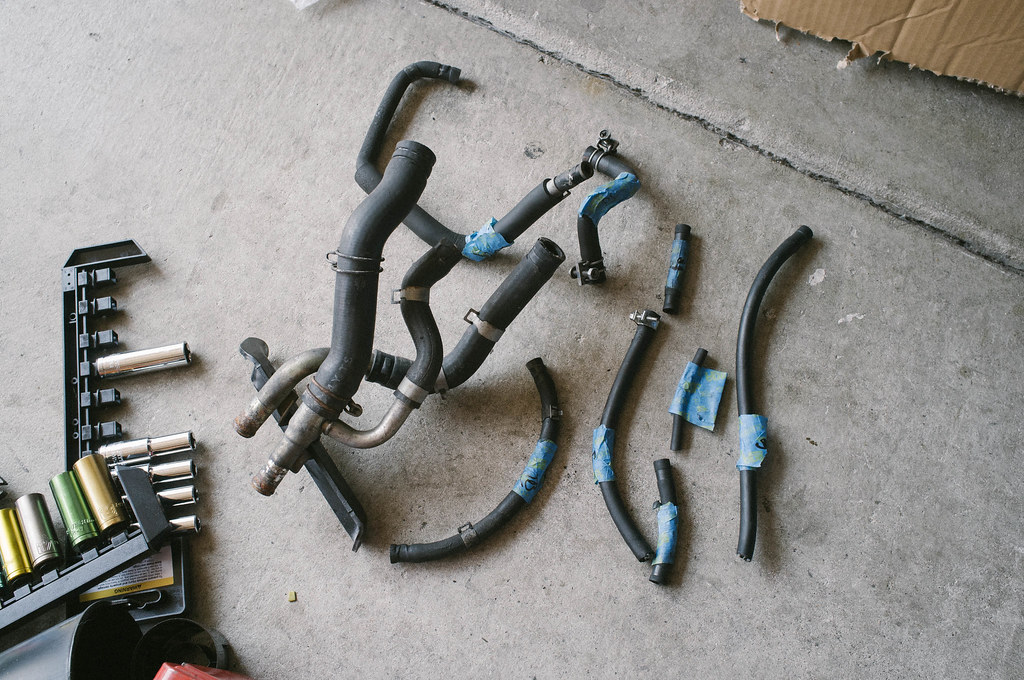
Going to replace all the hoses.. surprisingly hard to find some of the molded hoses. Ended up reusing one or two of them because they were still in good condition, dried and uncracked.
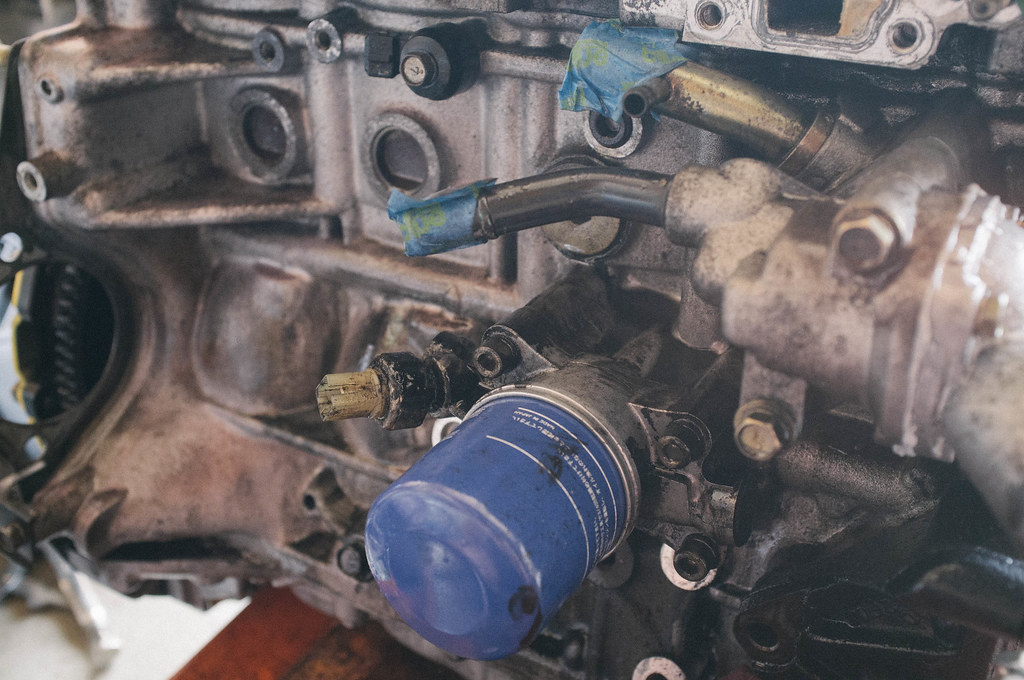
Motor kind of filthy...
Gonna pull the water neck off to install the gktech adapter so I can run the sensor for my blitz water temp gauge.
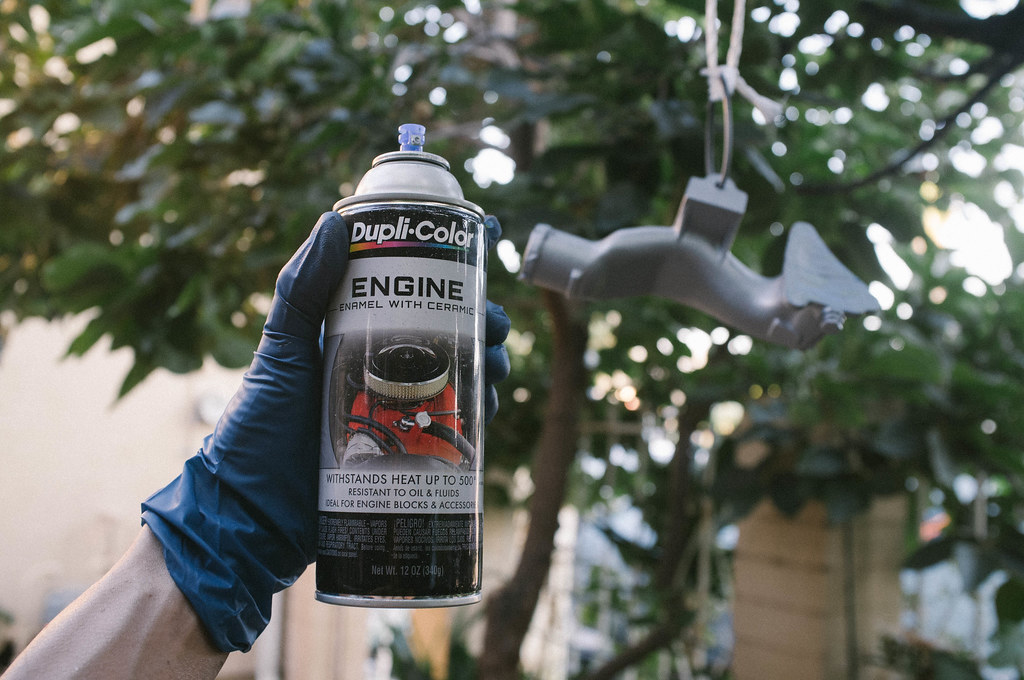
Cleaned up the water neck with the same paint I used to paint the block.
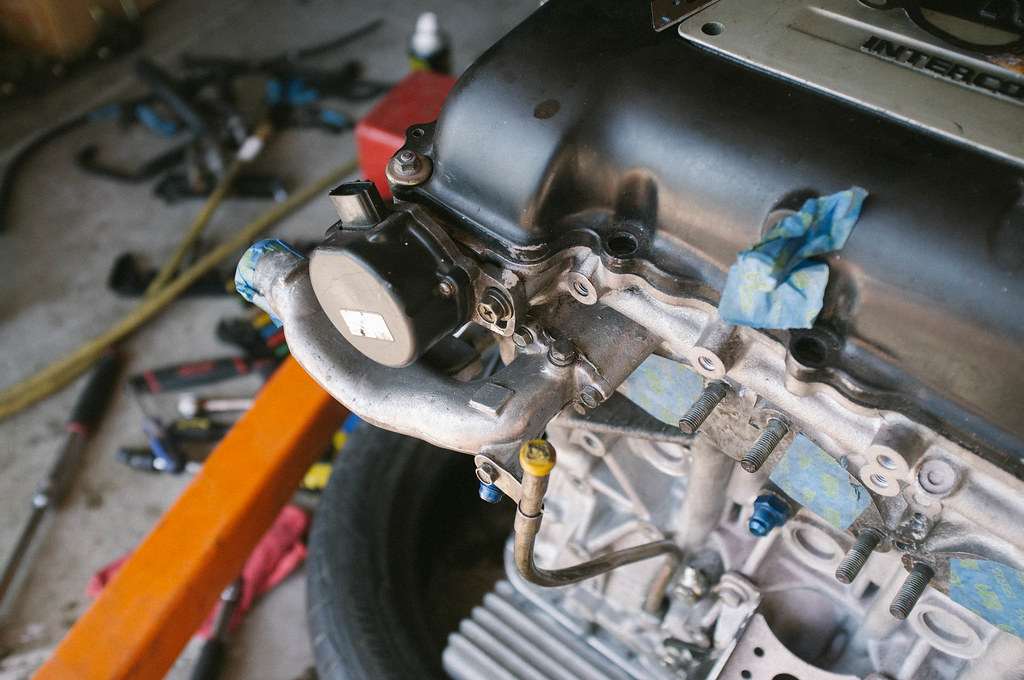
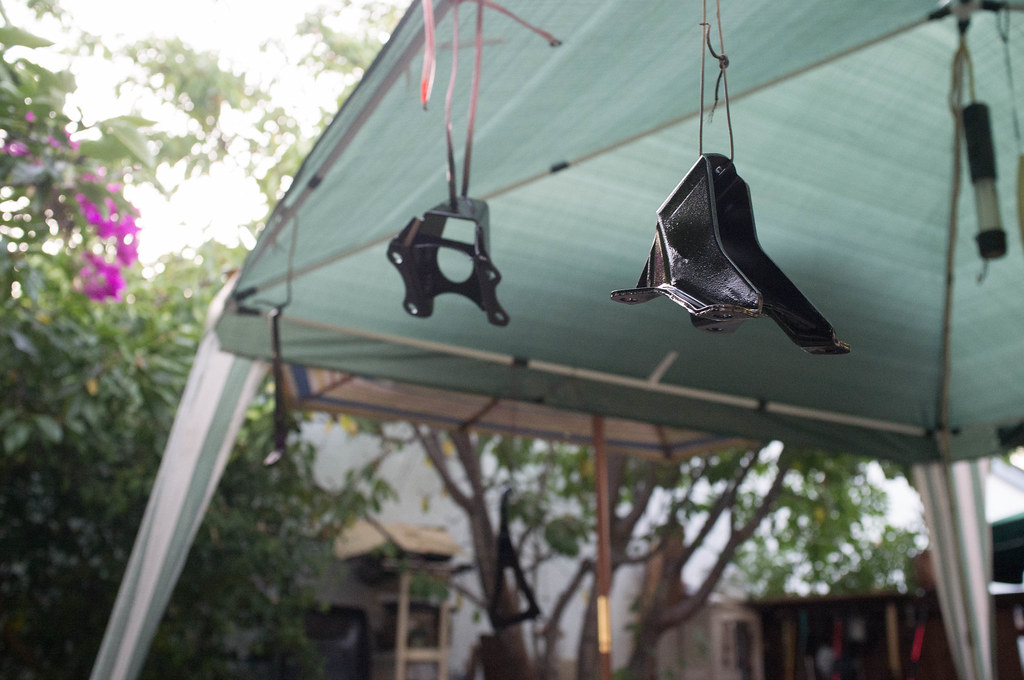
Painted the engine mount brackets and intake manifold brackets with some gloss black.
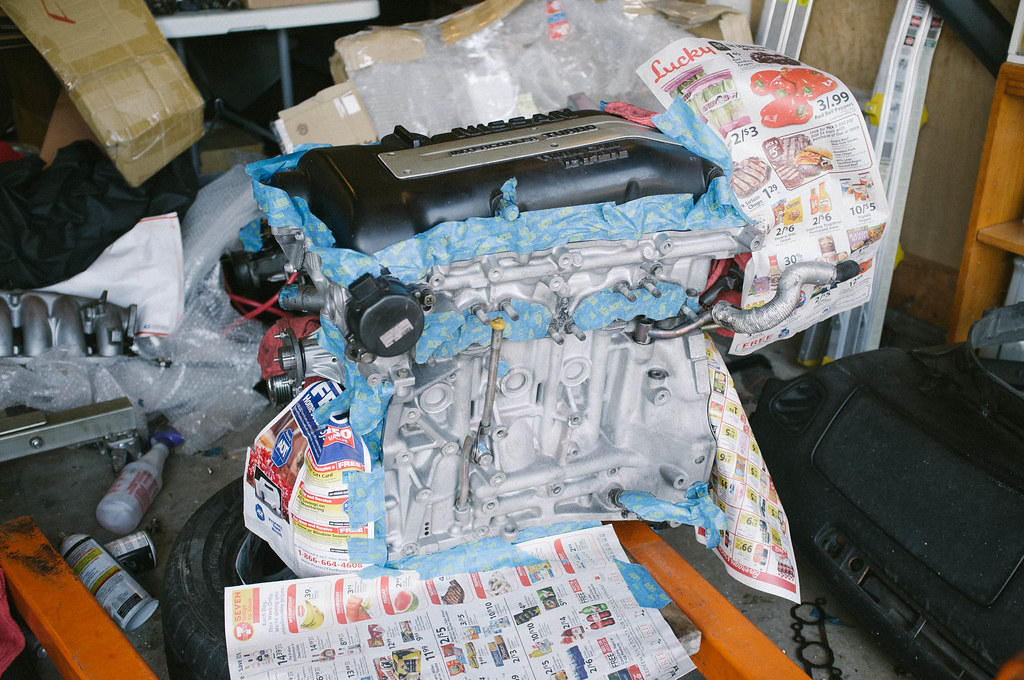
Also degreased the block and prepped it for paint. Wasn't that dirty, but I wanted it really clean. Why? no idea... i just like it that way.
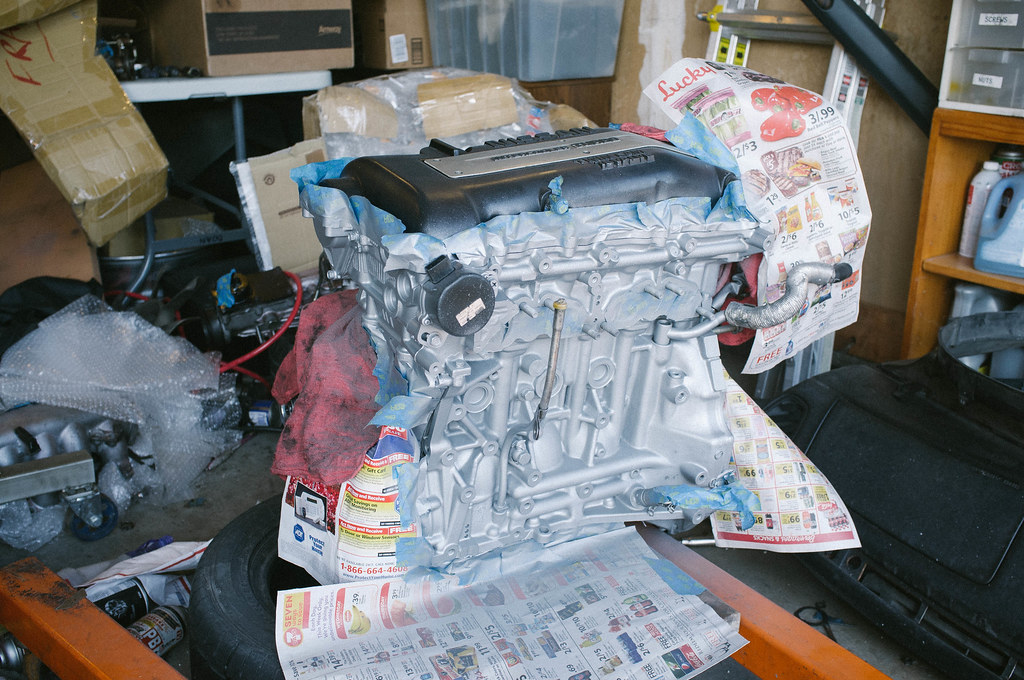
After paint
Back to the gktech water neck adapter install
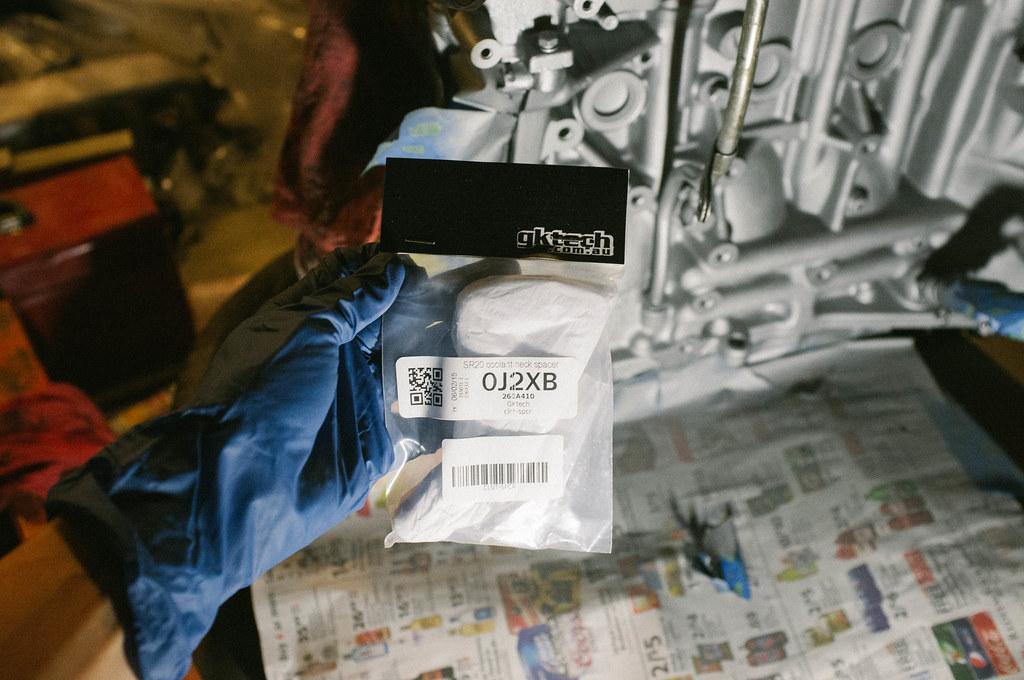
Blitz water temp sensor and gktech adapter
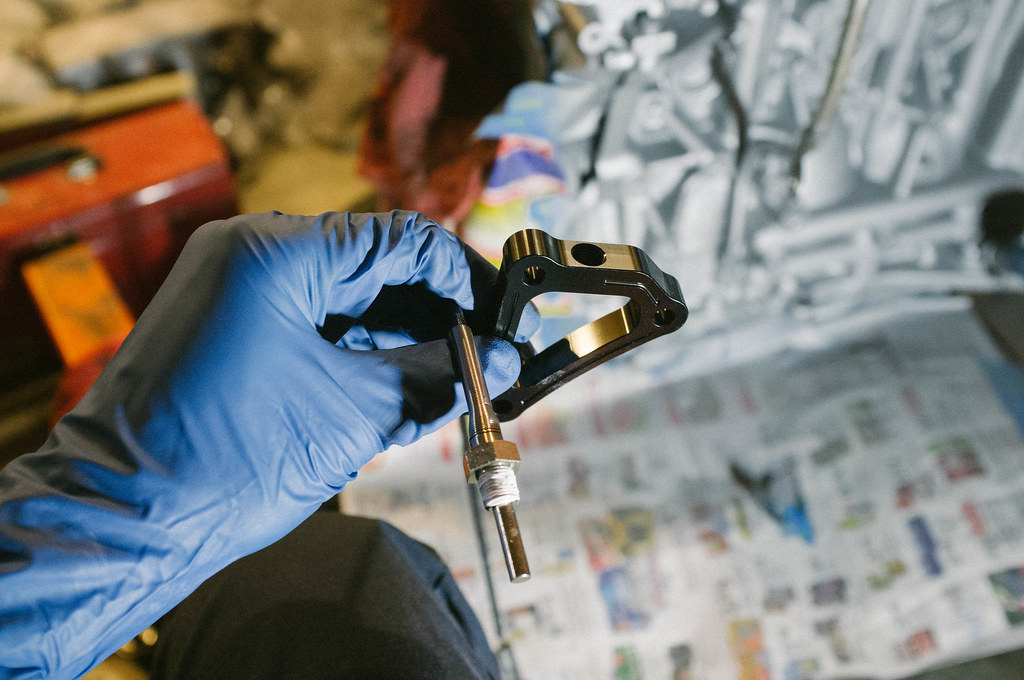
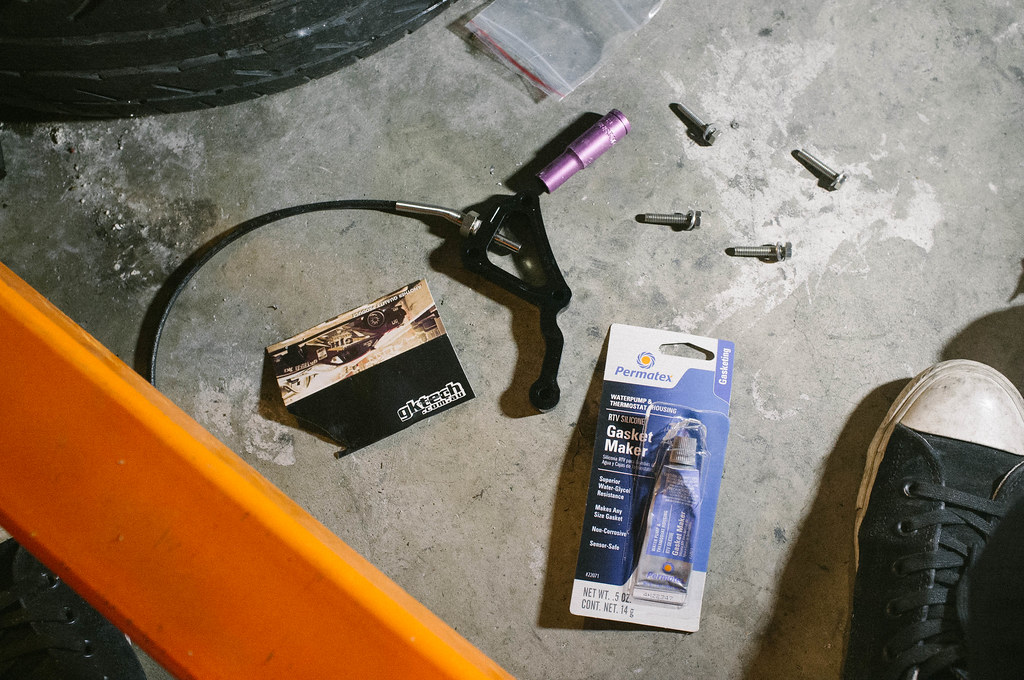
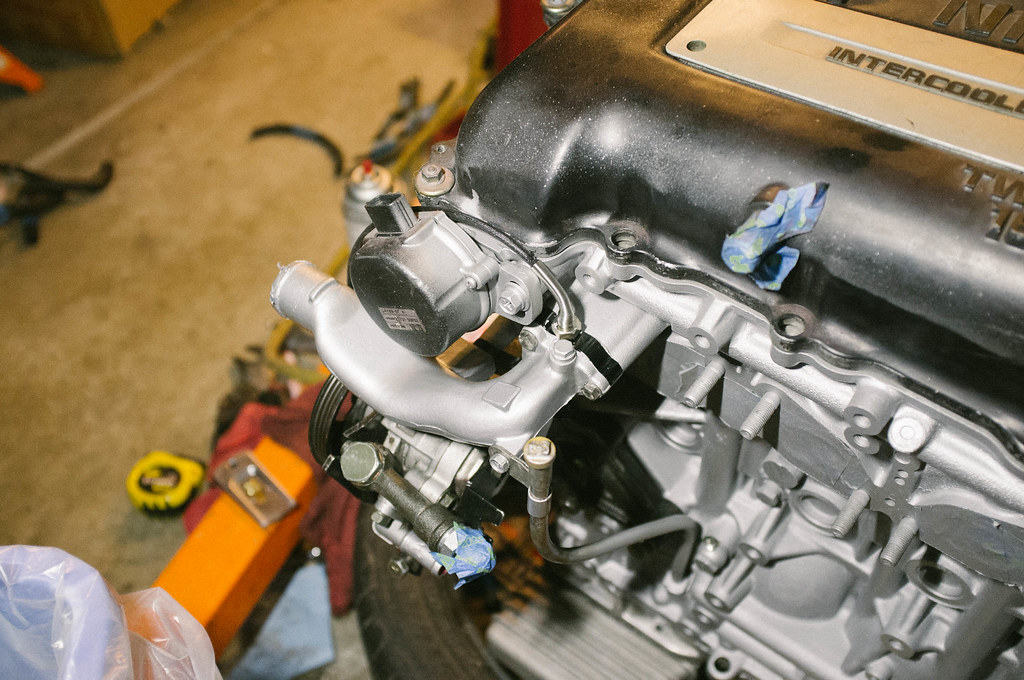
Sealed and installed
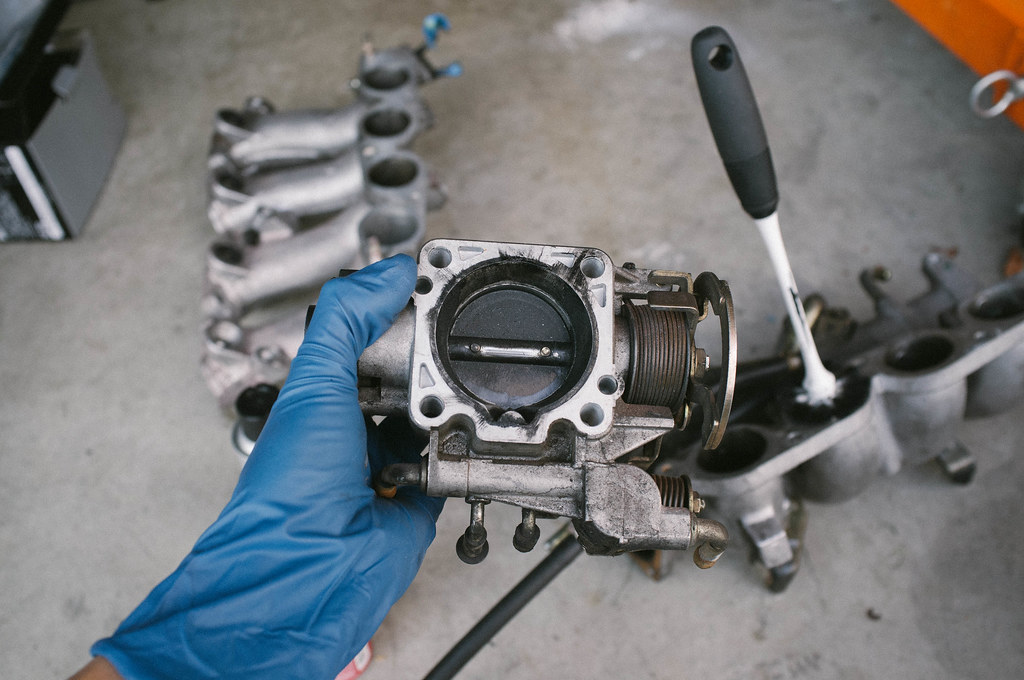
Intake manifold and throttle body needed some attention.. got some stuff to clean out the carbon build up
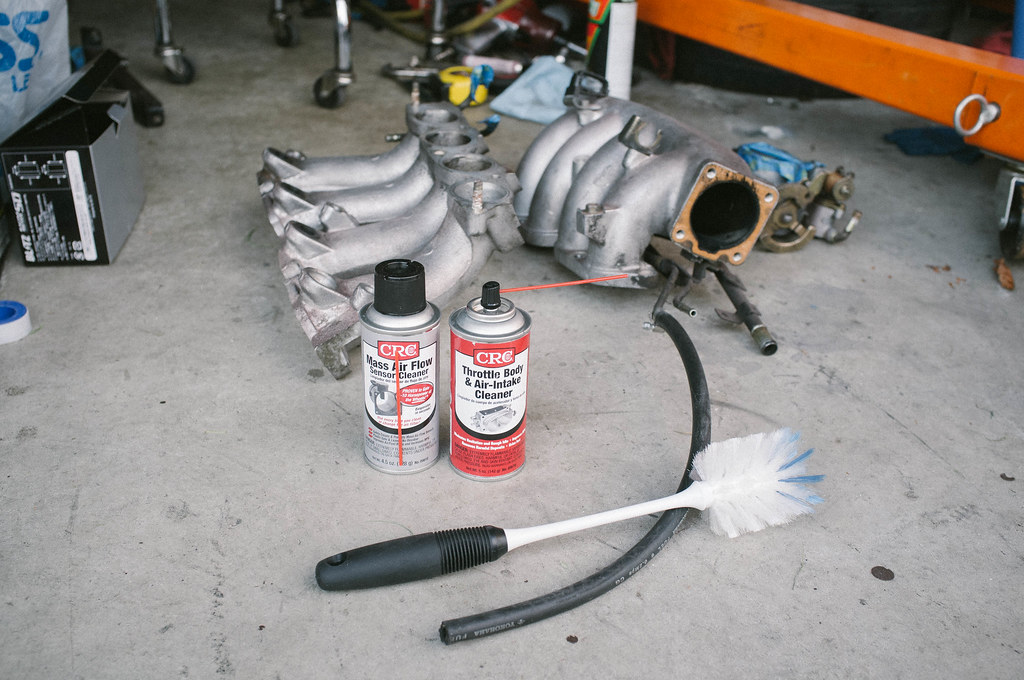
Surprisingly wasn't that dirty..
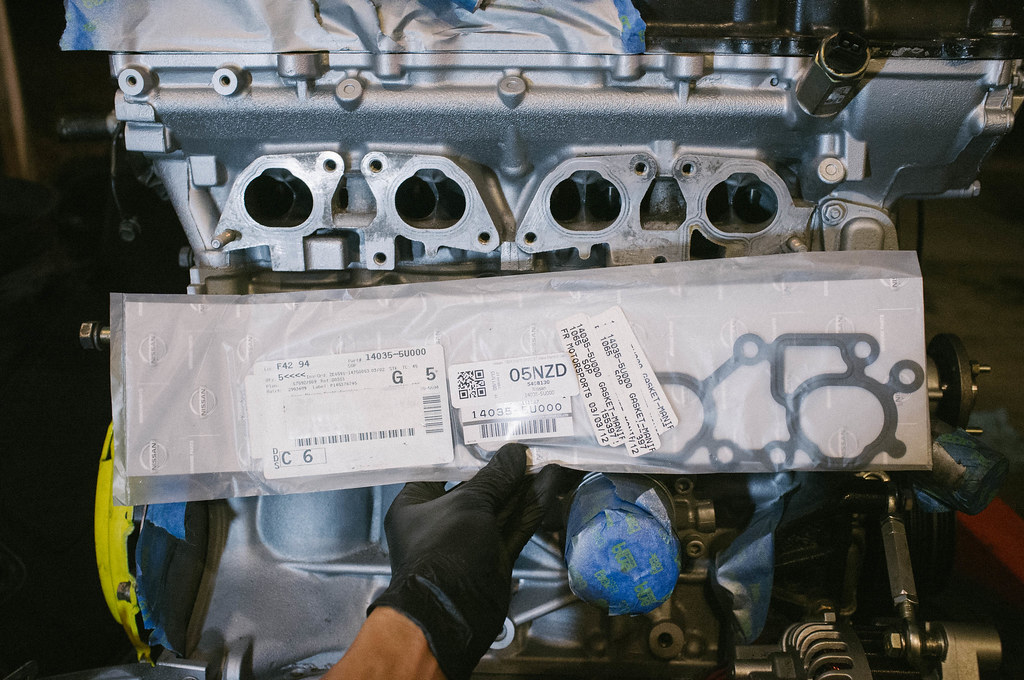
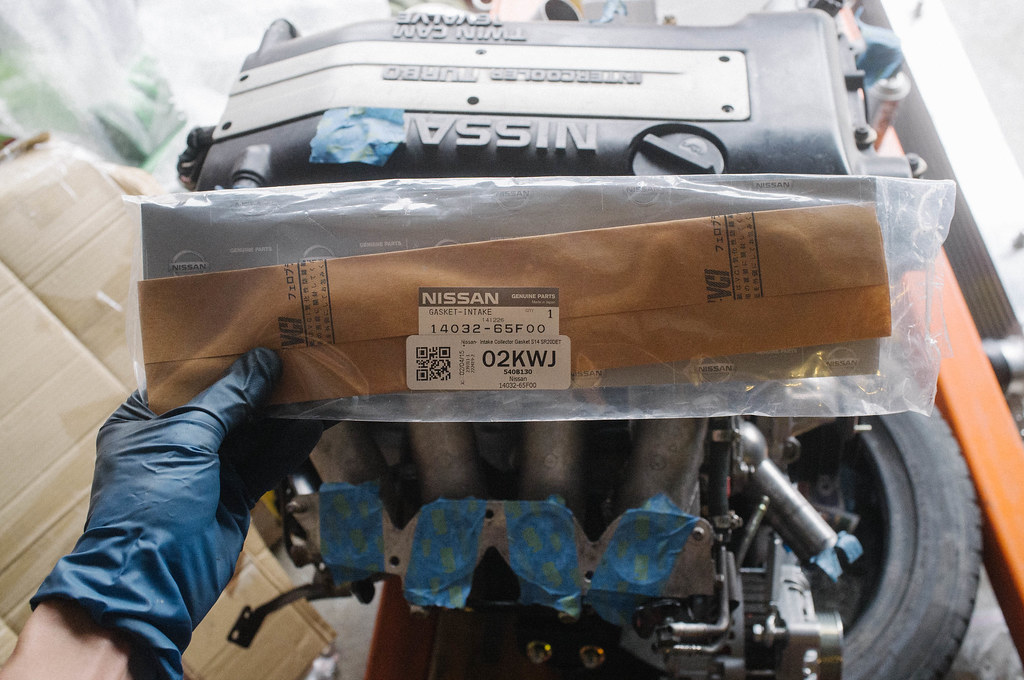
New intake manifold gaskets... gotta keep it OEM
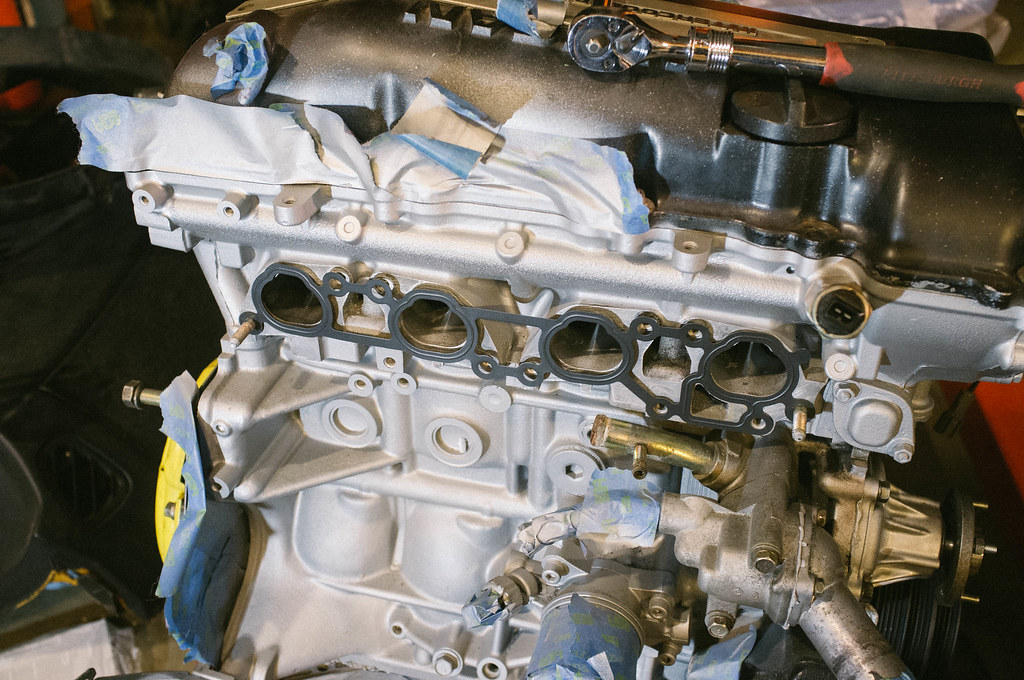
Match up the holes correctly. First time i threw this thing on upside down lol
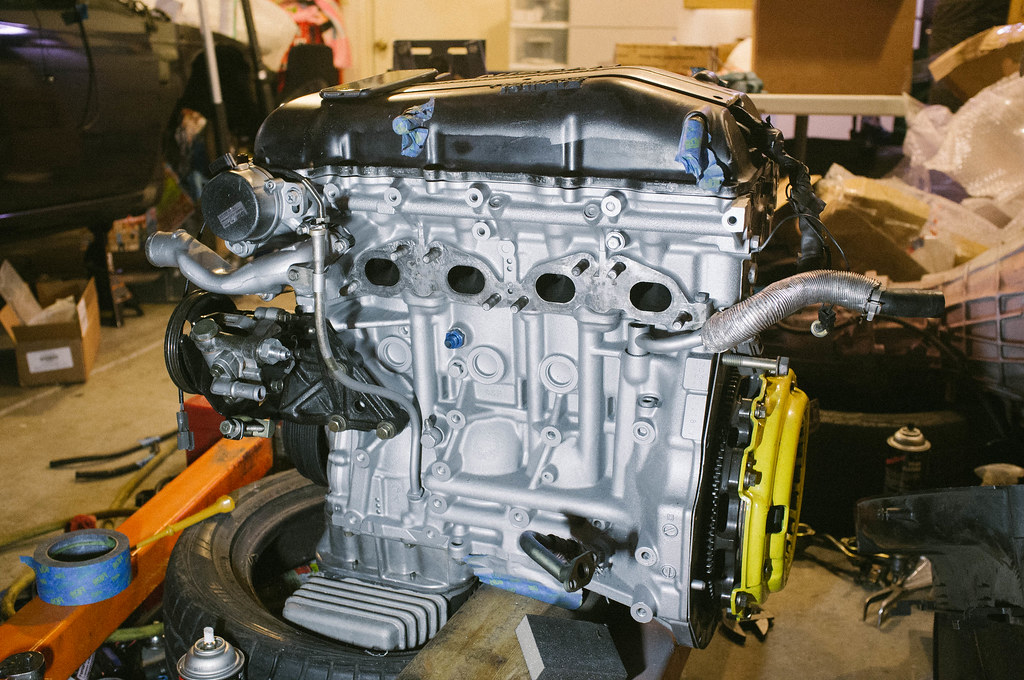
Exhaust side lookin tidy... getting ready to bolt some stuff up.
The trubo
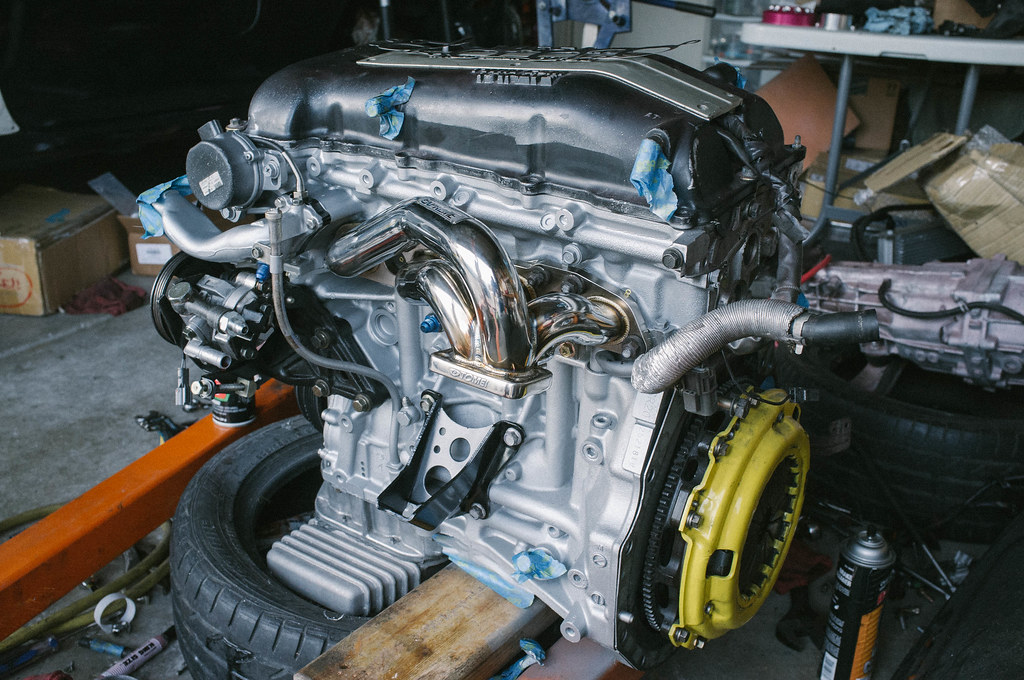
Mocking up the manifold fitment
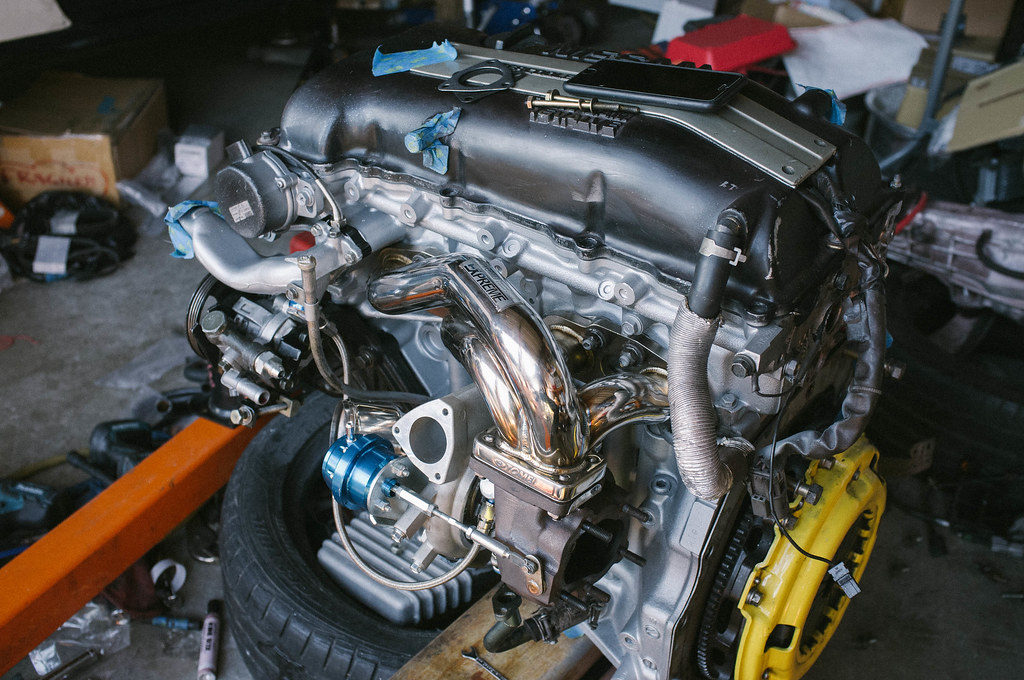
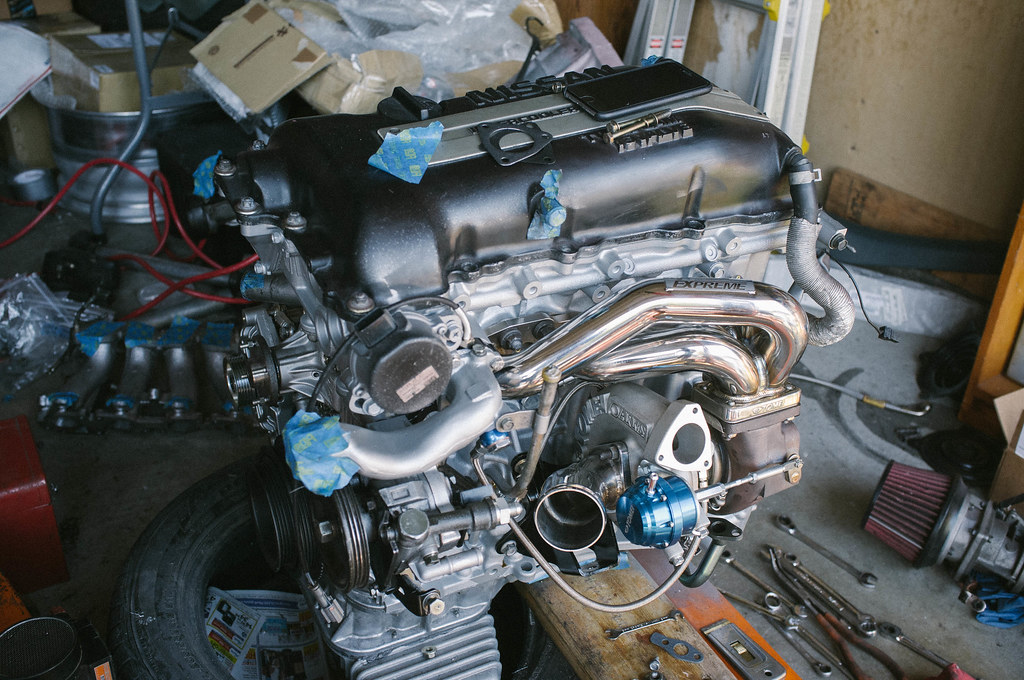
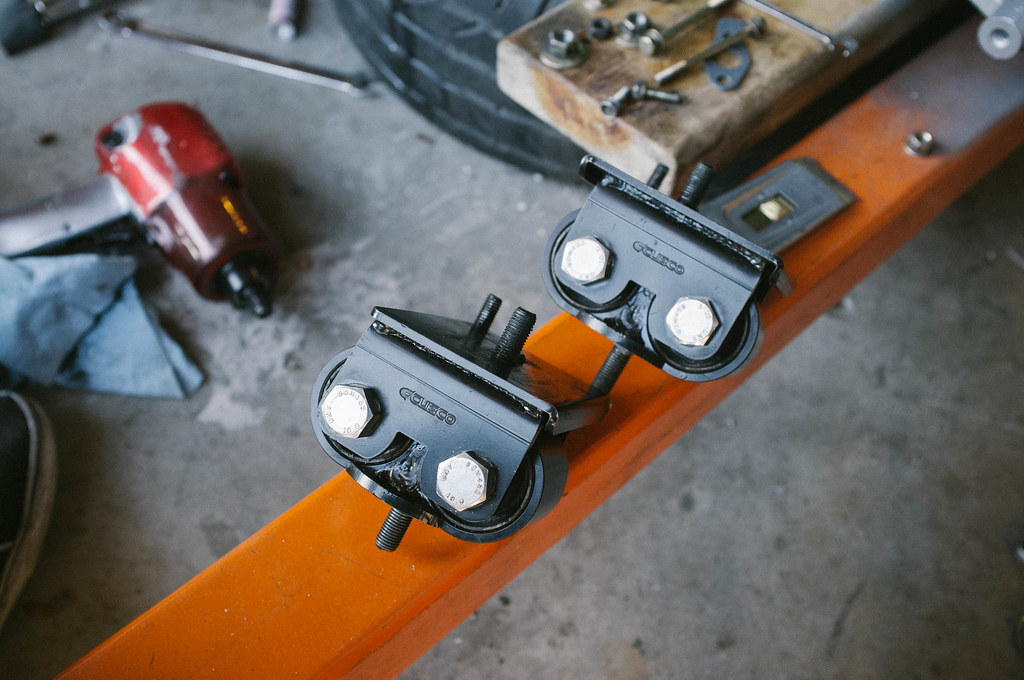
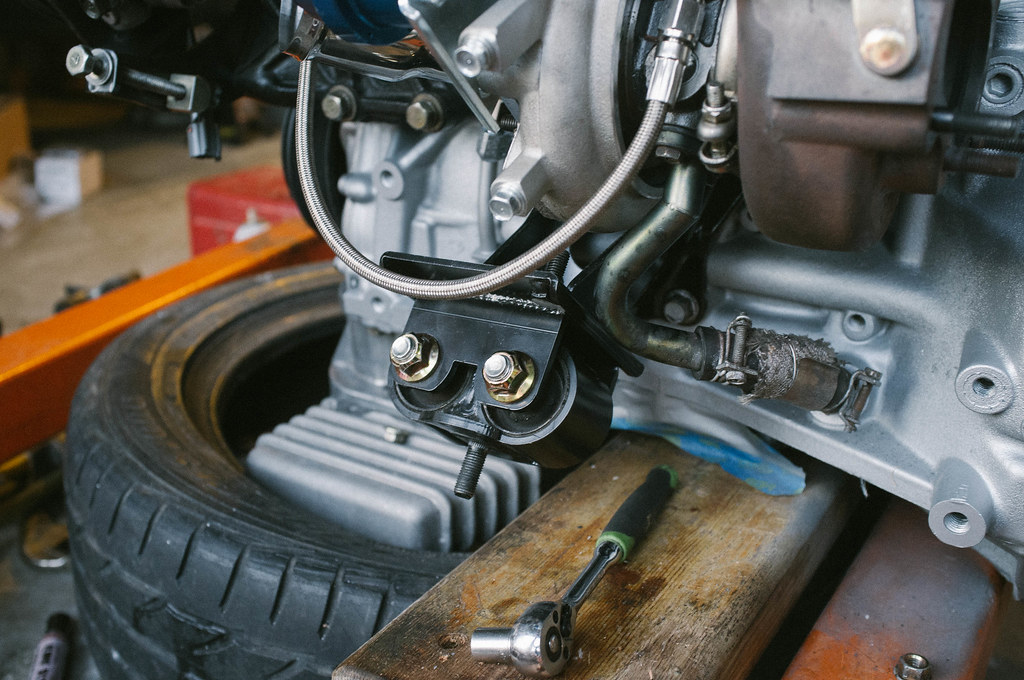
Cusco motor mounts... not sure why I got these... just kinda did. Didn't know they made the engine sit lower until after I got them. Wish I got nismo engine mounts instead. Oh well, we'll see how these work out.
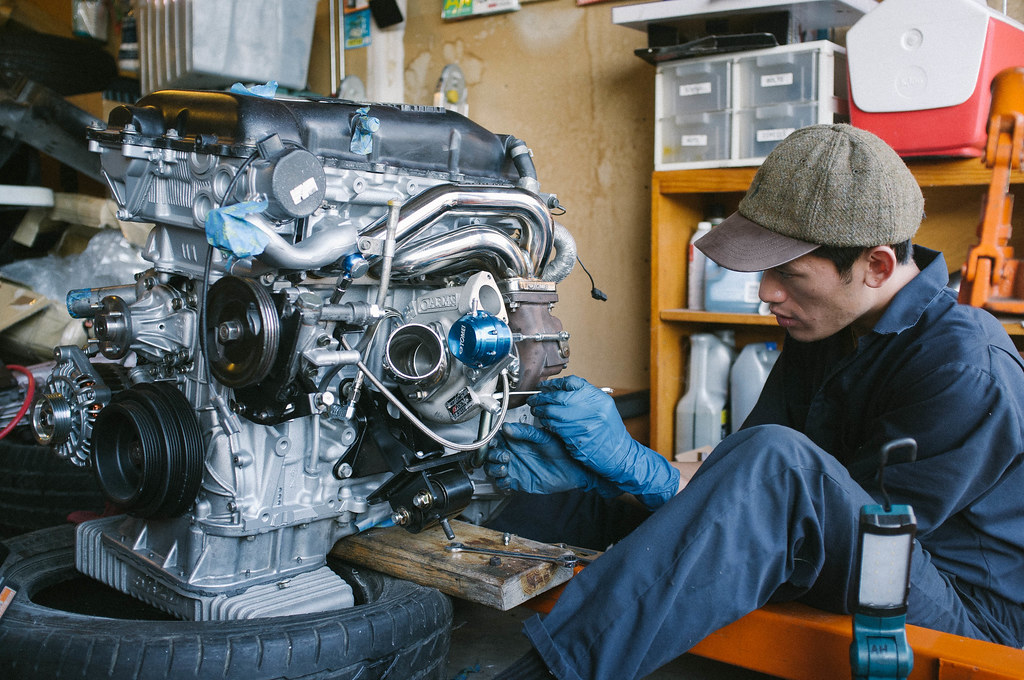
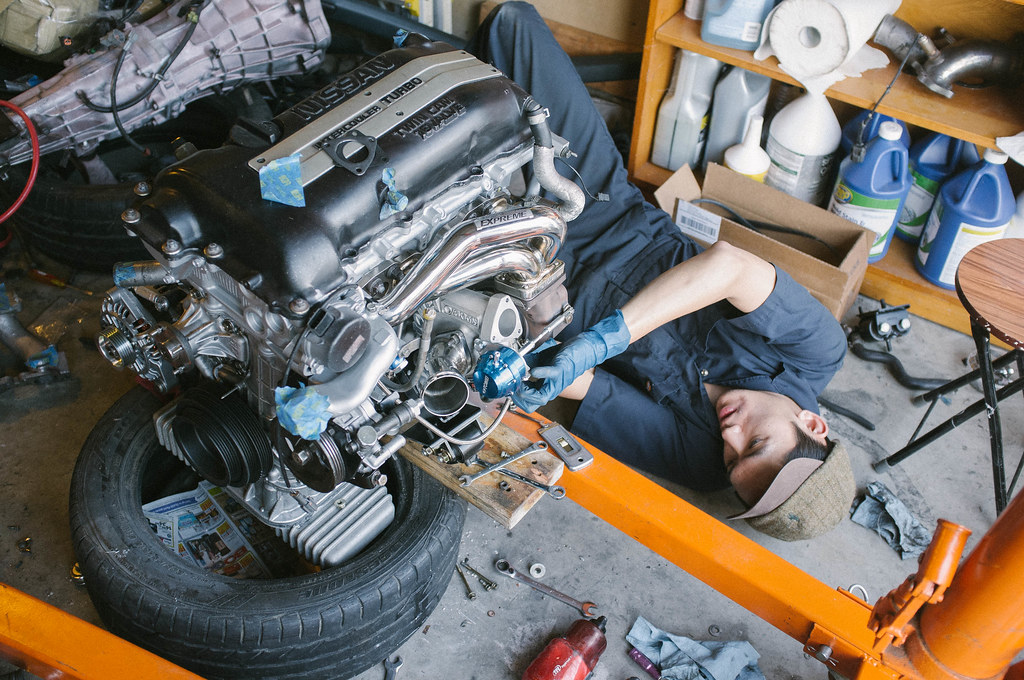
Buddy took some shots of me with my camera working on the motor
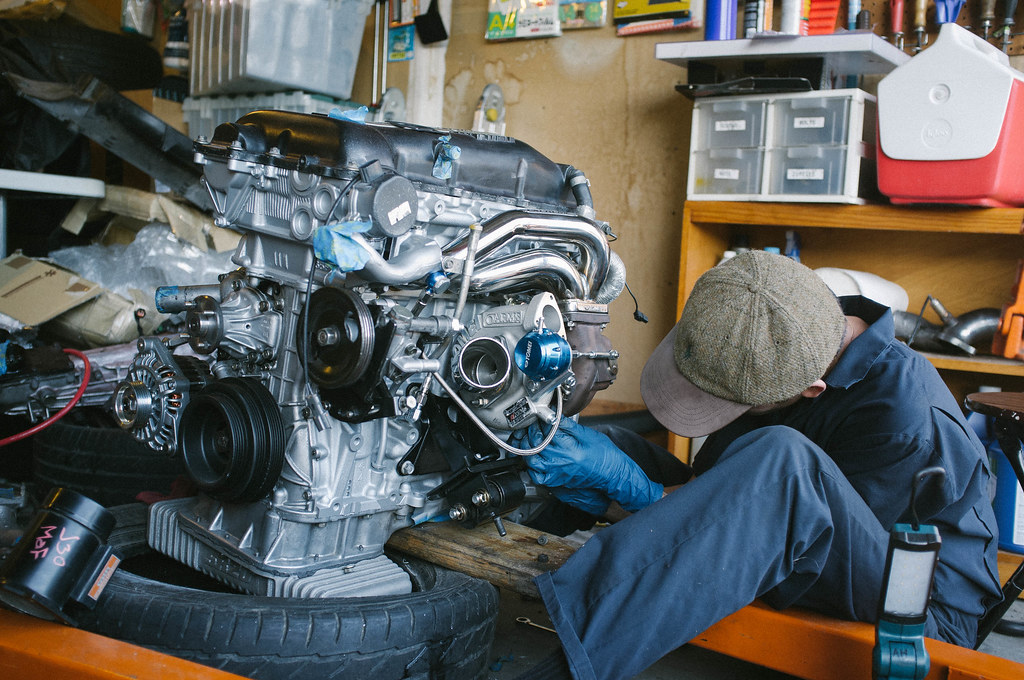
(I have no idea what I am doing)
Gotta come at it from all angles lol
Cusco mount bolted up
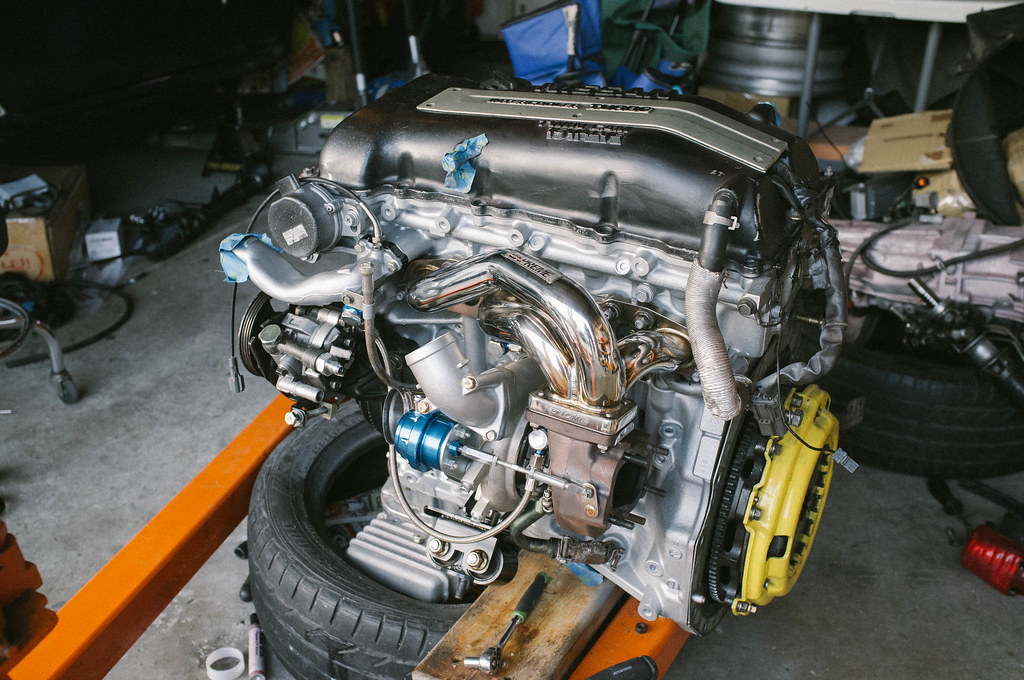
Exhaust side almost done.
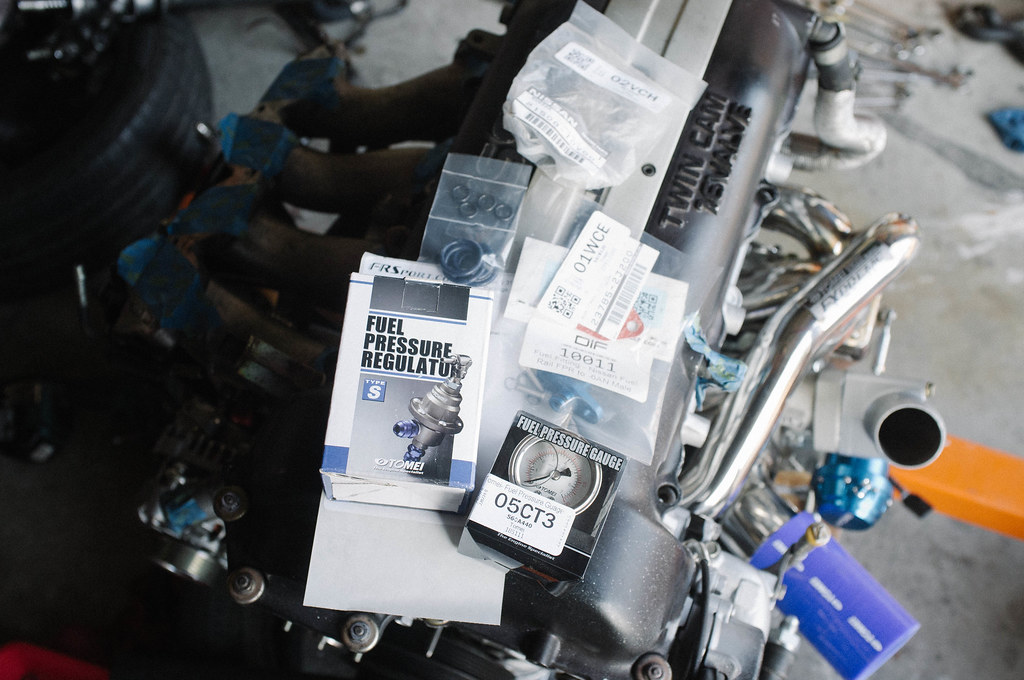
Care package from FRSPORT
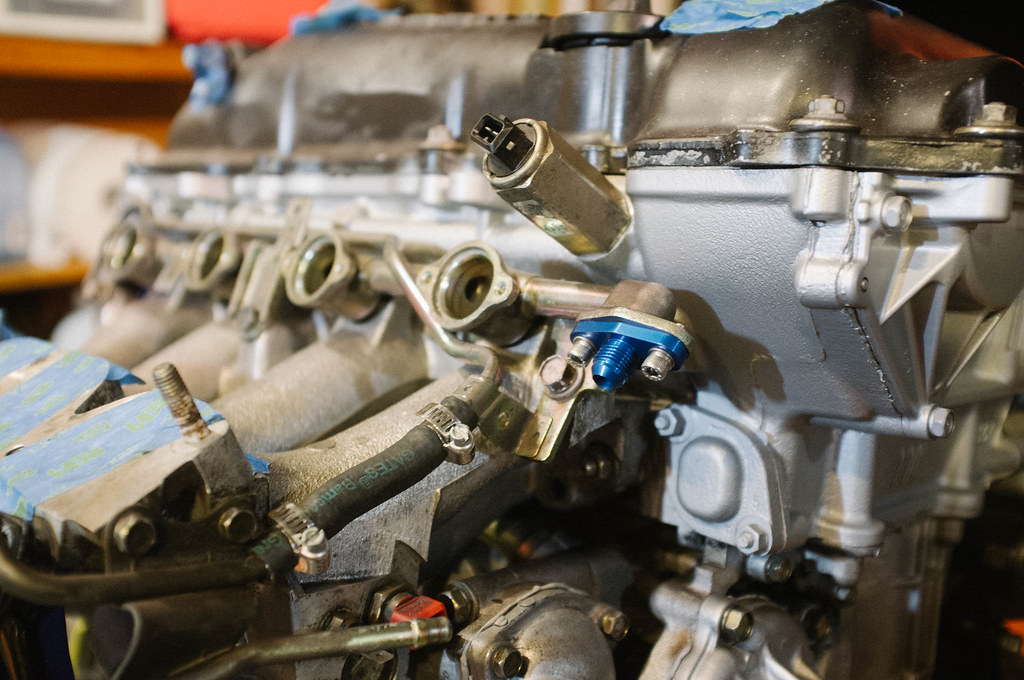
DIF fuel fitting so I can run my tomei FPR
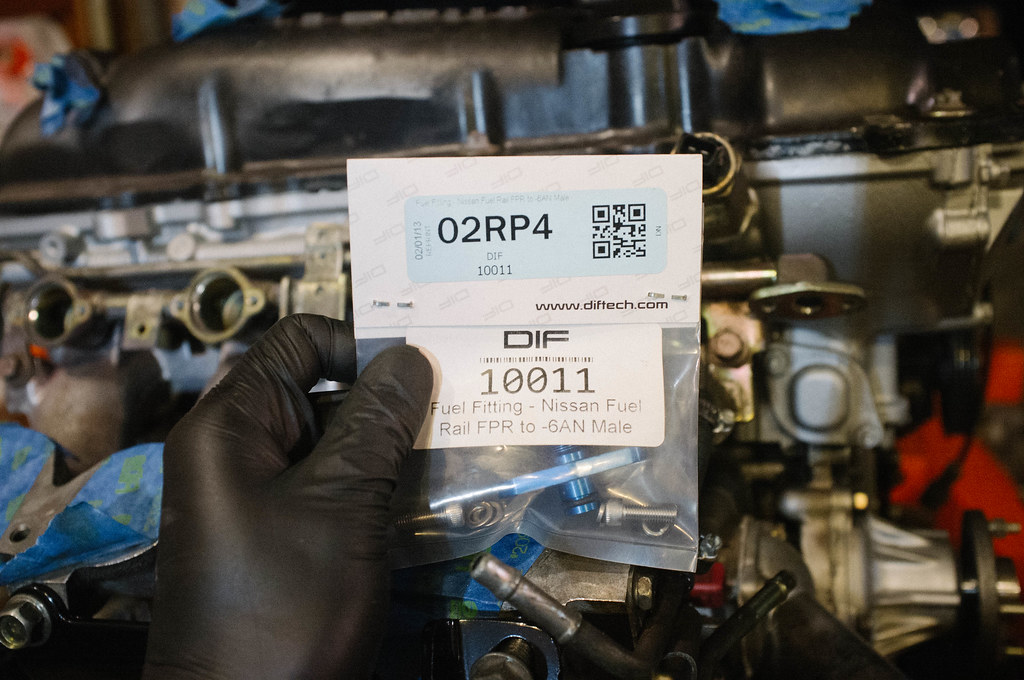
DIF fitted bolted up to the rail
Nismo 555cc with some new o rings
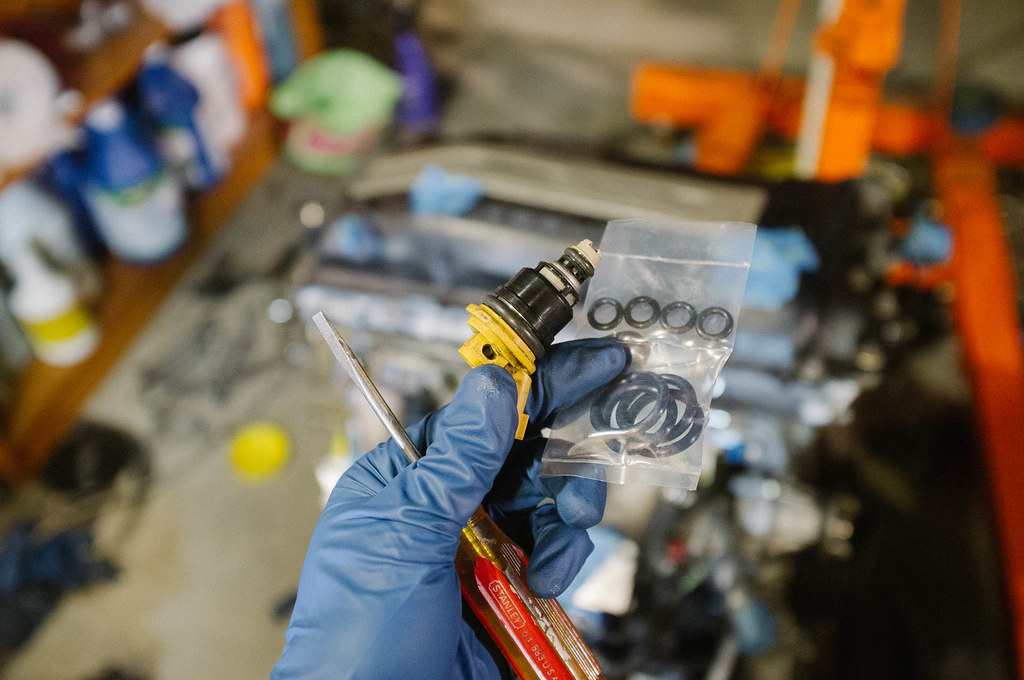
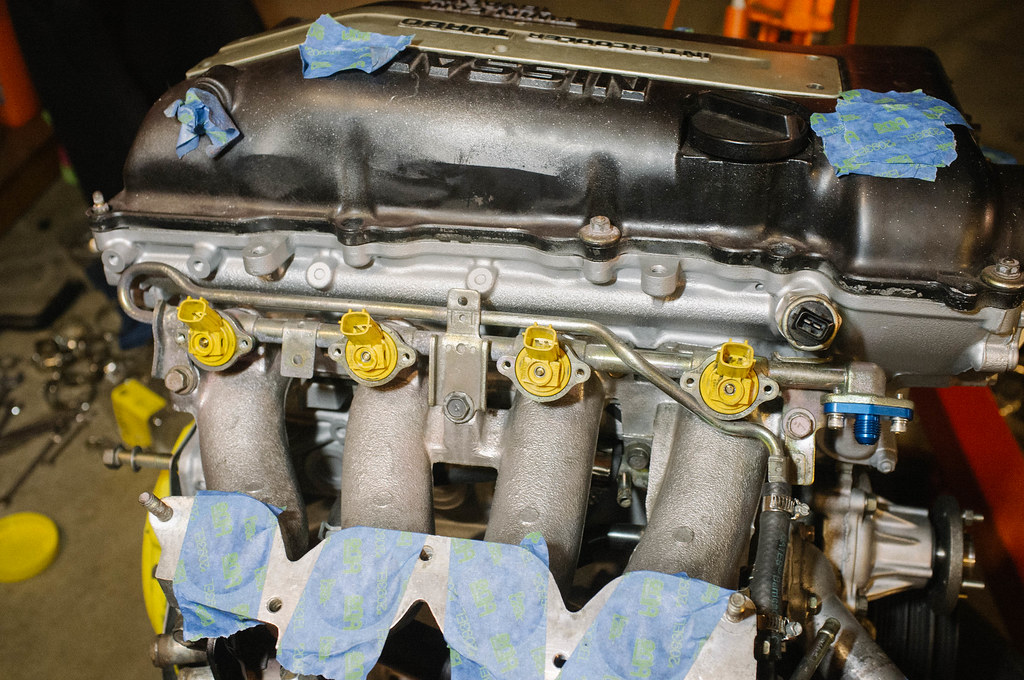
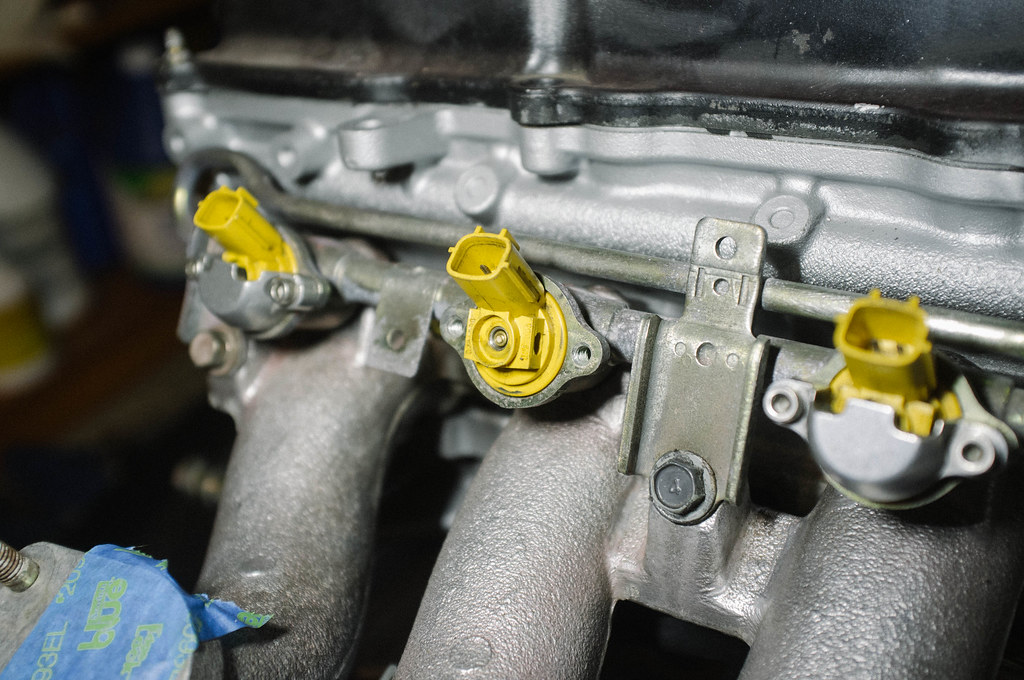
Got 3/4 injectors in. I broke one of them... I installed it wrong. I tried to use the end of a mallet wrapped with a towel and ended up breaking the copper nipple in the center of the injector. Why? Because I rushed and didn't think. Also did not know to use WD40 as lubricant until after i broke it lol. $150 mistake. You live and you learn... this is my first time working on a motor.
Spent some time out of the garage...
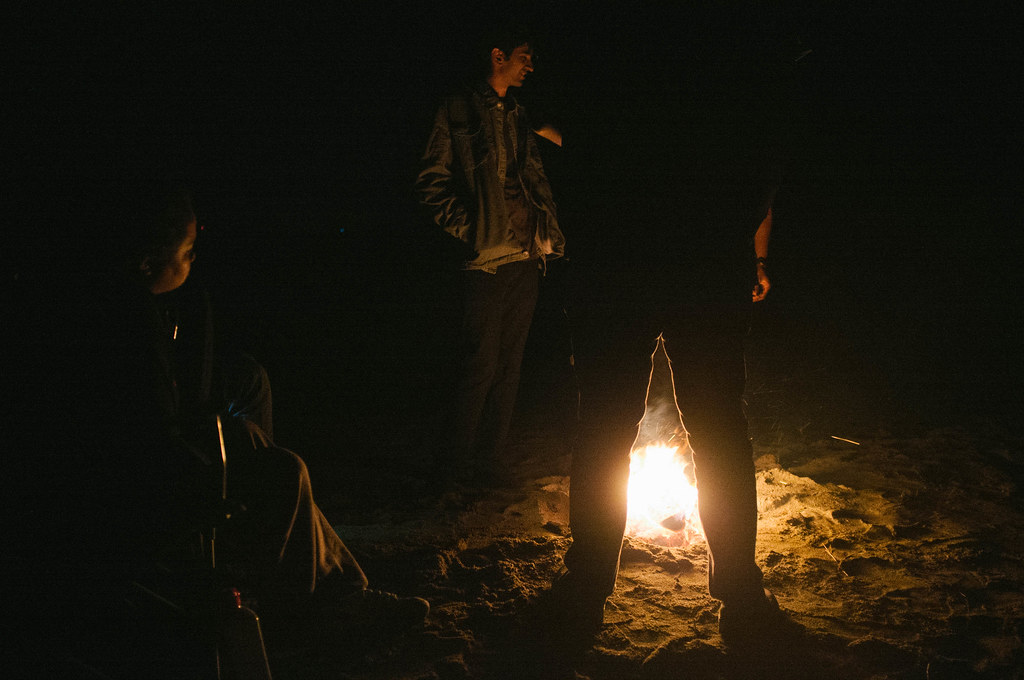
Bonfire for my buddys birthday
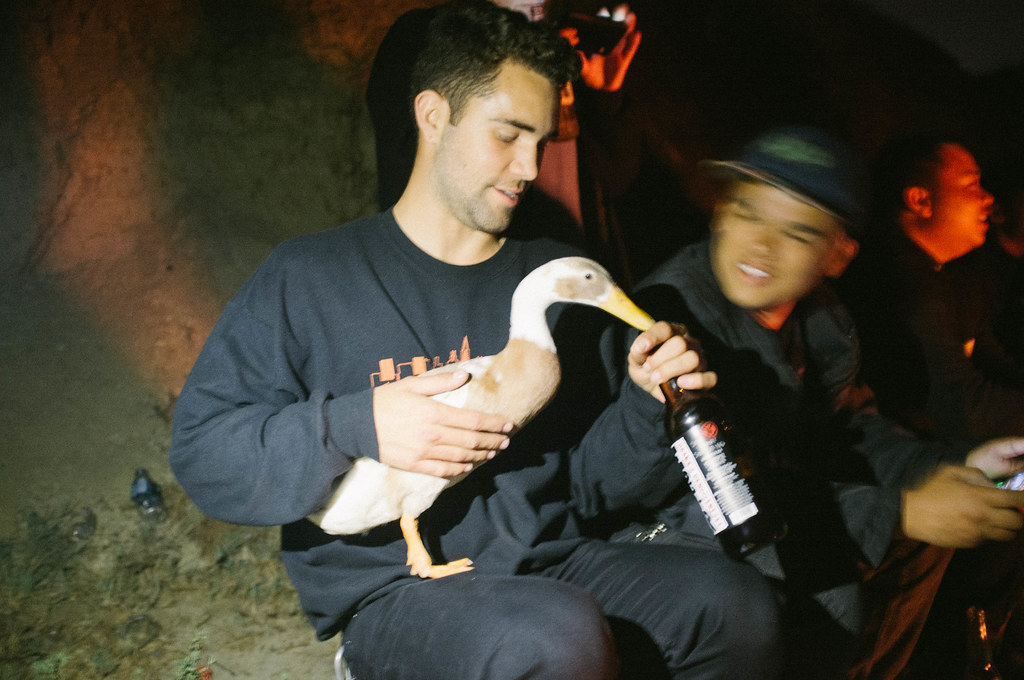
Made a new friend... yoda the duck (he's really someones pet)
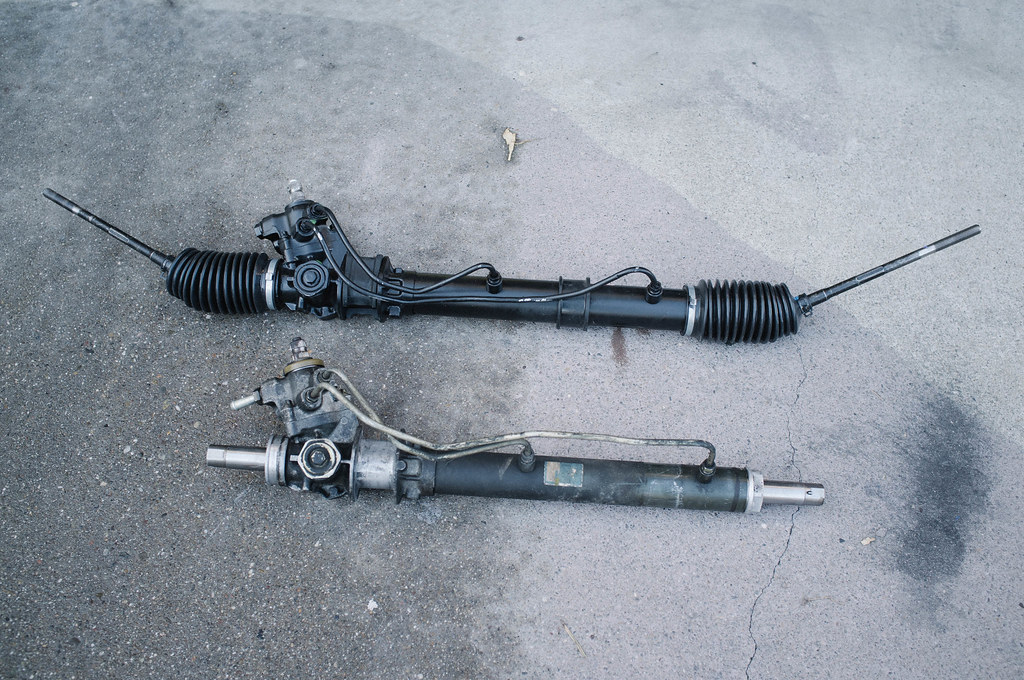
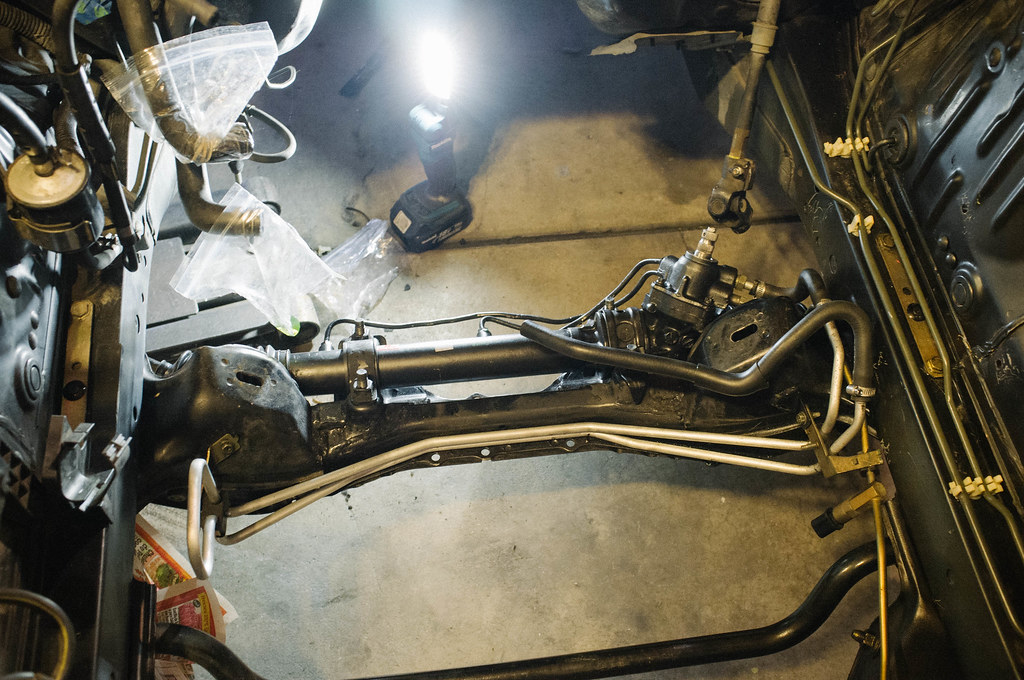
Old rack was leaky... opted for a reman s13 rack because it was easier to obtain and cheaper. Lets hop it works ok.. Luckily i saved the energy s13 rack bushing. Almost threw it away. s13 racks have a wider diameter than s14 therefore it uses a thinner bushing than the s14 rack.
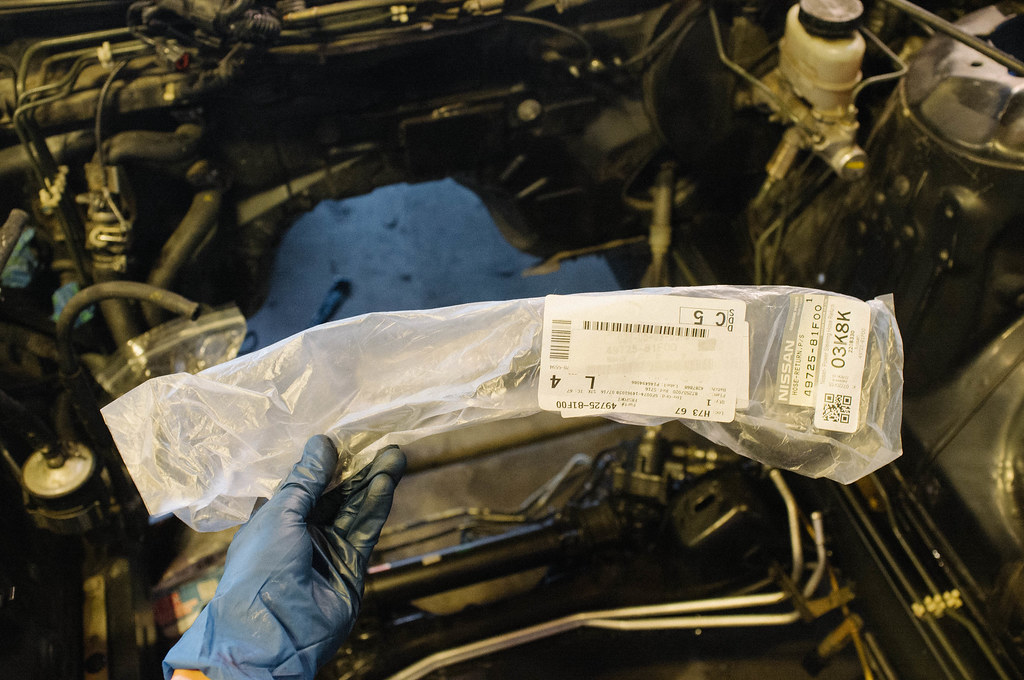
New rack bolted up.


Bun bo hue... favorite viet dish of mine. Gotta get a sugar cane drink as well.

Picked up a boost controller... apexi avcr... got this because I thought it was a fair deal. Turns out I have OCD and wanted the black AVCR instead so I ended up picking another AVCR up. So this one is for sale..

Got something cool from australia

Brand spanking new greddy/trust grex knobs... WOW. Cool right? I already have the yashio knob. I just wanted to horde these...


Limitless motorsports. San Bruno, CA. Stopped by to check on my subaru that was getting a clutch done.


Outside Lands, San Francisco. Chet Faker played an amazing set...


This wheel well was really bothering me. I wanted it clean. So I degreased it, hosed it down, and prepped it for 3M undercoating.


Looks much nicer now after the 3M undercoating.

Started tear down on the intake side...

Finally....after 3 months... these two items arrived at the same exact time from different shippers. My 326 front bumper (already got the sides and rear a few months back) plus my 326 coils (sold my part shop max coils that only had 500 miles on them)


Apexi electronics... peep the new AVCR in black

Some more parts for the motor.

Intake side finally all torn apart.


Going to replace all the hoses.. surprisingly hard to find some of the molded hoses. Ended up reusing one or two of them because they were still in good condition, dried and uncracked.

Motor kind of filthy...

Gonna pull the water neck off to install the gktech adapter so I can run the sensor for my blitz water temp gauge.

Cleaned up the water neck with the same paint I used to paint the block.

Painted the engine mount brackets and intake manifold brackets with some gloss black.

Also degreased the block and prepped it for paint. Wasn't that dirty, but I wanted it really clean. Why? no idea... i just like it that way.

After paint

Back to the gktech water neck adapter install

Blitz water temp sensor and gktech adapter


Sealed and installed

Intake manifold and throttle body needed some attention.. got some stuff to clean out the carbon build up

Surprisingly wasn't that dirty..

New intake manifold gaskets... gotta keep it OEM

Match up the holes correctly. First time i threw this thing on upside down lol

Exhaust side lookin tidy... getting ready to bolt some stuff up.

The trubo

Mocking up the manifold fitment


Cusco motor mounts... not sure why I got these... just kinda did. Didn't know they made the engine sit lower until after I got them. Wish I got nismo engine mounts instead. Oh well, we'll see how these work out.

Buddy took some shots of me with my camera working on the motor

(I have no idea what I am doing)

Gotta come at it from all angles lol

Cusco mount bolted up

Exhaust side almost done.

Care package from FRSPORT

DIF fuel fitting so I can run my tomei FPR

DIF fitted bolted up to the rail

Nismo 555cc with some new o rings

Got 3/4 injectors in. I broke one of them... I installed it wrong. I tried to use the end of a mallet wrapped with a towel and ended up breaking the copper nipple in the center of the injector. Why? Because I rushed and didn't think. Also did not know to use WD40 as lubricant until after i broke it lol. $150 mistake. You live and you learn... this is my first time working on a motor.


Spent some time out of the garage...
Bonfire for my buddys birthday

Made a new friend... yoda the duck (he's really someones pet)

Old rack was leaky... opted for a reman s13 rack because it was easier to obtain and cheaper. Lets hop it works ok.. Luckily i saved the energy s13 rack bushing. Almost threw it away. s13 racks have a wider diameter than s14 therefore it uses a thinner bushing than the s14 rack.


New rack bolted up.

 Re: wavyzenki s14 build, the street machine
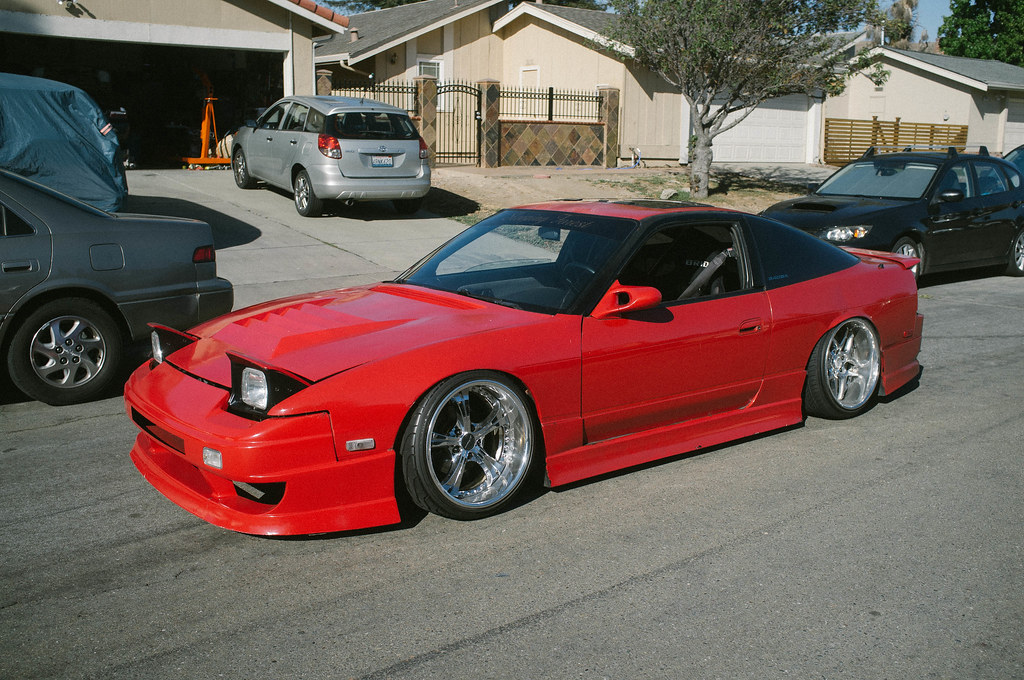
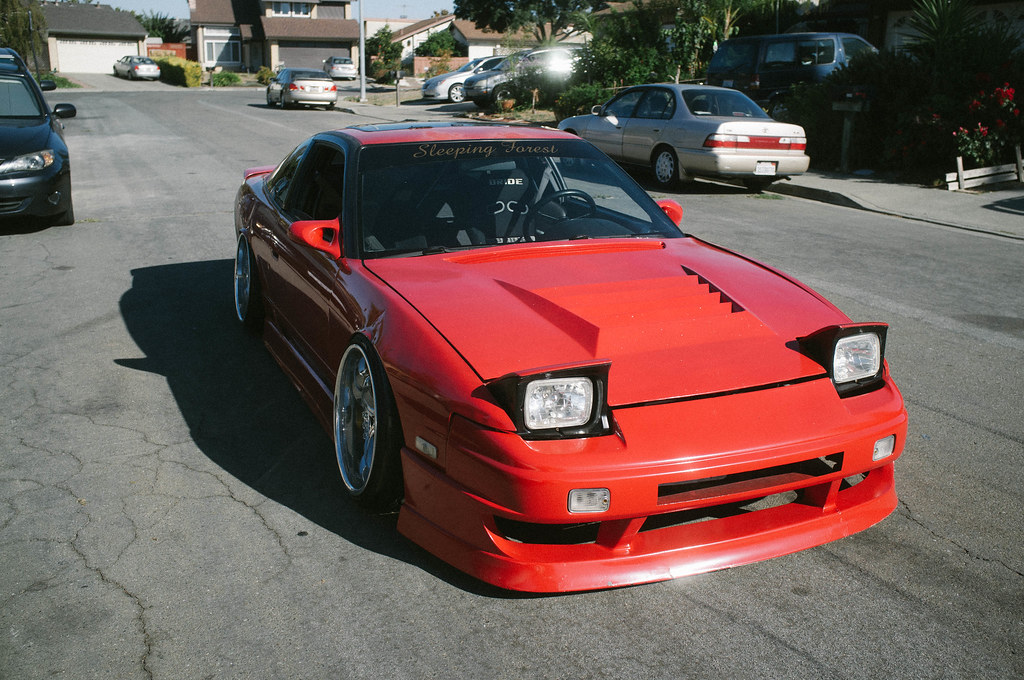
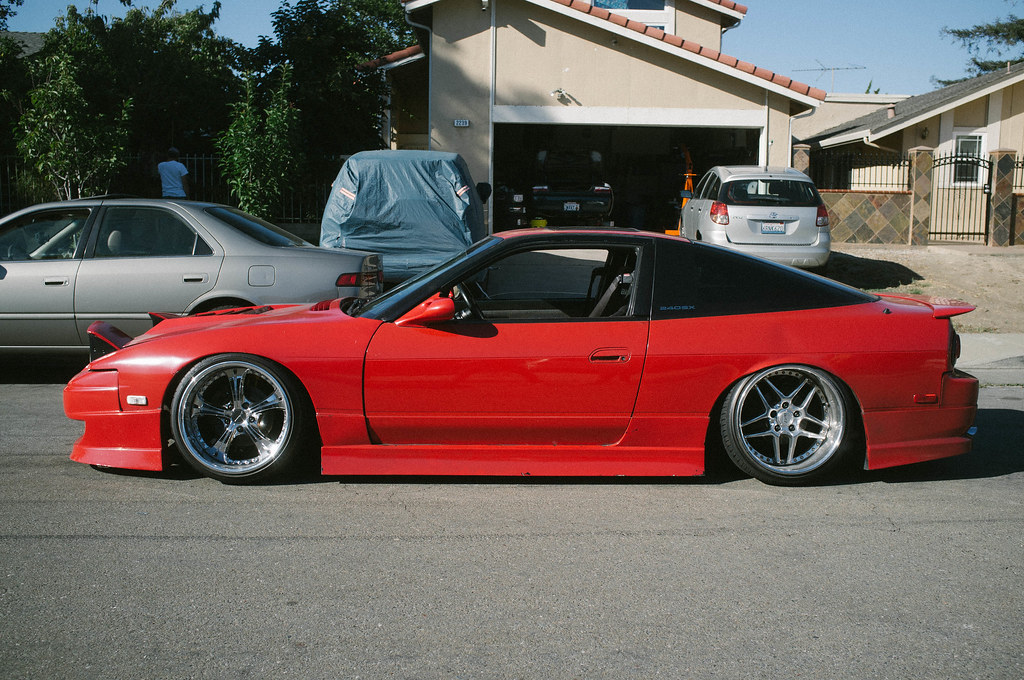
Bryan stopped by for a bit. Coolest hatch yo.
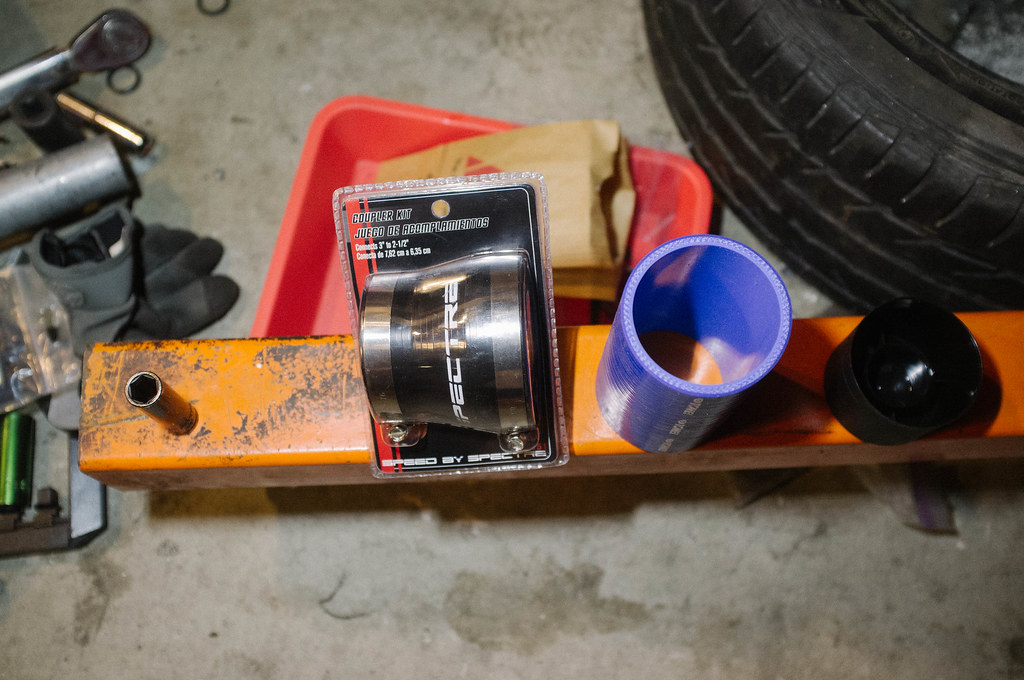
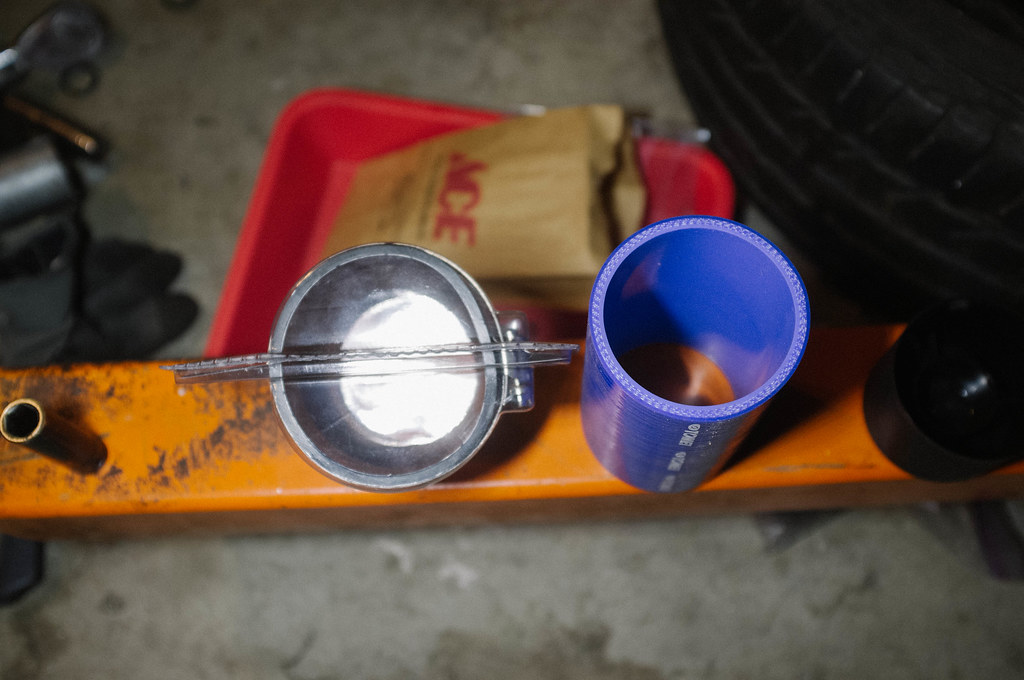
Need a 3" to 2.5" reducer... picked up this one from oreilly but it looked like crap quality compared to this tomei 3" silicone coupler so I decided to return it and order one online...
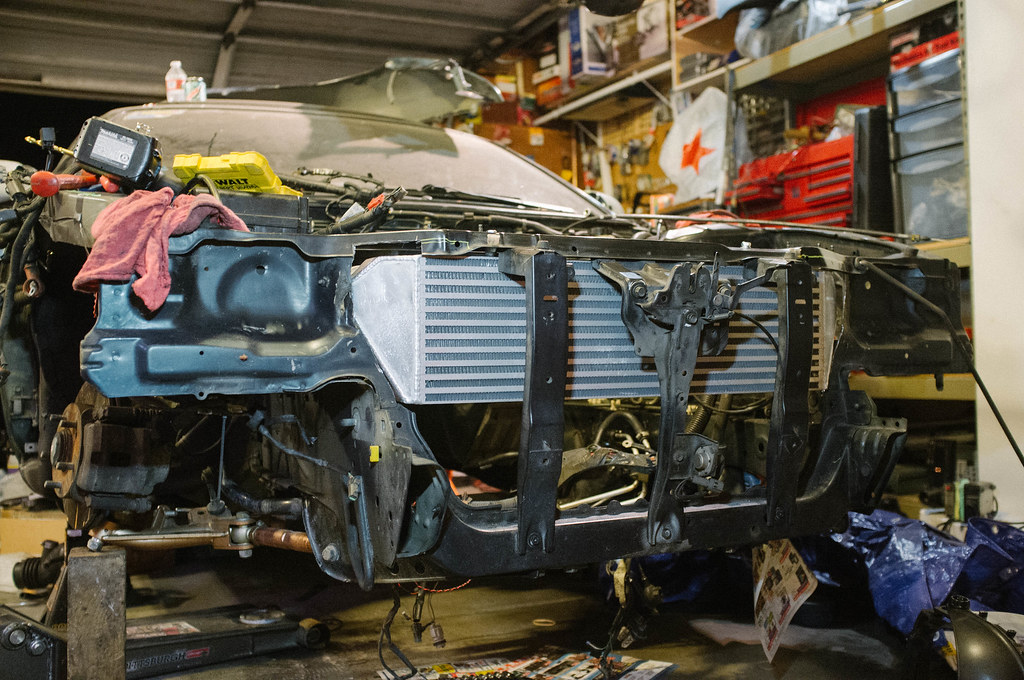
Decided it was time to mock up the intercooler. Since the dude who bought my KA wanted to keep the AC, I said heck with it and went for the parts shop max highmount intercooler.
I really wanted to run AC, but it seemed like another headache I didn't feel like dealing with. This car is probably going to see the street like twice a month,
I guess I can live without the AC.
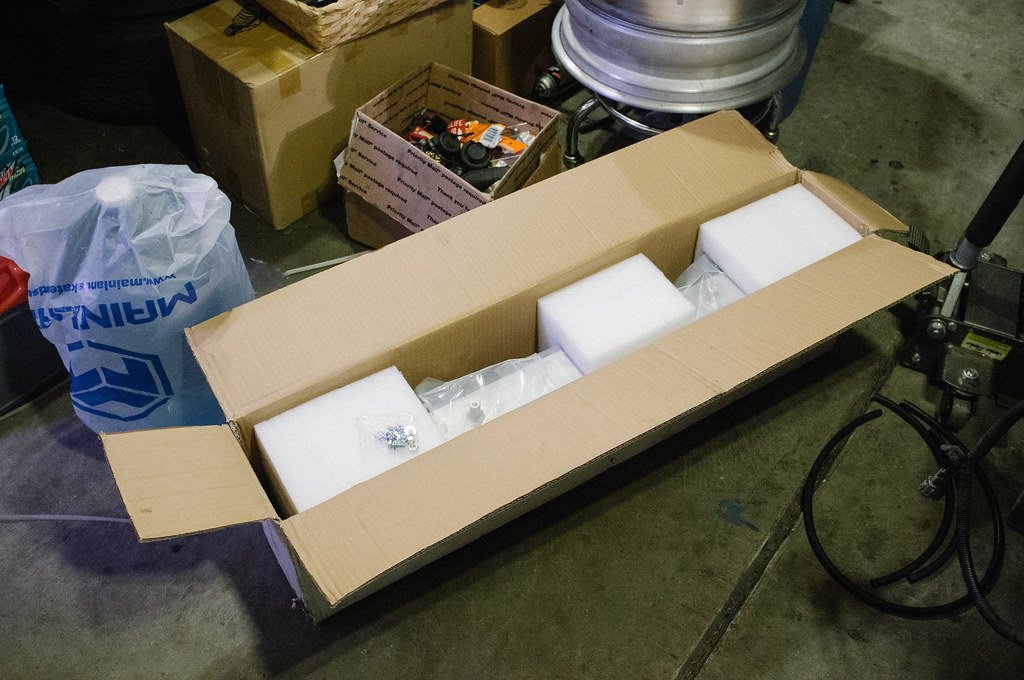
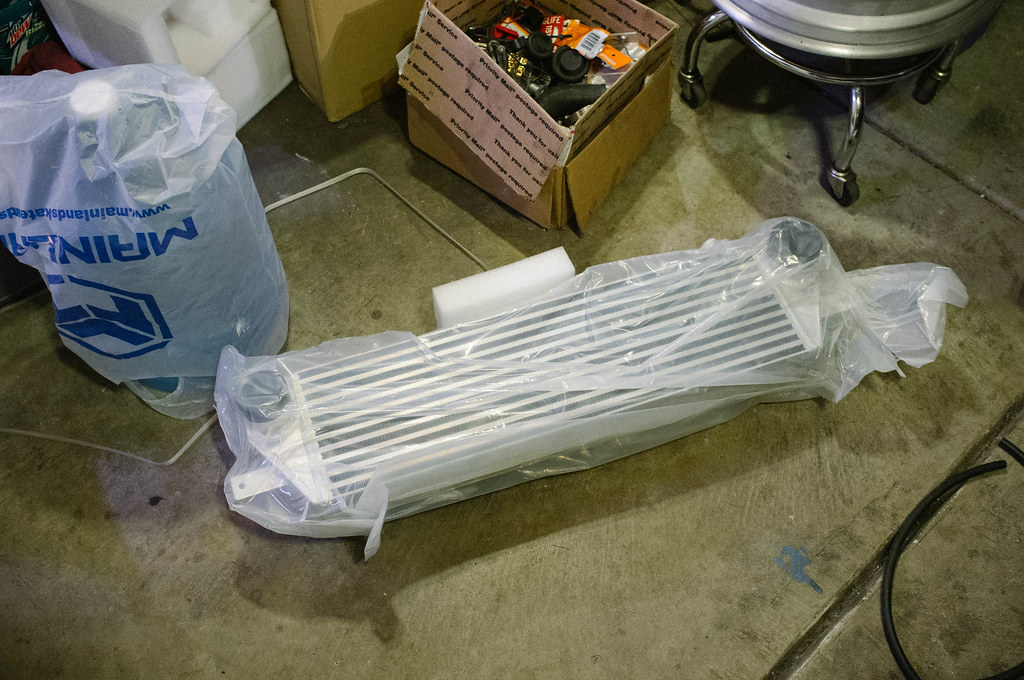
Intercooler was packaged nicely. Arrived undamaged. Thanks parts shop max.
Got it mocked up to see where I would have to cut.
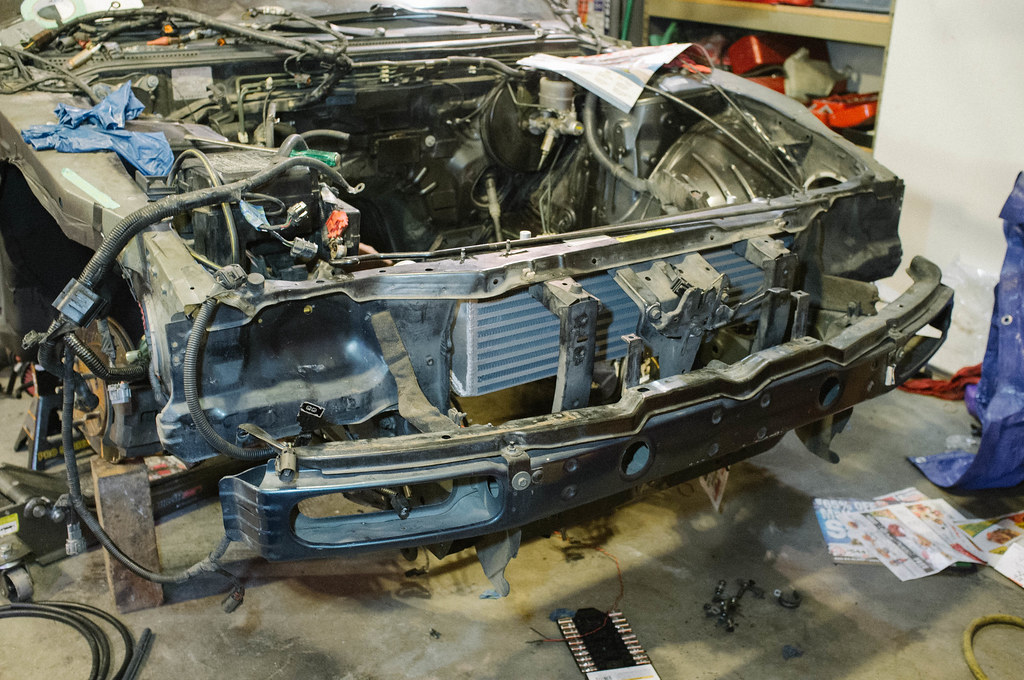
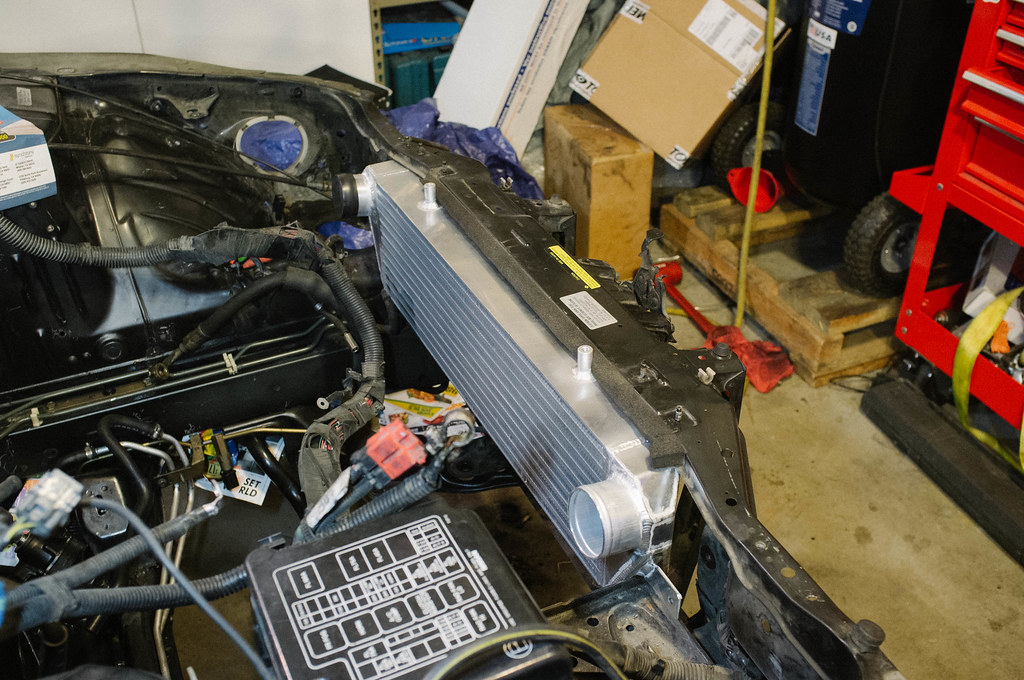
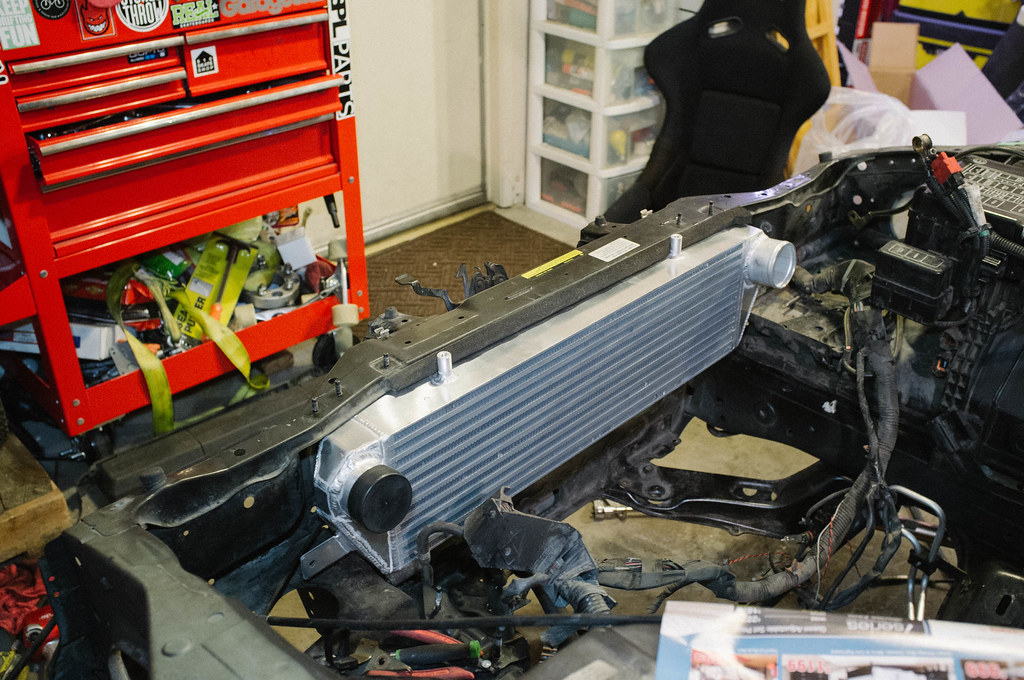
Part of the battery tray was in the way so I trimmed it.

Finished cutting. I think I cut out a little more than I needed at the top of the passenger side... oh well.. (dying inside)
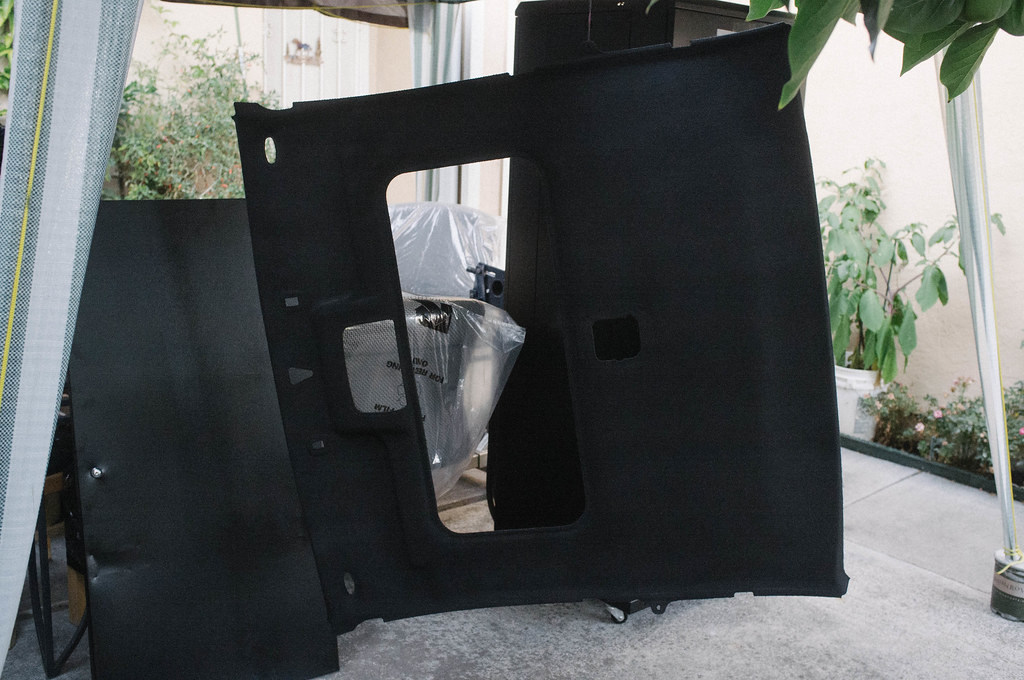
Next interior piece that needed attention was the headliner. Decided I wanted full black interior. I didn't want to do the dye since it was messy and I didn't have
a good experience with it when I tried dying my carpet with RIT black dye (wasted $100 on dye).
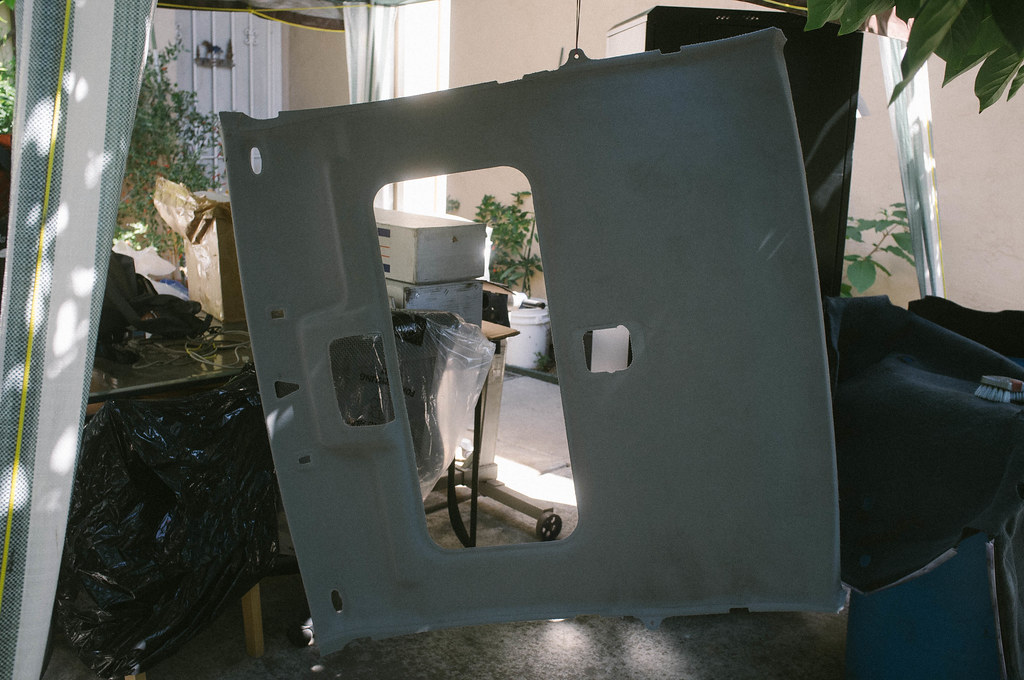
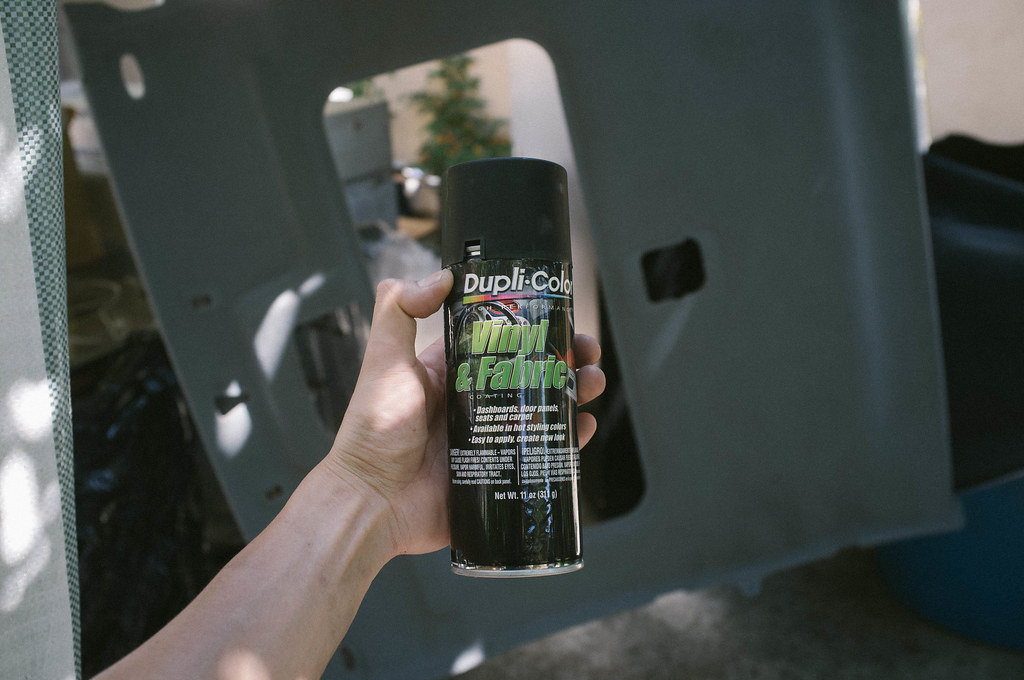
Gonna use the good ol dupli-color flat black fabric dye. It goes on nice and easy. Only downside is it makes the fibers a little crusty. It isn't too bad. I will probably
end up pulling the headliner sometime in the future and wrap it with some suede or alcantara fabric. For now, paint will do.
Here is the finished product. Looking pretty sweet.
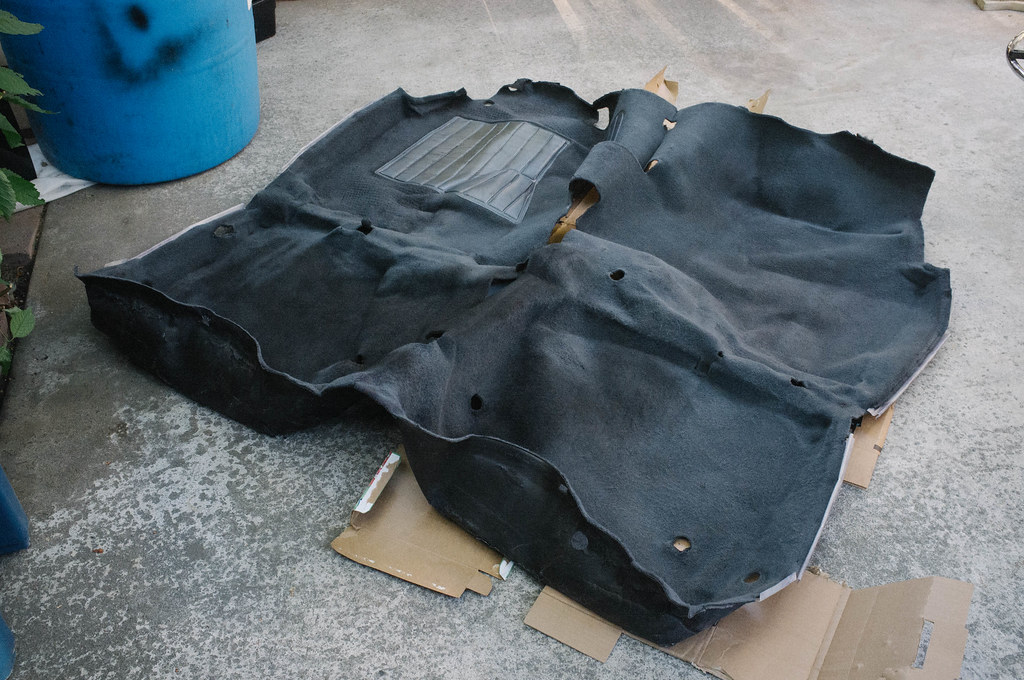
My failed attempt at dying the carpet. Not sure why the dye was not being held in the fibers... attempted dying it twice. Both times the dye just washed out.. why...?
Oh well, might as well spray paint this thing while its out. I entertained the idea of getting aftermarket carpet, but I read too many mixed reviews.
Might just go that route the next time I decided to rip out all my interior and redo it. I'll wait until the motor is done.
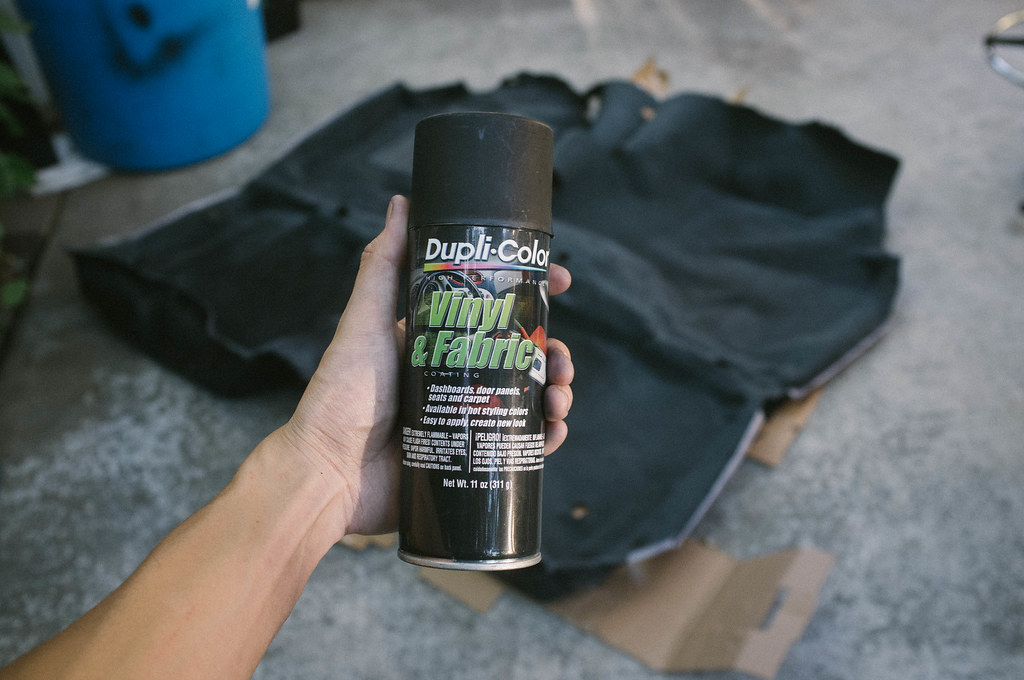
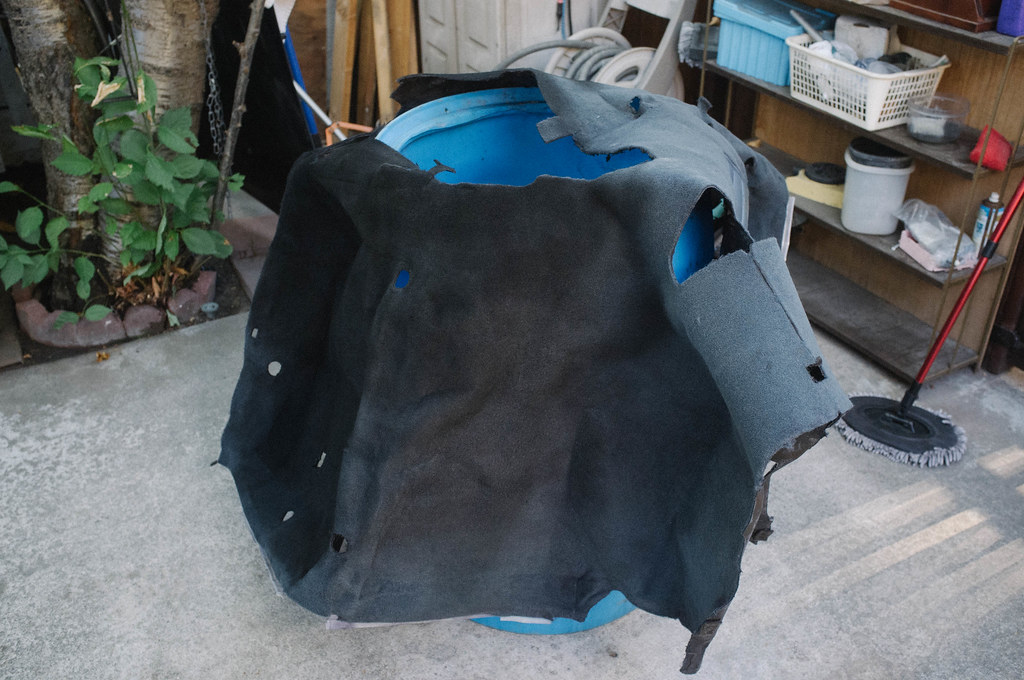
And the finished product... not too shabby. I think I used like 3 cans or so. If you don't lay the paint on too heavy the fibers will stay soft.
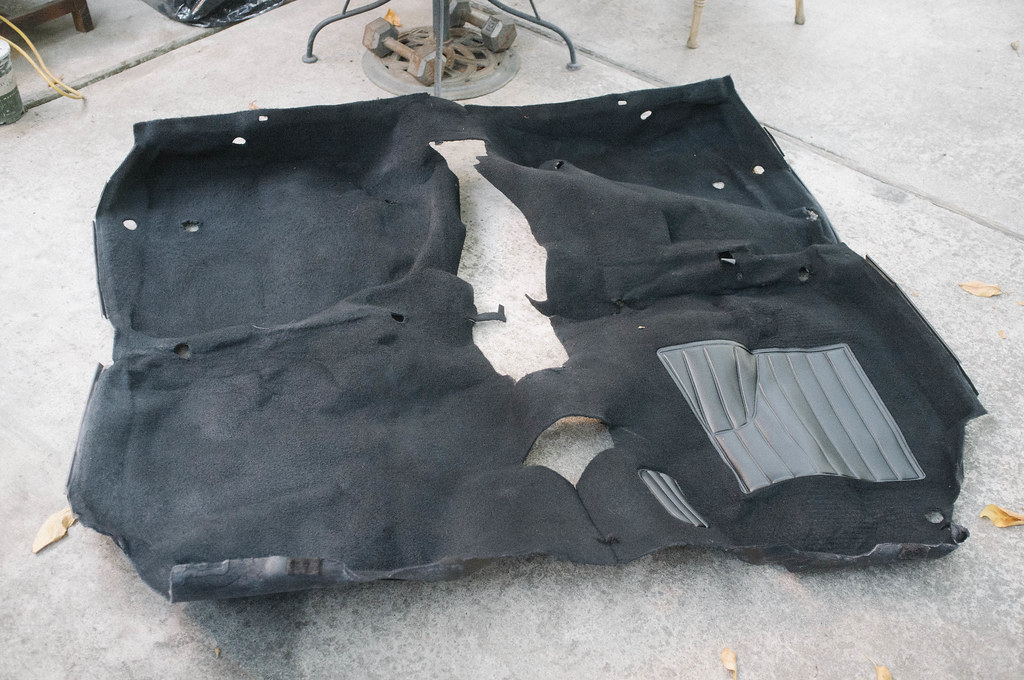
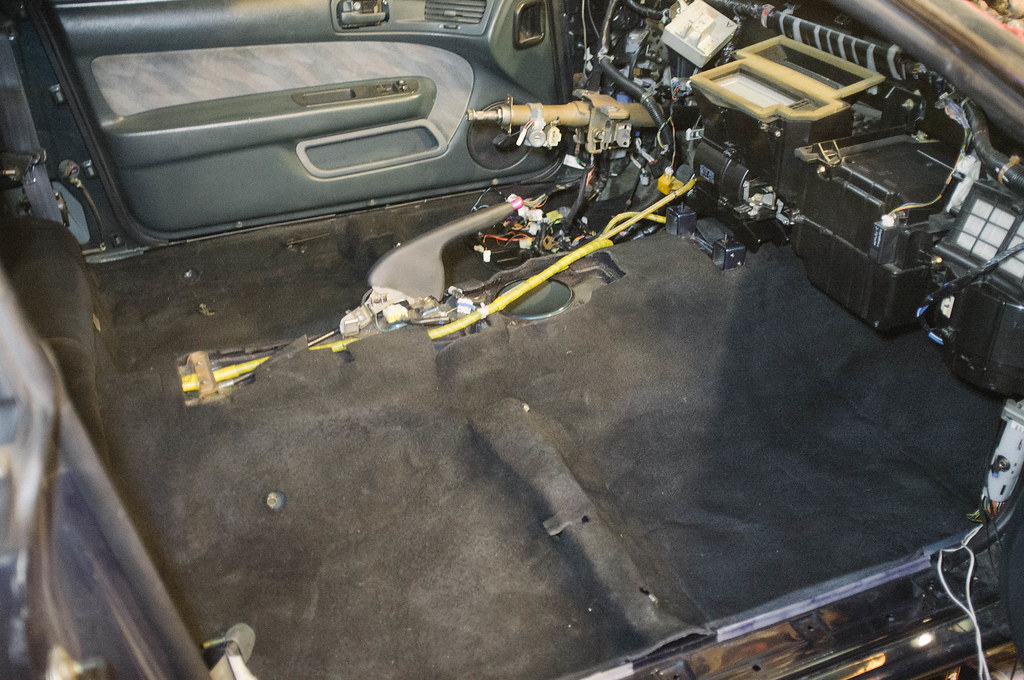
Put the carpet back in. It didn't fit 100% since it was sitting out in the sun for a few weeks while I was trying to sort the dye/paint situation.
The rubber got a bit warped. Wasn't too happy about this.. Hopefully once my interior is put back together it will start to form back.
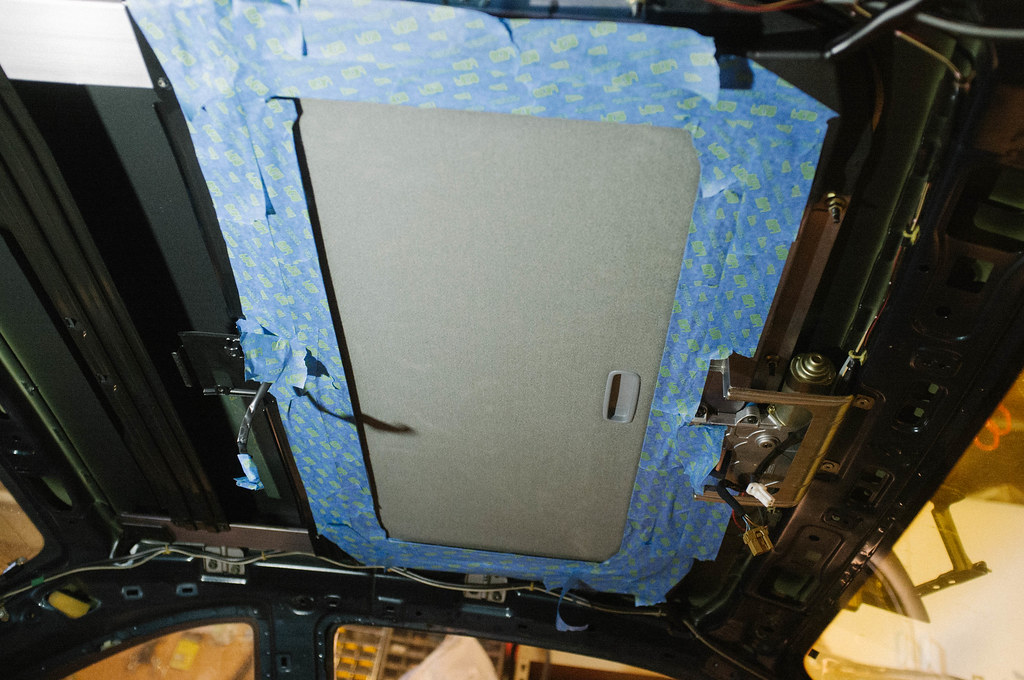
Wasn't sure how to pull the sunroof cover off... was feeling a bit lazy so I just taped everything off and went on with spraying it still installed on the car.
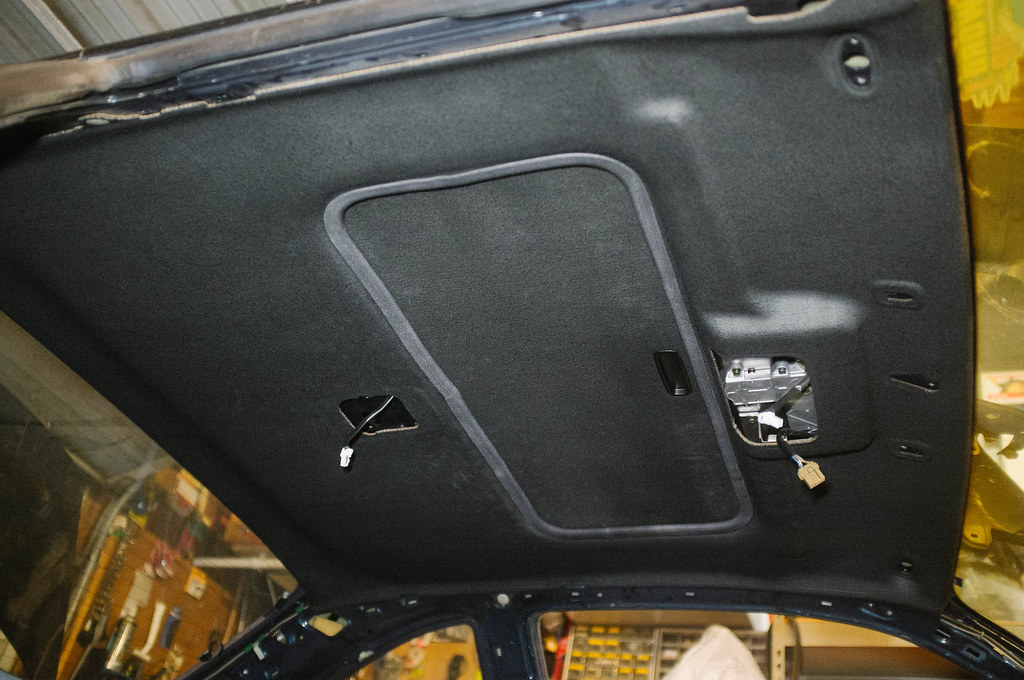
And now I have a black headliner... woo woo.
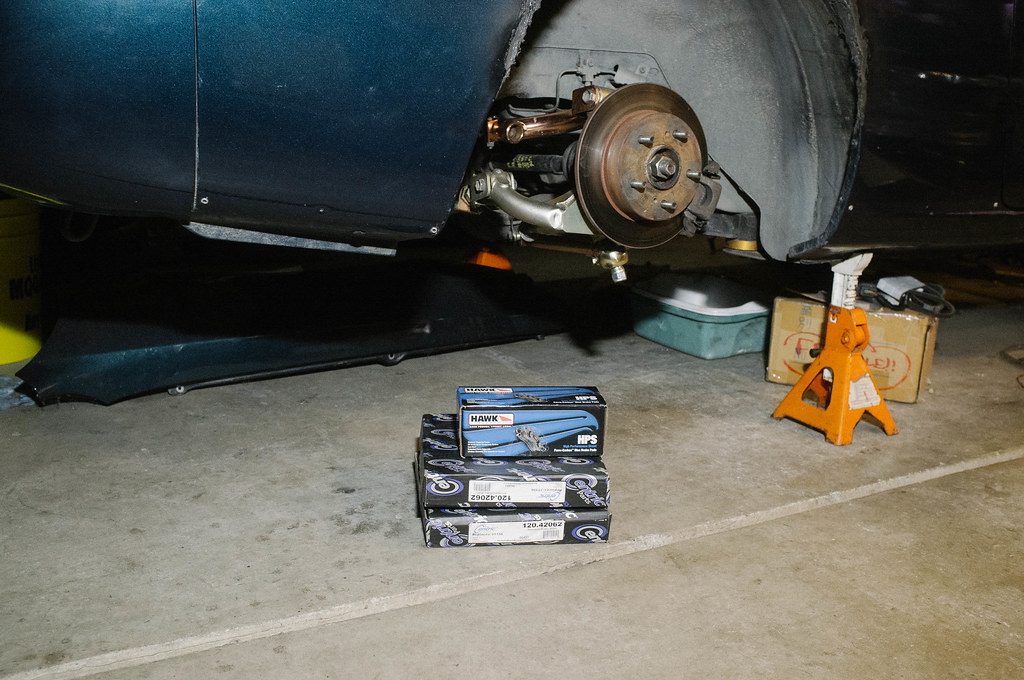
Decided that I was going to figure out my front and rear brake situation later. I had these pads and rotors sitting around and I was bored
so I decided why not throw them on for the mean time.
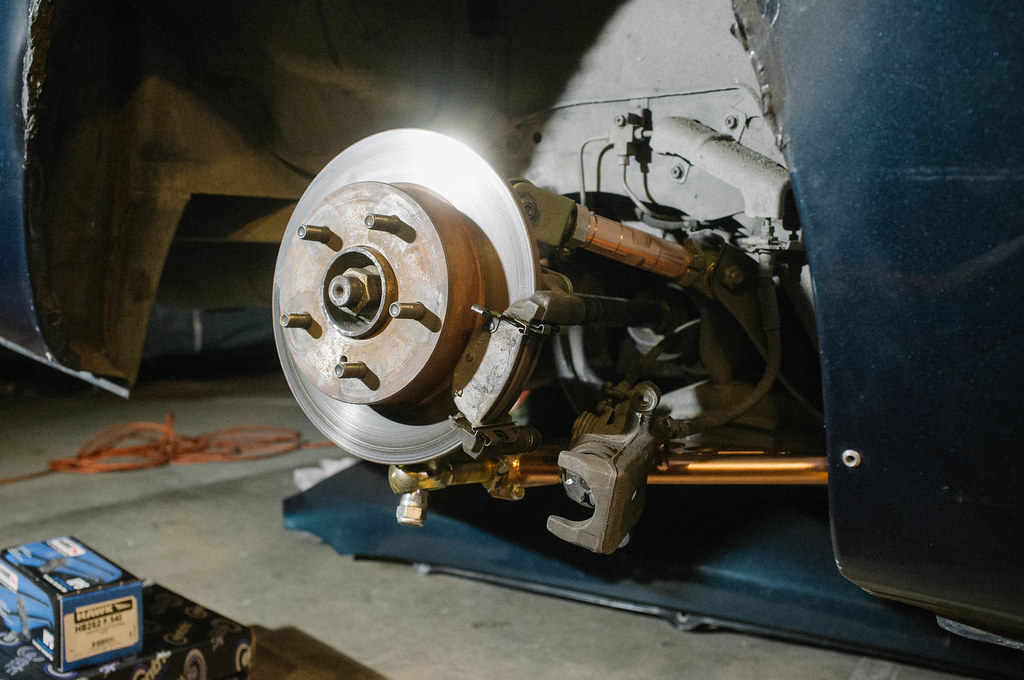
Here is the old stuff on the car currently...
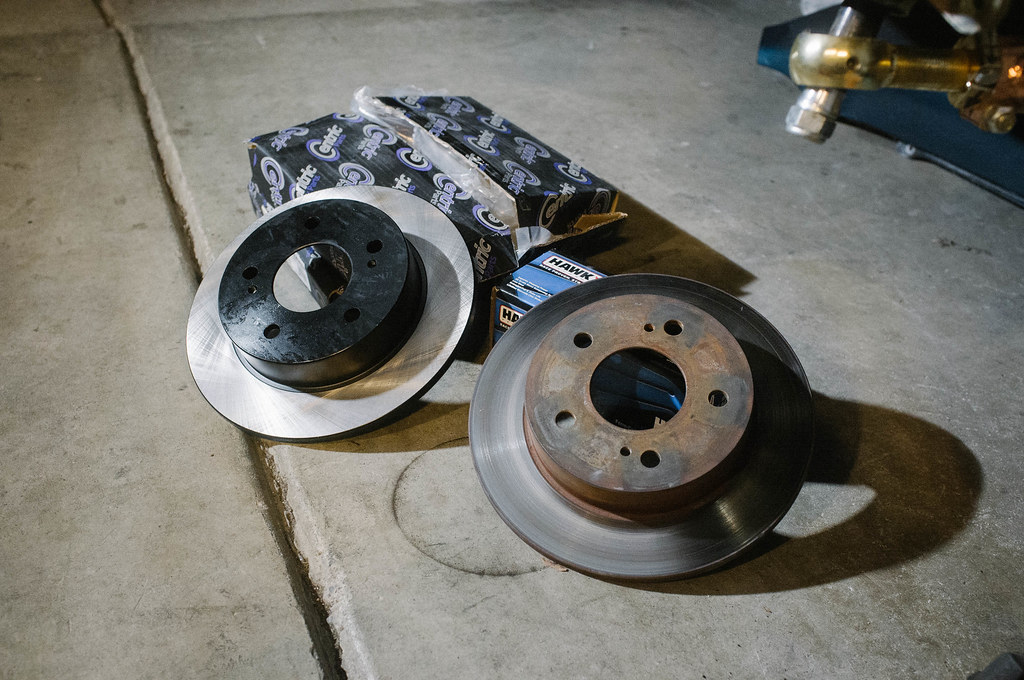
New rotors (left) vs old rotors (right)
New pads (left) vs old pads (right)
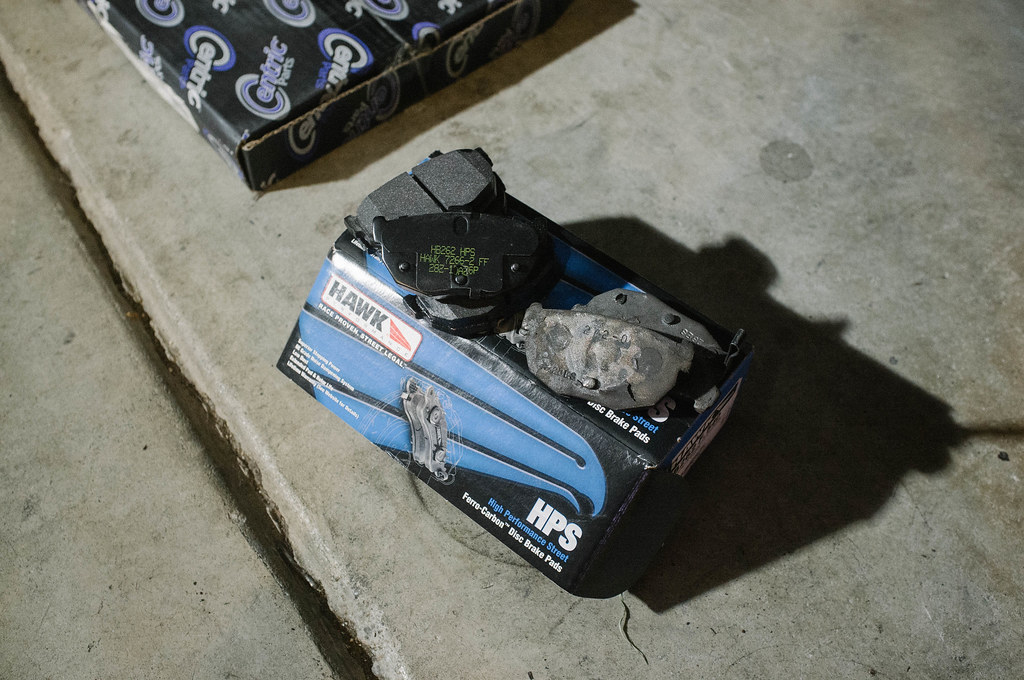
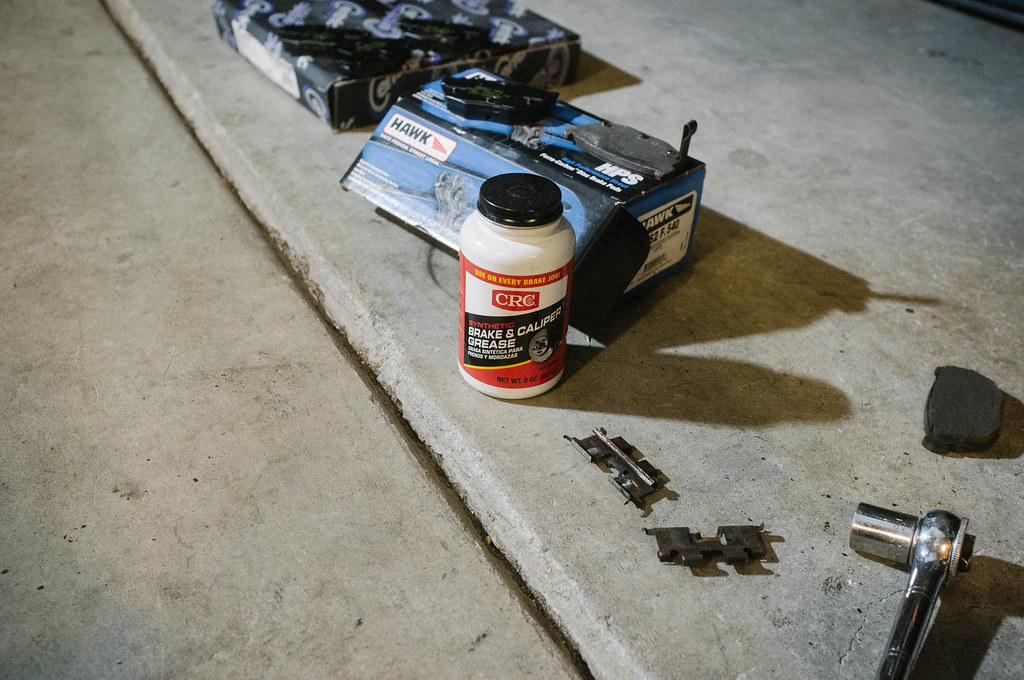
Don't forget to grease the brake pad retainer clips or else you'll squeak everyone to death
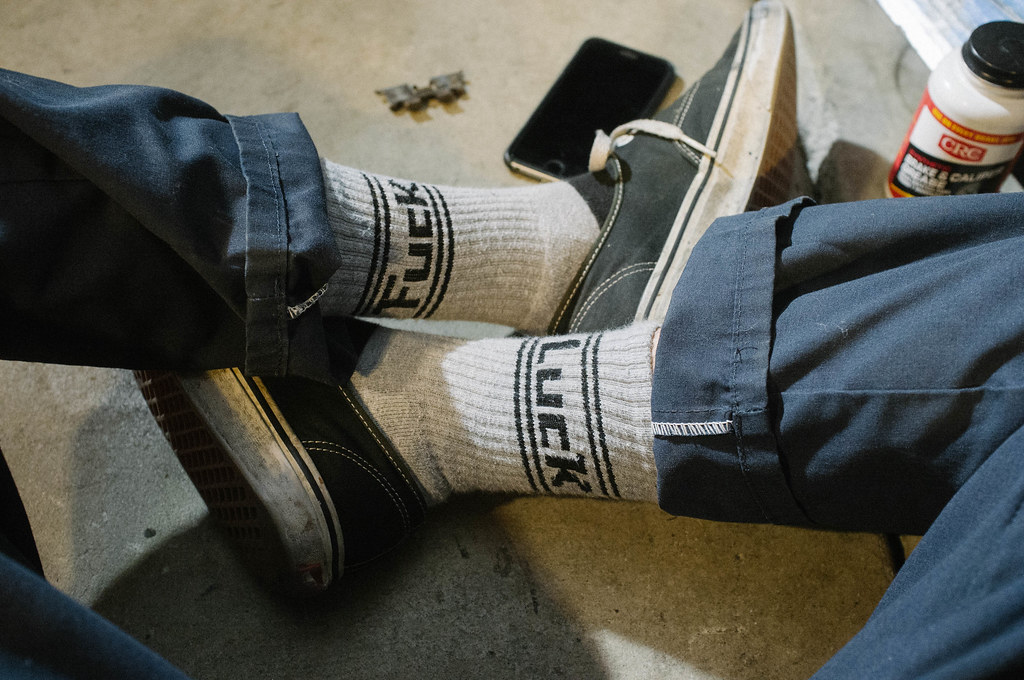
Was wearing my cool DQM socks. FUCK LUCK
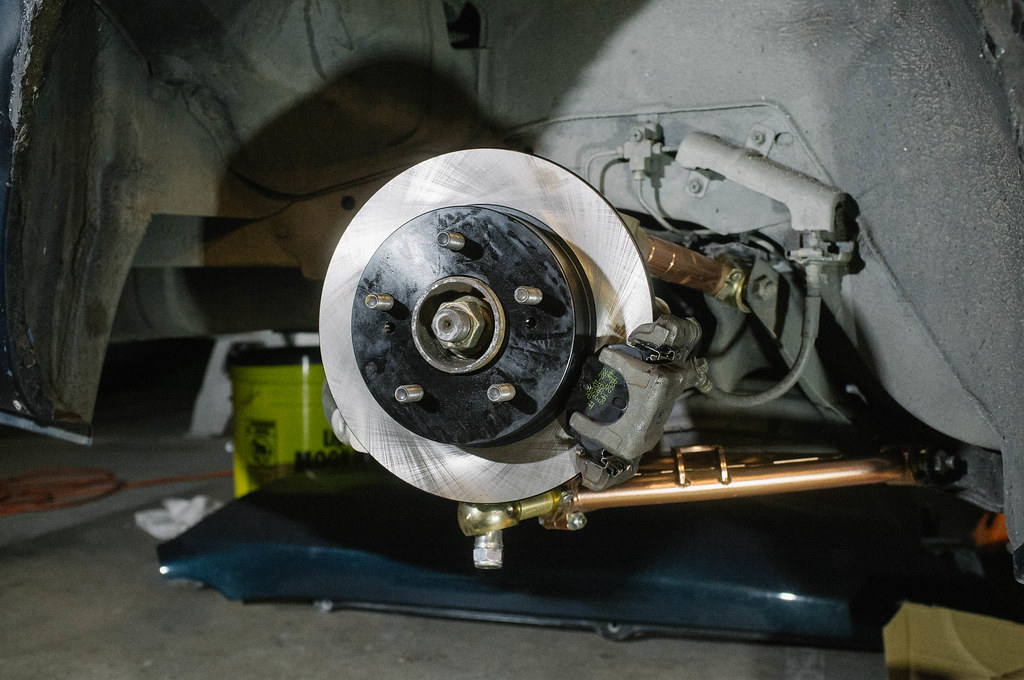
All done... hope my ebrake will lock better now.
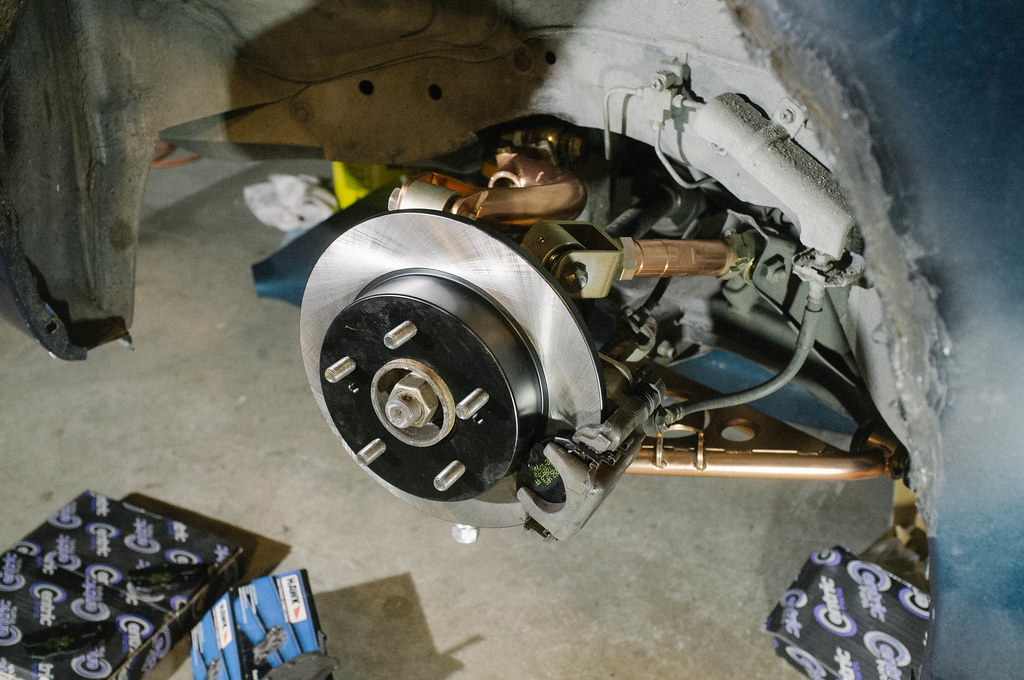
Tore my 326power coilovers apart. Wanted to clean them up a bit and get the measurements of the springs so I can order 10kg/8kg swift springs in pink.
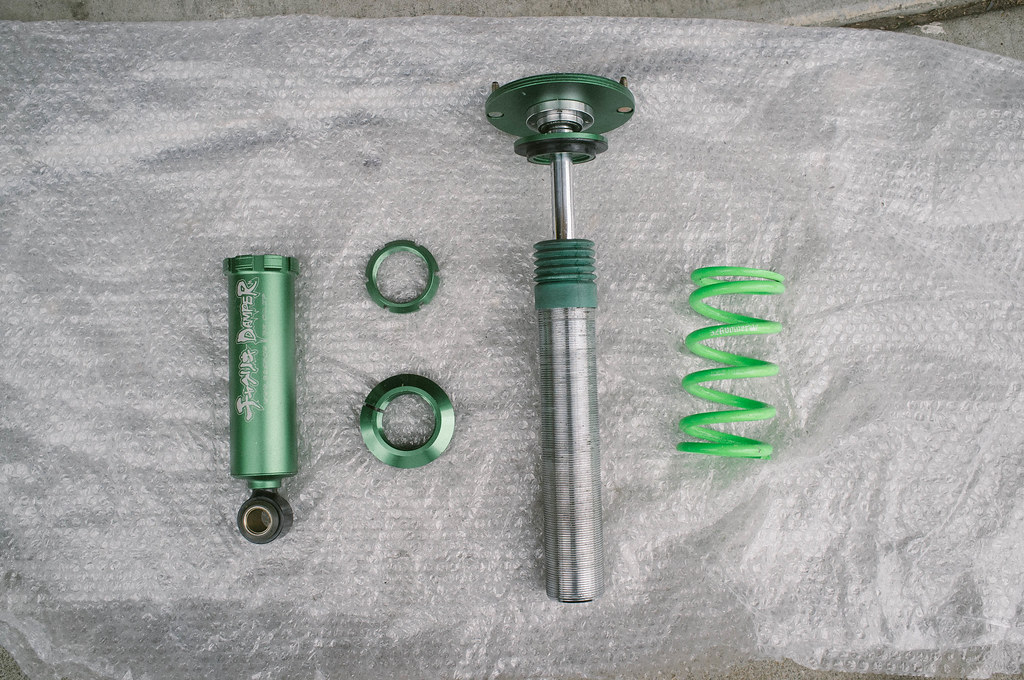
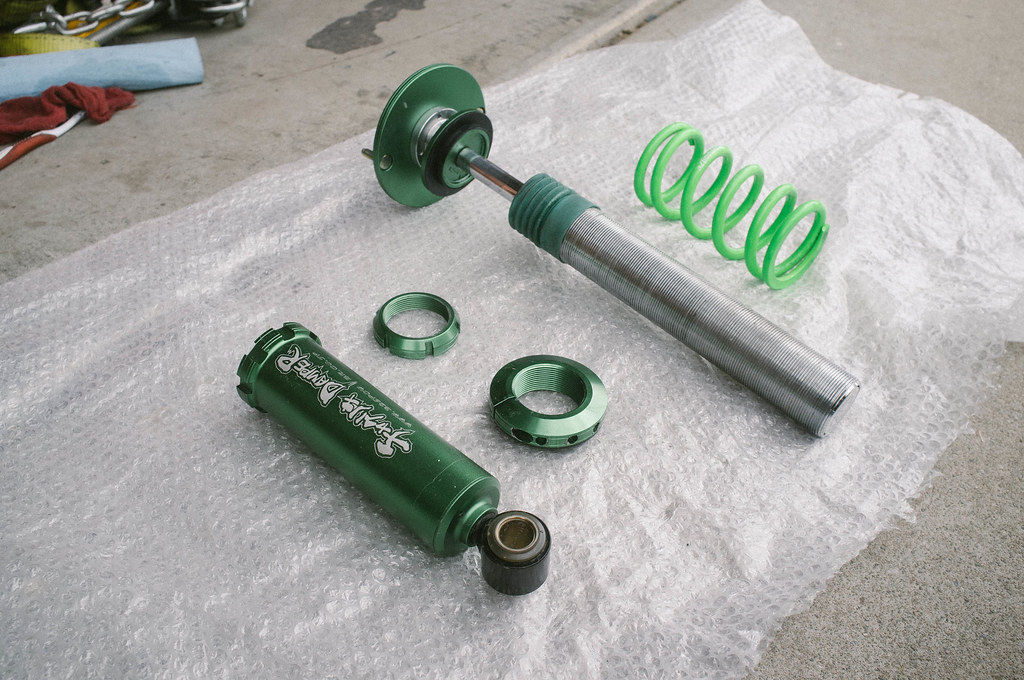
Resumed the intake side since my spare injector finally came in...
I think I have ADHD.. I was staring at the engine bay and felt like it was of higher priority so I went started working on it. I had some bondo that I felt like messing around with
so I attempted to smooth out one of the arches with the bondo. I had these little craters from when I was hammering the shit out of it from the inside of the wheel well.
It kind of bothered me so I spent some time bondoing and smoothing it out. If I messed this up it wasn't going to be a big deal since my coolant overflow tank and air filter should be covering it.
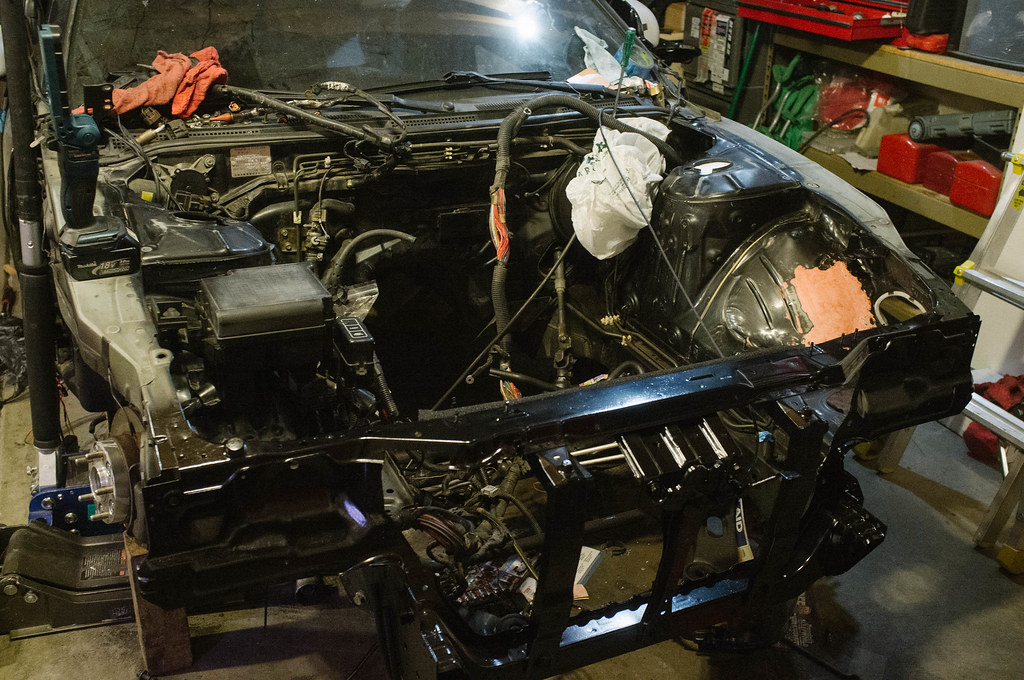
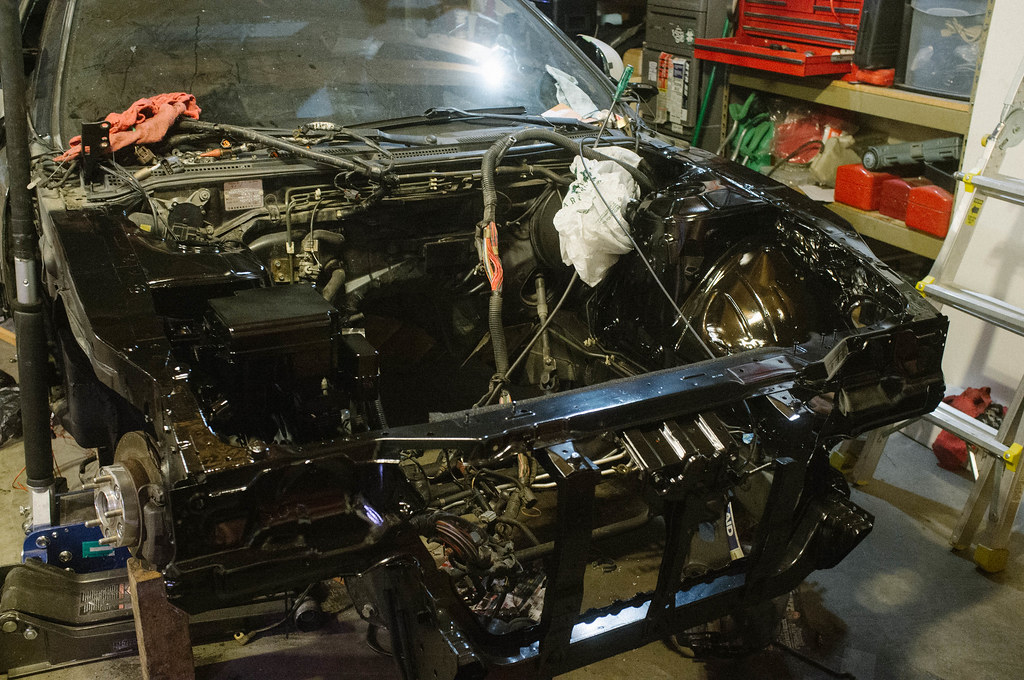
Engine bay was dirty so I completely degreased it and hosed it down. After all the dirt was gone I started noticing lots of scratches and imperfections.
I really wanted to get the engine bay professionally painted but I really did not want to deal with the hassle of having it towed to a paint shop and then towed back.
Maybe i'll do it after my next engine swap or rebuild. Decided just to spray it with some rustoleum gloss black. Turned out pretty nice.
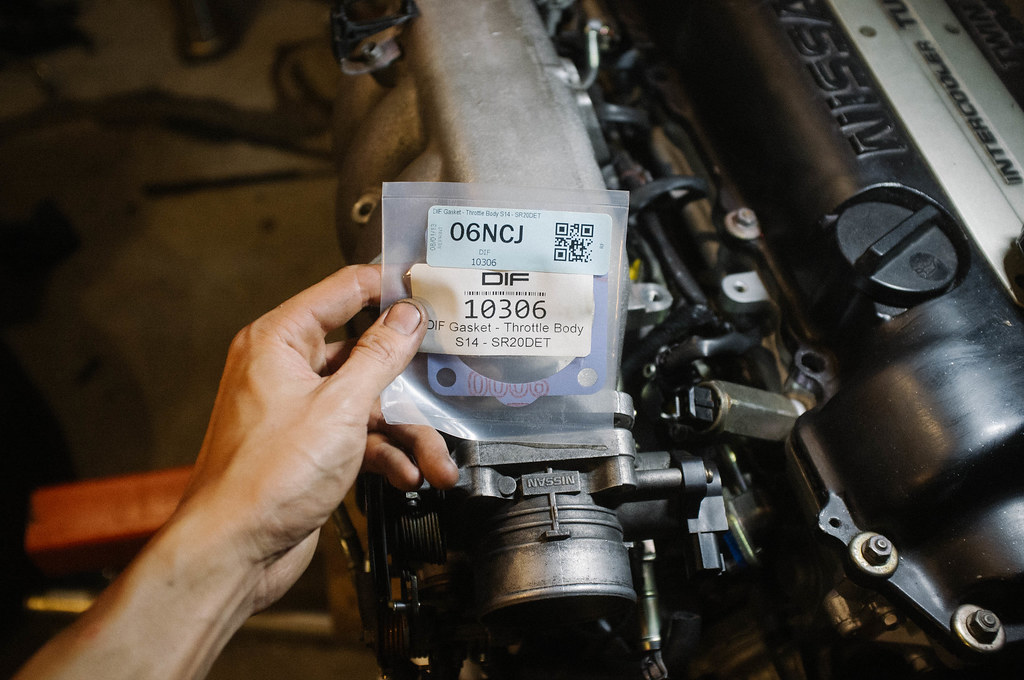
Resumed assembling the intake side of the engine. My buddy gave me this DIF throttle body gasket laying around so I decided to use it.
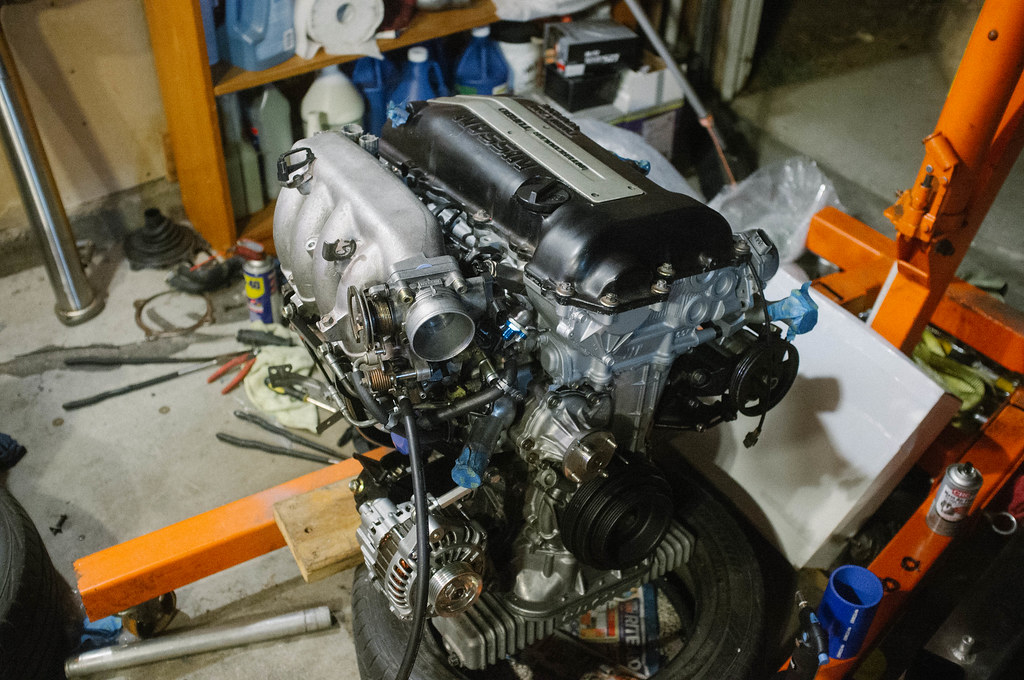
Intake side is almost complete. Got most of the hoses connected. Got the injectors installed and wired up. Threw the throttle body with new gasket back on the intake manifold.
I hope I am not forgetting anything... (I am really forgetful)
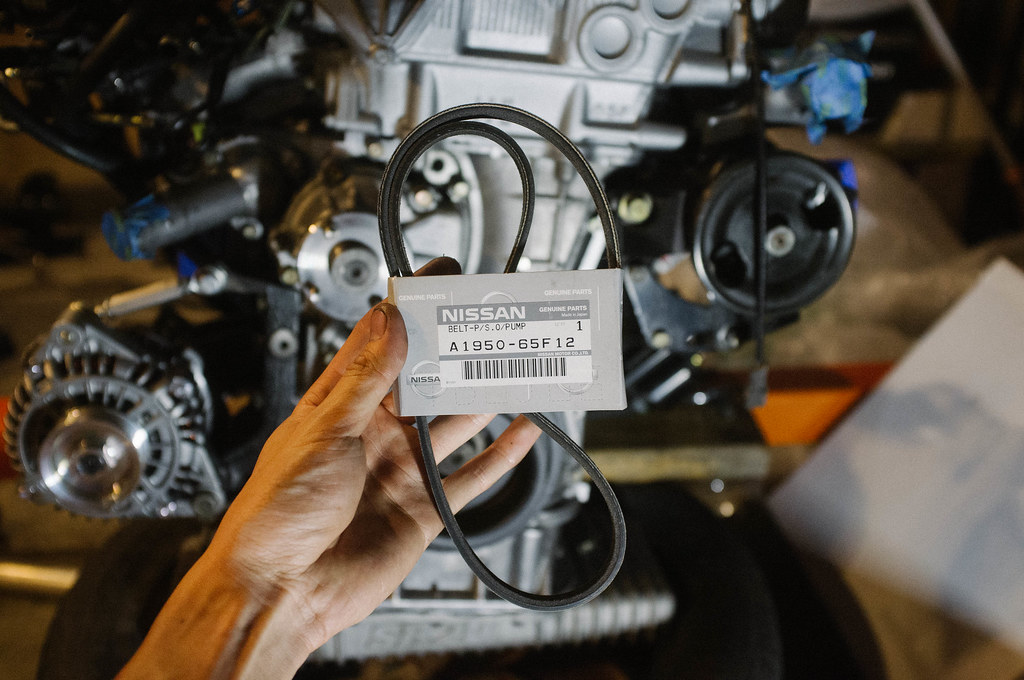
Thought i'd throw the belts on. Here is the oem power steering pump belt.
Then the alternator/fan belt
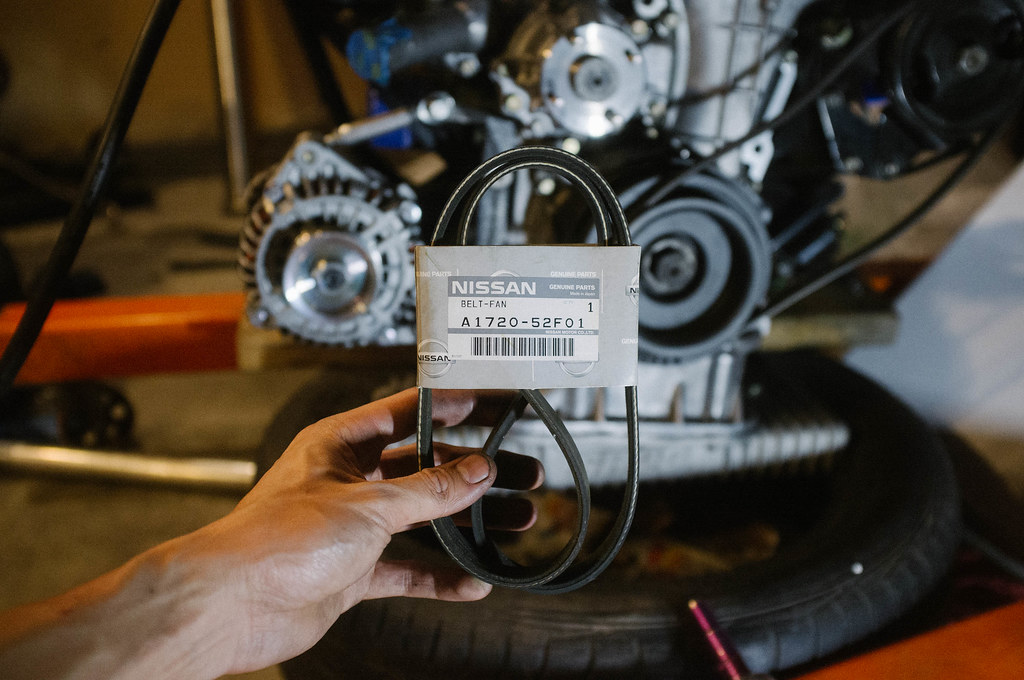
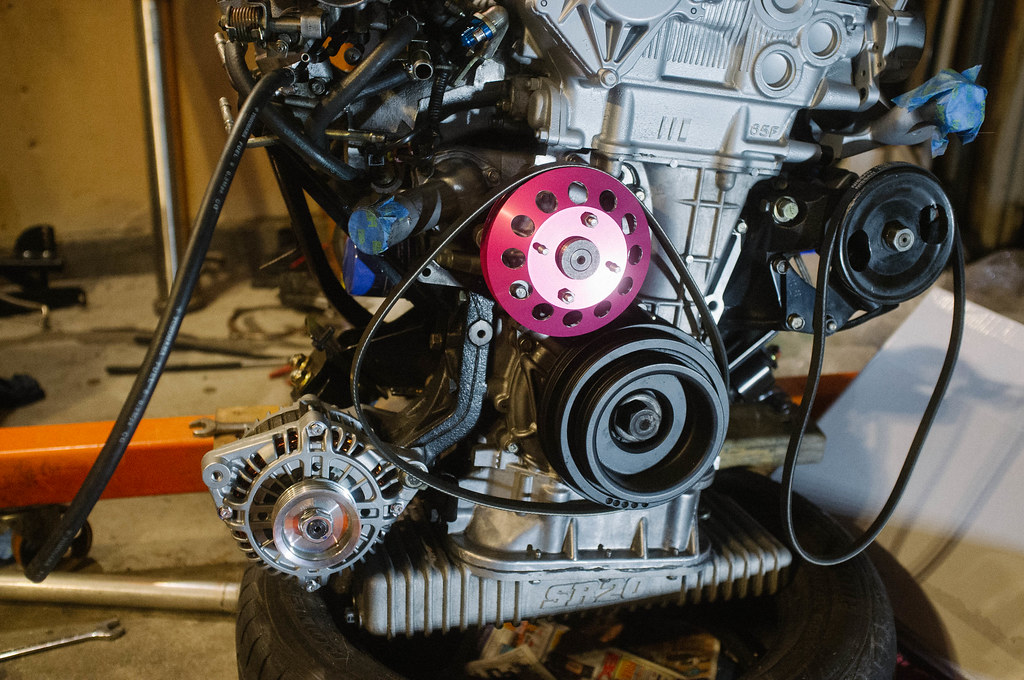
ANNNNDDDD of course it doesn't fit. Didn't realize that the OEM belt would not work with the yashio pulley and upgraded quest alternator... GRRRREEAAAAAT... what now?
I'm guessing I need a longer belt... was not able to find a definitive answer by googling around. If anyone can chime in on this that would be great. I might have to search deeper...
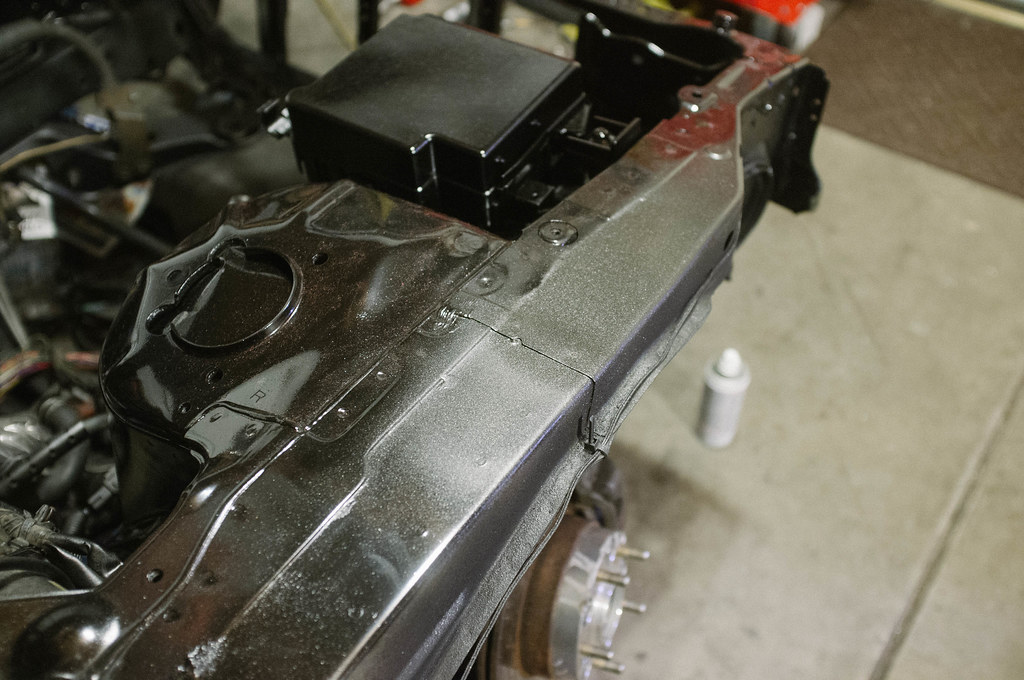
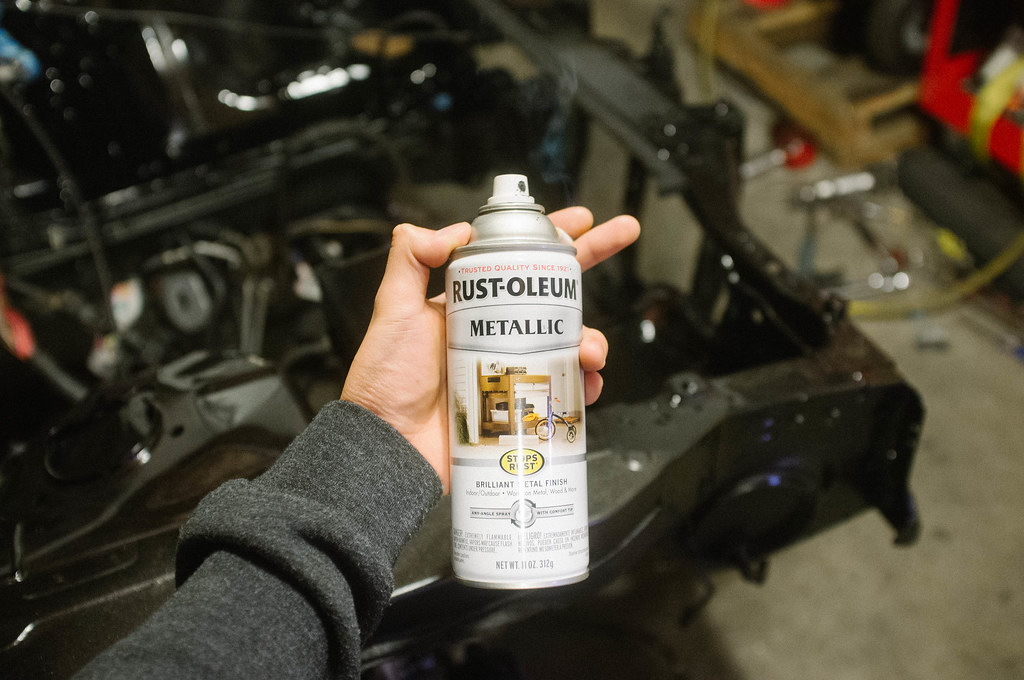
Had some left over metallic paint and was wondering how it would look in the engine bay. I didn't like how glossy the black was. I hit the side with some of the metallic paint and it actually
looked really good. I think I am going to proceed with painting the rest of the engine bay with the metallic paint and then cover it with a few coats of clear. Just when I thought I was done...


Need a 3" to 2.5" reducer... picked up this one from oreilly but it looked like crap quality compared to this tomei 3" silicone coupler so I decided to return it and order one online...


Decided it was time to mock up the intercooler. Since the dude who bought my KA wanted to keep the AC, I said heck with it and went for the parts shop max highmount intercooler.
I really wanted to run AC, but it seemed like another headache I didn't feel like dealing with. This car is probably going to see the street like twice a month,
I guess I can live without the AC.

Intercooler was packaged nicely. Arrived undamaged. Thanks parts shop max.

Got it mocked up to see where I would have to cut.


Part of the battery tray was in the way so I trimmed it.

Finished cutting. I think I cut out a little more than I needed at the top of the passenger side... oh well.. (dying inside)

Next interior piece that needed attention was the headliner. Decided I wanted full black interior. I didn't want to do the dye since it was messy and I didn't have
a good experience with it when I tried dying my carpet with RIT black dye (wasted $100 on dye).

Gonna use the good ol dupli-color flat black fabric dye. It goes on nice and easy. Only downside is it makes the fibers a little crusty. It isn't too bad. I will probably
end up pulling the headliner sometime in the future and wrap it with some suede or alcantara fabric. For now, paint will do.

Here is the finished product. Looking pretty sweet.

My failed attempt at dying the carpet. Not sure why the dye was not being held in the fibers... attempted dying it twice. Both times the dye just washed out.. why...?
Oh well, might as well spray paint this thing while its out. I entertained the idea of getting aftermarket carpet, but I read too many mixed reviews.
Might just go that route the next time I decided to rip out all my interior and redo it. I'll wait until the motor is done.


And the finished product... not too shabby. I think I used like 3 cans or so. If you don't lay the paint on too heavy the fibers will stay soft.

Put the carpet back in. It didn't fit 100% since it was sitting out in the sun for a few weeks while I was trying to sort the dye/paint situation.
The rubber got a bit warped. Wasn't too happy about this.. Hopefully once my interior is put back together it will start to form back.

Wasn't sure how to pull the sunroof cover off... was feeling a bit lazy so I just taped everything off and went on with spraying it still installed on the car.

And now I have a black headliner... woo woo.

Decided that I was going to figure out my front and rear brake situation later. I had these pads and rotors sitting around and I was bored
so I decided why not throw them on for the mean time.

Here is the old stuff on the car currently...

New rotors (left) vs old rotors (right)

New pads (left) vs old pads (right)

Don't forget to grease the brake pad retainer clips or else you'll squeak everyone to death

Was wearing my cool DQM socks. FUCK LUCK

All done... hope my ebrake will lock better now.


Tore my 326power coilovers apart. Wanted to clean them up a bit and get the measurements of the springs so I can order 10kg/8kg swift springs in pink.


Resumed the intake side since my spare injector finally came in...

I think I have ADHD.. I was staring at the engine bay and felt like it was of higher priority so I went started working on it. I had some bondo that I felt like messing around with
so I attempted to smooth out one of the arches with the bondo. I had these little craters from when I was hammering the shit out of it from the inside of the wheel well.
It kind of bothered me so I spent some time bondoing and smoothing it out. If I messed this up it wasn't going to be a big deal since my coolant overflow tank and air filter should be covering it.

Engine bay was dirty so I completely degreased it and hosed it down. After all the dirt was gone I started noticing lots of scratches and imperfections.
I really wanted to get the engine bay professionally painted but I really did not want to deal with the hassle of having it towed to a paint shop and then towed back.
Maybe i'll do it after my next engine swap or rebuild. Decided just to spray it with some rustoleum gloss black. Turned out pretty nice.

Resumed assembling the intake side of the engine. My buddy gave me this DIF throttle body gasket laying around so I decided to use it.

Intake side is almost complete. Got most of the hoses connected. Got the injectors installed and wired up. Threw the throttle body with new gasket back on the intake manifold.
I hope I am not forgetting anything... (I am really forgetful)

Thought i'd throw the belts on. Here is the oem power steering pump belt.

Then the alternator/fan belt

ANNNNDDDD of course it doesn't fit. Didn't realize that the OEM belt would not work with the yashio pulley and upgraded quest alternator... GRRRREEAAAAAT... what now?
I'm guessing I need a longer belt... was not able to find a definitive answer by googling around. If anyone can chime in on this that would be great. I might have to search deeper...

Had some left over metallic paint and was wondering how it would look in the engine bay. I didn't like how glossy the black was. I hit the side with some of the metallic paint and it actually
looked really good. I think I am going to proceed with painting the rest of the engine bay with the metallic paint and then cover it with a few coats of clear. Just when I thought I was done...


 Re: wavyzenki s14 build, the street machine
good thread bruh! i spent the whole time reading it! hahah

jrdori- Posts : 24
Join date : 2015-11-16
 Re: wavyzenki s14 build, the street machine
those gauges are rad.
on pbm's site it says the cobra downpipe will hit the transmission if you're using it with tomei expreme manifold. idk if you're planning on using the cobra, but i saw it in one of the pics and figured i'd mention it
i'd be careful with those motor mount, especially since you have the greddy pan, which hangs a bit lower and is fragile. i have the nismo mounts and a moroso pan and that thing only sits like 5mm above the swaybar and xmember.
for the belts adjust the alt so it's just about as close to the block as you can get it. maybe out 4-5 turns. then wrap some string around the way the belt would be on there and measure. any auto part store should be able to help you out.
excited for this build. it's going to look rad!
 Re: wavyzenki s14 build, the street machine
jrdori wrote:good thread bruh! i spent the whole time reading it! hahah
Thanks JR
deolio wrote:those gauges are rad.
on pbm's site it says the cobra downpipe will hit the transmission if you're using it with tomei expreme manifold. idk if you're planning on using the cobra, but i saw it in one of the pics and figured i'd mention it
i'd be careful with those motor mount, especially since you have the greddy pan, which hangs a bit lower and is fragile. i have the nismo mounts and a moroso pan and that thing only sits like 5mm above the swaybar and xmember.
for the belts adjust the alt so it's just about as close to the block as you can get it. maybe out 4-5 turns. then wrap some string around the way the belt would be on there and measure. any auto part store should be able to help you out.
excited for this build. it's going to look rad!
Thanks man!
Yeah I was planning on using the cobra pipe and read about the fitment issues. CamryOnBronze supposedly made it work with some hammering. I also picked up a Circuit Sports Oval Downpipe just in case it doesn't work.
I think I might just pick up the nismo motor mounts to be safe. I knew I should have went with those originally
Appreciate the tips. Will have some more updates soon.
 Re: wavyzenki s14 build, the street machine
this thread is why i miss forums! YES! im going to tackle a build thread of my own when i get some spare time! 

travisroush- Posts : 73
Join date : 2015-11-16
Location : east bay
 Re: wavyzenki s14 build, the street machine
Such a good read. Very nice. Reading the first post made me feel so nostalgic  GOT DA FEELZ
 GOT DA FEELZ
thesuperiormichaelcera- Posts : 36
Join date : 2015-11-16
Location : Da Streetz
 Re: wavyzenki s14 build, the street machine
cant wait to see this progress more i love your attention to detail!
Lild415- Posts : 26
Join date : 2015-11-17
 Re: wavyzenki s14 build, the street machine
travisroush wrote:this thread is why i miss forums! YES! im going to tackle a build thread of my own when i get some spare time!
thesuperiormichaelcera wrote:Such a good read. Very nice. Reading the first post made me feel so nostalgicGOT DA FEELZ
Lild415 wrote:cant wait to see this progress more i love your attention to detail!
 thanks homies. will have more updates soon. this cold ass weather isn't helping though...
 Re: wavyzenki s14 build, the street machine
nice car.
Clean build.
keep it up. I want to see this car in person
Clean build.
keep it up. I want to see this car in person
dariustii- Posts : 14
Join date : 2015-11-18
 Re: wavyzenki s14 build, the street machine
dariustii wrote:nice car.
Clean build.
keep it up. I want to see this car in person
Thanks Darius! Hope you can check it out when its done.
Finally found some time to work on this thing.
I ended up selling the blue e30 and picked up another one.
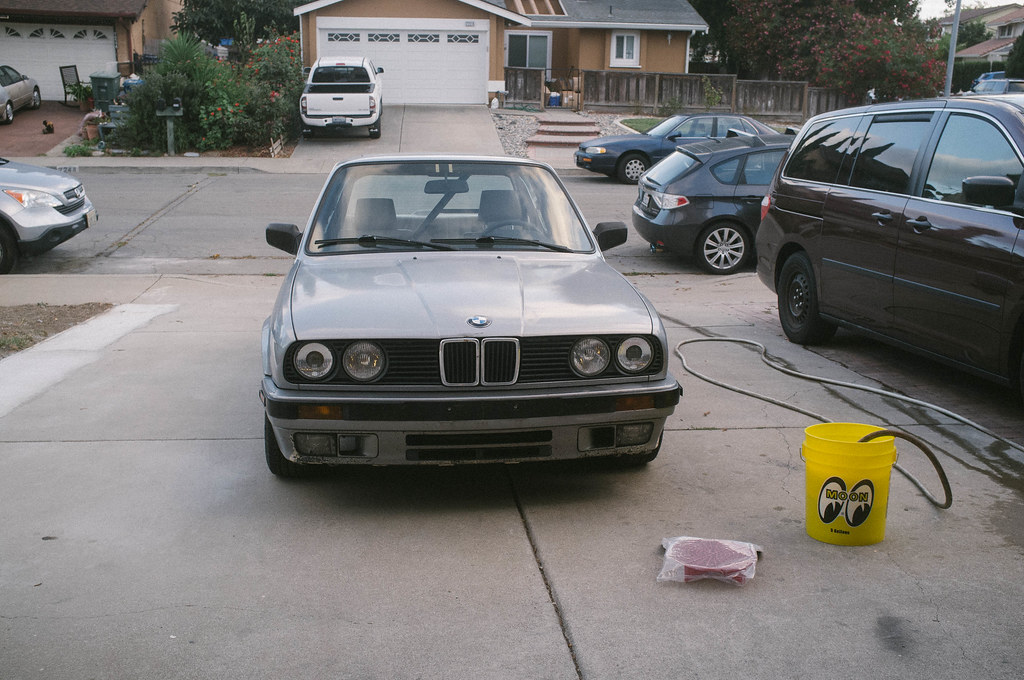
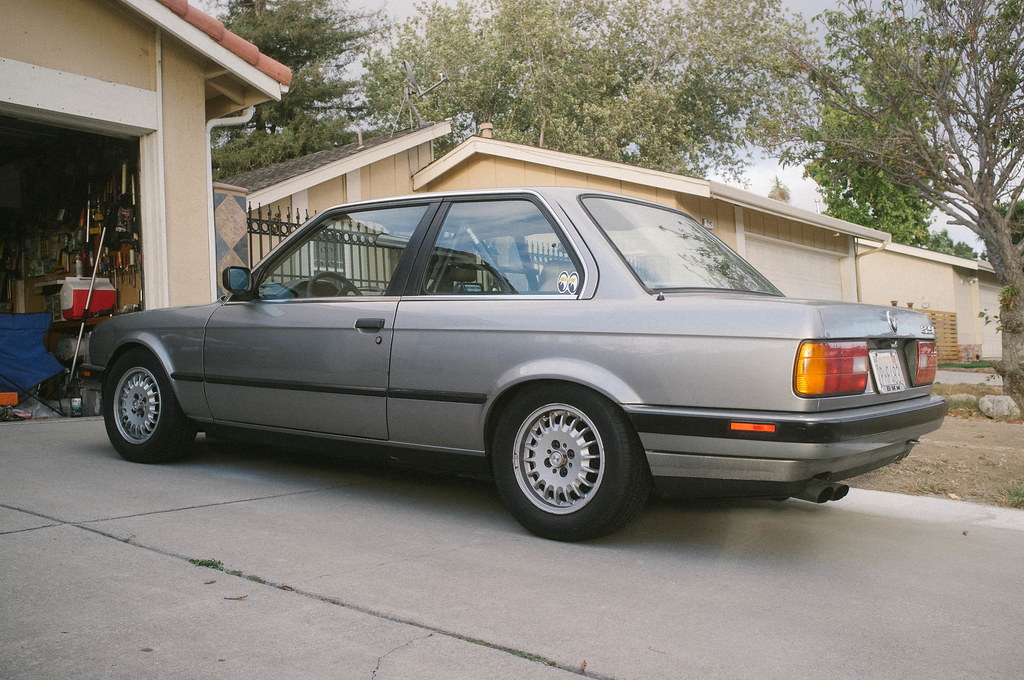
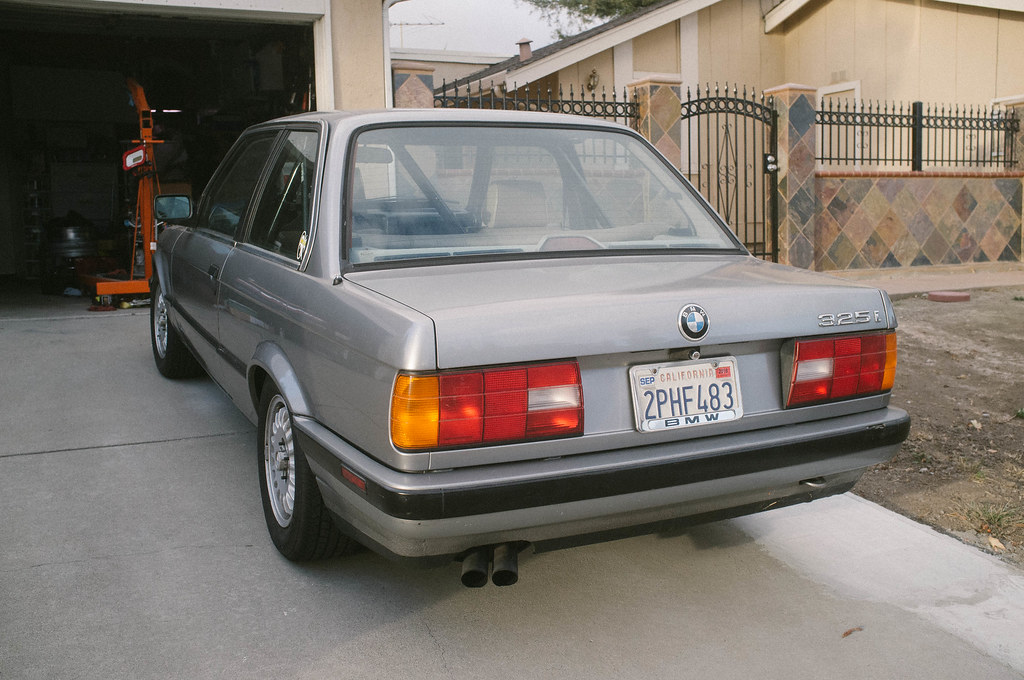
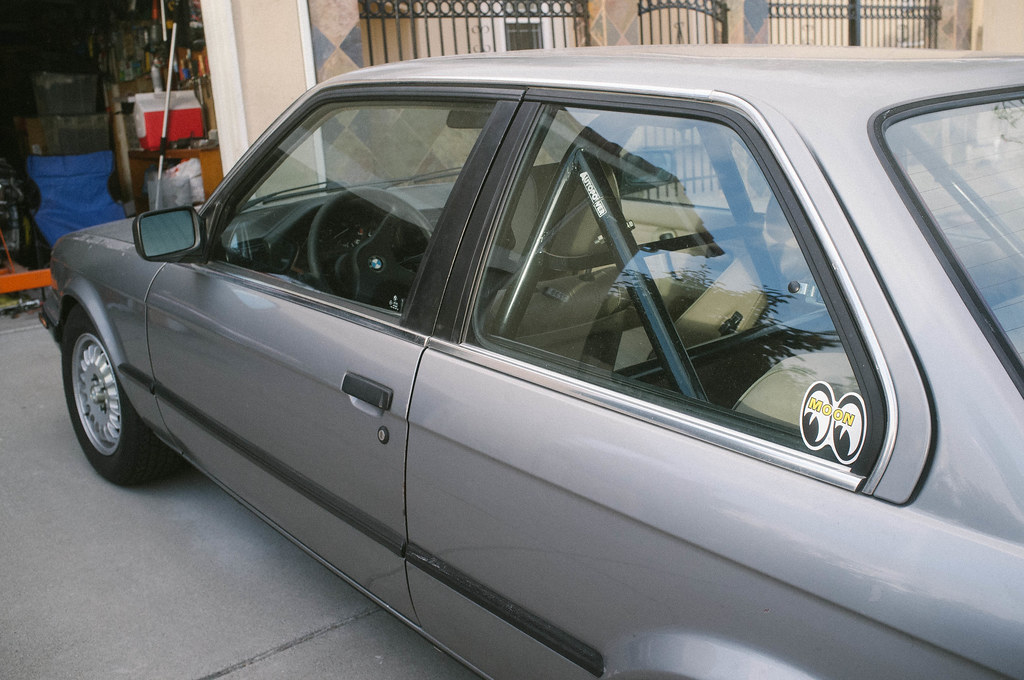
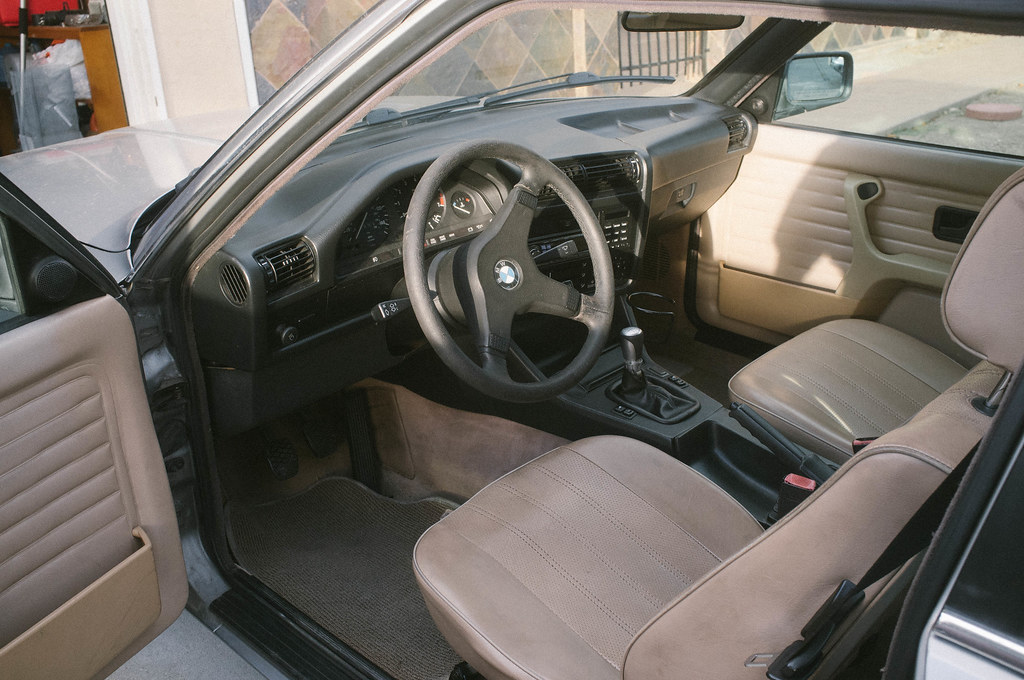
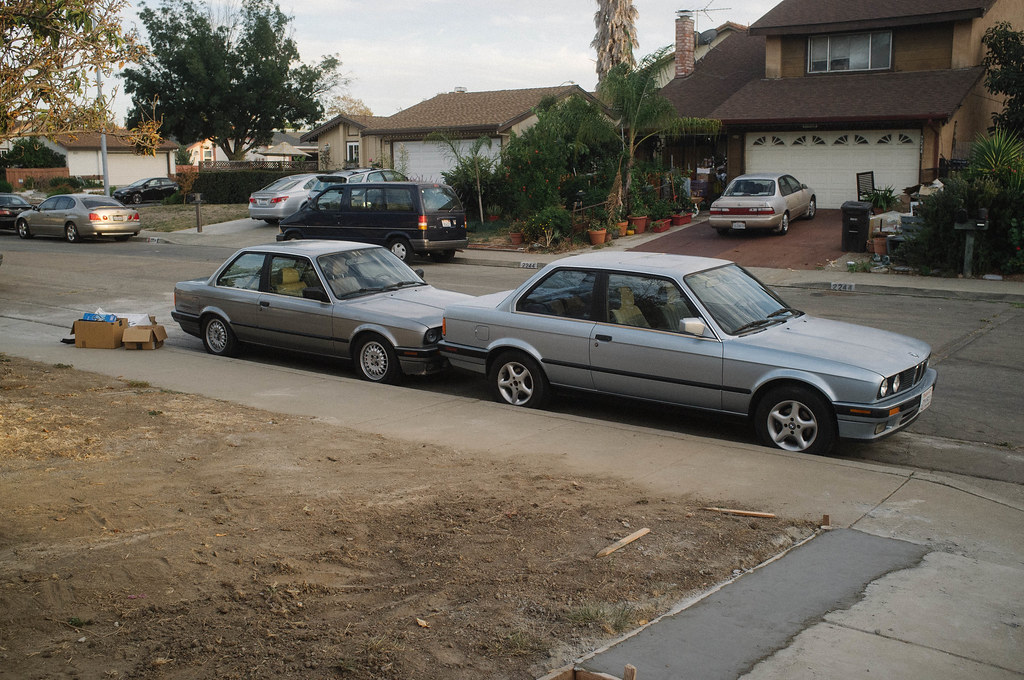
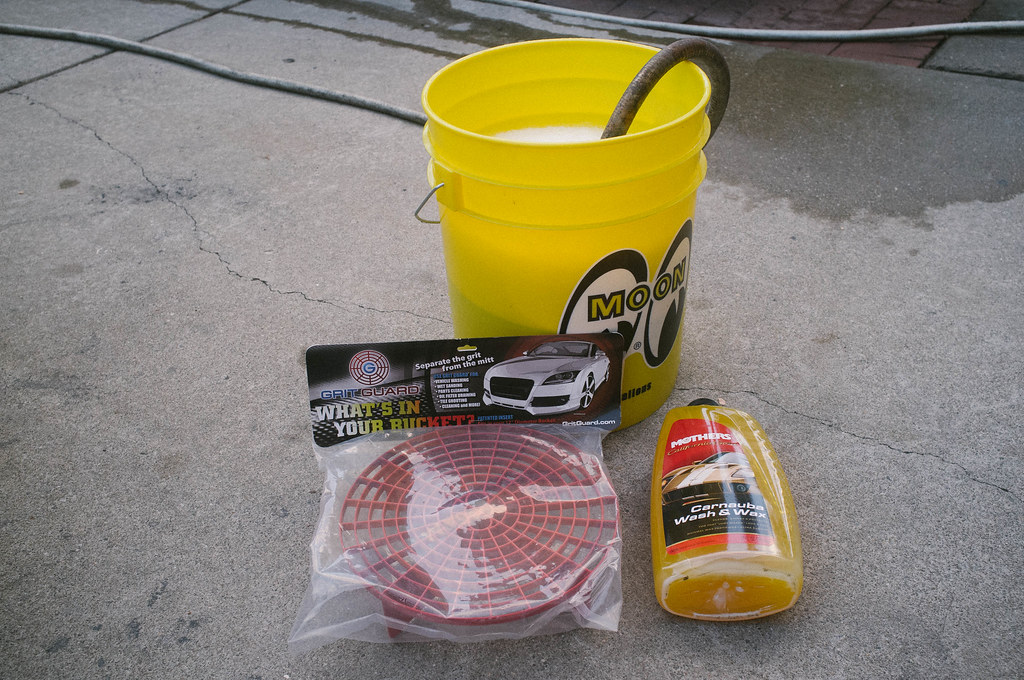
Some crucial cleaning supplies
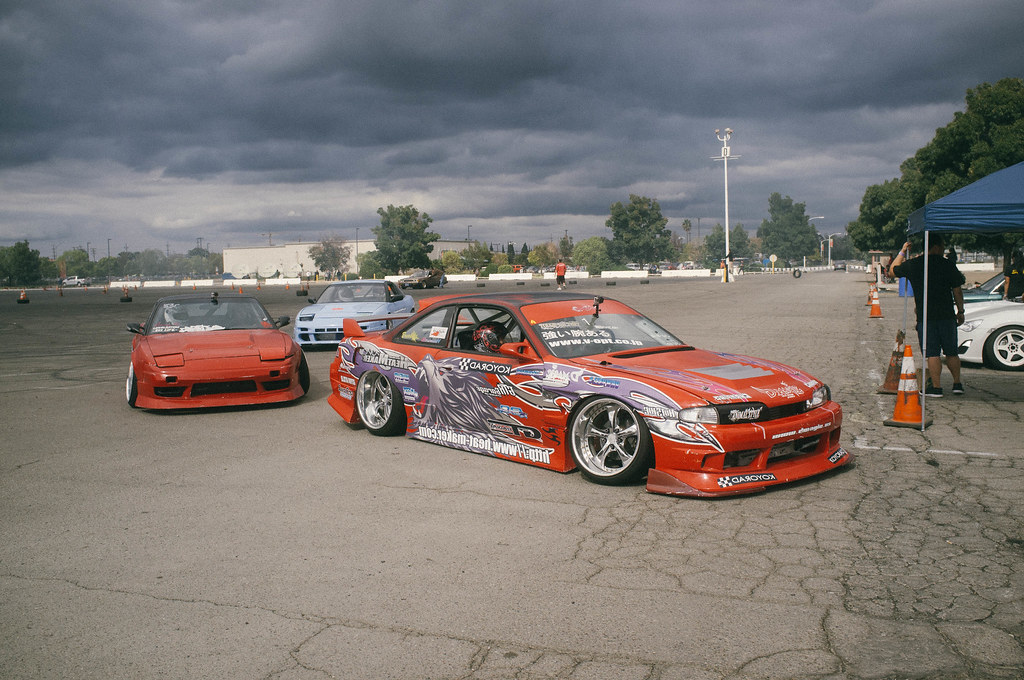
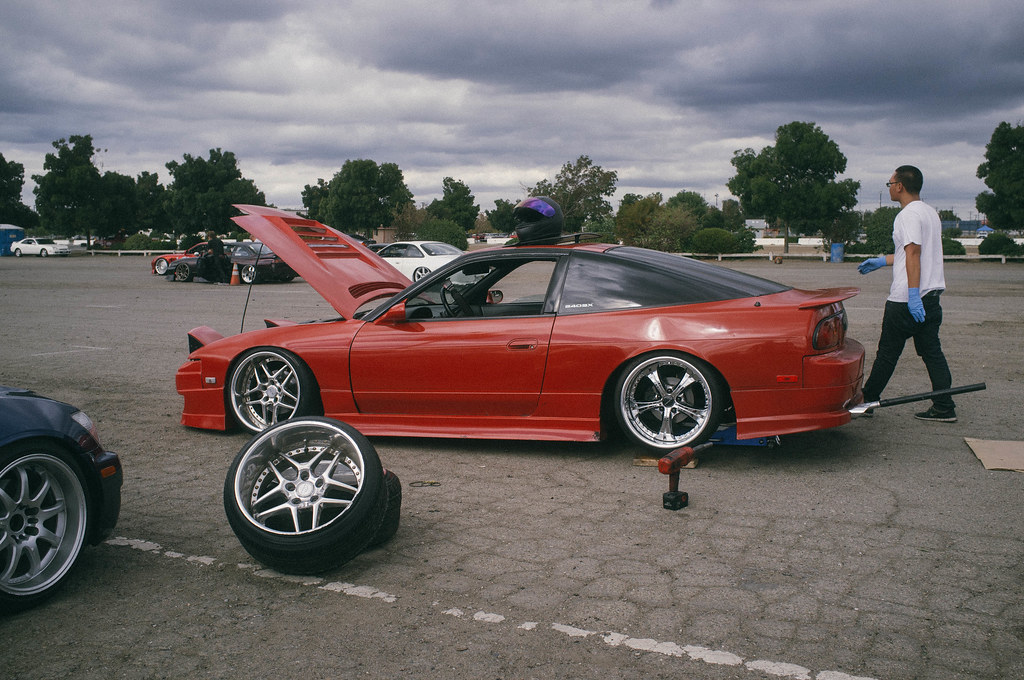
Went to club drift. Brought my camera, but only took two photos lol
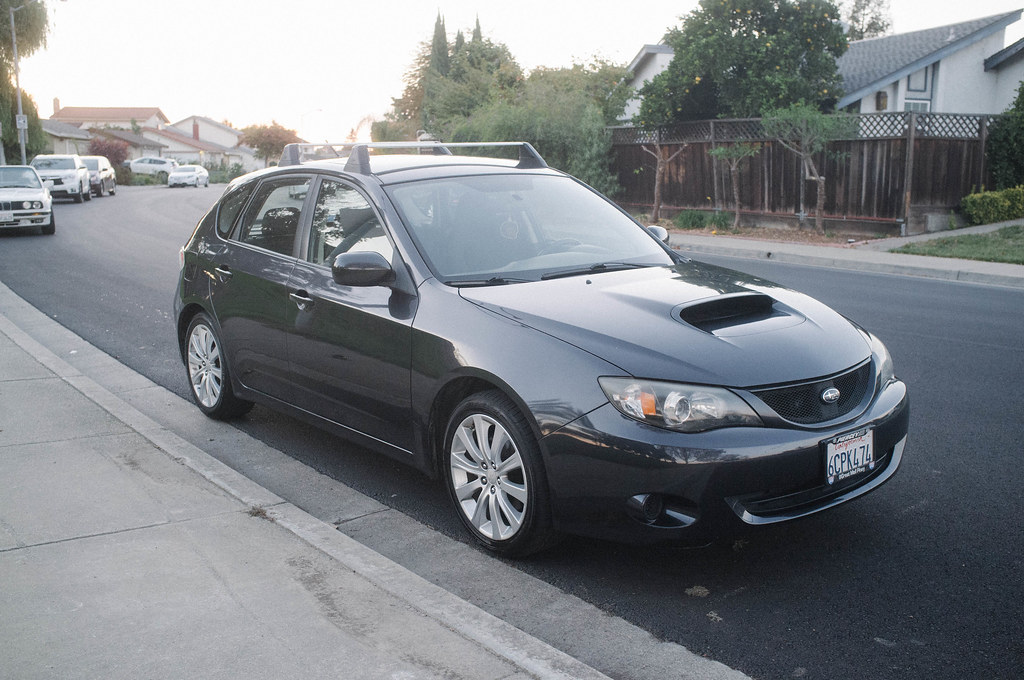
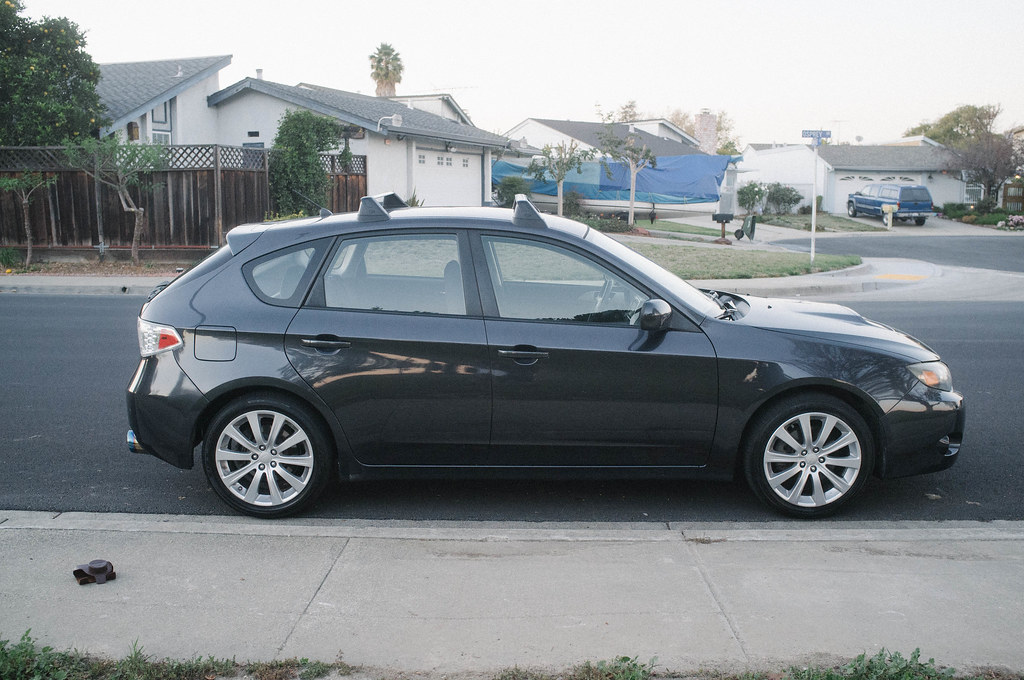
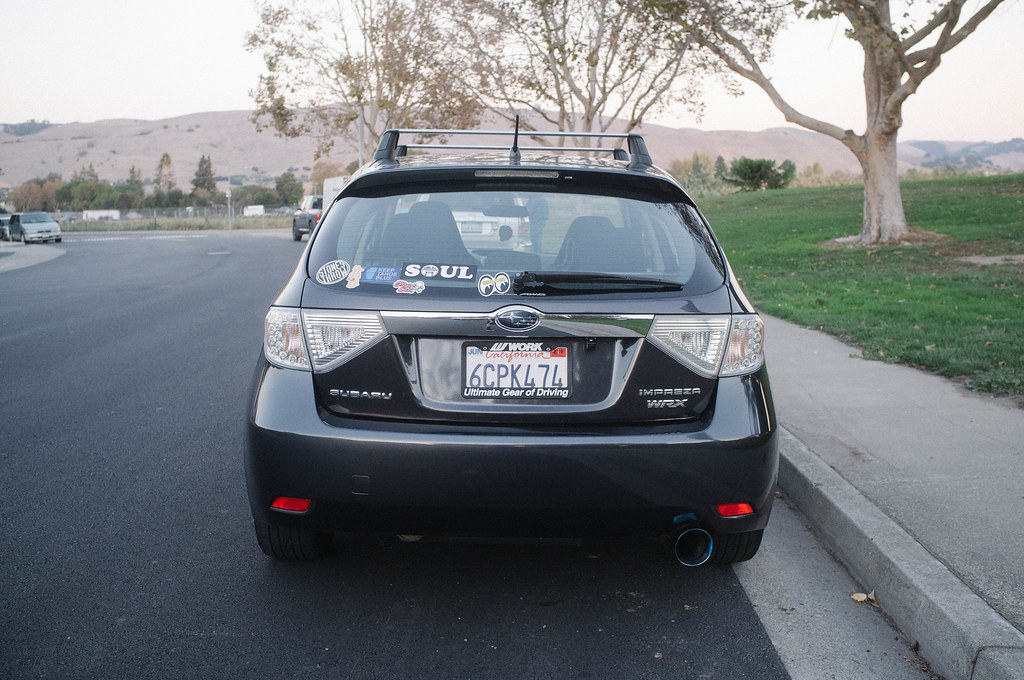
My daily driver is up for sale... looking to pick up a 14 STI wagon
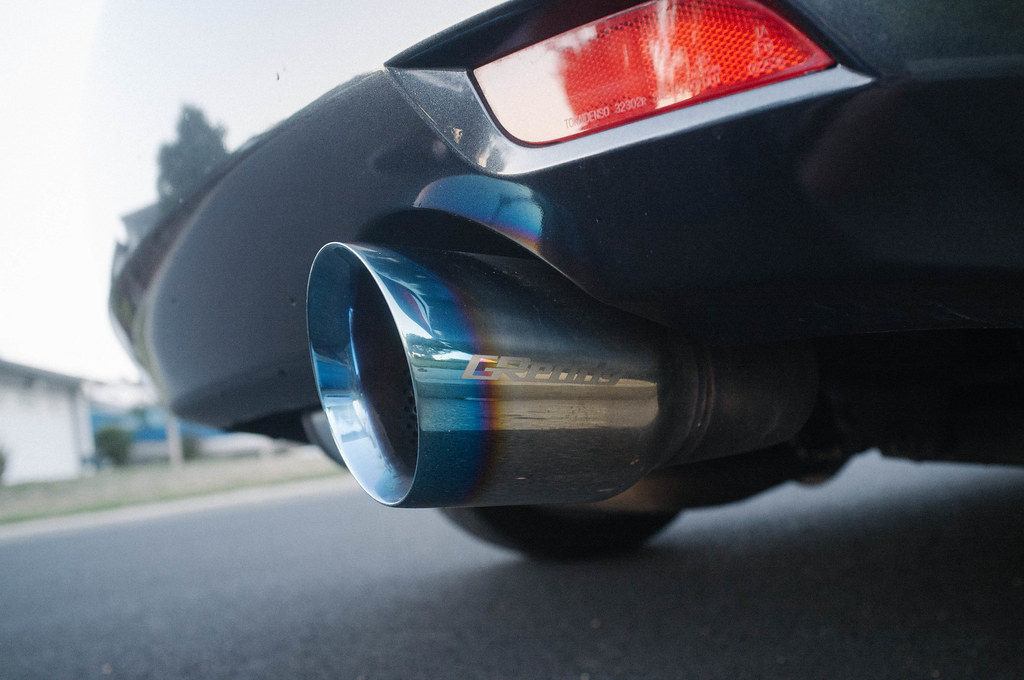
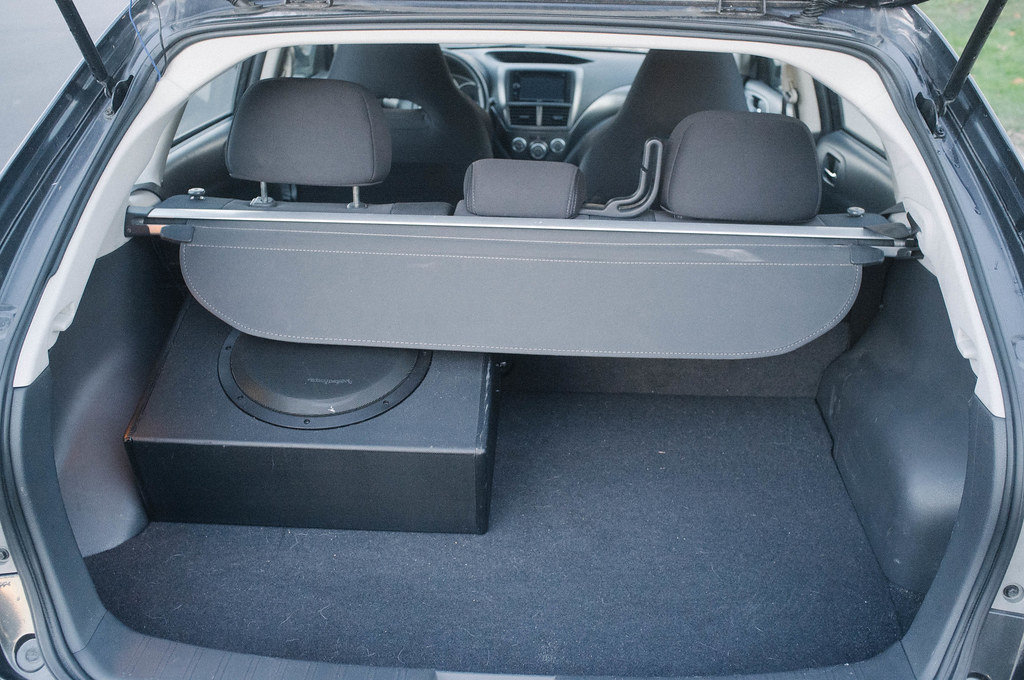
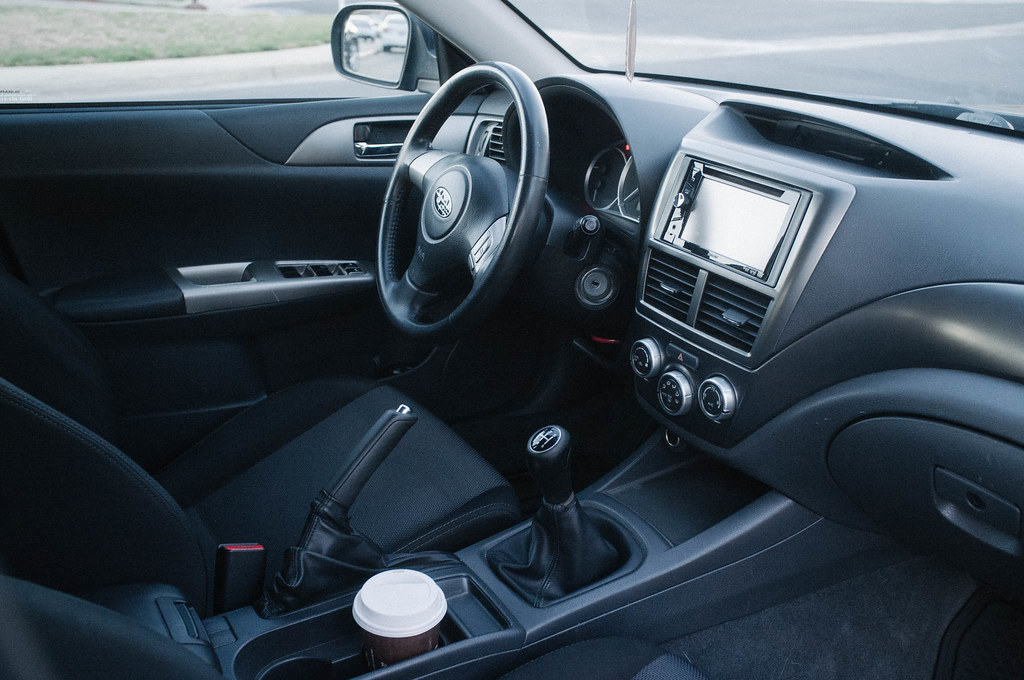
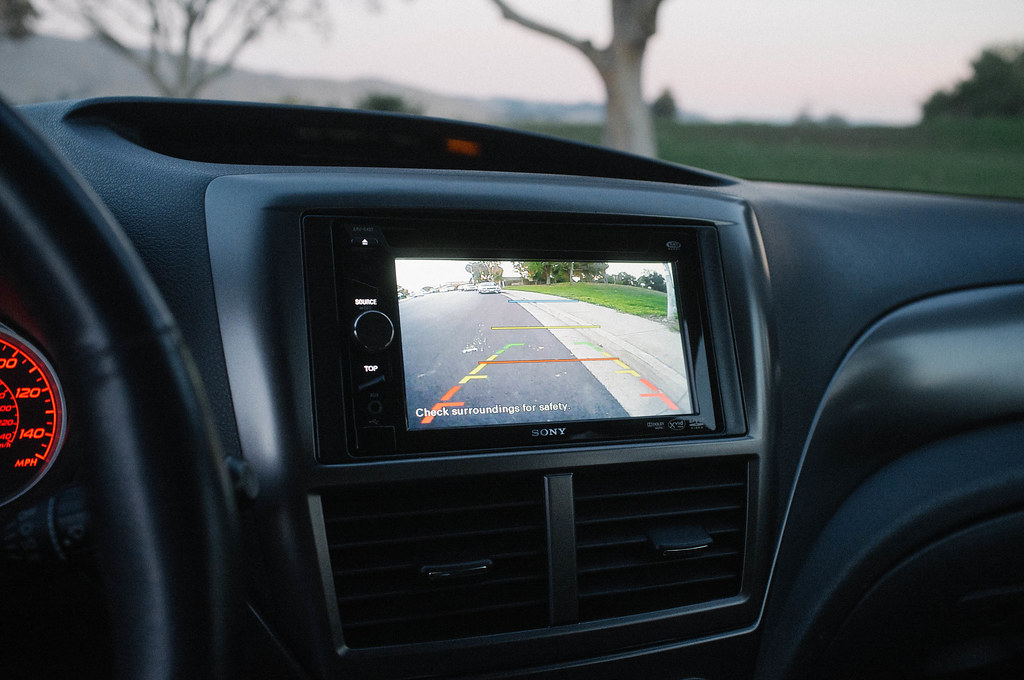
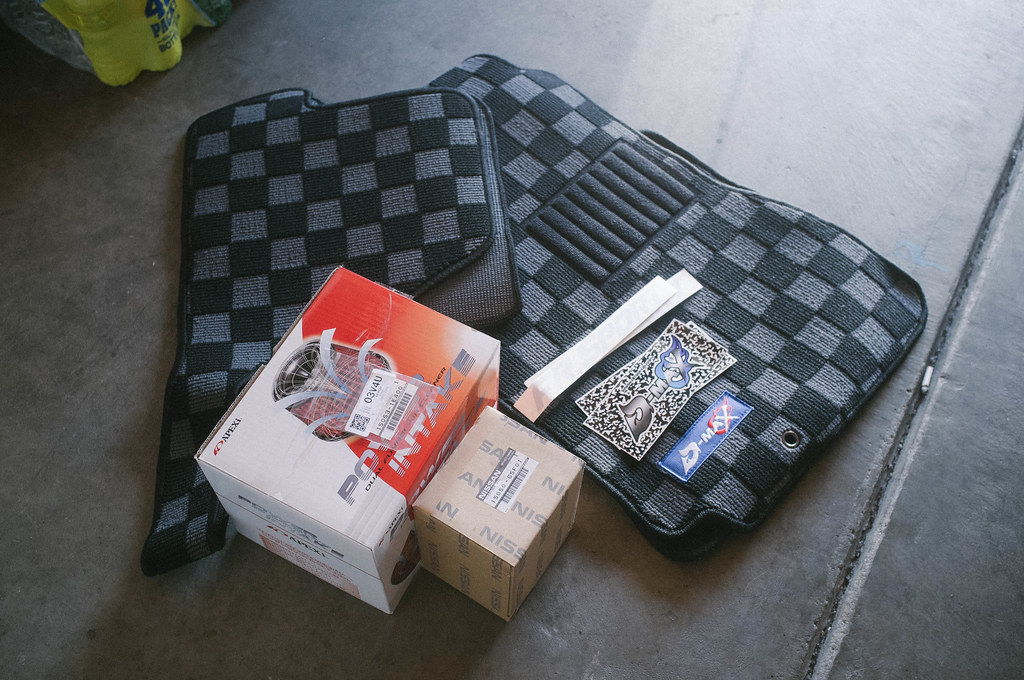
What a great way to resume my build. package from FRSport. Already have an Apexi filter but had to order a Z32 version to work with my Z32 MAF. Bummer. Also purchased a new oil pickup since the previous owner of the motor drilled holes in the original one. Finally ordered those DMAX floor mats i’ve been wanting for years now.
My favorite spot for lunch whenever I’m in Santa Cruz (Pono Hawaiian Grill). Love me some scallops. I’m a huge seafood guy.

Jameson seems to be in

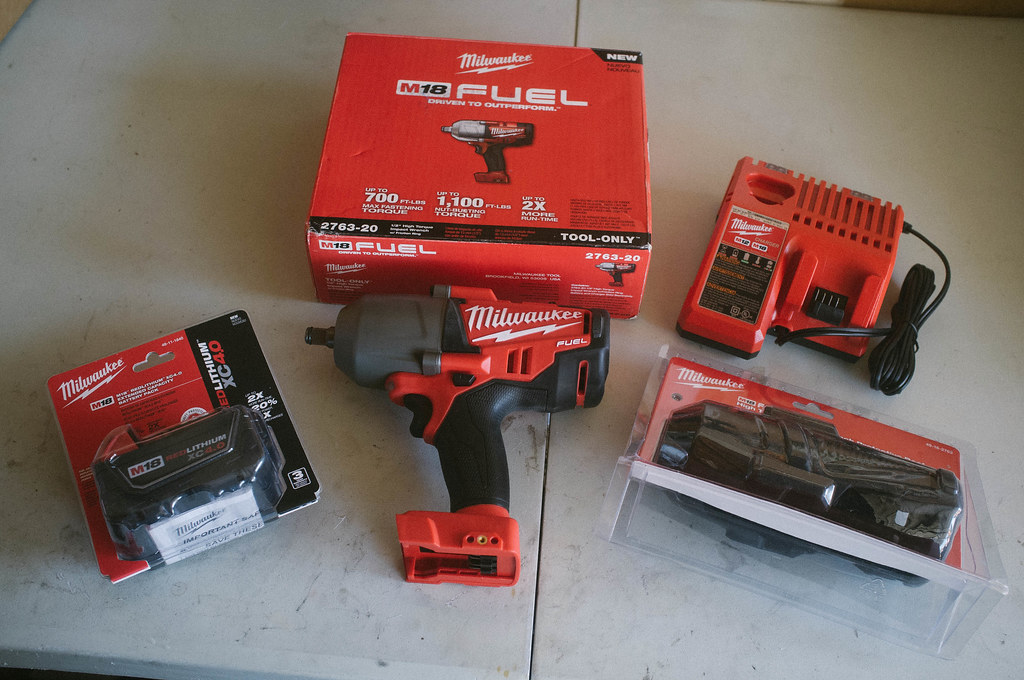
You know you are getting old when you get excited about new tools. It was a tough decision for me to choose the Milwaukee impact vs the Snapon and Ingersoll Rand impacts, but I chose Milwaukee because of 5 year warranty and the line up of tools available for their batteries (which are not cheap). I really wanted to go with the IR, but it didn’t have an LED and also did not have many tools compatible with their batteries which ended up being a deal breaker. Looks like my recently purchased IR Air Impact will get little use…
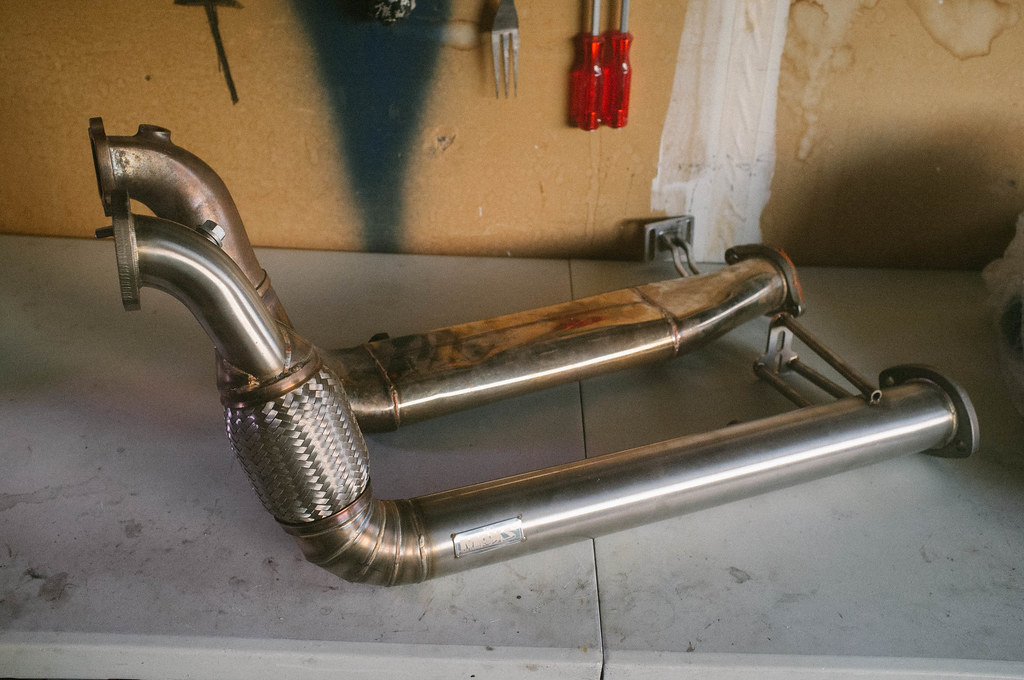
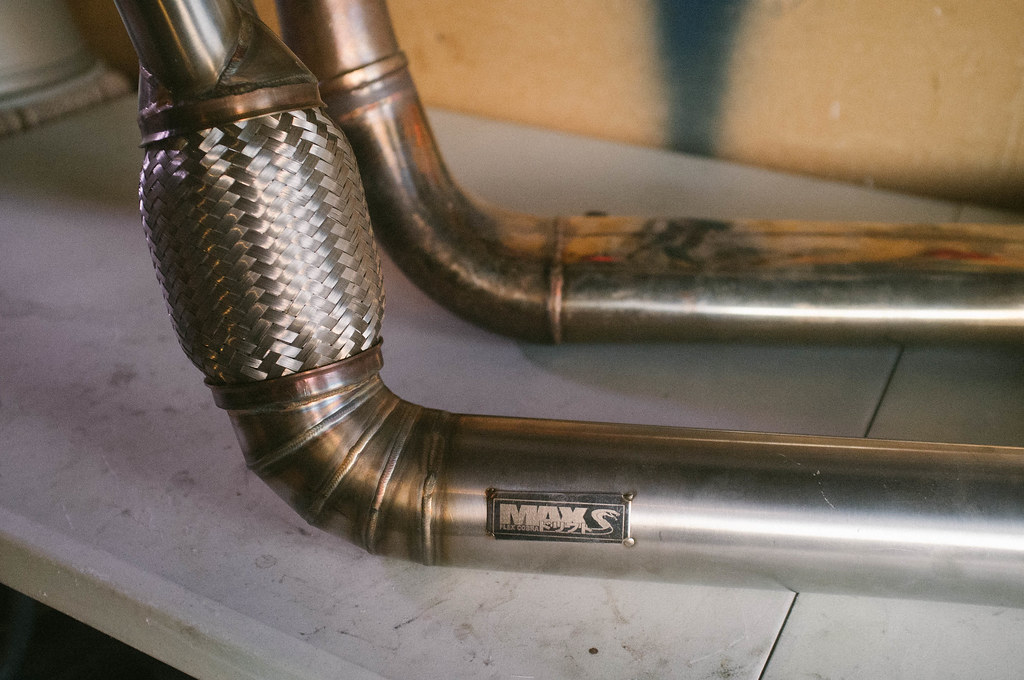
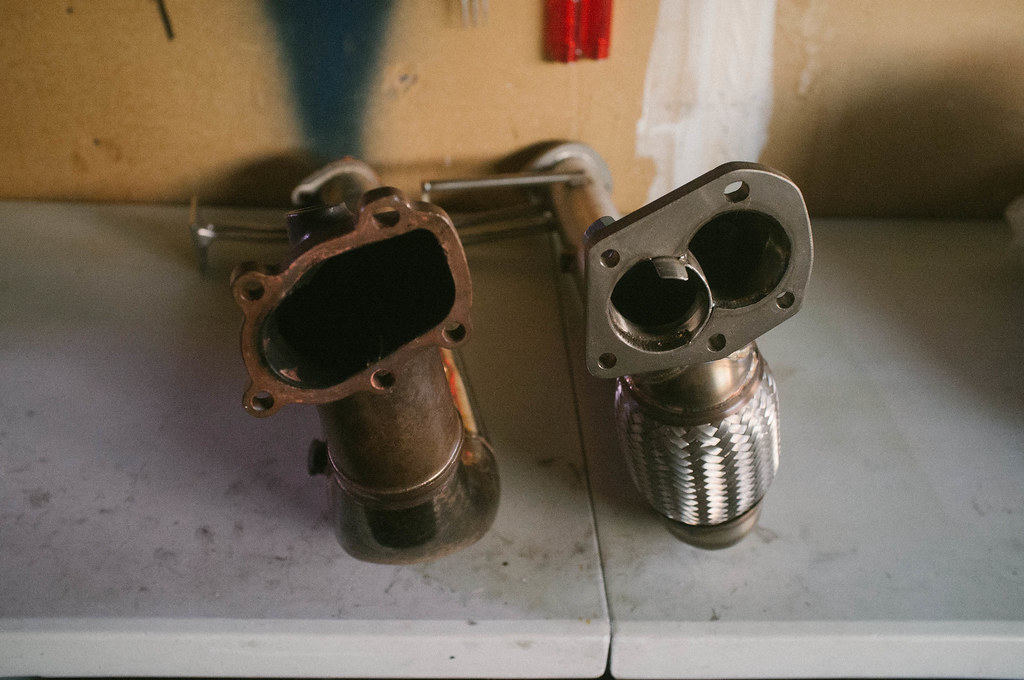
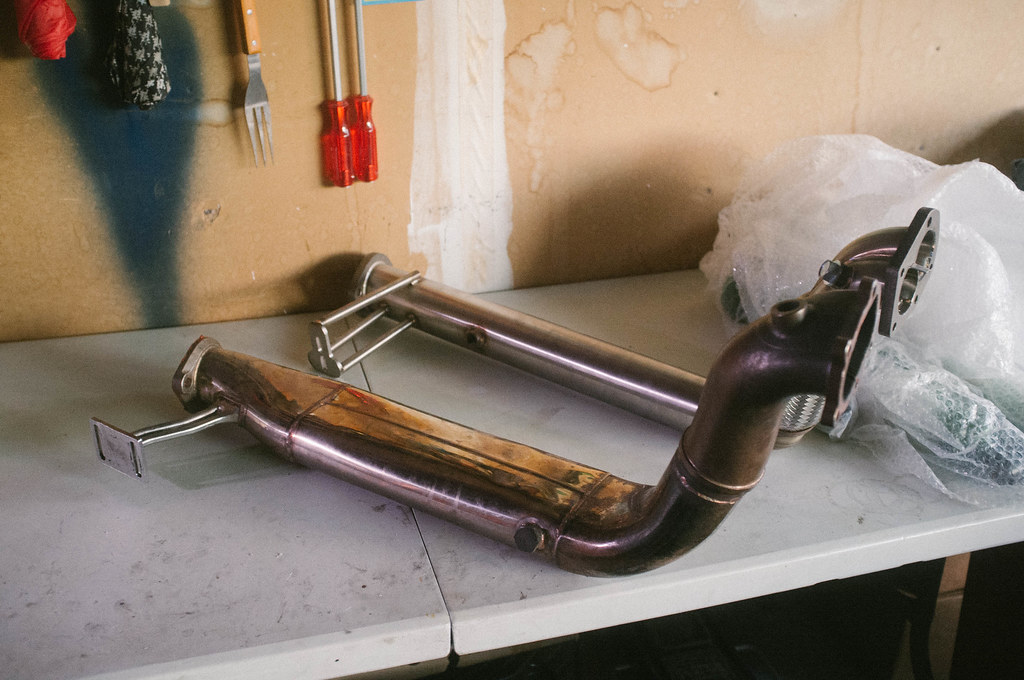
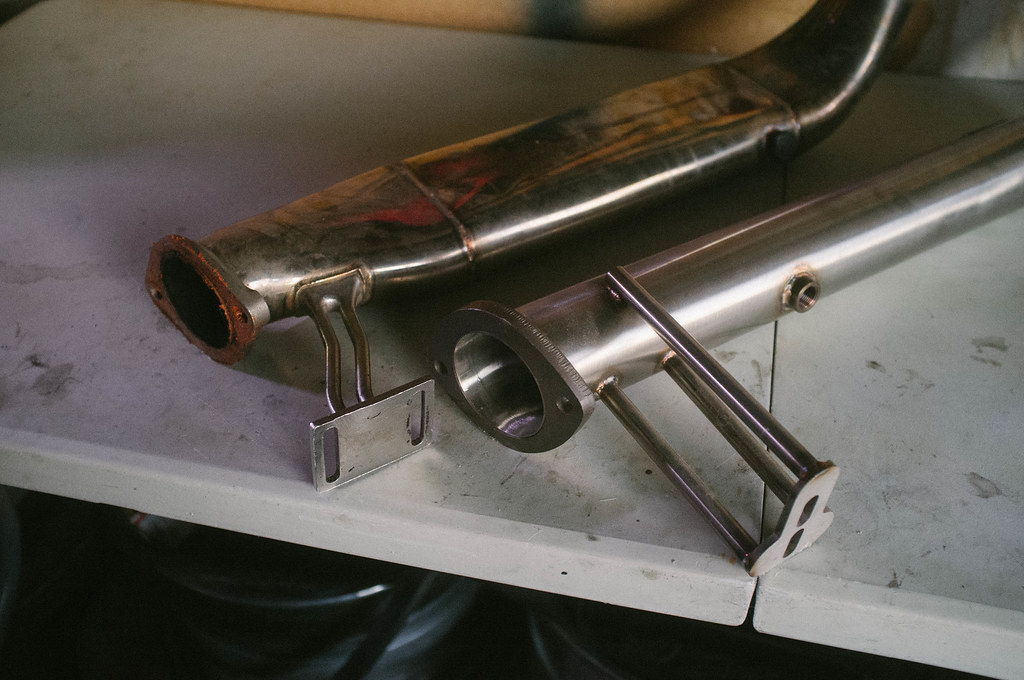
Why do I have two downpipes you ask? Well, I originally started off with the pbm flex cobra pipe. I read that it won’t work with tomei manifold setup since the tomei manifold moves the turbo back a bit, causing the downpipe to make contact somewhere in the tunnel. I found out that another guy running the same setup was able to make it work (camryonbronze). just in case it didn’t work, I picked up the circuit sports oval downpipe because it’s super low friendly, and kinda rare since it’s out of production. wouldnt mind just using it as garage decor lol.
 Re: wavyzenki s14 build, the street machine
Removing the oil pan so I can change out the oil pick up that is slightly dented and has holes drilled in it. I should have done it before I installed the trust oil pan but I didn’t really think it was a big deal. Someone pointed it out on my build thread on Zilvia and convinced me to go back and change it. Seriously was a PITA. This is one of those things you want to do once and forget about it.
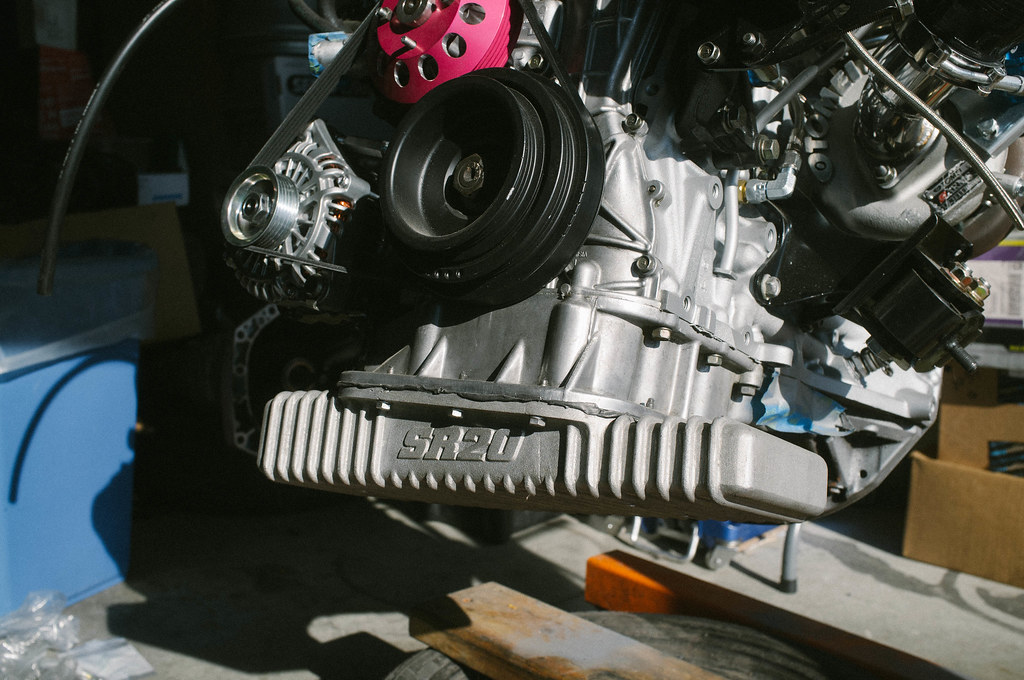
Oil pan finally removed. I think this took me a solid hour to remove. I kept trying different things to remove it. You can’t really use a flathead/chisel to pry it apart since the pan is aluminum and it just digs into the pan if you try and hammer anything into it. What I think worked for me was when I used a piece of woos 4x4 and hammered it in various areas of the pan until the gasket eventually gave. This was not fun at all.
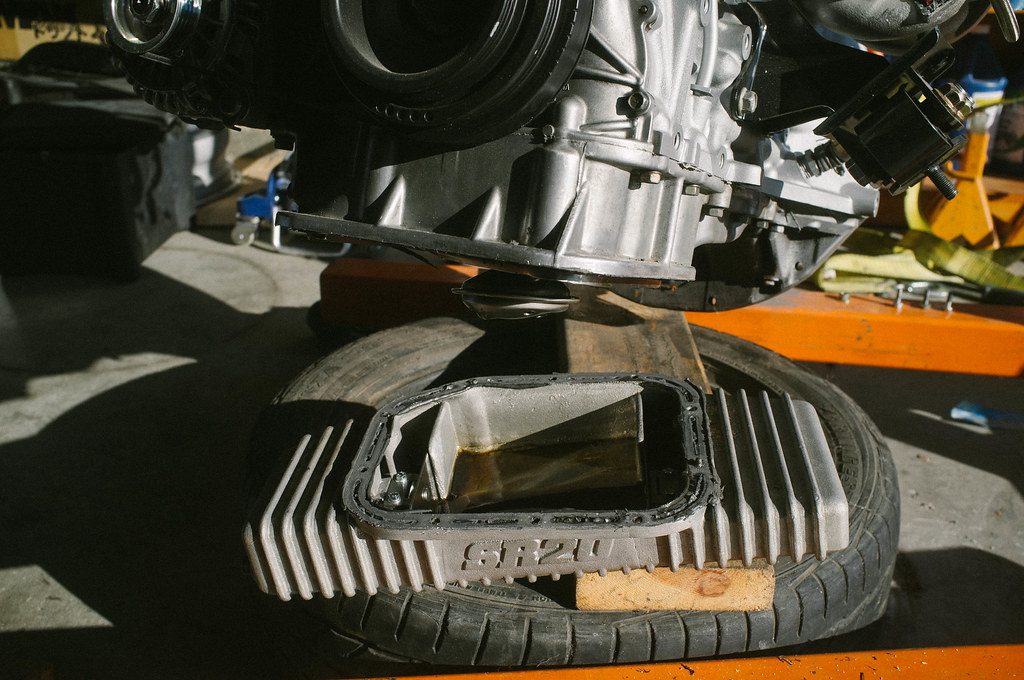
Oil pan is removed exposing the oil pickup that needs to be removed. First the cover needs to be removed. I believe there were (7) 10mm or 12mm bolts holding this cover on. Once the cover is removed you have access to the oil pickup, which is held on by 3 bolts.
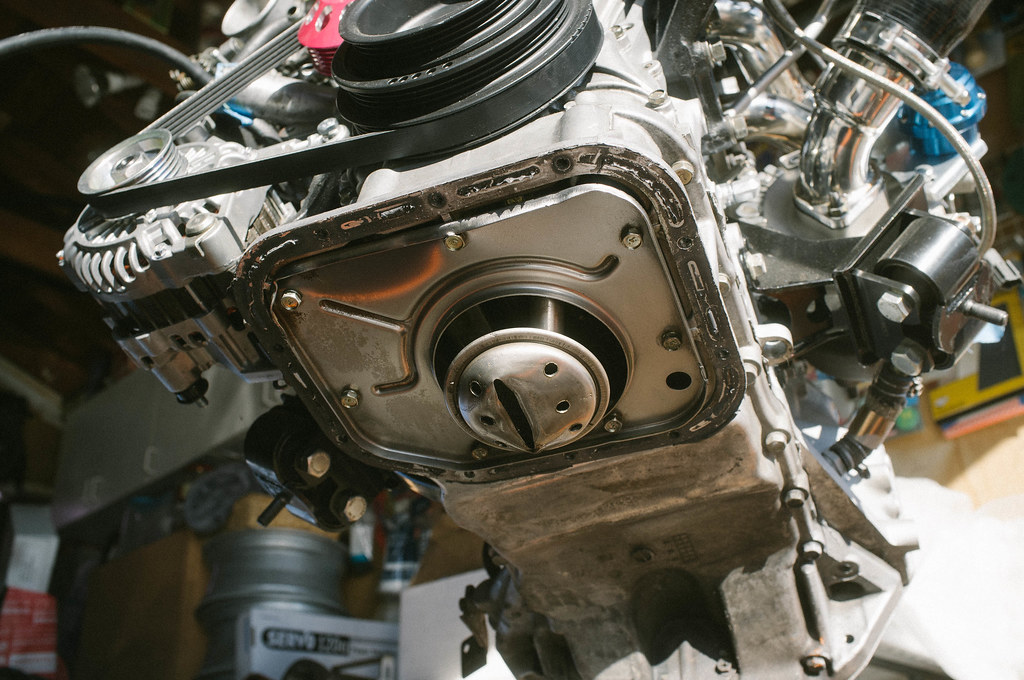
Oil pickup ready to be removed. It is slightly dented and has holes drilled in it by previous owner.
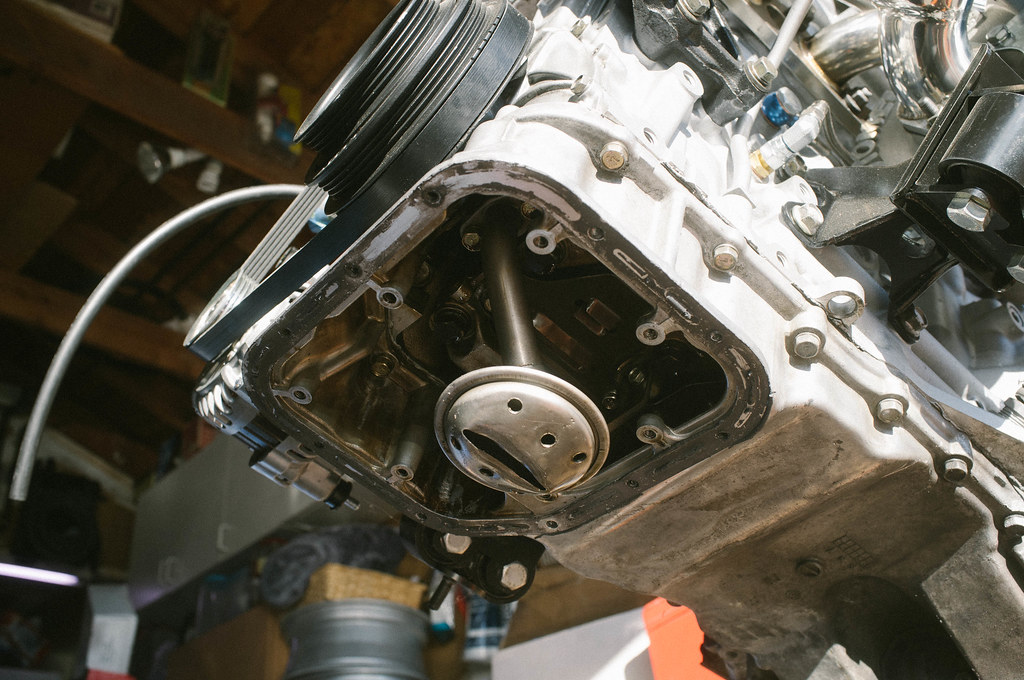
This third bolt in the back holding the oil pickup was a PITA to remove. Good luck to any of you attempting this with chicken tender fingers.
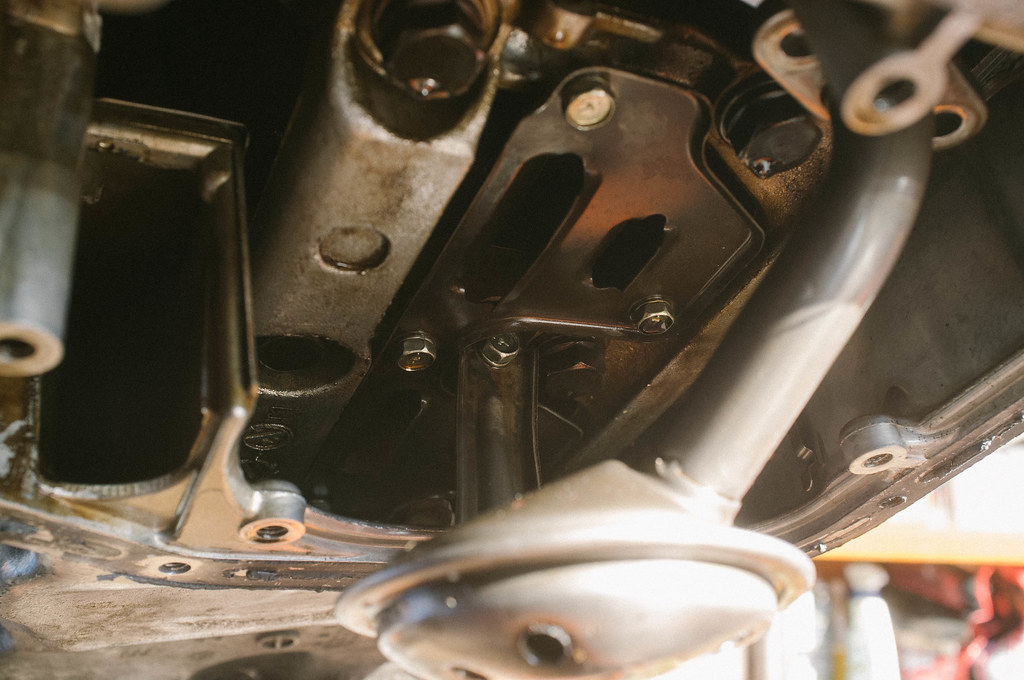
Oil pickup removed
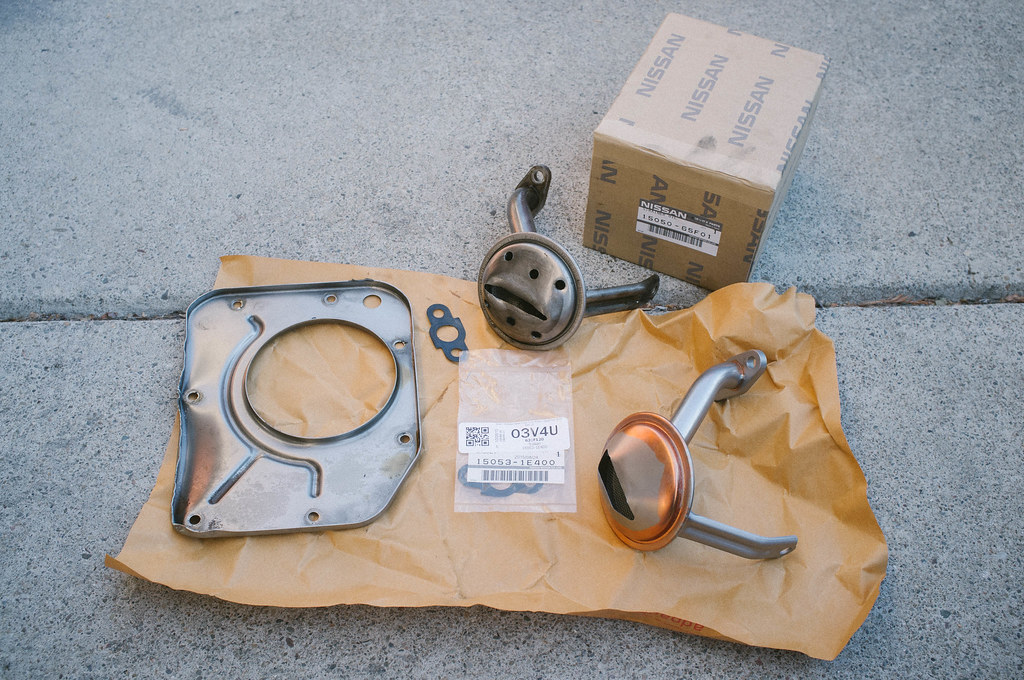
Old oil pickup vs new. Previous owner drilled holes in the oil pickup. In theory this would be better since it would pickup more oil, but is actually harmful since there is a higher chance of air being sucked up. It was also dented so I decided just to go back and change it. I should have done it the first time around… Also, don’t forget to order the gasket if you are changing this part. Part numbers are in the photo.
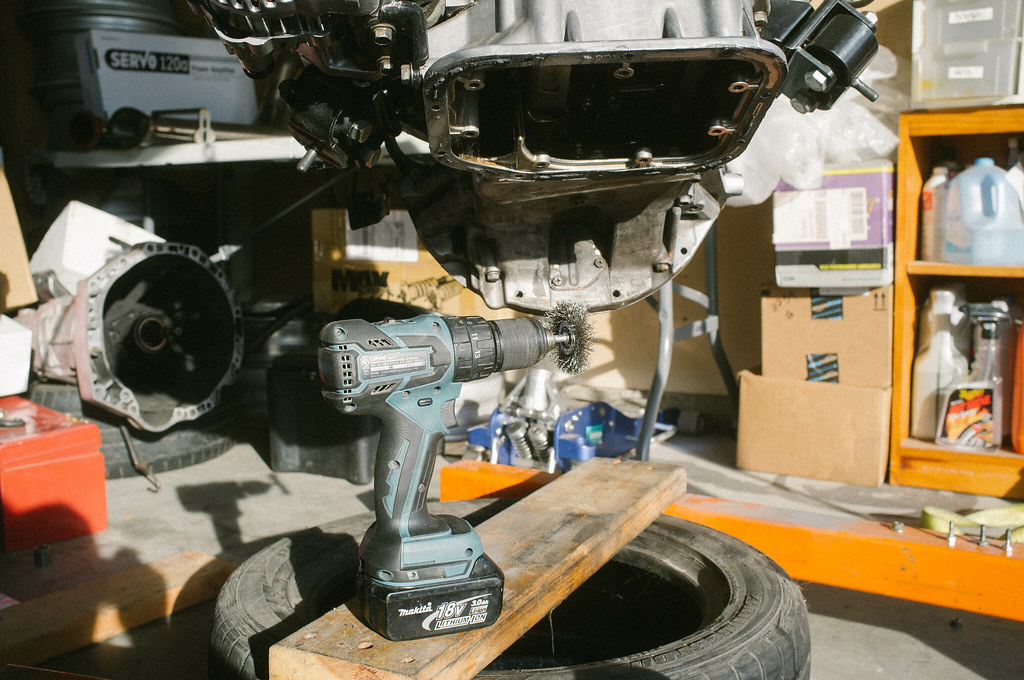
Removing all of the old gasket before I seal the oil pan back up. The only effective method I found to removing black RTV gasket is a wire brush. Anyone have anything better?
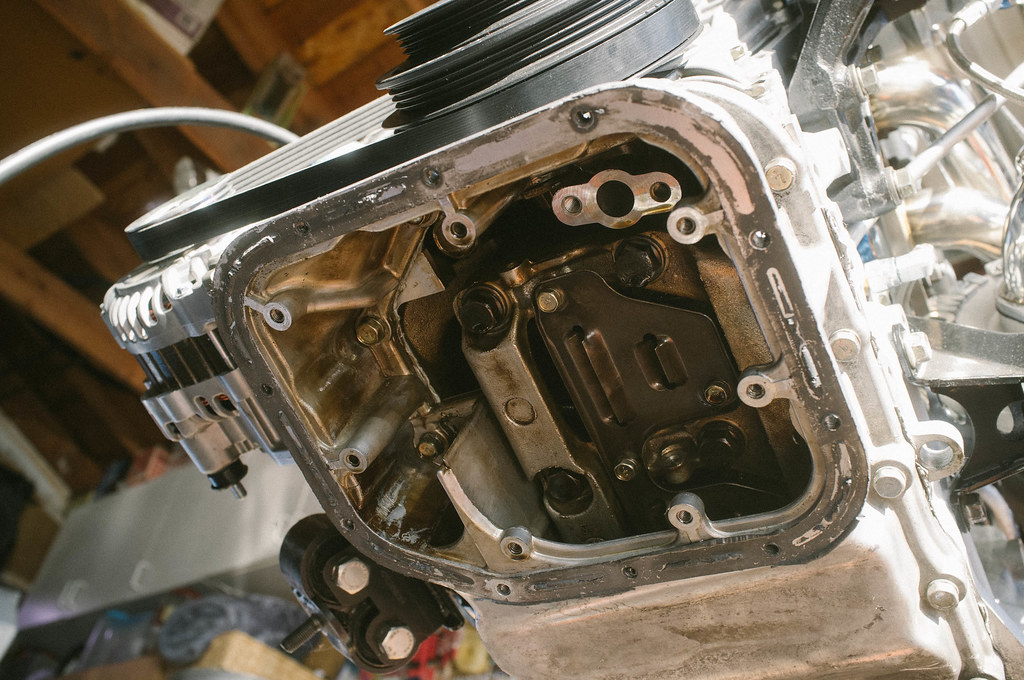
Oil pickup back in. God that third 10mm bolt in the back holding the oil pickup was a pain to get in. Not only did it not thread easily, but there is also little room in there to maneuver. Good luck to all of you with chicken tender fingers.
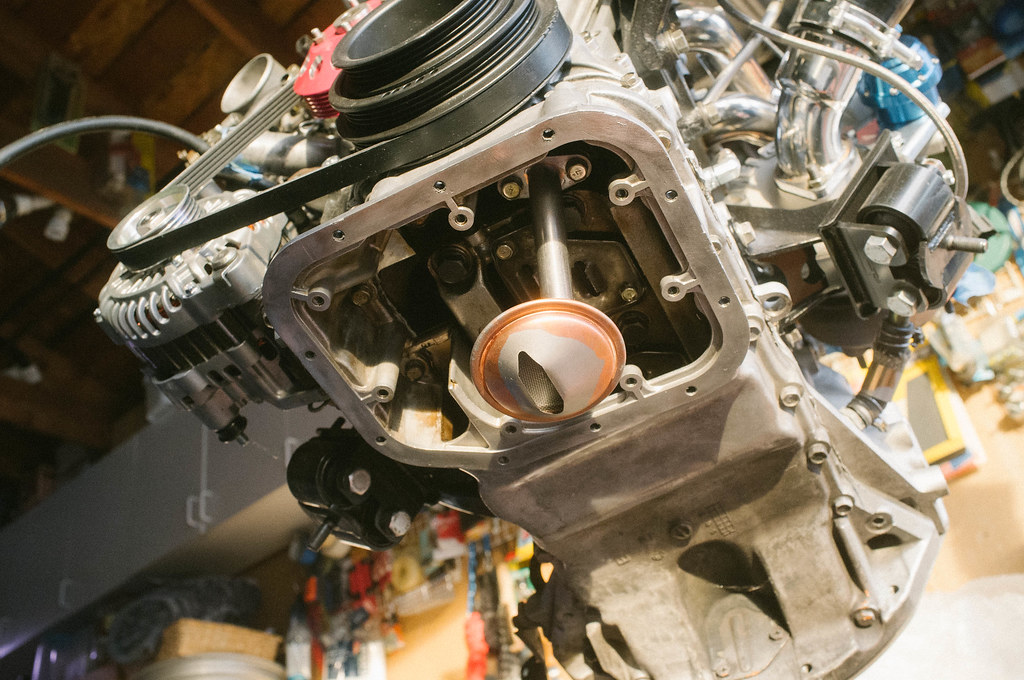
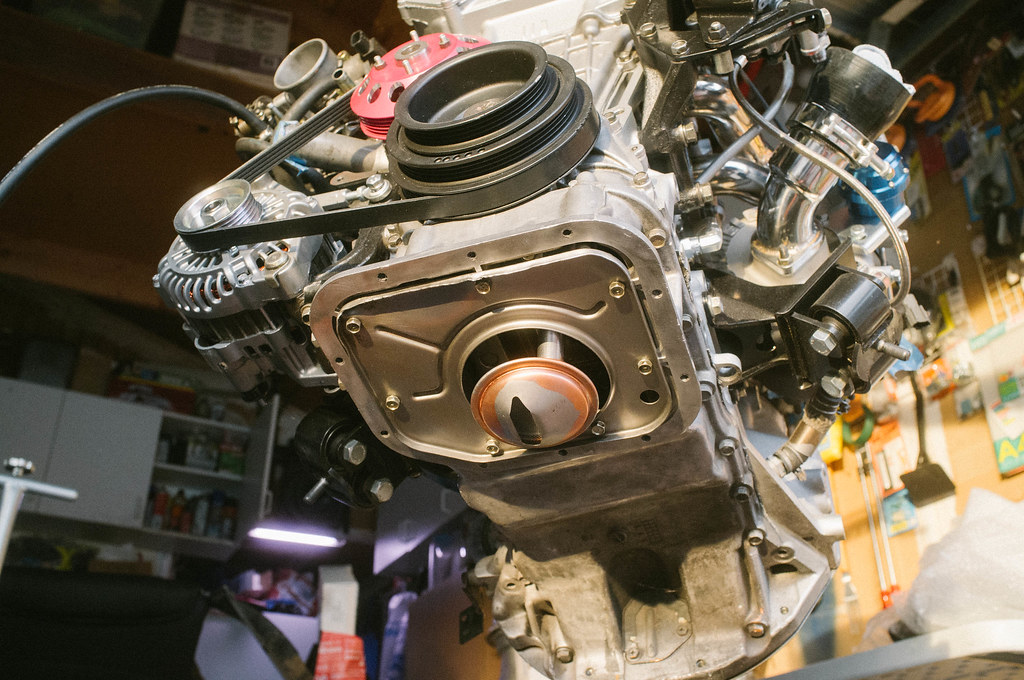
Oil pickup back in with cover
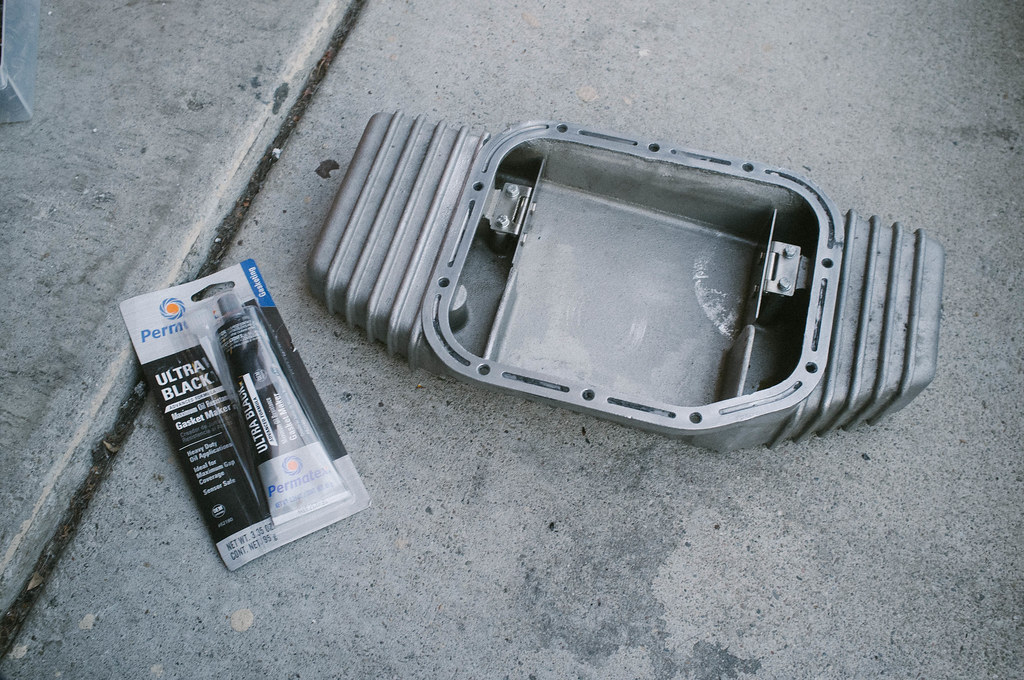
permatex ultra black and the trust oil pan
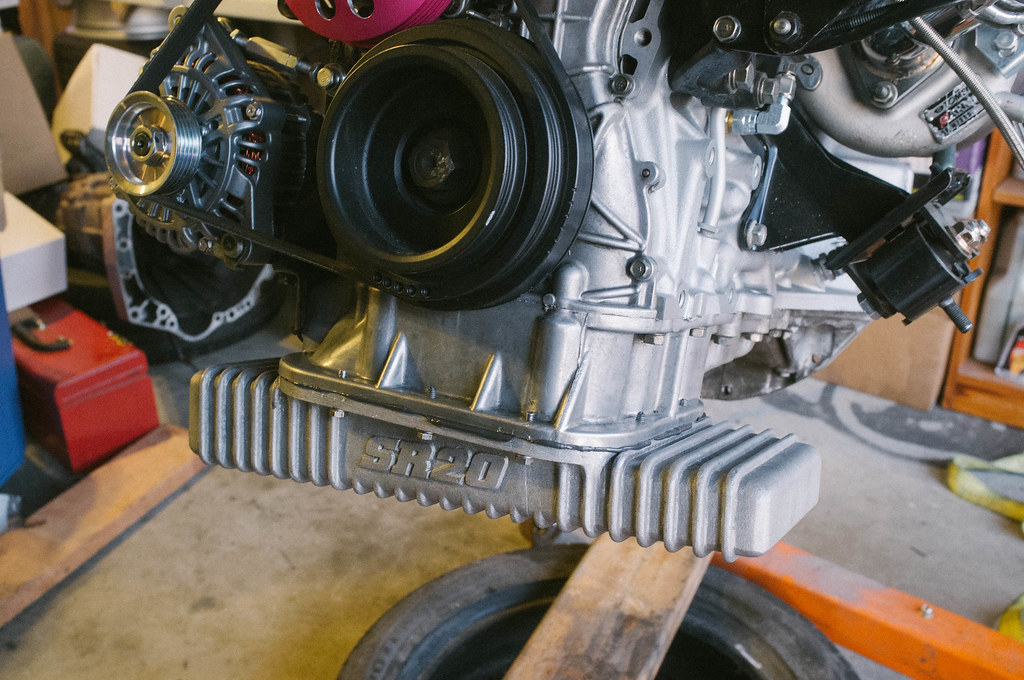
Oil pan sealed up. Hand tightened the bolts until the black gasket oozed a bit and waiting an hour before torqueing, per the instructions.
Decided to ditch the Cusco solid motor mounts for the Nismo motor mounts. I originally wanted the Nismo motor mounts, but I scored a great deal on the cusco ones so I was like fuck it why not. Then I thought about how much lower the motor is going to sit, which is bad because I also have the trust oil pan which sits lower as well. I don’t feel like having to change an oil pan again so I decided to just order the Nismo motor mounts. The nismo ones make the engine sit higher and won’t rattle my teeth out compared to the solid Cusco mounts. I’m cool with that. Cusco mounts are for sale btw lol
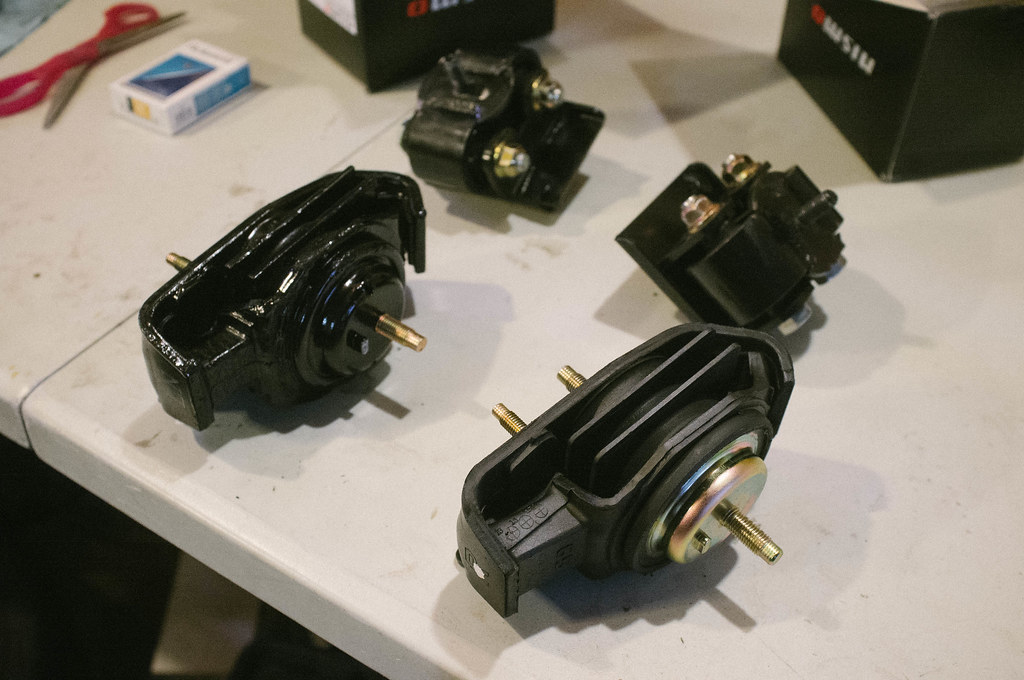
Nismo motor mounts installed. They are alot uglier than the Cusco. Oh well, not everything can be pretty lol.
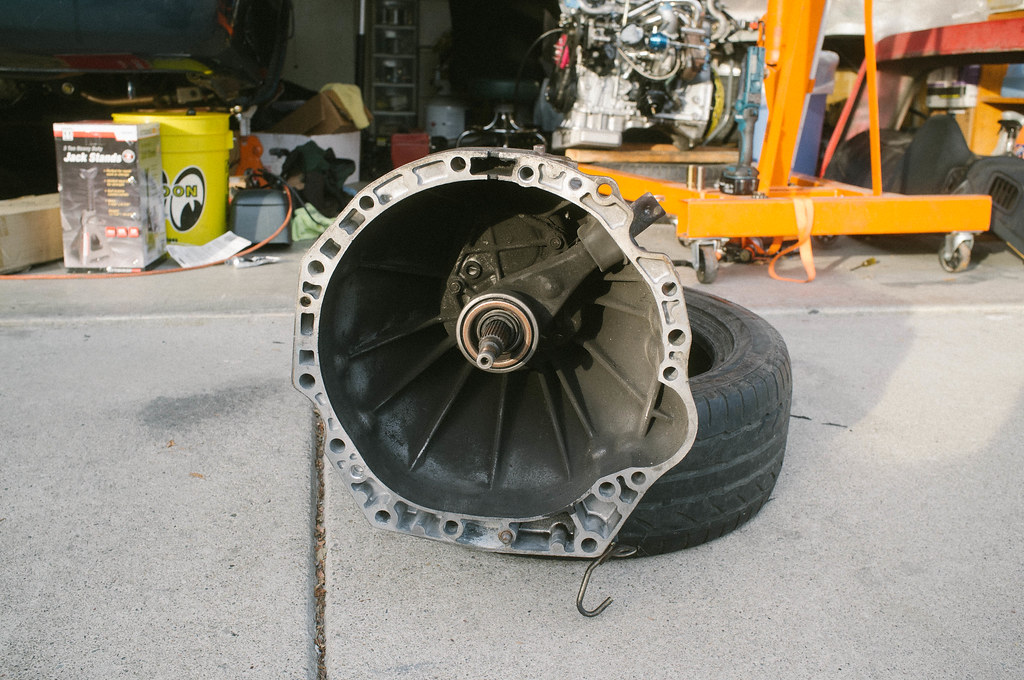
The dirty ass transmission covered in filth and red overspray from a maaco paint job. I’m going to waste a few hours of my life degreasing, cleaning, and painting it. No one will see this so who cares right? Wrong. I care. I’m painting it. It helps me sleep at night. Fuck off.

This will receive some TLC later… plan on cleaning, greasing, and changing out the stock clutch pivot ball with a hardened nismo clutch pivot ball. Might as well right?
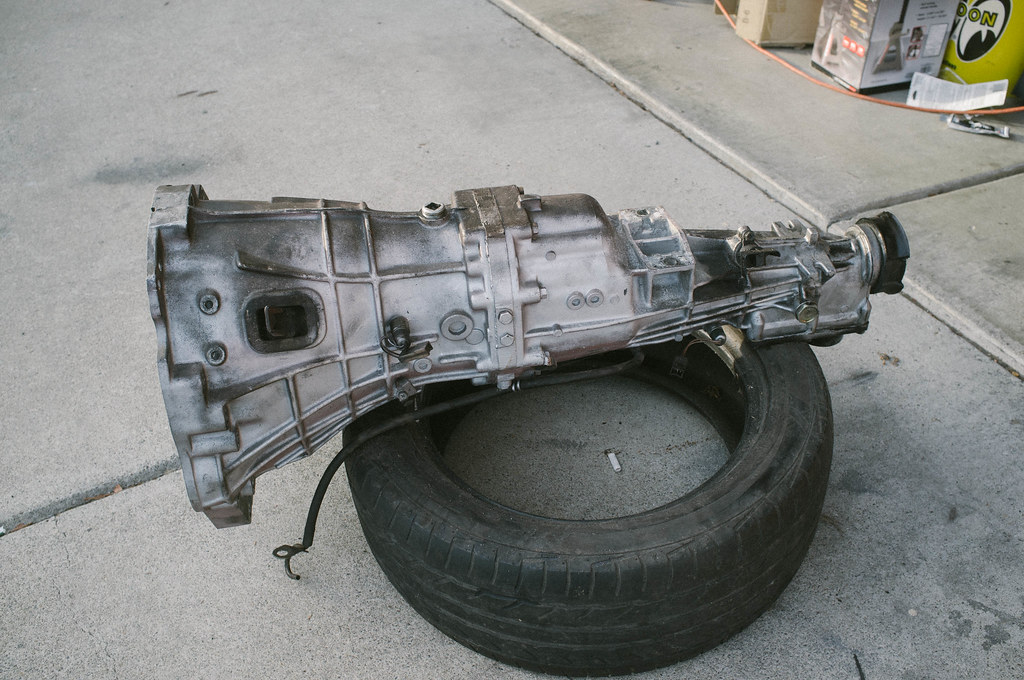
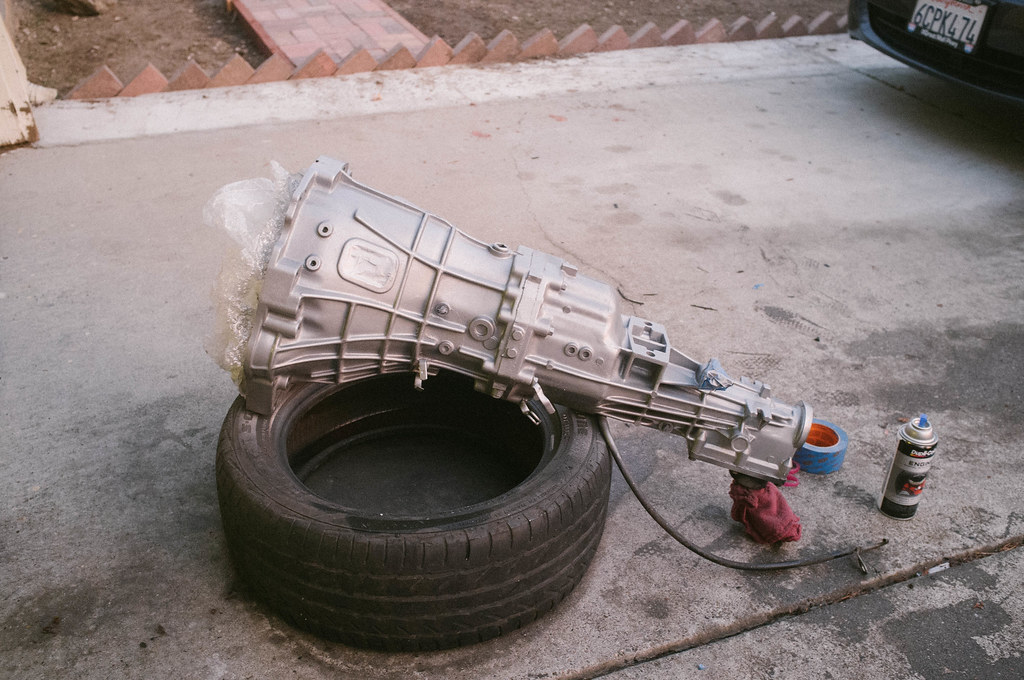
Transmission degreased, and painted with some aluminum silver engine enamel paint. Not bad!

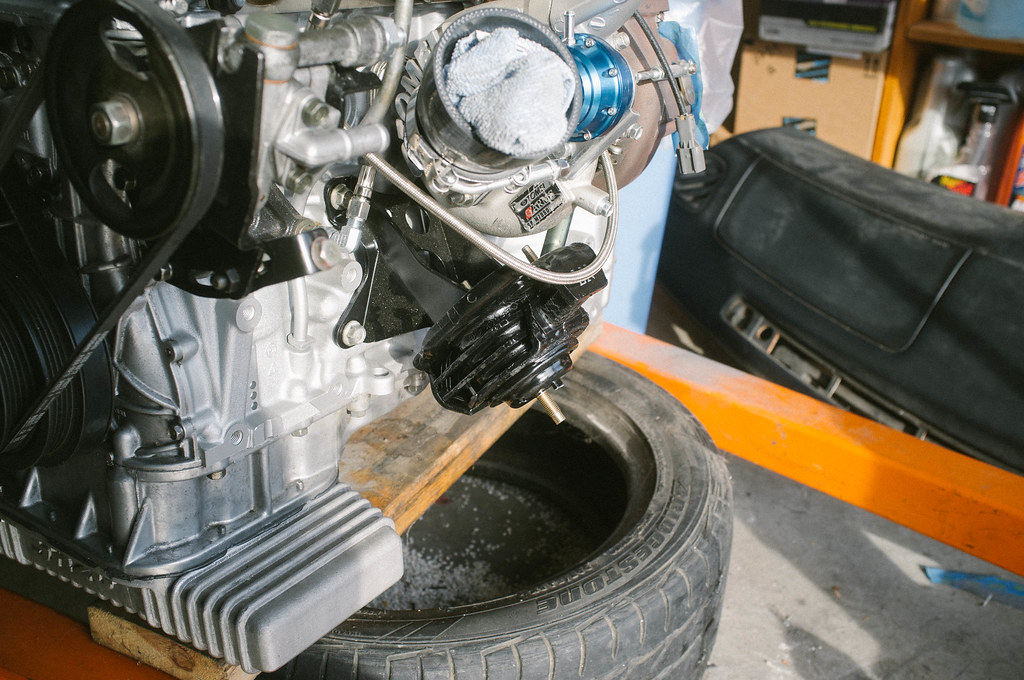
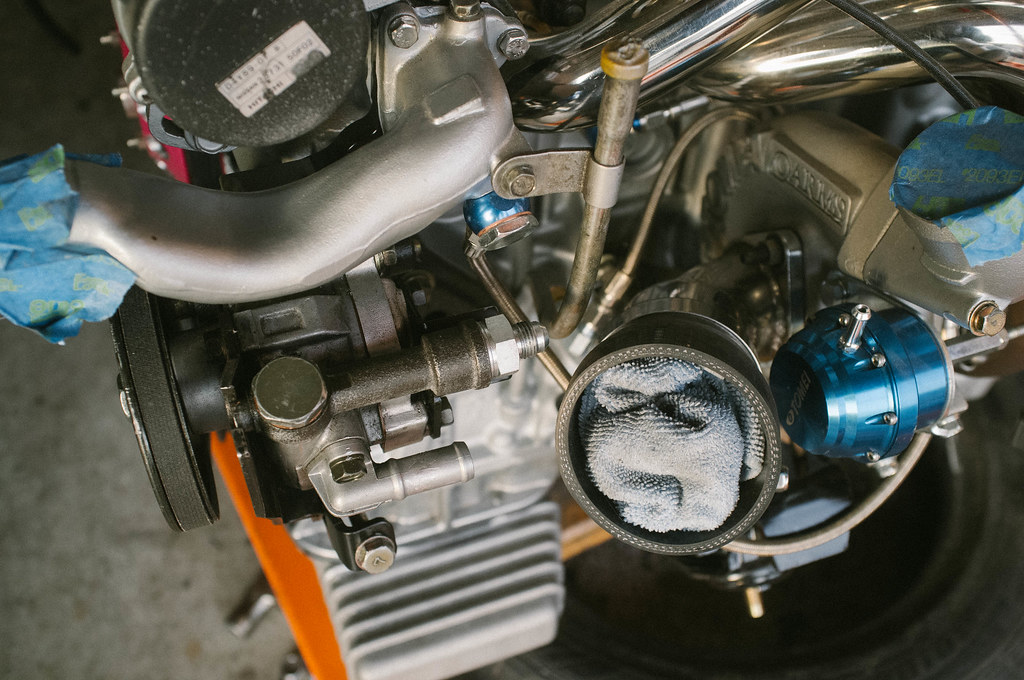
YO!!! I need help. In this photo you can see that the power steering high pressure fitting is REALLY close to the turbo inlet silicone hose. I have this fitting in there for a Chasebays power steering cooler I am running. When I attach the high pressure line (90 degree fitting on the hose) I am making contact with the silicone hose on the turbo inlet. Do I have any other options besides relocating the power steering pump down to the AC pump position?

Oil pan finally removed. I think this took me a solid hour to remove. I kept trying different things to remove it. You can’t really use a flathead/chisel to pry it apart since the pan is aluminum and it just digs into the pan if you try and hammer anything into it. What I think worked for me was when I used a piece of woos 4x4 and hammered it in various areas of the pan until the gasket eventually gave. This was not fun at all.

Oil pan is removed exposing the oil pickup that needs to be removed. First the cover needs to be removed. I believe there were (7) 10mm or 12mm bolts holding this cover on. Once the cover is removed you have access to the oil pickup, which is held on by 3 bolts.

Oil pickup ready to be removed. It is slightly dented and has holes drilled in it by previous owner.

This third bolt in the back holding the oil pickup was a PITA to remove. Good luck to any of you attempting this with chicken tender fingers.

Oil pickup removed

Old oil pickup vs new. Previous owner drilled holes in the oil pickup. In theory this would be better since it would pickup more oil, but is actually harmful since there is a higher chance of air being sucked up. It was also dented so I decided just to go back and change it. I should have done it the first time around… Also, don’t forget to order the gasket if you are changing this part. Part numbers are in the photo.

Removing all of the old gasket before I seal the oil pan back up. The only effective method I found to removing black RTV gasket is a wire brush. Anyone have anything better?

Oil pickup back in. God that third 10mm bolt in the back holding the oil pickup was a pain to get in. Not only did it not thread easily, but there is also little room in there to maneuver. Good luck to all of you with chicken tender fingers.

Oil pickup back in with cover

permatex ultra black and the trust oil pan

Oil pan sealed up. Hand tightened the bolts until the black gasket oozed a bit and waiting an hour before torqueing, per the instructions.

Decided to ditch the Cusco solid motor mounts for the Nismo motor mounts. I originally wanted the Nismo motor mounts, but I scored a great deal on the cusco ones so I was like fuck it why not. Then I thought about how much lower the motor is going to sit, which is bad because I also have the trust oil pan which sits lower as well. I don’t feel like having to change an oil pan again so I decided to just order the Nismo motor mounts. The nismo ones make the engine sit higher and won’t rattle my teeth out compared to the solid Cusco mounts. I’m cool with that. Cusco mounts are for sale btw lol

Nismo motor mounts installed. They are alot uglier than the Cusco. Oh well, not everything can be pretty lol.

The dirty ass transmission covered in filth and red overspray from a maaco paint job. I’m going to waste a few hours of my life degreasing, cleaning, and painting it. No one will see this so who cares right? Wrong. I care. I’m painting it. It helps me sleep at night. Fuck off.

This will receive some TLC later… plan on cleaning, greasing, and changing out the stock clutch pivot ball with a hardened nismo clutch pivot ball. Might as well right?


Transmission degreased, and painted with some aluminum silver engine enamel paint. Not bad!


YO!!! I need help. In this photo you can see that the power steering high pressure fitting is REALLY close to the turbo inlet silicone hose. I have this fitting in there for a Chasebays power steering cooler I am running. When I attach the high pressure line (90 degree fitting on the hose) I am making contact with the silicone hose on the turbo inlet. Do I have any other options besides relocating the power steering pump down to the AC pump position?

 Re: wavyzenki s14 build, the street machine
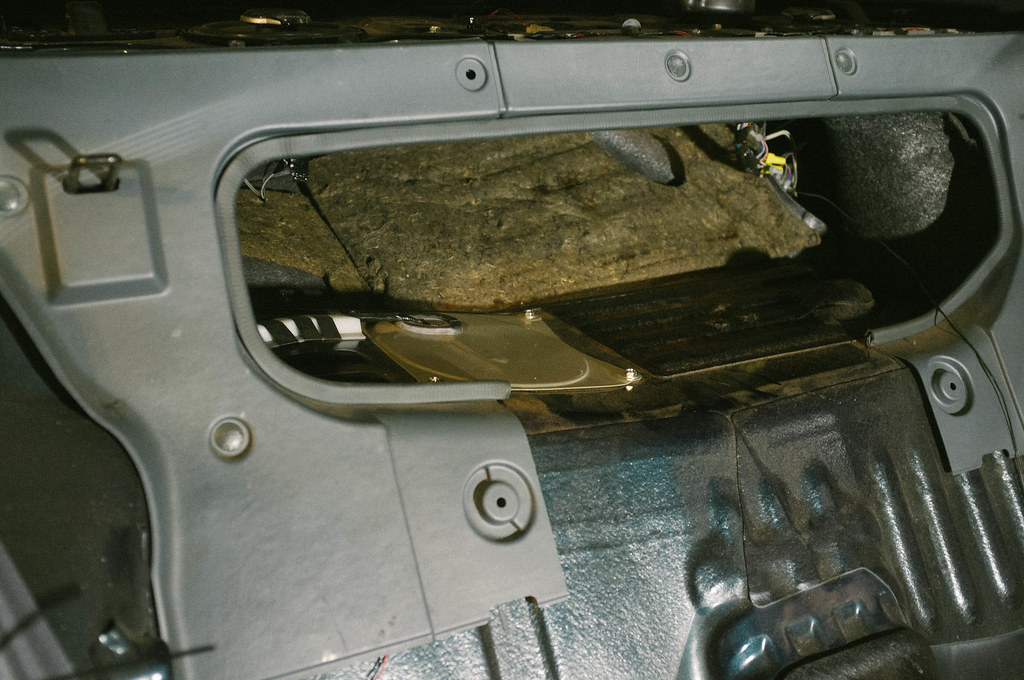
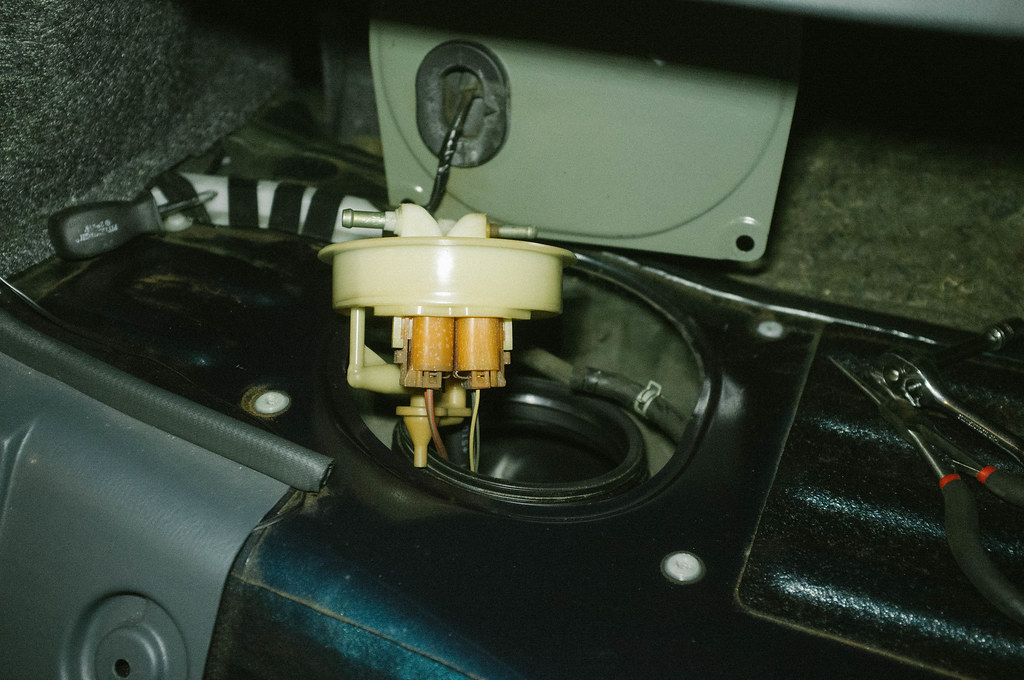
Decided to install my Walbro 255 fuel pump. The gas tank is located between the back seats and the trunk. Remove the carpet which will expose the cover held down by 4 10mm bolts that hold the gas tank cover in place. Once you remove the bolts, swing it out of the way.
Remove the fuel lines. You’ll need nose pliers to move the clamps. Once the clamps are pulled back pull on the hoses or use the needle nose to help you pull the hoses off. They will be a little tough to remove if they have never been touched before. After the hoses are removed you need to take a piece of wood or chisel and hammer it against the edges of the circular ring counter-clock wise to remove it. Be very careful since the ring is plastic. It’s basically like removing a stubbon cap off a jar. It is on pretty tight so I doubt you will be able to twist it off with your hands.
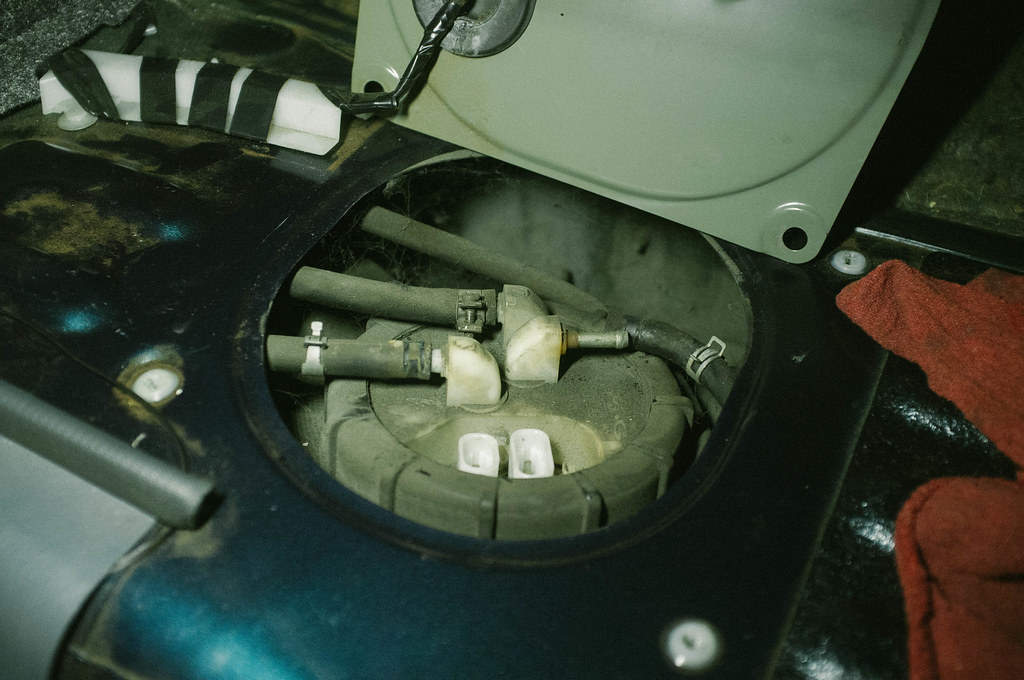
After removing the plastic ring, pull the cap off and get ready to get high off gasoline. You will now need to stick your hand inside (thats what she said) and pull up to remove the fuel pump bracket assembly.
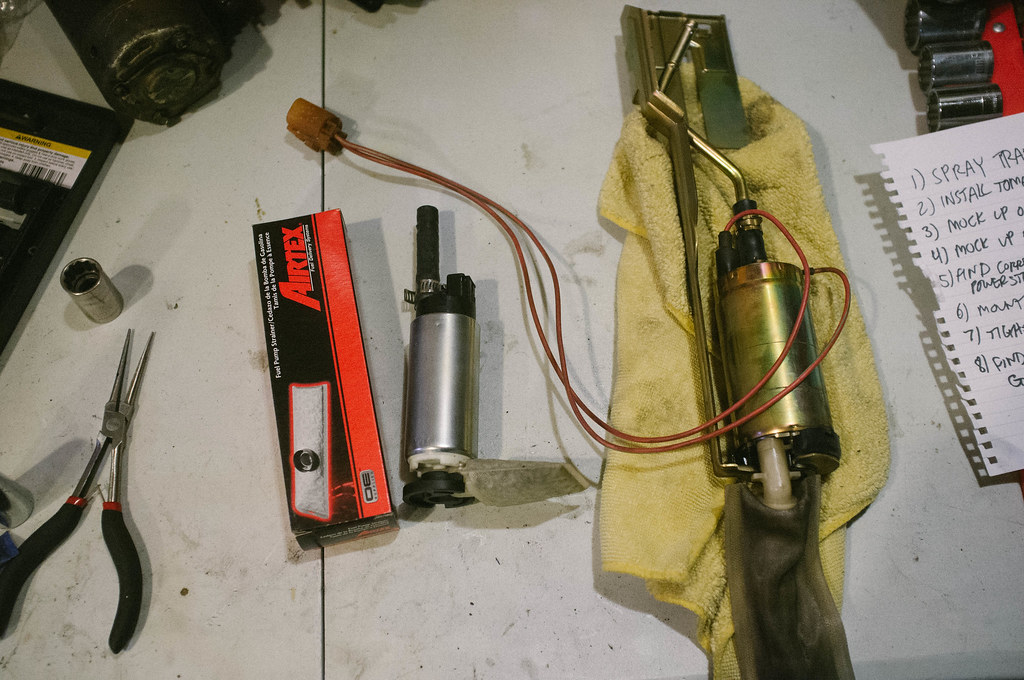
Walbro 255 LPH fuel pump vs OEM s14 fuel pump. My walbro fuel pump was previously used in an s13z i had to purchase another strainer, which is made for the s14. It is alot longer in size. Some people reuse the original fuel strainer, but I decided I didn’t want to do this install twice. Cheap insurance. Just change it.
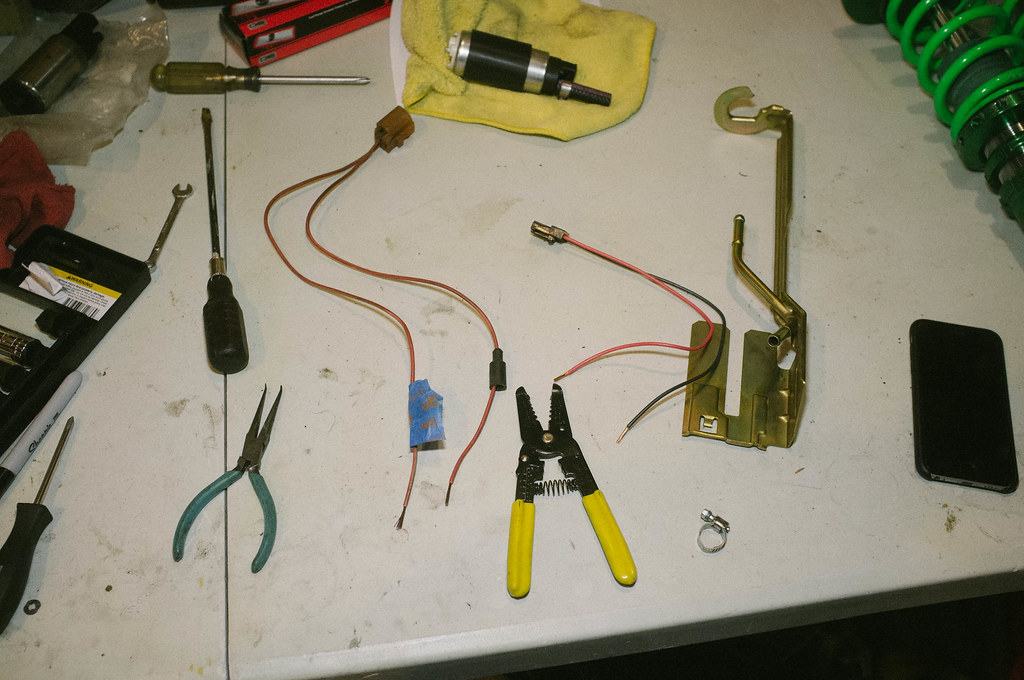
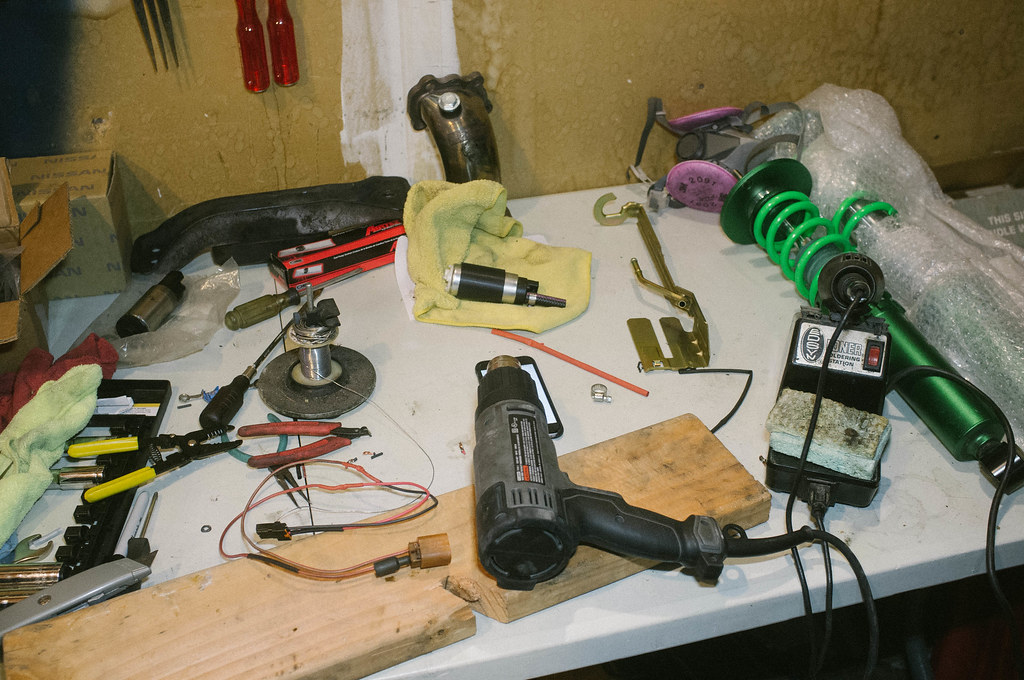
Prepping to wire up the Walbro harness to the Nissan one. Spliced the wires and fed some shrink wrap up the wires. Once you solder them together you want to pull the shrink wrap over and heat gun it. Make sure the shrink wrap isn’t too close to the exposed wire where you solder. The wire gets hot and could cause the shrink wrap to shrink before you want it to.
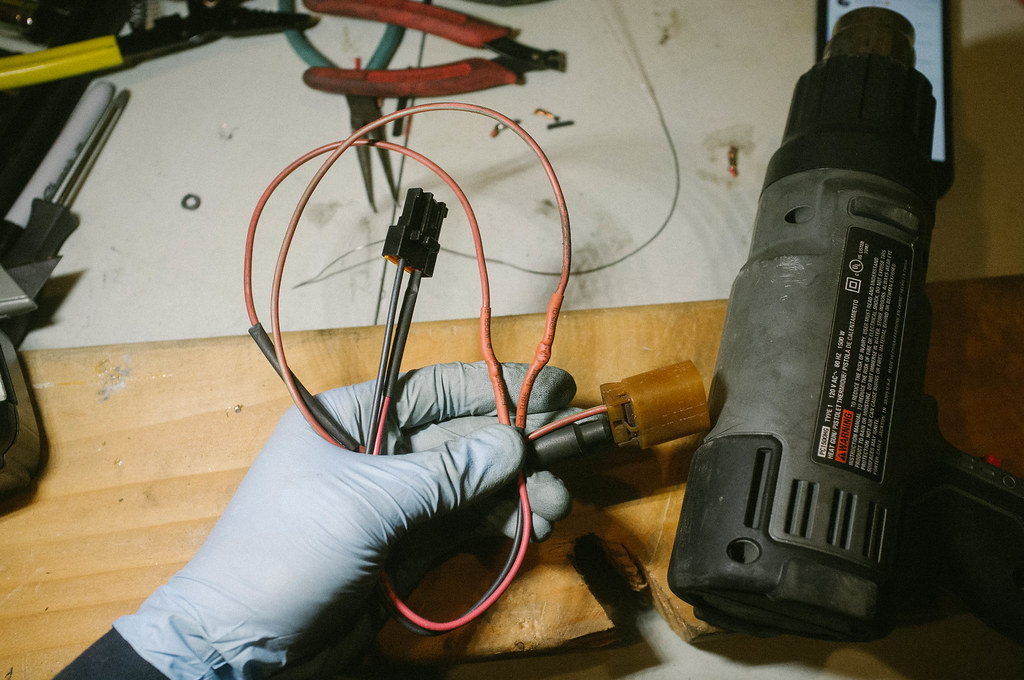
Soldered the Walbro harness to the OEM Nissan Pump harness then shrink wrapped. Red to power, black to ground. The power wire has the little black rubber boot thing on it.
Calling it a night because I can’t find the freaking rubber grommet (isolator) that holds the fuel pump to the metal fuel pump bracket. I am about to rip my hair out. I sent an email to Walbro, hopefully they sell those rubber isolators seperately. I can’t find it anywhere. Would anyone happen to have a spare one for S14?
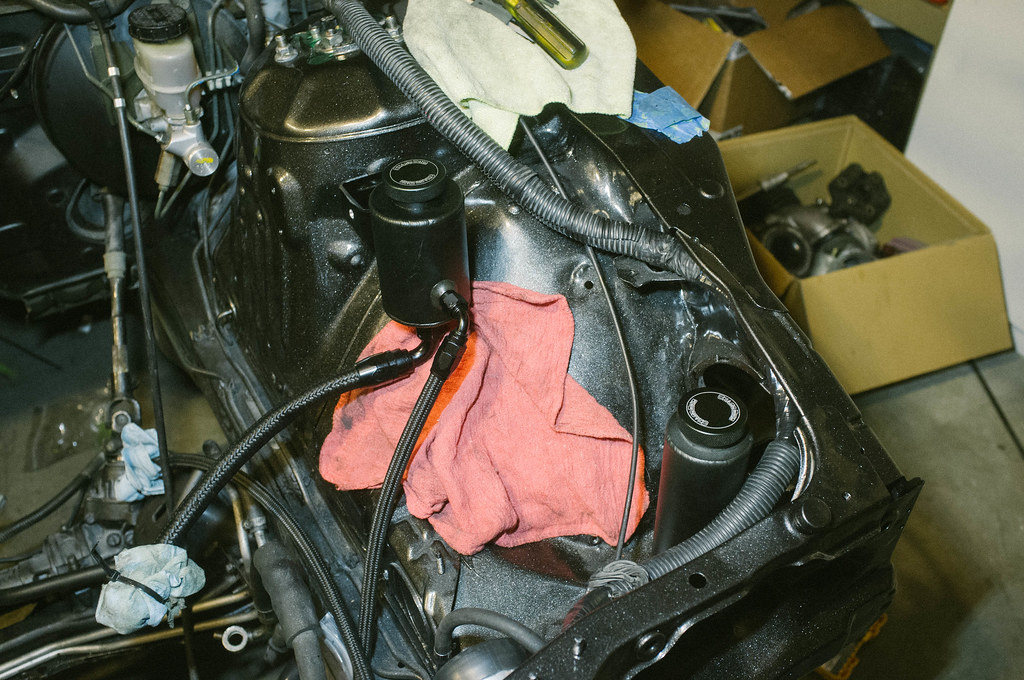
Forgot I had these laying around so I decided to mount them up in the engine bay. Left is the Chasebays power steering reservoir with all of the lines attached to it. This will be used with my power steering cooler. I also mounted the Chasebays coolant over flow tank in the bottom right hand corner. I really liked the look of the aluminum one made by circuit sports, but I ended up hammering my wheel well for more clearance and now nothing fits in the area above where I hammered. I can’t even fit the OEM coolant over flow tank. Oh well. The chasebays one will suffice.
P.S. IF ANYONE HAS A SPARE S14 WALBRO 255 FUEL PUMP ISOLATOR RUBBER GROMMET THING PLEASE LET ME KNOW. I WILL BUY IT OFF YOU. Or if you know where to get one LMK please. I can't install my pump back into the tank without this thing. The one I have looks like it is for s13.

Remove the fuel lines. You’ll need nose pliers to move the clamps. Once the clamps are pulled back pull on the hoses or use the needle nose to help you pull the hoses off. They will be a little tough to remove if they have never been touched before. After the hoses are removed you need to take a piece of wood or chisel and hammer it against the edges of the circular ring counter-clock wise to remove it. Be very careful since the ring is plastic. It’s basically like removing a stubbon cap off a jar. It is on pretty tight so I doubt you will be able to twist it off with your hands.

After removing the plastic ring, pull the cap off and get ready to get high off gasoline. You will now need to stick your hand inside (thats what she said) and pull up to remove the fuel pump bracket assembly.

Walbro 255 LPH fuel pump vs OEM s14 fuel pump. My walbro fuel pump was previously used in an s13z i had to purchase another strainer, which is made for the s14. It is alot longer in size. Some people reuse the original fuel strainer, but I decided I didn’t want to do this install twice. Cheap insurance. Just change it.

Prepping to wire up the Walbro harness to the Nissan one. Spliced the wires and fed some shrink wrap up the wires. Once you solder them together you want to pull the shrink wrap over and heat gun it. Make sure the shrink wrap isn’t too close to the exposed wire where you solder. The wire gets hot and could cause the shrink wrap to shrink before you want it to.

Soldered the Walbro harness to the OEM Nissan Pump harness then shrink wrapped. Red to power, black to ground. The power wire has the little black rubber boot thing on it.

Calling it a night because I can’t find the freaking rubber grommet (isolator) that holds the fuel pump to the metal fuel pump bracket. I am about to rip my hair out. I sent an email to Walbro, hopefully they sell those rubber isolators seperately. I can’t find it anywhere. Would anyone happen to have a spare one for S14?

Forgot I had these laying around so I decided to mount them up in the engine bay. Left is the Chasebays power steering reservoir with all of the lines attached to it. This will be used with my power steering cooler. I also mounted the Chasebays coolant over flow tank in the bottom right hand corner. I really liked the look of the aluminum one made by circuit sports, but I ended up hammering my wheel well for more clearance and now nothing fits in the area above where I hammered. I can’t even fit the OEM coolant over flow tank. Oh well. The chasebays one will suffice.

P.S. IF ANYONE HAS A SPARE S14 WALBRO 255 FUEL PUMP ISOLATOR RUBBER GROMMET THING PLEASE LET ME KNOW. I WILL BUY IT OFF YOU. Or if you know where to get one LMK please. I can't install my pump back into the tank without this thing. The one I have looks like it is for s13.
 Re: wavyzenki s14 build, the street machine
Just a FYI, as this happened to me, the heat shirk wrap can un-wrap over time as its submerged in the gas.
The previous owner to one of my cars did this, and I was driving one day and all of a sudden my fuel pump cut out. Took out the fuel pump only to see the two wires with exposed solder. Pretty sure they hit each other and shorted out the fuel pump.
Could be scary if the positive and negative wires hit when not submerged in gas.
I always just crimp those, but maybe mine was a case of bad luck
dariustii- Posts : 14
Join date : 2015-11-18
 Re: wavyzenki s14 build, the street machine
dariustii wrote:Just a FYI, as this happened to me, the heat shirk wrap can un-wrap over time as its submerged in the gas.
The previous owner to one of my cars did this, and I was driving one day and all of a sudden my fuel pump cut out. Took out the fuel pump only to see the two wires with exposed solder. Pretty sure they hit each other and shorted out the fuel pump.
Could be scary if the positive and negative wires hit when not submerged in gas.
I always just crimp those, but maybe mine was a case of bad luck
Thanks for the tip. Idk why every write up I saw people said that they prefered shrink wrapping and soldering vs crimping. Maybe I should just crimp. Good thing I didn't put it back in yet. Appreciate it Darius.
 Similar topics
» Tech/Build RULES
» mikeyee corolla build
» I always tried to build different stuff, and it always backfires.
» mikeyee corolla build
» I always tried to build different stuff, and it always backfires.
Page 1 of 1
Permissions in this forum:
You cannot reply to topics in this forum|
|
|

 Home
Home